Pumpkin Chocolate Chip Bread (and How to Stop the Chips Sinking to the Bottom)
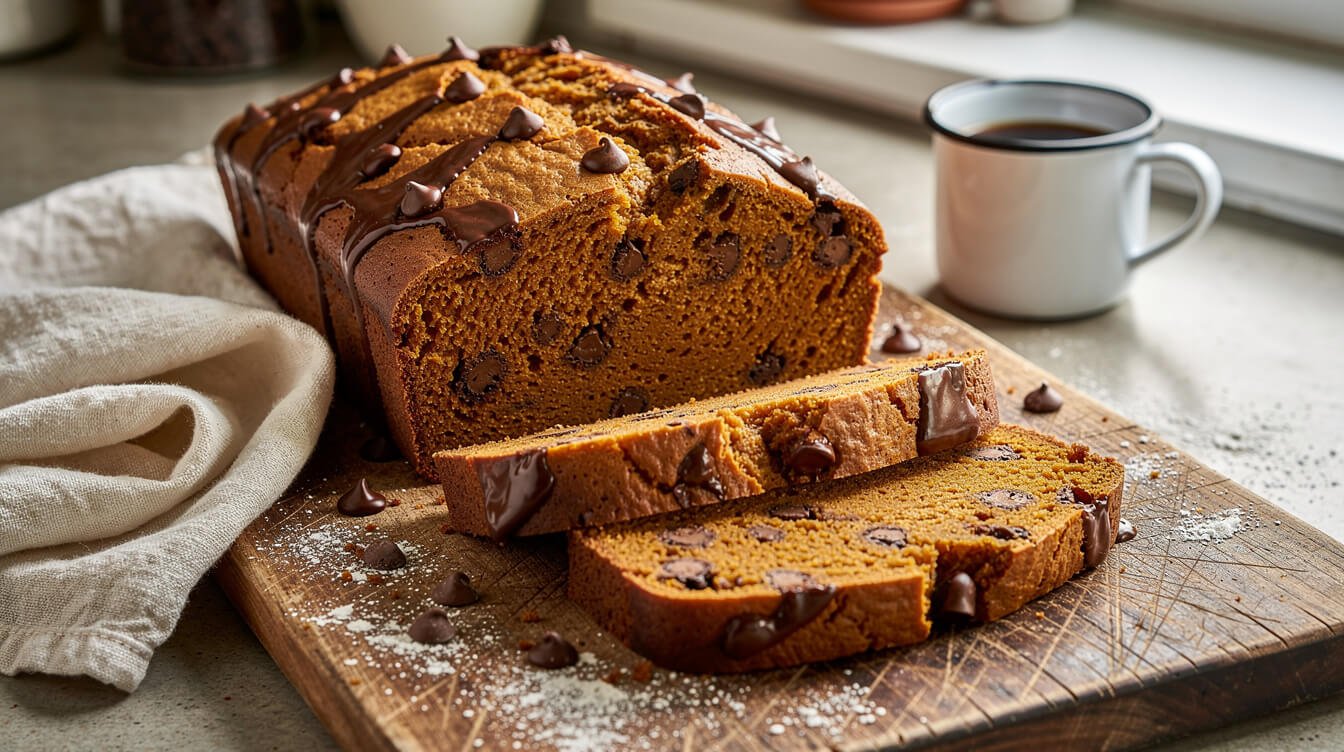
You’ve made pumpkin chocolate chip bread before. The house smelled like October for an hour, the top cracked the way it’s supposed to, and then you cut the first slice and found every single chocolate chip packed into the bottom half inch like sediment. The top two-thirds? Plain pumpkin bread.
That’s not your recipe’s fault, and it’s not you being bad at baking. It’s physics, it takes about thirty seconds to fix, and — this is the part that annoys me — almost nobody writing about this loaf mentions it at all.
So here’s the deal. First the fix, because it’s short and you came here for a reason. Then the pumpkin chocolate chip bread itself, one pan, no mixer needed. Then the thing that actually causes the gummy sunken middle people blame on the recipe: your can of pumpkin is probably wetter than mine, and there’s a way to tell.
Why the chips sink — and the 30-second fix
Chocolate chips are dense and slick. They’re mostly cocoa butter and sugar, they weigh more than the batter around them, and their waxy surface gives the batter nothing to grip. Drop them into a thin batter and they do exactly what a pebble does in a glass of water.
Here’s why it’s worse in pumpkin chocolate chip bread than in, say, chocolate chip cookies: canned pumpkin makes a wet, loose, heavy batter. Pumpkin puree is roughly 90% water. That batter stays pourable for the first fifteen or twenty minutes in the oven, before the eggs and starch set the structure. Twenty minutes is a long time for a dense chip to travel. In cookie dough, which is stiff and sets fast, the chips never get the chance.
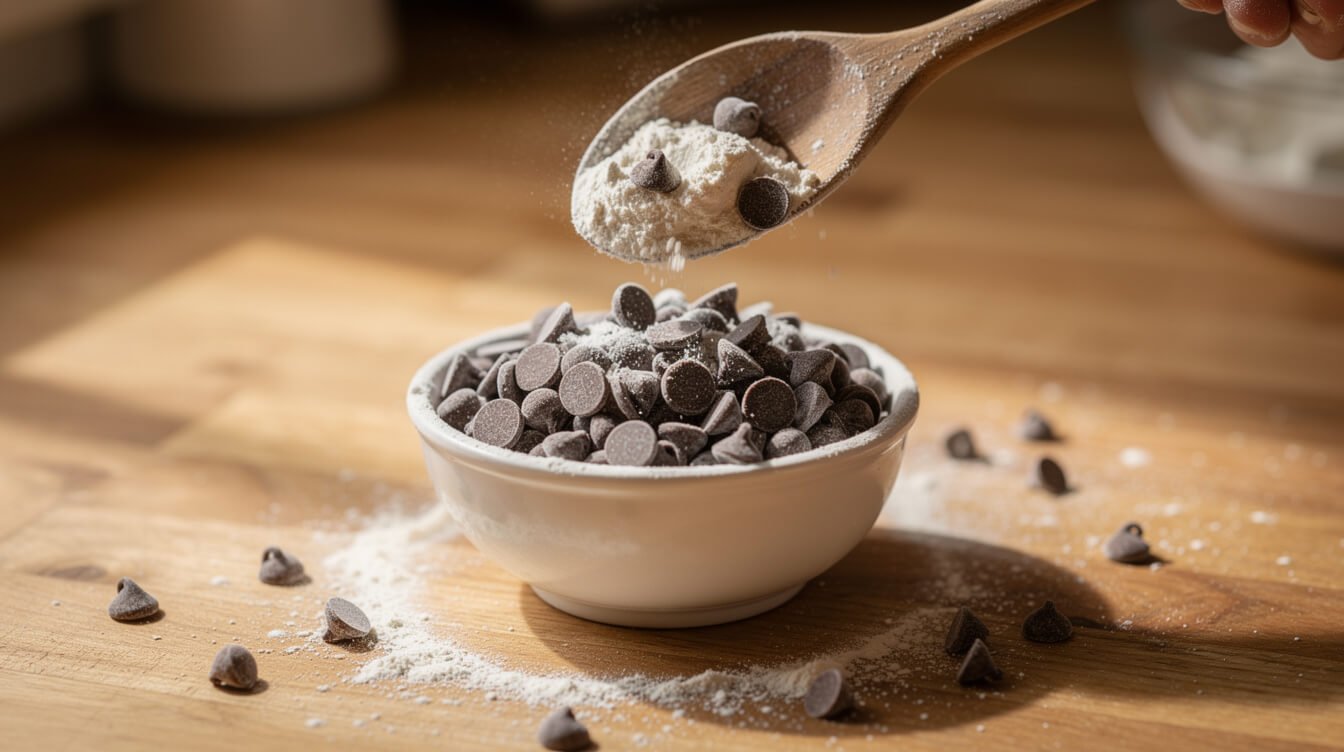
The fix: toss the chips in a spoonful of the recipe’s own flour before you fold them in.
- Measure your flour as usual, then take out 1 tablespoon and put it in a small bowl with the chocolate chips.
- Stir with a fork until every chip looks faintly dusty and pale.
- Fold the coated chips in at the very end, and tip the loose flour in with them.
That thin flour coat does two things. It gives the batter something to actually hold onto instead of a slippery shell, and it absorbs a little surface moisture so the chips sit in the crumb instead of sliding through it. Because the tablespoon comes out of the flour you already measured, you haven’t changed the recipe by a gram — no drier loaf, no trade-off.
Two more small moves that stack on top of it:
- Hold back a handful of chips for the top. Scatter them over the batter once it’s in the pan. They’ll stay put, go glossy, and the loaf will look like the chocolate is everywhere — because now it is.
- Don’t thin your batter to make folding easier. A thick batter suspends chips. If it feels stiff, that’s the batter doing its job.
People will also tell you to use mini chips, and that does help a bit — less mass each, so they fall slower. But it’s a workaround, not a fix, and it quietly decides what your loaf tastes like. Flour the chips and you can use whatever chocolate you actually want.
The recipe: pumpkin chocolate chip bread, one loaf
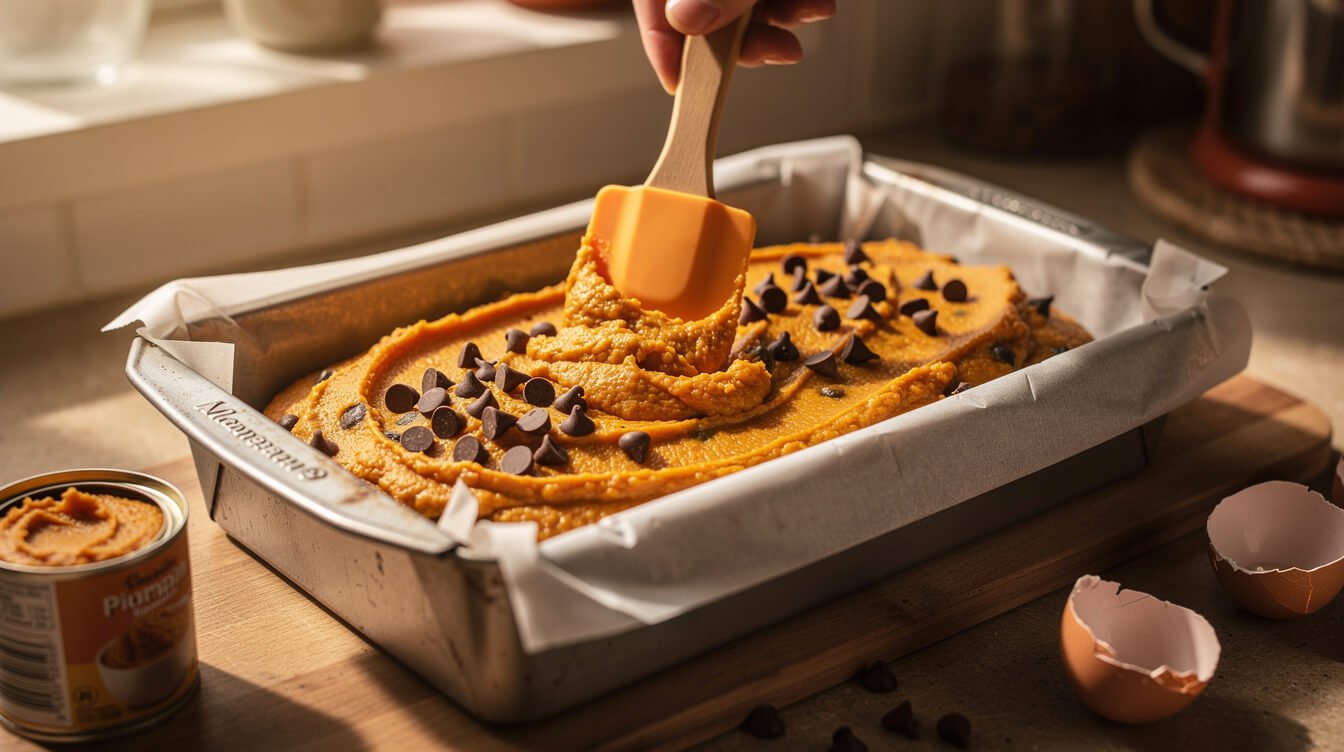
One 9×5-inch loaf. One bowl for dry, one for wet, a whisk, and a spatula. No mixer.
Ingredients
Dry
- 1 3/4 cups (220 g) all-purpose flour — reserve 1 tablespoon for the chips
- 1 teaspoon baking soda
- 1/2 teaspoon baking powder
- 3/4 teaspoon fine salt
- 1 1/2 teaspoons ground cinnamon
- 1/2 teaspoon ground ginger
- 1/4 teaspoon ground nutmeg
- 1/8 teaspoon ground cloves (optional, and easy to overdo)
Wet
- 1 cup (225 g) pumpkin puree — plain pumpkin, not pie filling
- 3/4 cup (150 g) granulated sugar
- 1/4 cup (55 g) packed brown sugar
- 1/2 cup (105 g) neutral oil — canola, vegetable, or light olive
- 2 large eggs, room temperature
- 1 1/2 teaspoons vanilla extract
Chocolate
- 1 cup (170 g) semisweet chocolate chips, plus about 2 tablespoons for the top
Method
- Heat the oven to 350°F (175°C). Line a 9×5-inch loaf pan with parchment, leaving an overhang on the long sides so you can lift the loaf out later.
- Flour the chips. Put 1 cup of chips in a small bowl with 1 tablespoon of the measured flour. Toss with a fork until dusty. Set aside.
- Whisk the dry ingredients — the remaining flour, baking soda, baking powder, salt, and spices — in a medium bowl.
- Whisk the wet ingredients in a large bowl: pumpkin, both sugars, oil, eggs, and vanilla. Whisk a good 30 seconds, until it’s smooth and a shade lighter. This is the only place you get to be vigorous.
- Add the dry to the wet and fold with a spatula until you can’t see dry flour. Stop there. A few lumps are correct. Overmixing is what turns a quick bread tough and tight — the same mistake behind most dense banana bread.
- Fold in the floured chips with about four strokes, loose flour and all.
- Scrape into the pan, level the top, and scatter the reserved chips over it.
- Bake 55–70 minutes. Start checking at 55. It’s done when the center reads 200–205°F (93–96°C) on an instant-read thermometer pushed in through the crack on top.
- Cool in the pan for 15 minutes, then lift it out by the parchment onto a rack and cool at least another hour before slicing.
On that temperature: use it instead of the toothpick. In a loaf this wet, with melted chocolate in it, a toothpick is close to useless — it comes out smeared with chocolate from a perfectly baked loaf, and it can come out deceptively clean from a raw center. A thermometer just tells you. It’s the same reason the doneness check is the whole point of our easy moist banana bread recipe.
And please wait the hour. A quick bread’s starches are still setting as it cools. Slice it warm and the crumb smears and reads as gummy even when the bake was fine. That alone accounts for a lot of loaves people think they ruined.
Your can of pumpkin is wetter than mine
This is the one that turns a good recipe into a bad loaf, and I’ve never seen it addressed properly on a pumpkin chocolate chip bread page.
Canned pumpkin is not a standardized ingredient. Brands differ in how much water they leave in, cans differ a little batch to batch, and if you roasted your own pumpkin it is almost certainly much wetter than anything from a can — most home-roasted puree carries noticeably more water, and some squash varieties are soupy.
Your recipe was written against one particular moisture level. Hand that same recipe an extra two or three tablespoons of water hiding in the puree and you get the whole familiar list: a sunken middle, a gummy band along the bottom, a loaf that needed ten more minutes than the time said, chips sitting even lower than usual because the batter got thinner.
How to tell in ten seconds
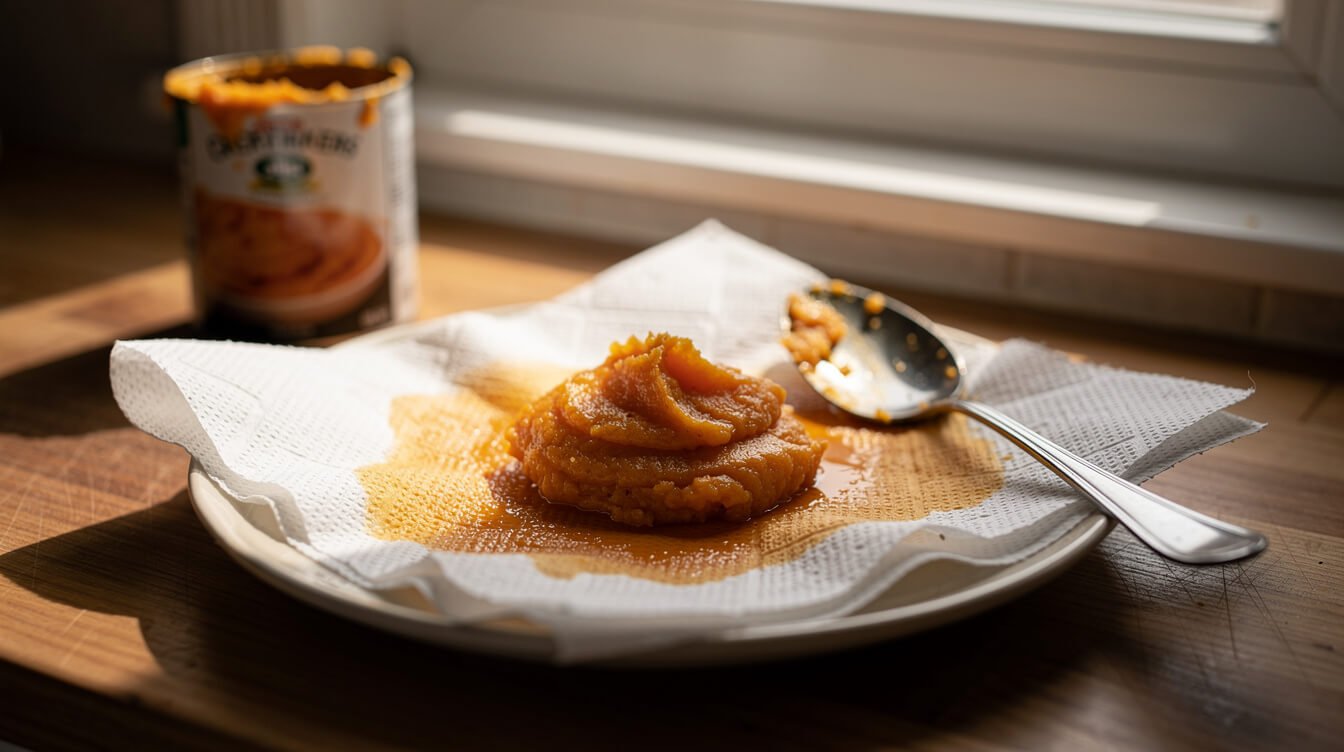
Spoon your measured puree onto a folded paper towel and leave it for a minute.
- The towel stays mostly dry, with maybe a faint damp halo. You’re fine. Use it as is.
- A clear wet ring spreads out around the puree. There’s free water in there. Blot it.
- The puree slumps and weeps, or a pool forms. That’s home-roasted-wet. Definitely blot, and expect to blot more than once.
To blot: spread the puree in a thin layer on a couple of paper towels, lay another towel on top, press gently, and peel it away. Repeat with a fresh towel until you only get a faint damp patch. You want the puree to hold a soft peak on the spoon rather than run off it. Don’t try to dry it out — you’re removing free water, not the moisture that makes the loaf good.
If you’d rather measure than eyeball: weigh the puree, blot, and weigh again. Losing 10–20 g out of a 225 g cup is a normal correction for a wet can. If you’re losing much more than that, you’ve gone past free water.
When you can’t be bothered
Fair enough — it’s a Tuesday. Two shortcuts that buy back most of the margin:
- Add 2 tablespoons of flour to the dry ingredients to soak up the extra liquid. Slightly less tender, structurally safe.
- Bake it longer and trust the thermometer, not the clock. A wetter batter genuinely needs more time. Loosely tent the top with foil at 50 minutes if it’s browning faster than it’s setting.
Pumpkin puree vs pumpkin pie filling — check the label
Quick, because most people know this one and the cans still sit side by side on the shelf looking identical.
Pumpkin puree is cooked, pureed squash. One ingredient. That’s what this recipe wants.
Pumpkin pie filling (sometimes “pumpkin pie mix”) is already sweetened and spiced, and it’s thinner. Use it here and you get a very sweet, oddly soft loaf with muddled spice, because you’ve just doubled the sugar and the cinnamon and added liquid on top.
The label is the tell: puree lists pumpkin and nothing else. If you see sugar, syrup, or a spice list, it’s filling. If you’ve already opened the wrong can, it’s rescuable — drop the granulated sugar to about 1/4 cup, cut the spices in half, and add 2 tablespoons of flour — but it won’t be quite this loaf.
Baking is mostly a handful of small habits like this one, run consistently. If you’re building those habits — or shopping for someone who is — our Support Our Charities Donor Membership T-Shirt is how readers chip in on the charity side of what we do, and it’s a comfortable thing to bake in.
From the Eat Cafe kitchen
One good recipe a week, straight to your inbox
The recipe we're actually cooking this week, plus the one tip that saves it when it goes sideways. No spam. Unsubscribe anytime.
Picking the chocolate: chips, chunks, or mini
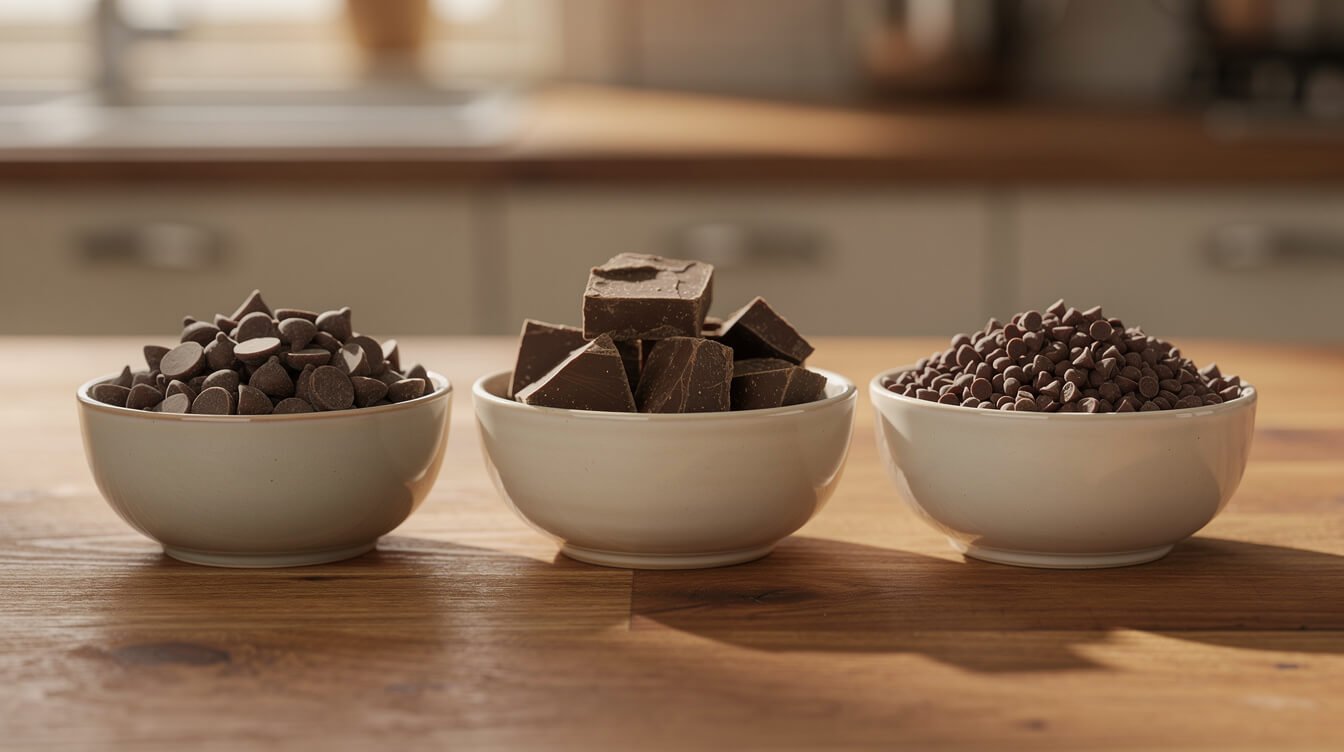
Once the chips aren’t sinking any more, this becomes a real choice instead of damage control. What each one does in a wet batter:
- Standard semisweet chips. The default, and the right one. They hold their shape, give you distinct pockets of chocolate, and semisweet keeps the loaf from tipping into dessert territory against the brown sugar. Floured, they stay where you put them.
- Mini chips. More chips per bite, chocolate in nearly every mouthful, and they sink less on their own. The trade: no real pockets of melt. The chocolate becomes a background note rather than something you bite into. Good for kids, good for a loaf that gets packed in lunches.
- Chopped chocolate chunks or a chopped bar. The best flavor, easily. Bar chocolate has more cocoa butter than chips — chips are formulated to resist melting — so chunks go molten and streak through the crumb. The trade: they’re the heaviest, so the flour toss is doing real work, and the loaf looks messier. Worth it if you like chocolate more than tidiness.
- Dark chocolate (60–70%). My pick if your loaf tastes too sweet. Pumpkin and warm spice have plenty of sweetness behind them; bitterness is what’s usually missing.
- White chocolate. It works, but drop the granulated sugar to 1/2 cup. White chocolate is pure sugar and cocoa butter, and at full sugar the loaf gets cloying.
A quantity note: 1 cup is generous and 1 1/4 cups is the ceiling. Past that the chips stop being suspended and start being structural, and the crumb can’t carry them — you get a loaf that falls apart at the slice. More chocolate is not free.

Bake in it, and chip in while you’re at it
The Eat Cafe donor membership tee — soft, honest, and the way readers support the charity side of what we do. Wear it on a baking Saturday.
Storing pumpkin chocolate chip bread so it isn’t sticky on day two
This loaf keeps genuinely well — better on day two than day one, actually, once the spice has had time to settle. But it has one specific failure mode, and it’s the opposite of the one you’d expect. Pumpkin bread doesn’t dry out. It goes sticky and tacky on top, with a slightly damp crust.
That’s condensation. All that moisture is still coming out of the pumpkin chocolate chip bread, and if you seal it in an airtight container it collects on the inside and settles back on the crust. Here’s how to avoid it:
- Cool it completely first. Completely. Any residual warmth becomes trapped steam. This is the whole game.
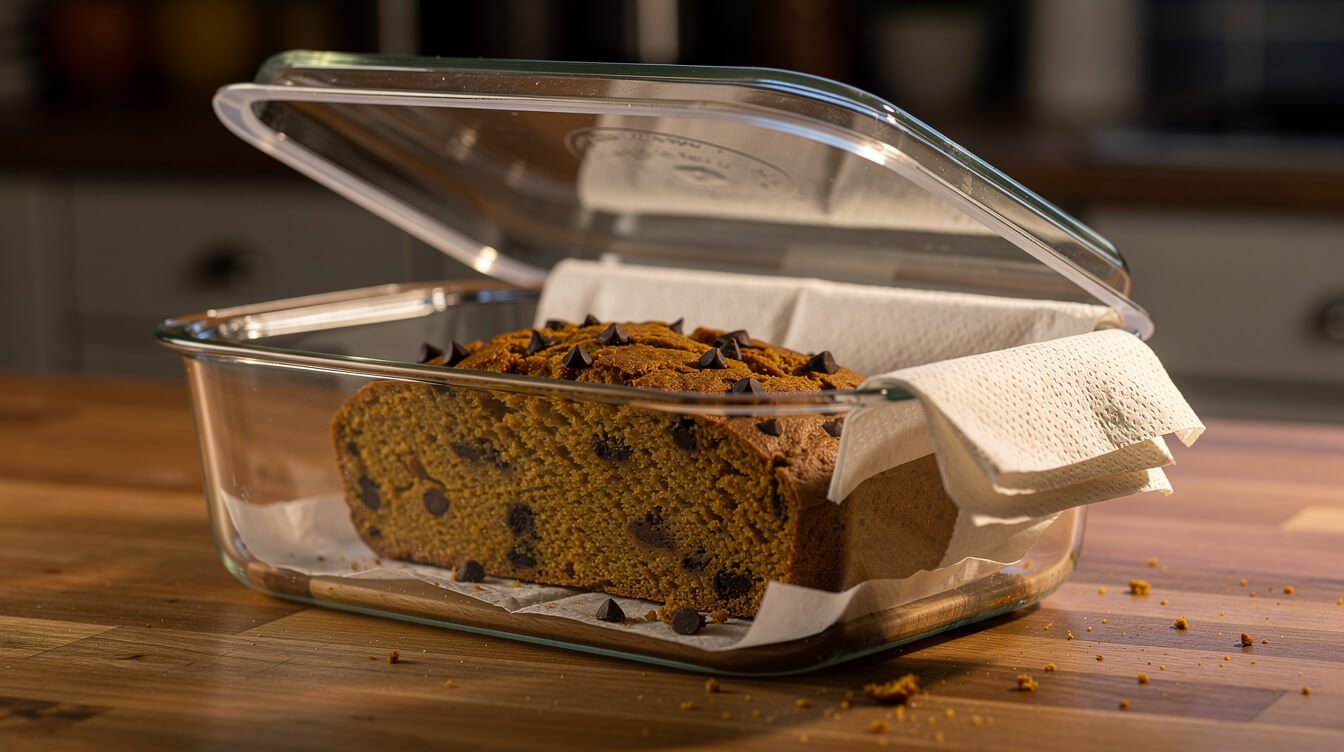
- Store it cut-side down on a plate or board, loosely covered — a container with the lid propped, or a towel over the top. The cut face seals itself, the crust stays dry.
- Tuck a paper towel in alongside it if you want a real container closed. It catches the condensation instead of the crust.
- Room temperature, 3–4 days. This is a plain quick bread with no perishable filling or frosting, so the counter is the right place for it. The fridge is the wrong place — cold makes the crumb firm and chalky, and it stales a quick bread faster than the counter does.
To freeze: cool fully, wrap in plastic, then foil, and freeze up to three months. Freeze it in slices rather than whole if you plan to eat it a slice at a time — a frozen slice thaws in twenty minutes on the counter, or thirty seconds in the microwave, and you’re not repeatedly thawing the whole loaf. Freezing is also the one thing that makes the chocolate better: a frozen-then-thawed chip has a slightly softer snap.
If the top has already gone tacky, it’s not ruined. Five minutes in a 325°F (160°C) oven dries the crust back out.
Why yours sank, turned gummy, or baked unevenly
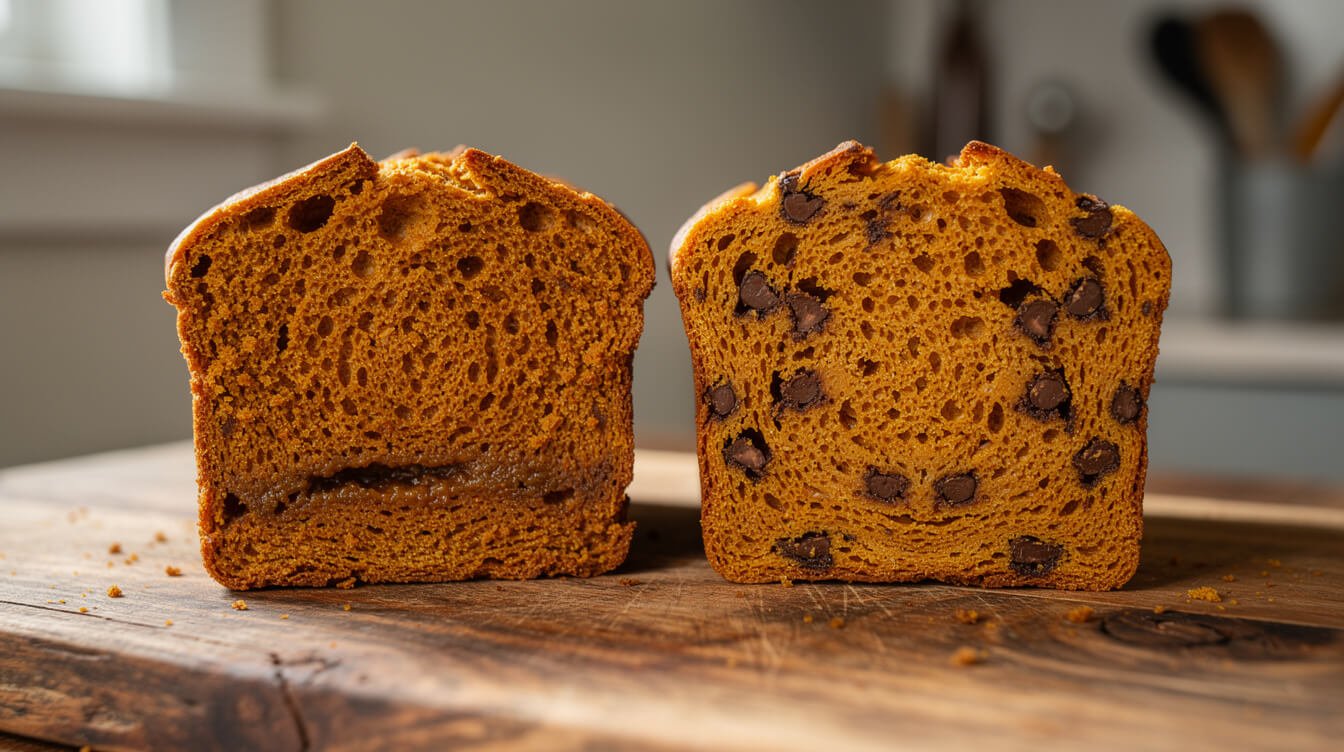
Almost every pumpkin chocolate chip bread complaint sorts into one of these. Match what you’ve got to what happened — each has one main cause.
All the chocolate is in the bottom inch
The chips weren’t floured, or the batter was too thin. Flour them next time, and check whether your puree was weeping water — a thin batter undoes the flour trick. Scroll back up to the blot test.
The middle sank into a valley
Usually too-wet puree, and the loaf came out before the structure set. Sometimes it’s the oven door — opening it in the first 40 minutes drops the temperature enough to collapse a loaf that hasn’t set. Blot the puree, bake to 200–205°F (93–96°C), and leave the door shut until you’re checking for doneness.
A gummy, damp band along the bottom
Underbaked, or sliced too early. These two are much more common than any ingredient problem. Use the thermometer, then give it an hour on the rack. If the thermometer said 203°F and it’s still gummy, it was the slicing.
Tough, tight, short loaf with tunnels
Overmixing. Once the flour is wet, every extra stroke builds gluten, and gluten in a quick bread means tough. Fold until the dry flour disappears and then physically put the spatula down. Same principle as a 4-ingredient banana bread, where there’s so little in the bowl that mixing is the only thing you can get wrong.
Burnt top, raw middle
The oven runs hot, or the pan is dark metal or glass. Tent foil over the top at the 40-minute mark and keep baking. An oven thermometer is worth the eight dollars — a lot of home ovens are 25°F off, and every bake is fighting it.
Dry and crumbly
Rare in this loaf, and it means either too much flour or overbaking. Measure flour by weight if you can; scooping straight from the bag with a cup can pack in an extra 20–30 g, which is a real difference. And stop at 205°F — this isn’t a loaf that improves with extra time.
It tastes flat
Not enough salt, or old spices. Ground cinnamon is noticeably weaker after about a year. If the loaf tastes like sweet orange bread rather than pumpkin bread, the spices are the first suspect, not the pumpkin.
One loaf, and the thirty seconds that change it
The honest summary: pumpkin chocolate chip bread is a forgiving loaf with two unforgiving details. Flour your chips so the chocolate stays where you put it, and know whether your puree is wet before you commit it to a batter. Everything else — the spices, the chocolate you choose, the pan — is preference.
Bake to temperature, not to the clock. Wait the hour before you slice it, even though you won’t want to. Then cut a thick slice from the middle, and look at the crumb: chocolate from top to bottom, which is what you were trying to make in the first place.
If quick breads are your thing, the same failure modes show up across the whole category — our guides to banana bread with just two bananas and baking a cake that doesn’t sink or turn dense cover the rest of the same ground.

Before you go
Want the next one?
We post a new recipe or kitchen guide every day. The best of the week lands in one short email, no life story attached.