How to Bake a Cake That Doesn’t Sink, Dry Out, or Turn Dense
You did everything the recipe said, and the cake still let you down — dense in the middle, dry at the edges, or sunk right where the frosting was supposed to go. Here’s the good news: how to bake a cake that turns out right every time isn’t about a fancier recipe or a more expensive oven. It’s almost always one of four fixable things, and once you know which one you’re dealing with, the fix takes no special gear at all. Below: the four common cake disasters, the real cause behind each, the fix, and one reliable vanilla cake recipe built to sidestep all four from the start.
How to bake a cake without the 4 usual disasters
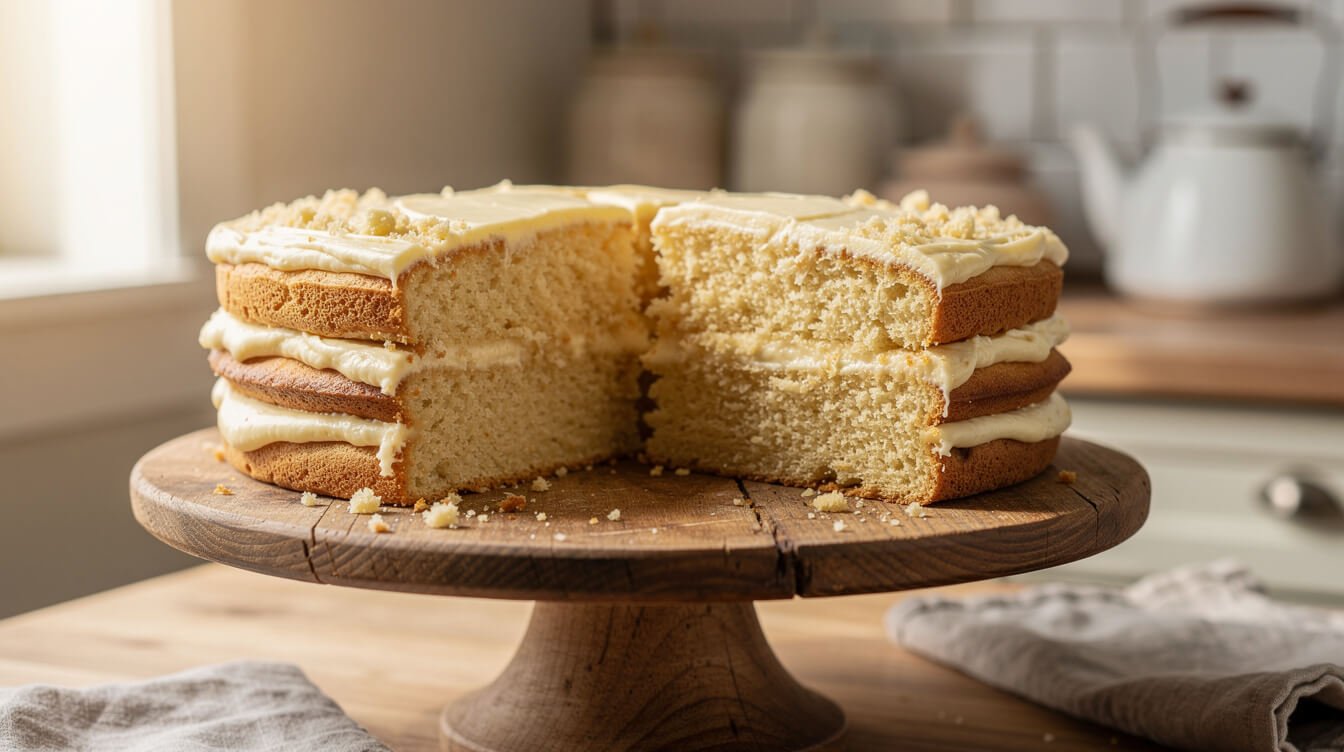
Almost every cake problem traces back to one of four things going sideways — not a bad recipe, not bad luck. Once you know which one you’re dealing with, the fix is usually a single step done differently, not a whole new approach.
- Dense, heavy cake — not enough air got into the batter, or the flour got overworked once it went in.
- Dry cake — it baked too long, or your oven runs hotter than the dial claims.
- Sunken middle — it came out of the oven before the structure had set, usually from underbaking or an early peek.
- Uneven or domed top — the oven has a hot spot, or the batter didn’t sit level before baking.
Here’s the part that trips people up: these four look similar from the outside. A dense cake and an underbaked cake can both feel heavy in the middle. A dry cake and an overbaked cake are the same thing wearing different names. That’s why guessing at a fix rarely works — you end up correcting the wrong variable, and the next cake has a new problem instead of a solved one. Read on for the specific fix for each, then the one vanilla cake recipe that puts all four right from the start.
Fix #1: dense, heavy cake
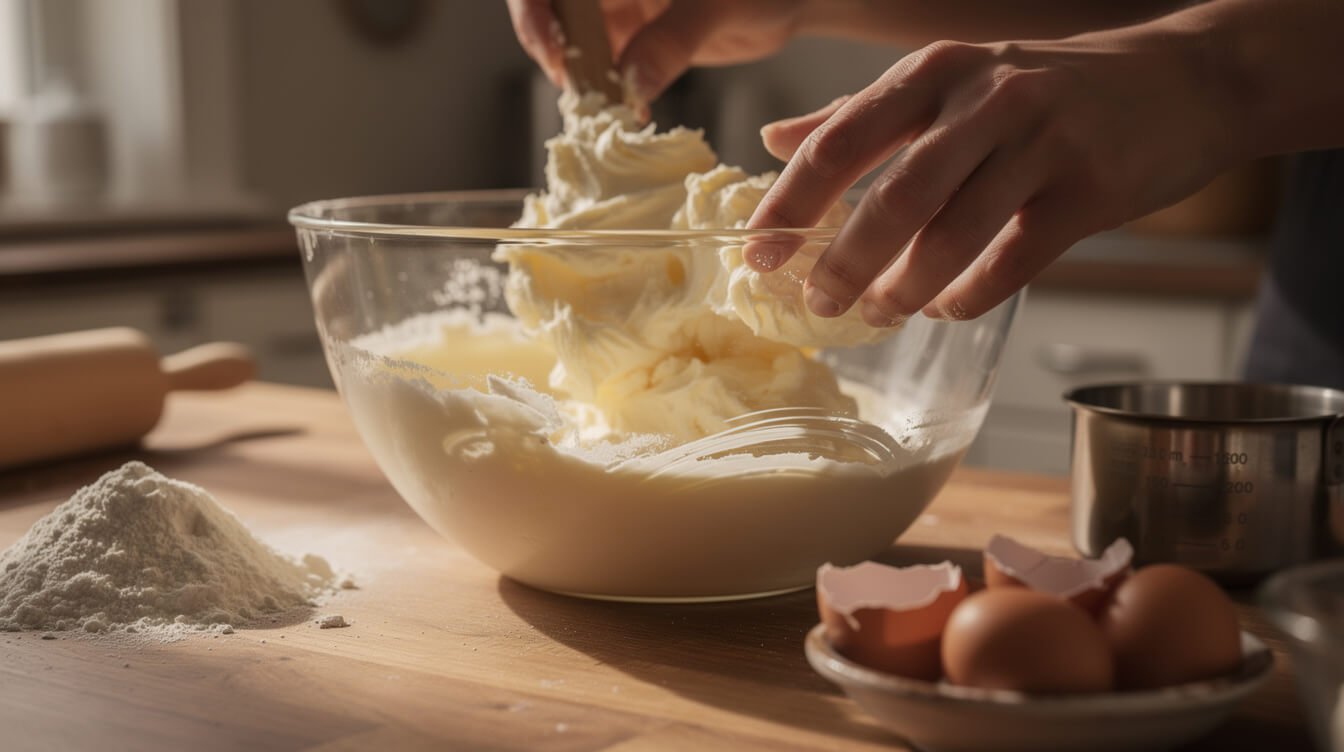
A dense cake almost always means the batter never got enough air worked into it, or the flour got handled too roughly after it went in. Both are easy to fix once you know where to look, and neither one is about the recipe itself.
Under-creamed butter and sugar
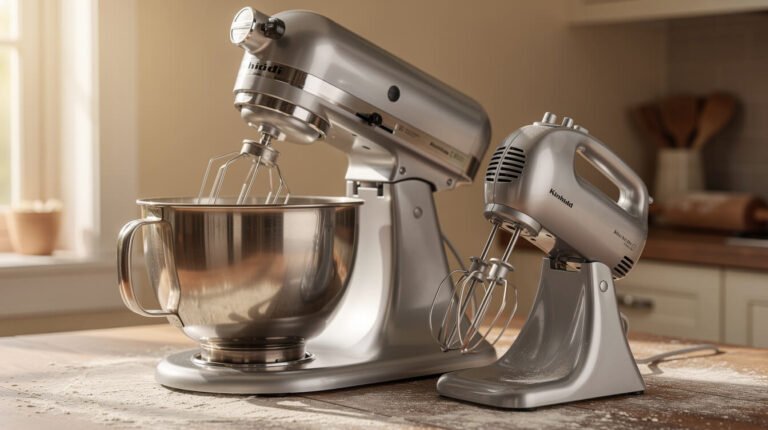
Creaming butter and sugar isn’t just “mixing them together” — it’s beating thousands of tiny air pockets into the fat, and the cake leans on every one of them to rise light. Two minutes in a stand mixer usually isn’t enough, even though the mixture looks combined by then. Cream on medium speed for a full 3 to 4 minutes, until it’s noticeably pale, fluffy, and increased in volume. If it still looks yellow, dense, and wet, it needs more time — there’s no shortcut here, and rushing this one step is the single most common reason a “simple” cake comes out heavy.
Too much flour
Scooping a measuring cup straight into the flour bag packs in more flour than the recipe intended — sometimes 20% more, just from how it settles. That extra flour soaks up moisture and weighs the crumb down, no matter how well everything else went. Spoon flour into the cup and level it off with the flat edge of a knife, or better yet, weigh it on a kitchen scale (120g per cup of all-purpose flour is a reliable baseline). It feels like a small thing. It isn’t.
Overmixing after the flour goes in
Once flour joins the batter, every extra minute of mixing builds gluten — the same protein structure that makes bread chewy and satisfying, and makes cake tough and dense. Mix on low speed only until the last visible streak of flour disappears, then stop completely, even if it feels underdone. A few small lumps folded in by hand at the very end are far less risky than thirty extra seconds on the mixer.
Wrong pan for the batter
A pan that’s too small for the amount of batter forces a longer bake at a shallower rise, which can read as dense even when the mixing was perfect. Match the pan size to the recipe, and when in doubt, go slightly larger rather than smaller — a thinner layer is much easier to fix than an overcrowded one.
Fix #2: dry cake
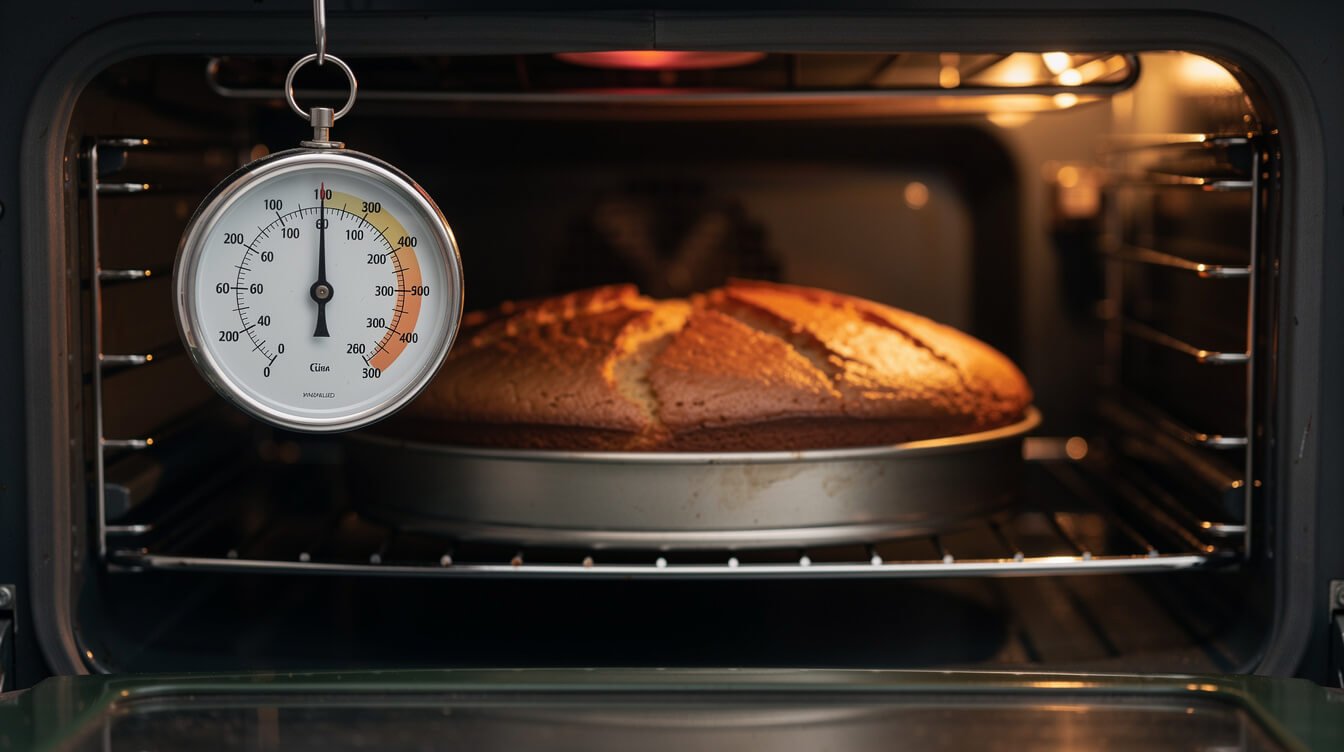
Dry cake is almost always a baking-time-and-temperature problem, not an ingredient problem — which is good news, because it means the fix doesn’t touch the recipe at all.
Your oven runs hotter than the dial says
Most home ovens are off by 15 to 25 degrees Fahrenheit from what the dial claims, and that’s more than enough to dry out a cake before the timer even goes off. A $10 oven thermometer, left on the rack permanently, is the single most useful thing you can add to your baking setup. It’s the same fix that solves inconsistent results in an air fryer, for the same underlying reason — the dial number and the actual air temperature inside aren’t always the same thing, and the gap is usually bigger than people assume.
Overbaking, even by a few minutes
Start checking 5 minutes before the recipe’s low end, not right at the timer. A toothpick inserted in the center should come out with a few moist crumbs clinging to it — not wet batter, but not bone dry either. A toothpick that comes out completely clean often means you’re already a few minutes past the point of no return, especially in a smaller or thinner cake that keeps baking from residual heat even after it leaves the oven.
Too much flour, again
Same culprit as the density problem above — packed flour soaks up extra moisture during baking and leaves less for the finished crumb. Weigh it or spoon-and-level it, every time, and treat it as non-negotiable if dry cake keeps happening.
The toothpick test can mislead you
A toothpick only tells you about the exact spot it went in. If you test near the edge instead of dead center, or if the cake has a mix-in like chocolate chips that the pick happens to hit, you can get a false “done” reading. Test the true center, and if you’re unsure, a second toothpick a couple inches away is a cheap way to confirm.
Fix #3: sunken middle
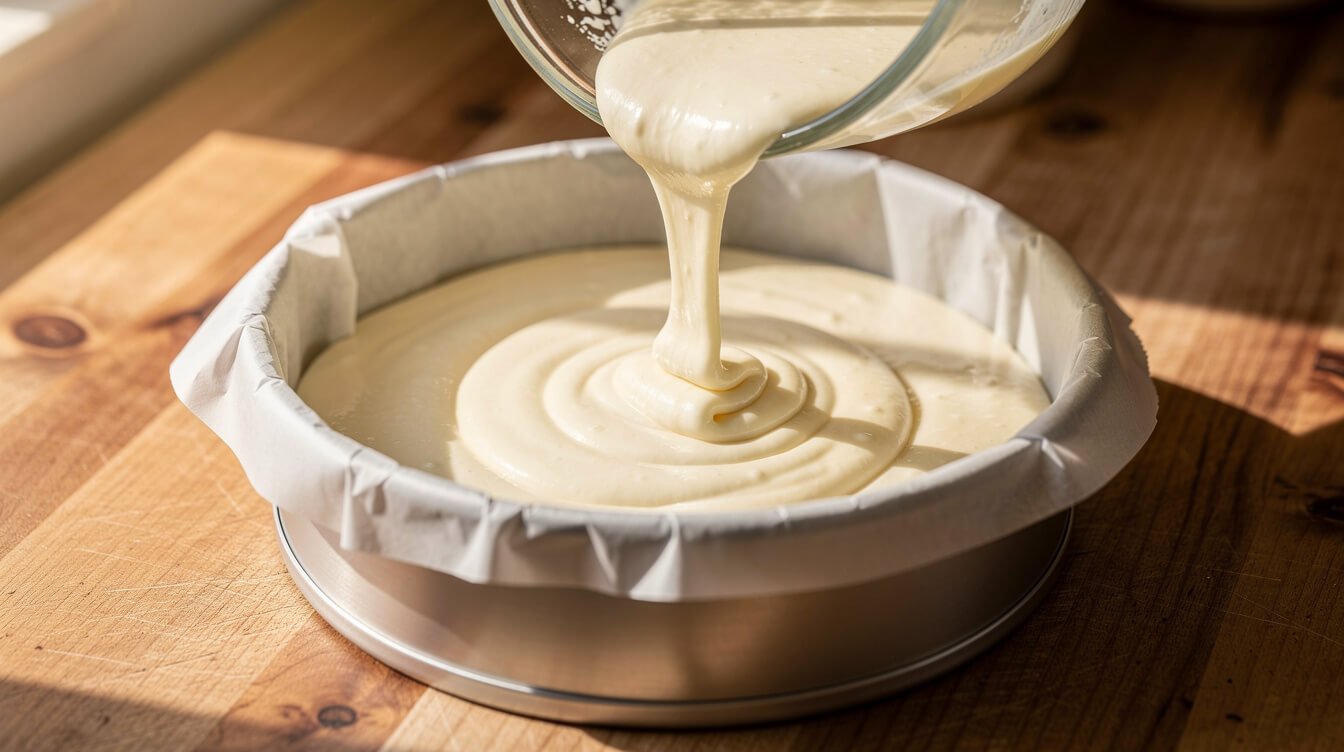
A sunken center is a structure problem — the cake rose, then collapsed before the crumb had set enough to hold its own shape.
It came out too soon
This is the most common cause by far. The center of a cake is always the last part to finish baking, since it’s the most insulated from the oven’s heat. If the edges look done and pull away from the pan, it’s tempting to call it — but the middle often hasn’t set yet. It rises, looks glorious for the first ten minutes out of the oven, then falls as it cools and the unset structure can’t support itself. Test the actual center with a toothpick, not just how the edges look.
Opening the oven door early
Cake batter is at its most fragile in the first 20 minutes, while it’s still rising and the structure is setting around trapped air and steam. A blast of cold air from an opened door can cause the whole center to deflate before it’s had the chance to firm up — even a quick peek. Leave the door shut until at least three-quarters of the way through the bake time, and use the oven light instead.
Old or too much baking powder
Baking powder loses strength over time, especially once opened. If yours has been sitting for more than six months, test it: a spoonful in hot water should fizz energetically and immediately. If it barely bubbles, replace it — weak leavening means a rise that can’t hold itself up, and ironically, too much leavening causes the exact same collapse from the opposite direction, because the structure rises faster than it can set.
Too much liquid for the flour
A batter that’s thinner than it should be — from an extra splash of milk, an oversized egg, or a measuring mistake — has less structure to lean on. If sunken centers keep happening even with careful baking and a fresh oven thermometer reading, double-check your measurements against the recipe rather than eyeballing quantities.
From the Eat Cafe kitchen
One good recipe a week, straight to your inbox
The recipe we're actually cooking this week, plus the one tip that saves it when it goes sideways. No spam. Unsubscribe anytime.
Fix #4: uneven or domed top
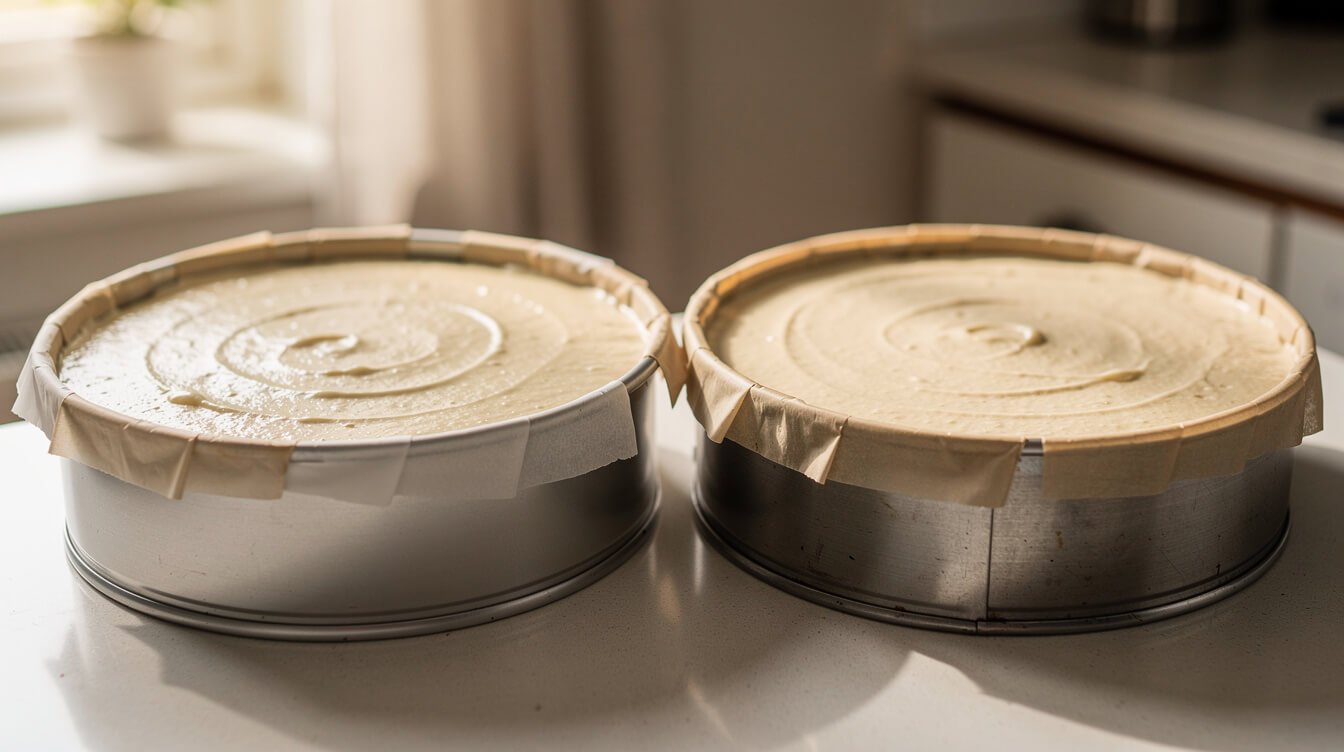
This one’s cosmetic rather than structural, but it’s the difference between layers that stack and frost cleanly and ones that wobble and crack under a crumb coat.
Oven hot spots
Most home ovens bake unevenly from one side to the other, or between front and back. If your cakes consistently dome or brown more on one side, rotate the pan 180 degrees halfway through baking. Center the rack, too — too close to the top or bottom element, and one side of the cake will always cook faster than the other, which shows up as an uneven rise.
Batter that wasn’t level going in
Give the filled pan a couple of firm taps on the counter before it goes in the oven. This settles the batter, knocks out big trapped air bubbles, and levels the surface so it rises evenly instead of climbing lopsided from whichever side had more batter.
Temperature spiking the rise
A too-hot oven makes the edges of the cake set and rise fast while the center is still liquid and soft, and the center keeps pushing upward with nowhere to go but up into a dome. If doming is a recurring problem even with a verified, accurate oven temperature, drop the temperature by 25°F and add a few minutes to the bake time — a gentler, slower rise reliably comes out flatter and more even.
Oven door slam
Closing the oven door too hard, especially right after the cake goes in, can jolt the pan and disturb the batter’s surface before it’s had a chance to start setting. Close it gently, particularly for the first several minutes.
The one vanilla cake recipe you’ll actually use
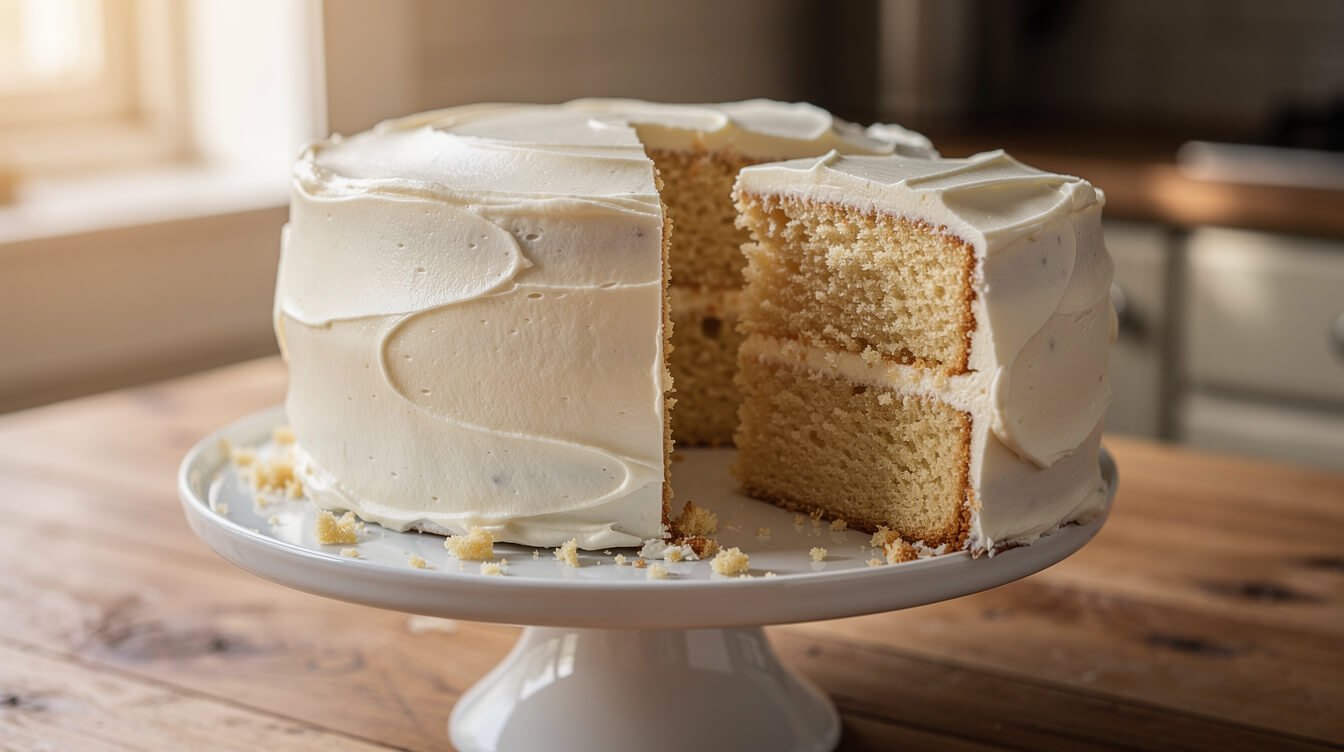
This is a straightforward, from-scratch vanilla cake built around everything above — properly creamed butter, weighed flour, and a bake time with room to check the center before it dries out. It makes two 8-inch or 9-inch rounds, ready to fill and frost, or good enough to eat plain with nothing but a little powdered sugar.
Ingredients
- 2¾ cups (330g) all-purpose flour, spooned and leveled or weighed
- 2½ tsp baking powder (freshness-tested if it’s been open a while)
- ½ tsp salt
- 1 cup (227g) unsalted butter, room temperature
- 1¾ cups (350g) granulated sugar
- 4 large eggs, room temperature
- 1 tbsp vanilla extract
- 1 cup (240ml) whole milk, room temperature
Room temperature matters more than it seems like it should here. Cold butter won’t cream properly no matter how long you beat it — it just breaks into gritty bits instead of turning fluffy. Cold eggs and milk can shock the creamed butter and cause it to seize or curdle slightly, which knocks air back out of the batter you just worked to build in. Pull everything out about an hour before you start.
Steps
- Preheat the oven to 350°F (175°C) — verified with an oven thermometer, not just the dial. Grease two 8-inch round pans and line the bottoms with parchment paper.
- Whisk the flour, baking powder, and salt together in a bowl. Set aside.
- Cream the butter and sugar on medium speed for a full 3 to 4 minutes, until pale and noticeably fluffy.
- Add the eggs one at a time, beating well after each addition before adding the next. Mix in the vanilla.
- With the mixer on low, add the flour mixture in three parts, alternating with the milk in two parts, starting and ending with flour. Mix only until the last streak of flour disappears — do not keep going past this point.
- Divide the batter evenly between the pans, tap each pan firmly on the counter twice to level the surface and release air bubbles, and set both on the center rack.
- Bake 28 to 32 minutes, rotating the pans 180 degrees halfway through. Start checking at 25 minutes — a toothpick in the true center should come out with a few moist crumbs, not wet batter and not bone dry.
- Cool in the pans for 10 minutes, then turn out onto a wire rack to cool completely before filling or frosting. Frosting a warm cake is the fastest way to end up with a melted mess.
Storing it
Once completely cool, an unfrosted layer wrapped tightly in plastic keeps well at room temperature for 2 days, or in the fridge for up to 5 days if it’s frosted with a dairy-based frosting. To freeze, wrap unfrosted layers tightly in plastic and then foil — they’ll keep well for up to 3 months. Thaw wrapped at room temperature before filling or frosting, so condensation doesn’t form on the surface.
How to bake a cake: pan sizes, timing, and quick answers
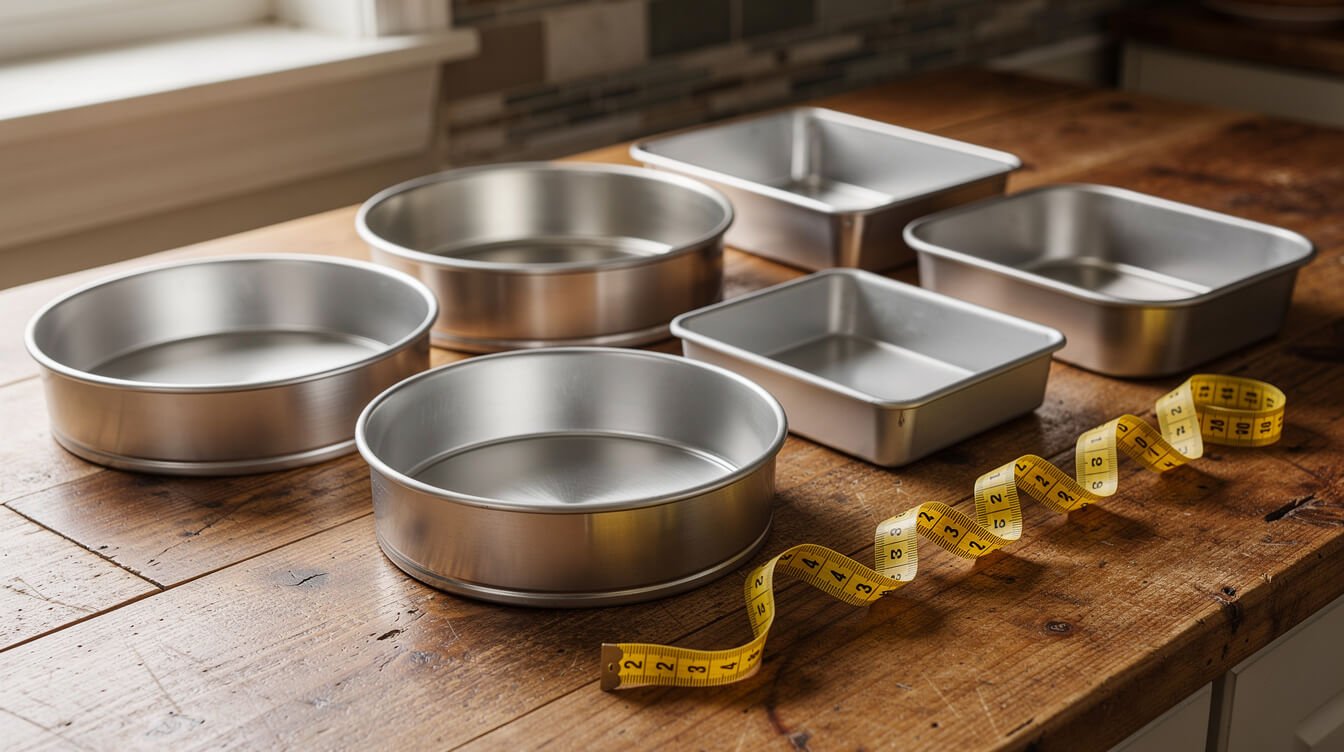
A quick reference for the questions that come up once the four big fixes are handled.
Can I use a different pan size?
Yes — just adjust the bake time, not the recipe. This batter also works in one 9×13-inch pan (bake 35 to 40 minutes) or three 6-inch rounds (bake 22 to 26 minutes). Deeper batter needs more time in the oven; shallower batter needs less. Always start checking a few minutes early rather than trusting the clock alone, since every pan and oven combination behaves a little differently.
Why does my cake stick to the pan?
Grease the pan, then line the bottom with a parchment circle — grease alone isn’t reliable, especially on darker or older pans where the coating has thinned. Let the cake cool 10 minutes in the pan before turning it out; too soon and it can tear apart, too long and trapped steam makes it stick right back to the pan.
Can I fix a cake after it’s already baked?
A slightly dry cake can be rescued with a simple syrup brushed over the layers before frosting — equal parts sugar and water, warmed just until the sugar dissolves, then cooled. A sunken center is easier to fix than it looks: trim it level with a serrated knife, flip that layer upside down, and let a slightly thicker layer of frosting fill the gap. Nobody will know once it’s stacked and covered.
Why did my two layers bake to different heights?
Usually it comes down to batter that wasn’t divided evenly between the pans, or one pan sitting closer to a hot spot in the oven. Weigh the batter into each pan if you want them dead even, and rotate both pans halfway through baking so they get equal time in every part of the oven.
Can I make the layers ahead of time?
Yes, and it’s often easier than baking and frosting the same day. Bake the layers up to 2 days ahead, cool completely, then wrap tightly and store at room temperature (or freeze for longer storage, per the storing note above). Cold cake is also easier to frost cleanly than a same-day layer that’s still slightly warm.

From the Eat Cafe shop
Eat Cafe - Support Our Charities Donor Membership T-Shirt
$24.99
See it in the shopFinal thoughts
None of this requires special equipment or a fussier recipe — just knowing which of the four usual suspects you’re dealing with, and fixing the one cause instead of guessing at a whole new approach next time. Save this one for whenever a cake comes out of the oven looking a little off; the fix is probably a section away. If you’re in a baking mood, our Italian pizza dough recipe is a good next stop — same oven, same forgiving, weeknight-friendly approach to getting it right.

Before you go
Want the next one?
We post a new recipe or kitchen guide every day. The best of the week lands in one short email, no life story attached.