Sugar cookie recipe for decorating: cut-outs that hold their shape (and stay flat for icing)
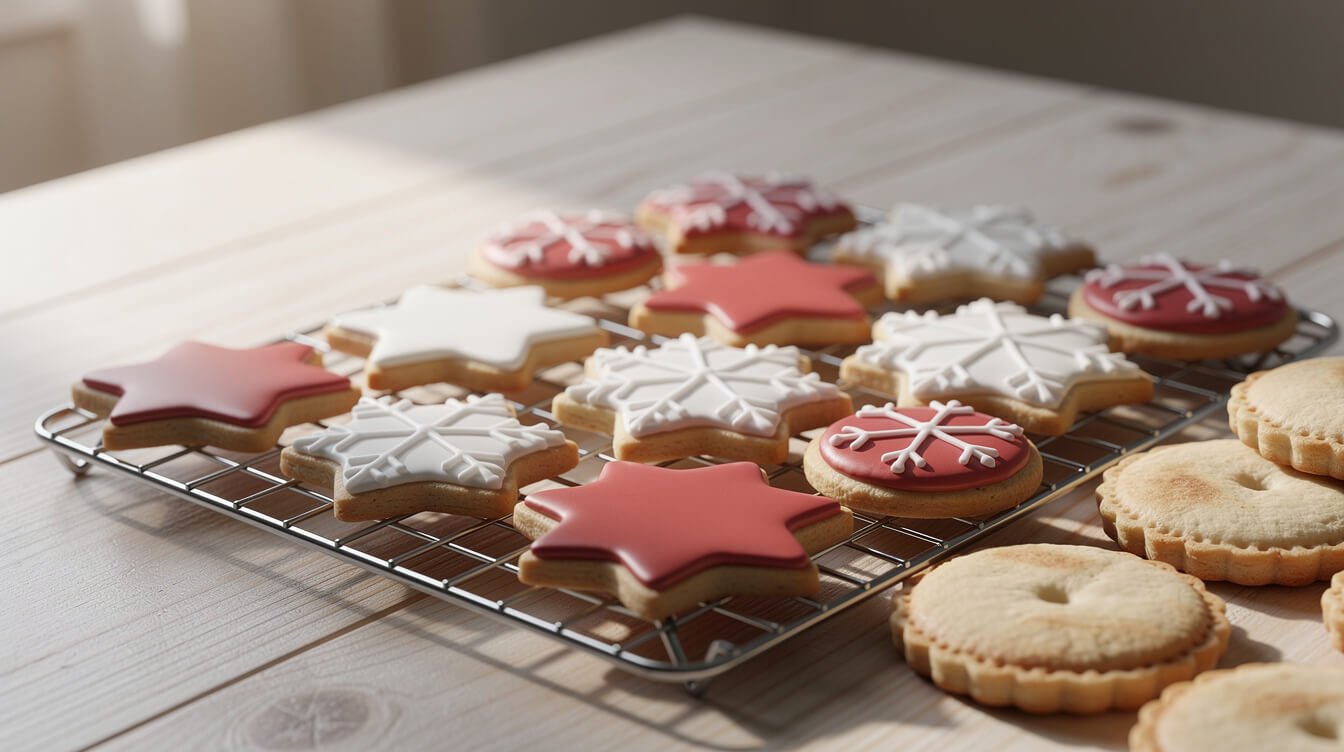
A good sugar cookie recipe for decorating does two jobs. The stars come out of the oven still looking like stars, and the tops bake flat enough that icing sits smooth instead of sliding off a dome. If your cut-outs have ever puffed into blobs, lost their points, or baked with a bumpy top, it’s usually not your cutters or your oven. It’s three small things in the dough and one in the order of steps.
Here’s the recipe first. After that: why cookies spread and what stops it, the roll-then-chill trick, how thick to roll and how long to bake, how to get a top that’s flat enough to ice, which icing to pick, and a make-ahead plan so decorating day doesn’t eat your whole weekend.
Sugar cookie recipe for decorating: the recipe

This makes about 24 cookies with a 3-inch cutter. The dough is buttery and tastes good plain, but it’s built to hold a shape first. That’s why there’s no baking powder (more on that below).
Ingredients
- 1 cup (226 g) unsalted butter, softened but still cool. It should dent when you press it but not look shiny or greasy, about 65°F.
- 1 cup (200 g) granulated sugar
- ½ teaspoon fine salt (¼ teaspoon if you only have salted butter)
- 1 large egg, at room temperature
- 2 teaspoons vanilla extract
- ½ teaspoon almond extract (optional, but it’s the flavor people remember)
- 3 cups (375 g) all-purpose flour, spooned into the cup and leveled
Steps
- Cream the butter and sugar, briefly. Beat the butter, sugar, and salt on medium-low for 1 to 2 minutes, until smooth and evenly mixed. You’re combining, not whipping. It shouldn’t turn pale and fluffy the way it would for a cake.
- Add the egg and extracts. Beat on low just until blended. Scrape down the bowl and the beater so there are no streaks of plain butter left.
- Add the flour. With the mixer on low, add the flour in two parts and mix just until the dough comes together in clumps. It may look a bit crumbly. Press a handful together: if it holds, it’s done. If it really won’t hold, add 1 teaspoon of milk at a time.
- Divide and roll right away. Split the dough in half. Put each half between two sheets of parchment paper and roll it to an even ¼ inch (6 mm) thick.
- Chill the rolled sheets. Stack the two parchment-wrapped slabs on a baking sheet and refrigerate for at least 1 hour (or freeze for 20 to 30 minutes). They’ll keep in the fridge, wrapped, for up to 3 days.
- Heat the oven. Set a rack in the middle and heat to 350°F (175°C). Line baking sheets with parchment.
- Cut. Peel off the top sheet of parchment, cut your shapes, and move them to the lined sheets about 1 inch apart. Press the scraps together, roll them between parchment again, and chill for 10 to 15 minutes before cutting.
- Chill the cut shapes (optional, but worth it). If your kitchen is warm or the shapes have thin points, put the whole tray in the freezer for 10 minutes before baking.
- Bake one sheet at a time for 9 to 12 minutes, until the edges are just barely golden and the centers look matte and set, not shiny. Small cutters need less time, big ones more.
- Cool completely. Leave the cookies on the sheet for 5 minutes, then move them to a rack. Wait until they’re fully cool, at least an hour, before you ice them. Warm cookies melt icing.
One honest note: please don’t snack on the raw dough. Raw flour and raw egg can both carry bacteria that make people sick, which is why the FDA advises against eating raw dough. Save the tasting for the scraps once they’re baked.
Why cut-out cookies spread (and the four things that stop it)

Spreading happens in the first few minutes in the oven. The butter melts before the flour and egg have set, so the dough slumps outward. Everything that holds a shape is about slowing that melt or giving the dough less reason to move. Here are the four things that matter, roughly in order.
1. No baking powder
Baking powder makes cookies rise, and when a thin cookie rises, it also spreads and rounds off its edges. Lots of everyday sugar cookie recipes include it because they’re meant to be soft and puffy. For decorating, you want the opposite: flat, sharp, and quiet. Leave it out. If you love a softer, slightly thicker cookie and don’t mind a little rounding, add ¼ teaspoon. Don’t go higher.
2. Butter that’s cool, not warm
“Softened” gets interpreted as anything from “slightly bendy” to “half melted.” For cut-outs, aim for the bendy end. Butter around 65°F creams smoothly but still holds structure. If you microwaved it and it looks glossy, the dough will be soft and greasy, and the cookies will spread no matter how long you chill them.
3. Not too much air
Cake recipes tell you to beat butter and sugar for 3 to 5 minutes until fluffy, because those air bubbles help the cake rise. In a cut-out cookie, that same air expands in the oven and puffs the cookie up, then it settles unevenly. A minute or two of creaming is plenty. Stop when it’s smooth.
4. Enough flour (measured right)
Too little flour and the dough is sticky and slumps. Too much and the cookies are dry and crack when you roll them. The easiest fix is a scale: 375 grams. Without one, stir the flour, spoon it into the cup, and level it with a knife. Scooping straight from the bag packs it down and can add a lot of extra flour. If you’re curious why flour type matters too, our guide to cake flour vs all purpose flour walks through it. For this recipe, plain all-purpose is the right one. Cake flour makes a cookie too tender to hold crisp edges.
If your cookies spread, check these in order: baking powder, butter temperature, how long you creamed, and how you measured the flour. It’s almost always one of the first two.
Roll first, chill second: the order that saves your shapes
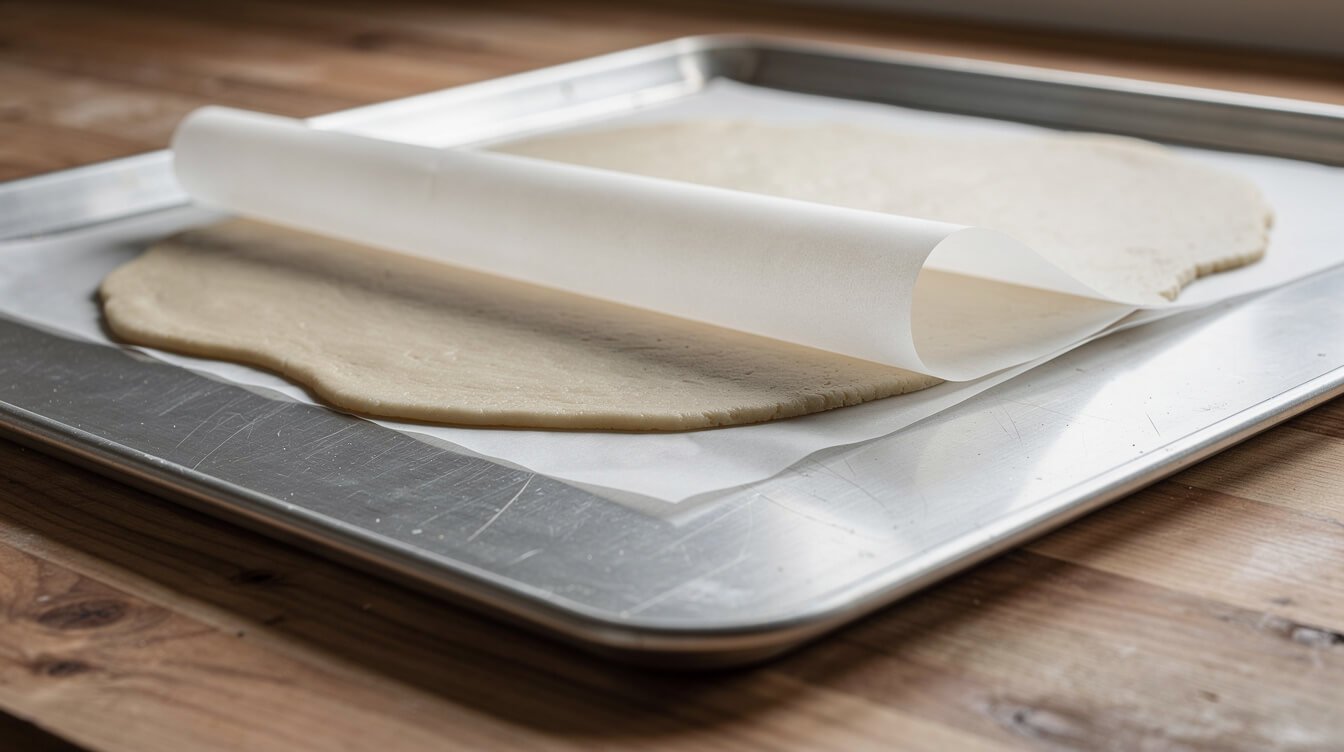
Most older recipes say to chill the dough in a disc, then roll it. That works, but cold dough is hard to roll. It cracks at the edges, you lean on it, it warms up unevenly, and you end up dusting it with more and more flour. That extra flour makes the cookies tough and leaves a dusty surface that icing doesn’t love.
Rolling the dough while it’s still soft and then chilling the flat sheet fixes all of that. Soft dough rolls easily and evenly. The parchment means you don’t need any flour on the counter at all. And a thin, flat slab chills much faster than a thick disc, so you can be cutting in an hour instead of two.
How to roll it evenly
- Use parchment on both sides. The dough doesn’t stick to the pin or the counter. If the parchment slides around, set it on a damp kitchen towel.
- Roll from the center out, turning the whole parchment sandwich a quarter turn every few passes.
- Peel and smooth. If the parchment wrinkles into the dough, peel it back, lay it down flat again, and keep going.
- Use guides if you have them. Rolling pin rings, or two ¼-inch wooden dowels or paint stirrers on either side of the dough, give you perfectly even thickness. Even thickness matters more than exact thickness, because uneven dough bakes unevenly.
Cutting clean shapes
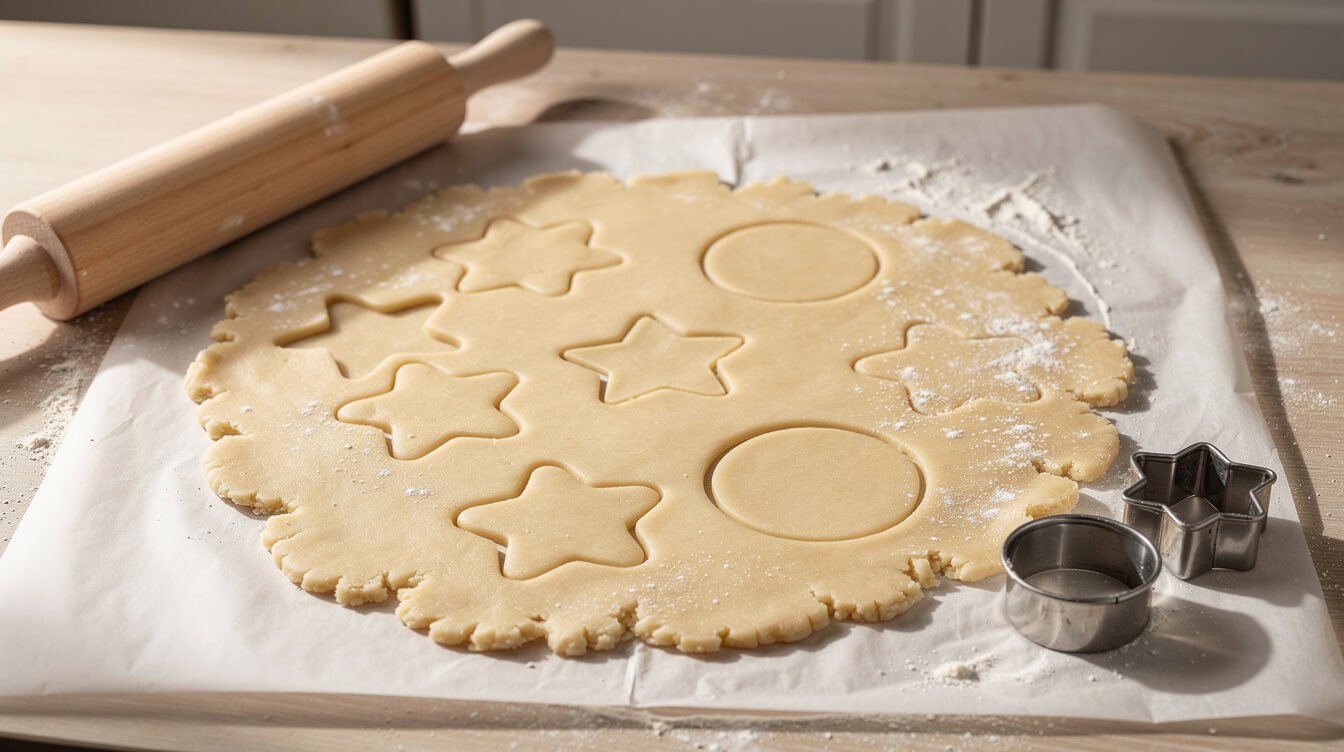
Cold dough cuts cleanly. Press the cutter straight down, wiggle it slightly, and lift. If the dough sticks inside the cutter, dip the cutter in a little flour between cuts. Move shapes with a thin offset spatula or a butter knife slid underneath. If the dough starts to soften and stretch as you work, slide the whole sheet back into the fridge for 10 minutes. It’s quicker than fighting it.
Scraps re-roll fine once, maybe twice. Each round works the gluten a bit more and picks up a little flour, so the third-round cookies will be slightly tougher. Use those for the taste-testers.
How thick to roll, and how long to bake

Thickness changes both the texture and the bake time. Here’s how it plays out with this dough at 350°F.
| Thickness | Texture | Bake time (3-inch cutter) | Best for |
|---|---|---|---|
| ⅛ inch (3 mm) | Crisp, snappy | 7 to 9 minutes | Ornament-style cookies, shipping, gingerbread-house-style detail |
| ¼ inch (6 mm) | Crisp edge, soft center | 9 to 12 minutes | Most decorating. Sturdy enough to handle, soft enough to bite. |
| ⅜ inch (1 cm) | Thick and soft | 12 to 14 minutes | Big simple shapes, buttercream, kids’ cookies |
Small cutters (1 to 2 inches) need 2 to 3 minutes less. Large cutters (4 to 5 inches) need a couple more.
What “done” looks like
Pull them when the very edges are just starting to turn golden and the tops have gone from shiny to matte. The centers will still feel soft if you touch them. That’s right: they firm up as they cool. If you wait until the whole cookie is golden, it’ll be crunchy and slightly bitter at the edges, and it’ll be a darker base under pale icing.
Baking-sheet tips that make a real difference
- One sheet at a time, middle rack. Two sheets at once usually means one browns faster underneath.
- Cool sheets only. Putting raw dough on a hot sheet from the last batch melts the butter early, which is spreading again. Rotate between two sheets, or run the hot one under cold water and dry it.
- Light-colored metal is the gentlest. Dark sheets brown the bottoms faster. If yours is dark, check 2 minutes early.
- Parchment, not grease. A greased sheet lets cookies slide outward as they bake. Parchment keeps them put.
From the Eat Cafe kitchen
One good recipe a week, straight to your inbox
The recipe we're actually cooking this week, plus the one tip that saves it when it goes sideways. No spam. Unsubscribe anytime.
Getting a flat, smooth top for icing
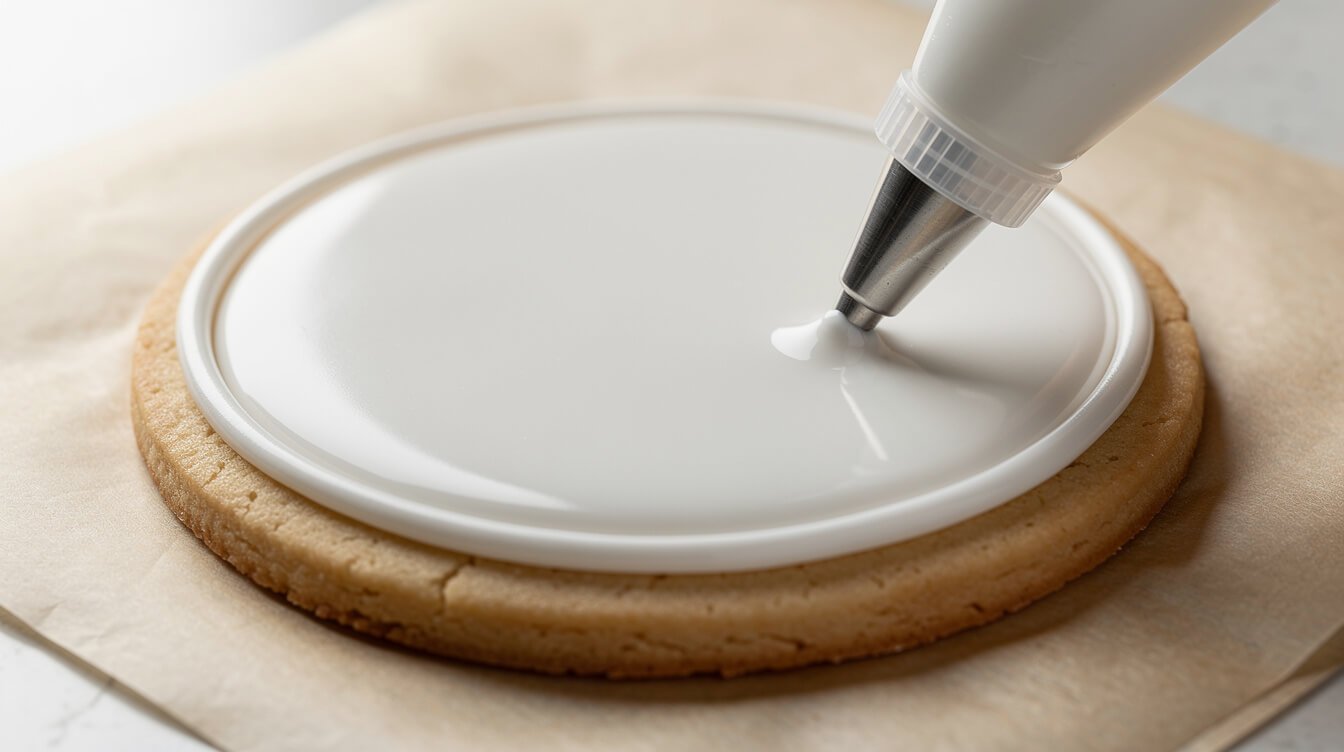
Flat tops make decorating so much easier. Icing floods evenly, sprinkles stay where you put them, and nobody can tell which cookie was the test one. Most of the work is already done if you followed the recipe: no baking powder and gentle creaming mean there isn’t much air to puff the top. A few more habits help:
- Don’t flour the top of the dough. With the parchment method you don’t need to, and a floury surface bakes up dusty and slightly cracked.
- Press bubbles flat right out of the oven. If a cookie puffs in one spot, press it gently with the back of a spoon or a clean flat-bottomed glass while it’s still hot. You can also tidy up a soft edge with the same cutter while the cookie is warm, then lift away the extra.
- Ice the smoother side. If the bottom of a cookie came out flatter than the top, flip it and ice that side. There’s no rule about which side is the top.
- Wait until they’re truly cool. Even a slightly warm cookie will make royal icing go blotchy and buttercream go slick.
Decorating day goes better if you set things up first: icing in bags, sprinkles in small bowls, and cookies on a sheet you can slide out of the way. And if you’d like something to wear for it, our Eat Cafe Support Our Charities Donor Membership T-Shirt is soft black cotton, and every one sold helps support the kitchen.

A tee for cookie-decorating day
The Eat Cafe Support Our Charities tee is a soft black cotton shirt with a small logo over the heart and a big one on the back. Wear it while the cookies cool, and help support the kitchen while you’re at it.
Royal icing, glaze, or buttercream: which topping to pick
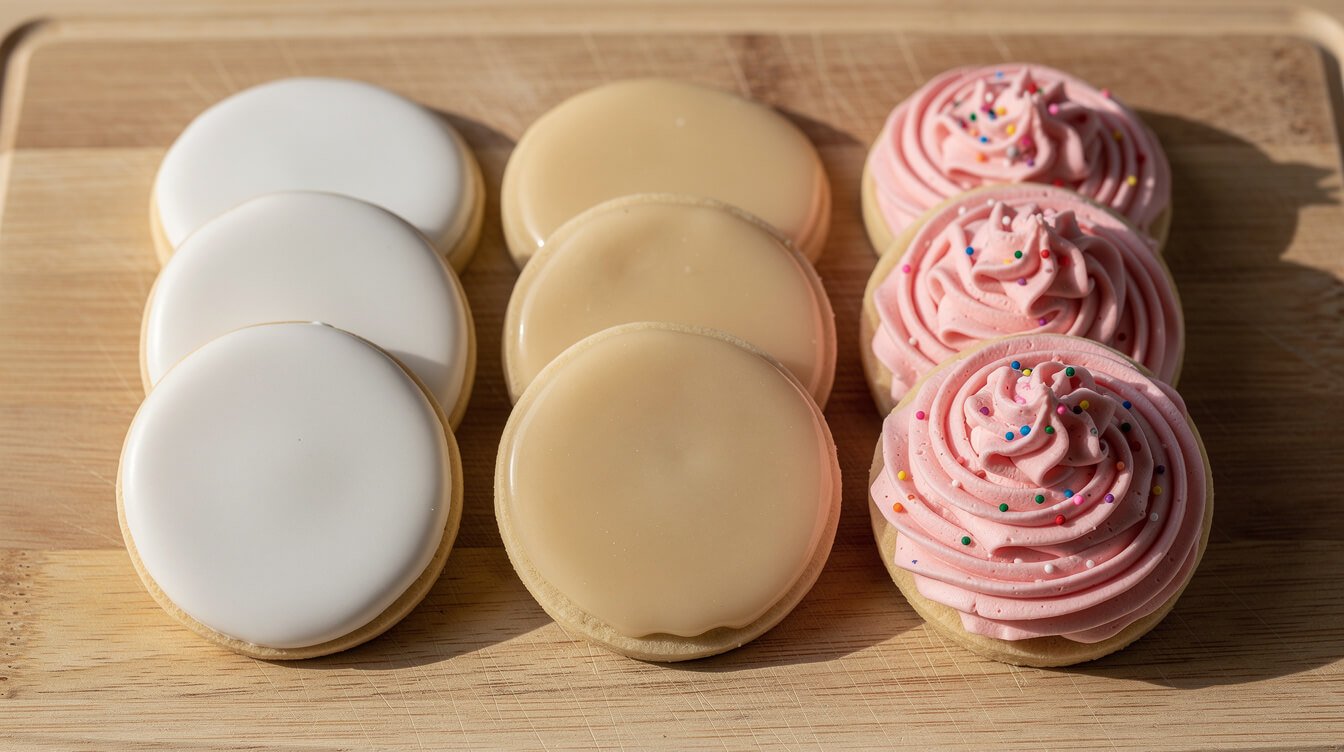
All three work on this cookie. The right one depends on how detailed you want to get and whether the cookies need to stack, travel, or be wrapped as gifts.
Royal icing: sharp detail, dries hard
This is the classic decorated-cookie look: smooth, shiny, and hard enough to stack once it’s dry. You make two consistencies. A thicker outline icing (about like toothpaste) for borders and details, and a thinner flood icing (about like honey) to fill inside the lines. Royal icing takes some practice, but it’s the one to use for gift boxes and cookie swaps.
Make it with meringue powder or pasteurized egg whites, not raw egg whites, since the icing never gets cooked. Our recipe for meringue powder royal icing covers the exact consistencies, plus how to fix icing that bleeds, craters, or won’t dry.
Simple glaze: quick and shiny
Whisk 2 cups (240 g) powdered sugar with 3 to 4 tablespoons of milk, 1 tablespoon light corn syrup, and ½ teaspoon vanilla until it falls off the whisk in a thick ribbon. Dip the cookie tops or spread it with the back of a spoon. It sets with a soft shine in a few hours and is much more forgiving than royal icing. It’s great for kids, or for anyone who wants pretty cookies without piping bags. It won’t hold fine detail, and it stays a little softer, so stack these carefully.
Buttercream: soft and rich
Buttercream tastes like birthday cake and spreads easily, which makes it the most fun for little decorators. Swirl it on with a knife and add sprinkles. It doesn’t set hard, so these cookies are for eating soon, not stacking or shipping. If you’re going this route, rolling the dough a bit thicker (⅜ inch) gives you a softer, cakier cookie that suits it.
No icing at all
For the easiest version, brush the cut shapes with a little milk and shower them with coarse sugar or sprinkles before baking. They come out sparkly with zero piping. This is also the version to make when you have 30 minutes, not an afternoon.
A make-ahead plan, plus storing and freezing
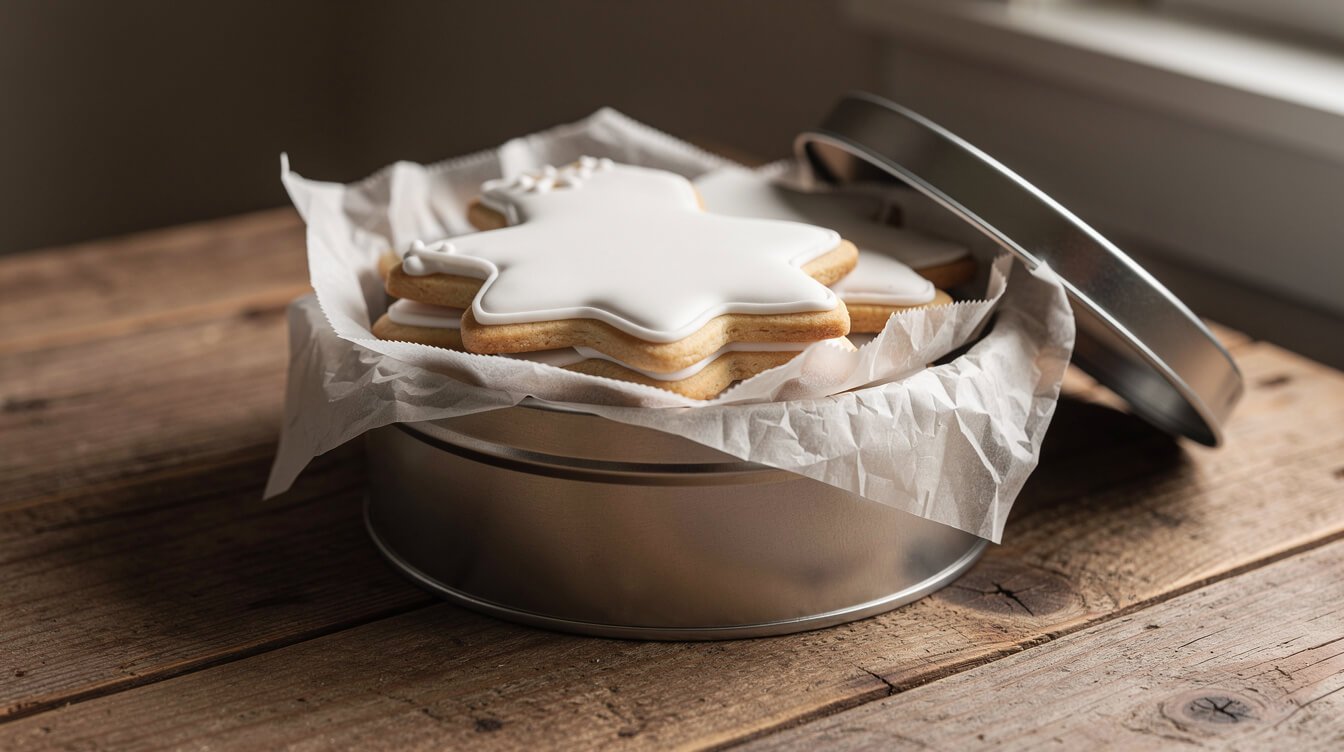
Doing it all in one day is a lot: mixing, chilling, rolling, baking, cooling, making icing, decorating, and drying. Spread it out and it’s relaxed. Here’s a schedule that works:
- Day 1 (15 minutes): Make the dough, roll it between parchment, and refrigerate the slabs.
- Day 2 (1 hour): Cut and bake. Once they’re completely cool, store the plain cookies airtight.
- Day 3 (as long as you like): Make the icing and decorate. Leave royal-iced cookies out uncovered to dry overnight.
- Day 4: Pack them up.
How long everything keeps
- Dough, rolled and wrapped: up to 3 days in the fridge, or up to 3 months in the freezer. Thaw frozen slabs in the fridge until they’re cold but bendy, then cut.
- Baked, undecorated cookies: about a week at room temperature in an airtight container, or up to 3 months frozen. Thaw them in the container so condensation forms on the outside, not on the cookies.
- Royal-iced cookies: let the icing dry until it’s hard all the way through (usually 8 hours to overnight, depending on how thick it is and how humid your kitchen is). Then store airtight in single layers with parchment between them, at room temperature, for about a week.
- Glazed cookies: once the glaze has set, store them like royal-iced cookies, but give them parchment between every layer.
- Buttercream cookies: these are the most delicate. Keep them in a single layer, eat them within a day or two, and put them in the fridge if your kitchen is warm.
If you’re baking a whole holiday spread, these keep good company with our soft gingerbread molasses cookies, snickerdoodles, and a pan of sweetened condensed milk fudge. All of them can be made ahead on the same schedule.
Sugar cookie recipe for decorating: FAQ
Why did my sugar cookies spread even though I chilled them?
Chilling helps, but it can’t make up for baking powder in the dough or butter that was too warm when you mixed it. Check those two first. A hot baking sheet from the previous batch is the other common cause.
Do I need a stand mixer for this?
No. A hand mixer works fine, and you can even mix it by hand with a sturdy spatula if your butter is soft enough. If you’re thinking about buying one anyway, our guide to the best stand mixer for home cooks covers how much mixer you actually need.
Can I use salted butter?
Yes. Cut the added salt to ¼ teaspoon. The cookies will taste a touch saltier depending on the brand, which most people like. Our salted vs unsalted butter guide explains when the swap matters more.
My dough is too crumbly to roll. What happened?
Usually a bit too much flour, or the butter was on the cold side. Knead it with your hands for a minute; the warmth often brings it together. If it still cracks, work in 1 teaspoon of milk at a time.
My dough is too sticky. Should I add flour?
Try chilling it first. This dough is meant to be soft when you roll it, and the parchment handles the stickiness. If it’s truly wet and won’t hold a shape even between parchment, add 1 tablespoon of flour at a time.
Can I make these without an egg?
You can replace the egg with 3 tablespoons of milk. The cookies will be a little more tender and crumbly, and slightly more fragile to decorate, but they should still hold their shape.
How far ahead can I make decorated cookies for a party?
Royal-iced cookies can be decorated up to about a week ahead if they’re fully dried and stored airtight. For buttercream, decorate the day before or the day of.
Can I add other flavors?
Yes. Swap the almond extract for ½ teaspoon lemon extract plus a tablespoon of lemon zest, or add 1 teaspoon of cinnamon to the flour. Avoid adding liquid flavorings by the tablespoon, since extra liquid makes the dough softer and more likely to spread.
The short version
For a sugar cookie recipe for decorating that keeps its shape: skip the baking powder, use butter that’s cool and bendy rather than warm, cream it for only a minute or two, and measure the flour carefully. Roll the soft dough between parchment to ¼ inch, then chill the flat sheets for an hour. Cut, chill the shapes for 10 minutes if your kitchen is warm, and bake at 350°F for 9 to 12 minutes until the edges are barely golden. Let them cool completely before you decorate.
Then pick your topping by the job: royal icing for detail and stacking, glaze for quick and pretty, buttercream for eating soon. Spread the work over a few days and decorating becomes the fun part instead of the marathon. New to baking in general? Our baking basics for beginners is a good next read.

Before you go
Want the next one?
We post a new recipe or kitchen guide every day. The best of the week lands in one short email, no life story attached.