Meringue powder royal icing (and how to fix icing that bleeds, craters, or won’t dry)
Meringue powder royal icing is the easiest way to get cookie icing that pipes clean lines, floods smooth, and dries hard enough to stack. It takes three ingredients: powdered sugar, meringue powder, and water. When it goes wrong (colors bleeding into each other, little craters, icing that’s still tacky the next morning), the cause is almost never the recipe. It’s grease in the bowl, the wrong thickness, or slow drying.
So here’s the recipe first. Then the one prep step most recipes skip, a simple way to get the thickness right without guessing, and a fix-it table organized by what you’re actually seeing on your cookies.
Meringue powder royal icing recipe
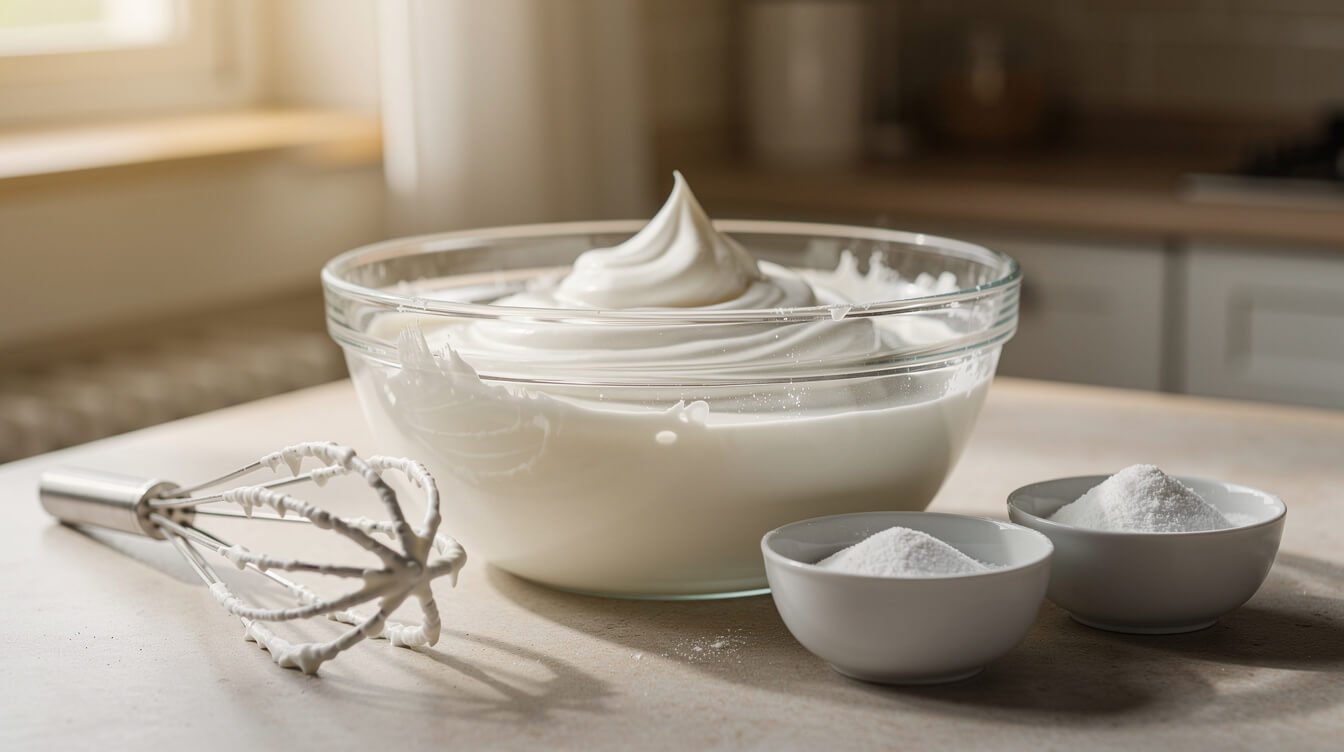
This is a standard one-pound batch, and it lines up with the ratio Wilton (one of the big meringue powder makers) uses in its own royal icing recipe. It makes about 3 cups of stiff icing. You’ll thin portions of it down for outlining and flooding.
Ingredients
- 4 cups (1 lb / 454 g) powdered sugar, sifted if it’s lumpy
- 3 tablespoons meringue powder
- 5 to 6 tablespoons warm water, plus more for thinning
- ½ teaspoon clear vanilla or another extract (optional; clear vanilla keeps white icing white)
Steps
- Degrease your tools. Wipe the bowl, beater, and spatula with a paper towel dampened with white vinegar or lemon juice, then let them air-dry. (Why this matters is the next section.)
- Mix the dry ingredients. Whisk the powdered sugar and meringue powder together in the bowl so the meringue powder is evenly spread out.
- Add the water. Pour in 5 tablespoons of warm water and the extract. Mix on the lowest speed until there’s no dry sugar left. It will look thin and soupy at first. That’s normal.
- Beat until stiff. With a stand mixer and the paddle attachment, beat on low to medium-low for 7 to 10 minutes. With a hand mixer, it takes longer, about 10 to 12 minutes on high, per Wilton. It’s ready when it’s thick, bright white, and matte rather than shiny, and a peak stands straight up when you lift the beater. If it’s so stiff the mixer is straining, add the sixth tablespoon of water.
- Cover it right away. Royal icing starts to crust within minutes in open air. Press plastic wrap directly onto the surface, or lay a damp (not dripping) towel over the bowl.
That’s the base. Everything you pipe or flood comes from this stiff batch thinned with a little water, so don’t panic that it looks too thick to use. It’s supposed to.
Why the paddle, on low
A whisk attachment on high speed whips a lot of air into the icing. Air turns into bubbles, and bubbles turn into pinholes and craters in your flooded cookies. The paddle on a lower speed gets the icing just as stiff with far fewer bubbles. If a hand mixer is all you have, it works fine. Just let the finished icing rest for a few minutes and stir it gently with a spatula before you thin it.
What meringue powder actually is
Meringue powder is mostly dried, pasteurized egg white with some sugar and a stabilizer. It gives you everything egg whites do for royal icing (the stiff peaks, the hard set) without separating eggs or worrying about raw whites. It also keeps in the pantry. You’ll find it near the cake-decorating supplies at craft stores and most big grocery stores. One heads-up: it contains egg, so meringue powder royal icing isn’t egg-free.
Before you start: why a grease-free bowl matters
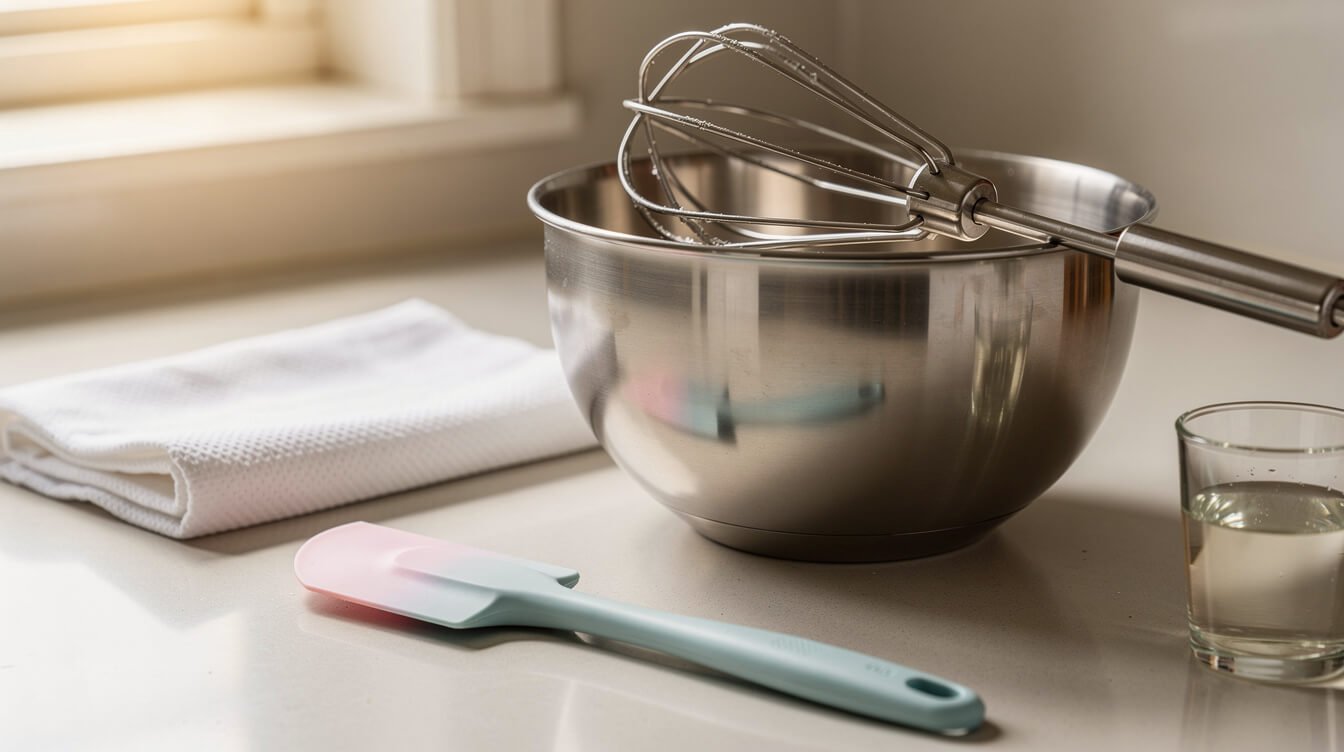
This is the fix for “my icing never got stiff” and a big part of “my icing never dried.” Fat keeps egg-white proteins from building the structure that makes royal icing thick and hard. Even a thin film of butter left on a bowl from your cookie dough can be enough. Wilton’s own recipe tells you to keep every utensil and bowl completely grease-free so the icing reaches the right consistency and sets properly.
Here’s how to keep fat out:
- Wipe everything with vinegar or lemon juice. The bowl, beater, spatula, and any spoons. A paper towel with a splash of white vinegar takes off the film that soap sometimes leaves behind. Let it dry before you start.
- Don’t use the cookie-dough bowl without washing it first. If you just creamed butter in it, wash it in hot soapy water, rinse well, then do the vinegar wipe.
- Pick glass or metal over old plastic. Plastic bowls can hold on to a greasy film even after washing. Glass and stainless steel come clean.
- Watch your flavorings. Stick with regular extracts. Oil-based candy flavorings can add exactly the fat you’re trying to avoid.
- Keep your hands and tools clean while decorating too. Piping bags handled with buttery fingers and tips that touched cookie dough can transfer grease into small batches of colored icing.
It sounds fussy. It takes about thirty seconds, and it’s the cheapest insurance in cookie decorating. If you’re new to baking in general, our baking basics for beginners covers the other small habits (measuring, room-temperature ingredients) that make recipes like this behave.
The consistency test: stiff, piping, and flood icing
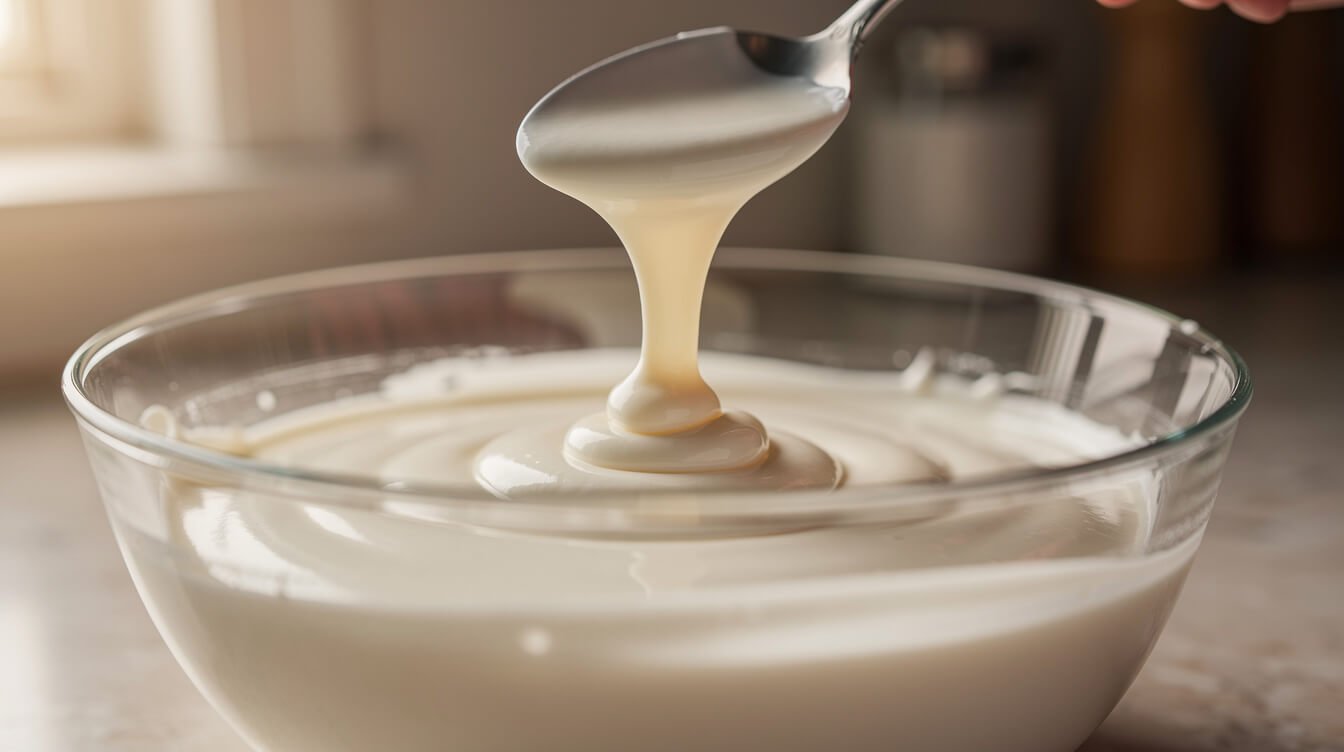
Getting the thickness right fixes more royal icing problems than anything else. Too thin and it runs off the cookie, bleeds, and craters. Too thick and it won’t smooth out, so you get ridges and lumps. The good news is you don’t have to eyeball it. You can count it.
The count: how decorators measure thickness
Spoon some icing into a small bowl and drag a butter knife through the surface, or drizzle a ribbon of icing back into the bowl. Then count how many seconds it takes for the line to disappear and the surface to go smooth again. That number is the consistency. When decorators talk about “15-second icing,” this is what they mean.
| Consistency | The count | What it’s for |
|---|---|---|
| Stiff | Doesn’t settle at all; peaks stand up | Piped flowers, gingerbread house seams, “glue” for decorations |
| Piping (outline) | About 20 to 25 seconds | Borders around a flood, lettering, fine details |
| All-in-one (“15-second”) | About 12 to 15 seconds | Outlining and filling with one bag; best place for beginners to start |
| Flood | About 8 to 10 seconds | Filling a large area inside a piped border |
Decorators argue over the exact numbers, and different recipes give different counts. Your kitchen’s temperature and humidity shift things too. Treat the ranges as a starting point, not a rule. If your 15-second icing is running off the edges, go a little thicker. If it’s leaving ridges, go a little thinner.
How to thin it (and thicken it back)
- To thin: add water a quarter teaspoon at a time, stir gently, and re-test. A small spray bottle is even easier. Royal icing goes from perfect to soup with surprisingly little water, so go slowly.
- To thicken: stir in sifted powdered sugar a spoonful at a time.
- Stir, don’t whip. Fold the water in with a spatula. Beating thinned icing adds bubbles.
- Let it rest. Cover the thinned icing and let it sit for a few minutes, then stir gently to pop the bubbles that rise to the top before you bag it.
If you only want to make one consistency
Make the all-in-one 15-second icing and use it for everything: pipe the outline, then fill it in right away with the same bag. It won’t give you razor-sharp borders, but it’s forgiving, fast, and exactly what most home bakers need for a tray of holiday cookies. Our bakery-style cookie guide makes the same point about getting the basics right before chasing fancy results.
Coloring meringue powder royal icing without bleeding
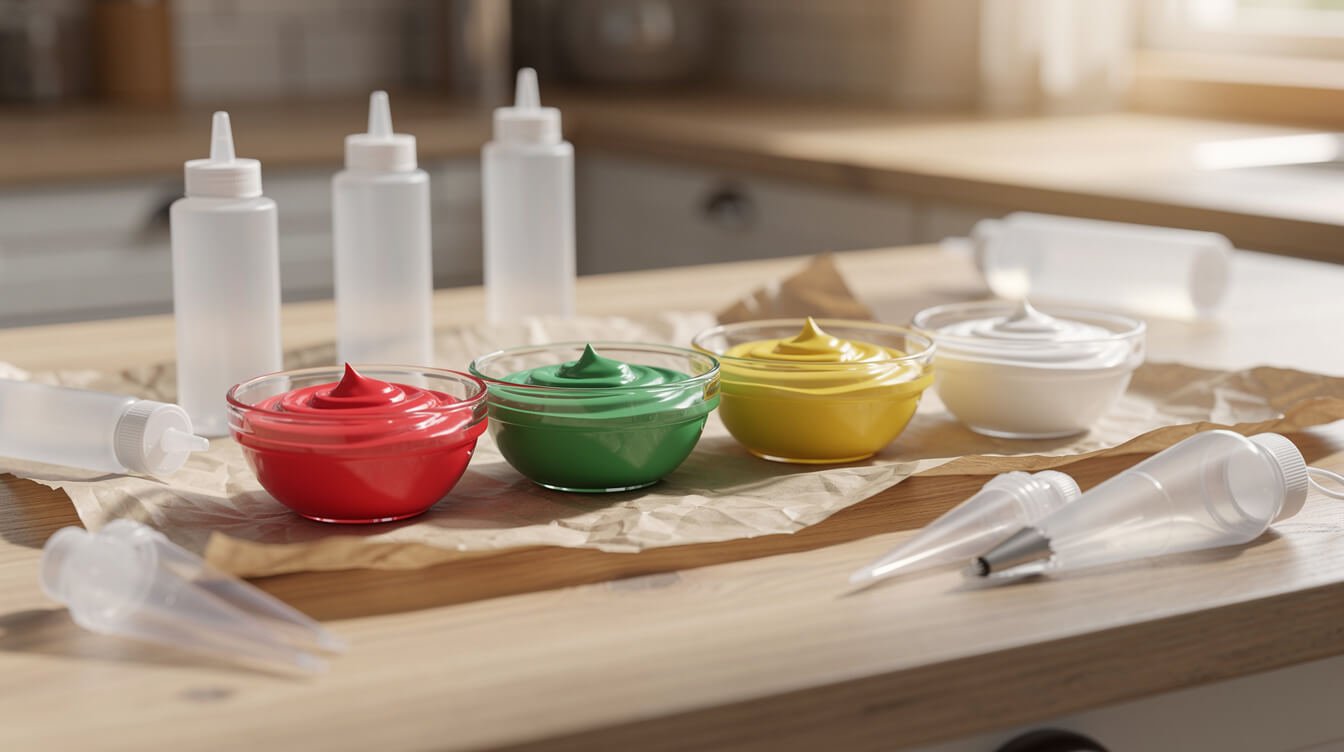
Color is where a lot of cookie disasters start. Red runs into white. Black dries patchy. A pretty pastel turns muddy overnight. Most of it comes down to what you color with and how long you wait between colors.
Use gel color, not liquid
The little bottles of liquid food coloring from the grocery store add water along with the color, so a deep shade can thin your icing past the point of holding. Gel food coloring is concentrated: a toothpick-dip goes a long way, and it barely changes the consistency. Add color to the stiff icing before you thin it to the consistency you need, so you’re only adjusting thickness once.
Colors darken as they sit
Deep shades like red, black, and navy keep developing after you mix them. A red that looks pink right after mixing can be much deeper a few hours later. When you need a strong color, mix it ahead, cover it tightly, and check it again before you add more gel. Going in with a heavy hand right away is how you end up with a bitter taste and icing that bleeds.
The bleed-proof routine
- Let one color crust before the next one touches it. If you’re piping dark details on top of a white flood, or flooding a red section next to a white one, wait until the first section has a dry skin (usually about an hour, longer when it’s humid). This is called working “wet-on-dry.”
- Don’t over-thin dark colors. Extra water is what carries color into the neighboring section. Keep reds and blacks at the thick end of the range.
- Dry it fast. Set flooded cookies in front of a small fan on low. Faster drying gives color less time to migrate.
- Ice cookies that are completely cool. Warm cookies make icing dry slowly and blotchy.
The gear you actually need
You don’t need a decorating kit with 40 tips. Disposable piping bags, a couple of small round tips (or just snip the bag), and a pin or toothpick for popping bubbles cover nearly everything. Squeeze bottles are handy for flood icing. If you’re still building out your baking drawer, our 100 Essential Tools guide covers what’s worth buying first and what you can skip.
From the Eat Cafe kitchen
One good recipe a week, straight to your inbox
The recipe we're actually cooking this week, plus the one tip that saves it when it goes sideways. No spam. Unsubscribe anytime.
Fix it by symptom: bleeding, craters, and icing that won’t dry
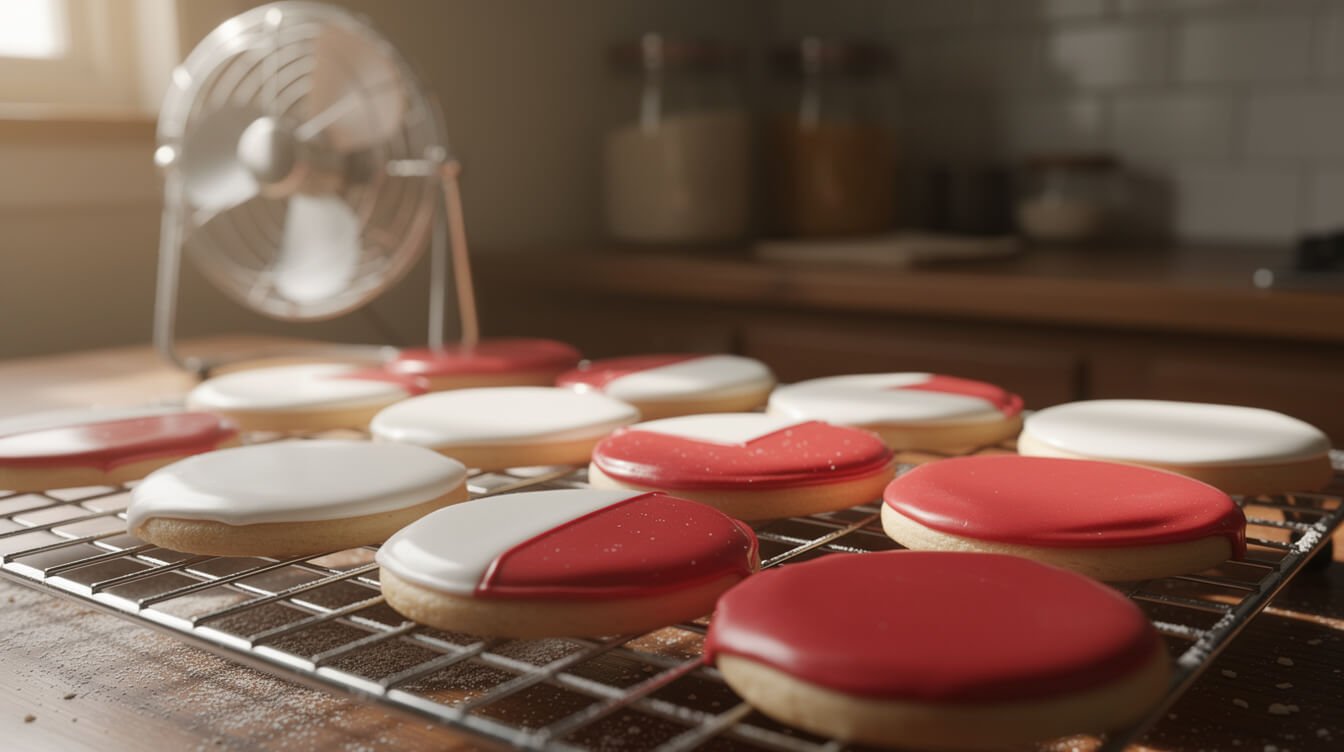
When something goes wrong, match what you see to the table below. Most problems trace back to three causes: too much water, slow drying, or grease.
| What you see | Most likely cause | The fix |
|---|---|---|
| Icing never got stiff (stays glossy and soft after 10+ minutes of beating) | Grease in the bowl or on the beater, or too much water | Start over in a vinegar-wiped bowl. If you’re sure there’s no grease, beat in sifted sugar a spoonful at a time. |
| Colors bleed into each other | Icing too thin, wet colors touching, slow drying | Thicker icing for dark colors, let each section crust before the next, dry under a fan |
| Craters (little sunken dips, usually in small flooded areas) | Flood too thin for a small space, slow drying, air bubbles underneath | Use thicker icing for tiny sections, fill them generously, and get them under a fan right away |
| Pinholes and bubbles on the surface | Too much air beaten in | Beat on low with the paddle, let thinned icing rest, then pop bubbles with a pin or toothpick while it’s wet |
| Won’t dry (still tacky the next morning) | Humidity, icing too thin, or grease | Run a fan or a dehumidifier in the room, and use thicker icing next batch |
| Dull or blotchy finish instead of a soft sheen | Slow drying | Put flooded cookies in front of a fan as soon as they’re iced |
| Dark, greasy-looking spots showing through the icing | Butter from the cookie seeping up into the icing | Ice fully cooled cookies, dry them quickly, and give them time to set before stacking |
| Lumps clogging the tip | Bits of crusted icing stirred back in | Keep icing covered, scrape down the bowl, and sift lumpy sugar before you start |
| Liquid layer on stored icing | Normal separation | Re-whip on low until smooth, then recheck the consistency |
| Too hard to bite | That’s how classic royal icing sets | Make the soft-bite version (next section) |
The humidity problem
If you live somewhere humid, or you’re decorating on a rainy day, royal icing simply dries slower. That slow drying causes most of the bleeding, cratering, and dull spots in the table above. A fan is the simplest fix. Point it across the cookies on low, not blasting straight down on them. Running the air conditioning or a dehumidifier in the room helps too. Don’t put iced cookies in the fridge to speed things up: the cold, damp air works against you, and condensation can leave spots when they come back out.
How long it really takes to dry
The surface usually crusts within an hour or two, which is enough to add a second color on top. Fully dry, so you can stack, bag, or box cookies, takes longer: plan on 8 hours to overnight, and longer for thick floods or humid weather. If you press gently on the thickest part and it feels soft underneath the shell, give it more time.

Piping bags, spatulas, and the rest of the short list
Our 100 Essential Tools eBook walks through the bowls, mixers, spatulas, and baking gear that actually earn their spot in a home kitchen, so you buy the useful stuff first. PDF or Kindle.
Soft-bite vs. hard-set: cookies vs. gingerbread houses

The most common complaint about royal icing from the people actually eating the cookies is that it’s rock-hard. That’s what it’s designed to do. For a gingerbread house, that hard set is exactly what you want. For a tray of cookies you’re handing to kids, you can soften it.
For eating: the soft-bite version
Add a little light corn syrup with the water when you make your meringue powder royal icing. Corn syrup keeps the dried icing from going fully glass-hard, so it sets firm on the surface (you can still stack the cookies once they’re dry) but bites softer. Start with about 1 tablespoon of light corn syrup per one-pound batch, and go up to 1½ tablespoons if you want it softer still.
What changes when you add it:
- It takes a bit longer to dry, so give the cookies a full night before stacking.
- It has a little more sheen when dry.
- More isn’t better. Too much corn syrup and the icing can stay tacky and never fully set.
For building: the hard-set version
Use the plain recipe at stiff consistency, with no corn syrup. Pipe it thickly along the seams, hold or prop the walls for a few minutes until they stay put, and let the structure dry for several hours (overnight is better) before you add the roof or heavy candy. Soft-bite icing doesn’t belong here. A house built with it can slump or slide apart.
Flavor ideas that don’t mess with the set
Plain royal icing tastes sweet and not much else, which is why a flavoring helps. Clear vanilla, almond, and lemon extracts all work well. Use about ½ teaspoon per batch and adjust to taste. You can swap a tablespoon of the water for strained fresh lemon juice for a brighter, tangy icing, which is great on gingerbread. Keep anything oily or fatty (melted butter, oil-based flavorings, citrus oils) out of it, for the same reason you degreased the bowl.
Storing royal icing and decorated cookies
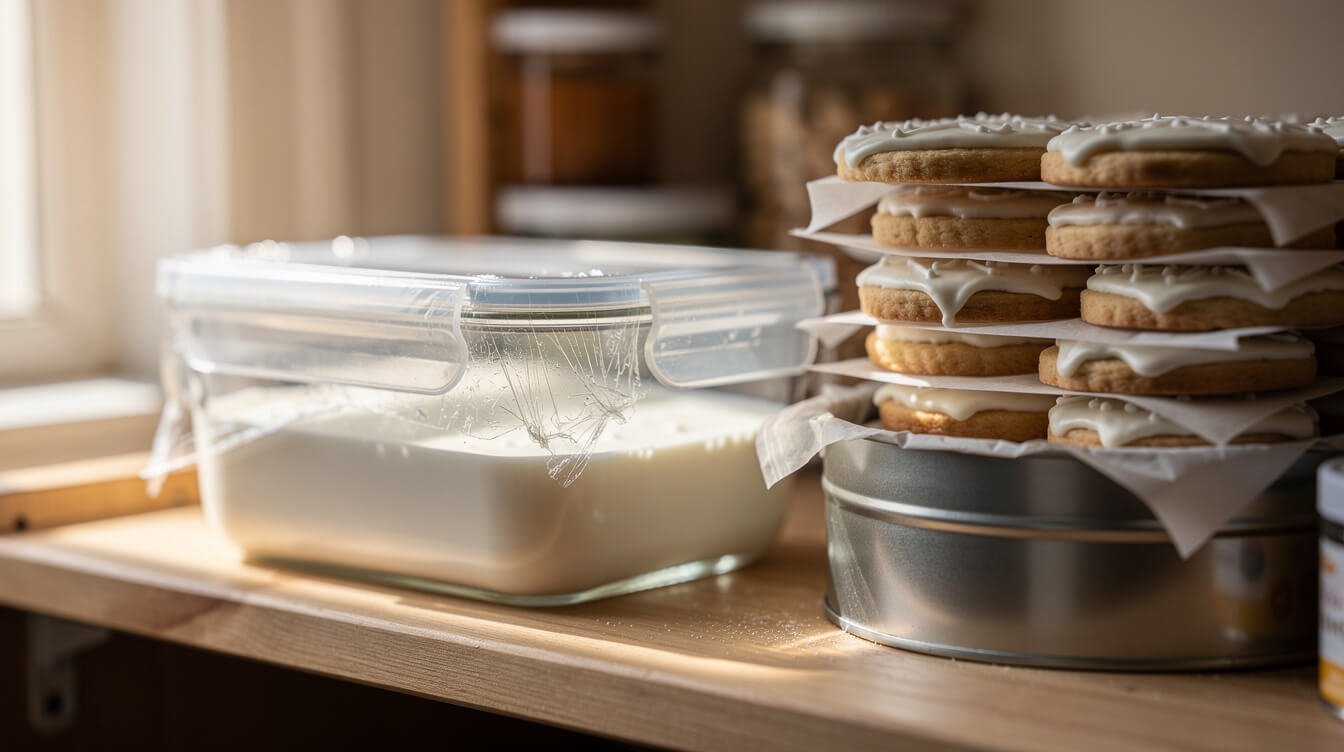
Leftover icing
You’ll see everything from “3 days in the fridge” to “4 weeks on the counter” online. We go with what the maker says. Wilton’s guidance for storing meringue powder royal icing is an airtight container at room temperature for up to two weeks, and it doesn’t call for refrigeration. To keep it from crusting:
- Press plastic wrap directly against the surface of the icing, then put the lid on.
- Expect it to separate a little as it sits. Before you use it, re-whip it on low speed until it’s smooth and back to the right consistency.
- Thinned icing in piping bags or squeeze bottles is best used within a day or two. It separates in the bag and is hard to mix back together.
This guidance is for meringue powder royal icing. If you made your icing with egg whites (see below), follow the storage directions on that recipe or carton instead.
Decorated cookies
- Let them dry completely first, overnight for most cookies. Stacking or bagging them early dents the icing.
- Store them airtight at room temperature in a single layer, or in layers with parchment paper between them.
- Skip the fridge. Condensation can make colors spot and bleed.
- To freeze them, pack the fully dried cookies in an airtight container with parchment between the layers. Let them thaw at room temperature without opening the container, so any condensation forms on the outside of the container rather than on your icing.
Sugar cookies taste best in their first week, so baking and decorating a few days ahead of a party or cookie swap works well.
What to use instead of meringue powder
No meringue powder in the house? Here are your honest options:
- Pasteurized egg whites. Use liquid egg whites from a carton that are labeled pasteurized, or whites from in-shell pasteurized eggs, and follow a recipe written for egg whites, since the ratio is different. Some carton whites whip less readily than fresh ones, so check the label for a note about whipping.
- Not raw eggs. Don’t make royal icing with raw, unpasteurized egg whites. Royal icing is never cooked, and raw eggs can carry Salmonella. Wilton’s recipe says the same: raw egg whites “can be a food safety issue.” It also notes that plain dried egg whites won’t give the same results as meringue powder.
- An egg-free glaze. Powdered sugar stirred with a little milk or water (a spoonful of corn syrup helps it set glossy) makes a simple cookie glaze. It firms up, but it never gets as hard or crisp as royal icing and won’t hold a gingerbread house together. Be upfront with yourself about that, and it’s a perfectly good option for egg-free cookies.
Frequently asked questions
Does royal icing work for gingerbread houses?
Yes, it’s the standard “glue” for gingerbread houses. Use it at stiff consistency, without corn syrup, and give the walls several hours to dry before adding the roof.
Can I make meringue powder royal icing ahead of time?
Yes. Store it airtight at room temperature with plastic wrap pressed onto the surface for up to two weeks (Wilton’s guidance), then re-whip it on low before using.
Can I make it with a hand mixer?
Yes. It just takes longer, about 10 to 12 minutes on high. Let it rest for a few minutes afterward and stir gently to release some of the extra air.
Why does my royal icing taste bland?
Because it’s basically sugar. Add ½ teaspoon of clear vanilla, almond, or lemon extract, or swap a tablespoon of the water for strained lemon juice.
How much icing do I need?
It depends on cookie size and how thickly you flood. A one-pound batch gives you about 3 cups of stiff icing, which goes further than it sounds once it’s thinned. For a big cookie-swap bake, make two batches rather than doubling one in a small mixer bowl.
Can I use this on a cake?
It works for piped decorations and details that you let dry and then place on a cake. For covering a whole cake, a softer frosting is a better choice. Royal icing sets too hard to slice nicely. Our guide to baking a cake that doesn’t sink or dry out gets the cake part right first.
Do I need a stand mixer?
No. A hand mixer does the job. A stand mixer is nicer for big batches because you’re not holding it for 10 minutes. If you’re deciding whether one is worth it, here’s our honest take on the best stand mixer for home cooks.
Meringue powder royal icing: the short version
Wipe your bowl and tools with vinegar. Beat 1 pound of powdered sugar, 3 tablespoons of meringue powder, and 5 to 6 tablespoons of warm water on low with the paddle until it’s stiff and matte. Keep it covered. Thin portions with water a little at a time, and count the seconds it takes to smooth out: about 20 for outlines, 15 for all-in-one, and 8 to 10 for flood. Use gel color, let each color crust before the next one touches it, and dry the cookies in front of a fan. Add a tablespoon of corn syrup if you want a softer bite, and leave it out for gingerbread houses.
Your first tray won’t look like a bakery’s. That’s fine. Nobody’s grading you, and the cookies will still be gone by the end of the day. Pair this icing with a good butter cookie (our salted vs. unsalted butter guide explains which one to bake with), and you’re set for cookie season.

Before you go
Want the next one?
We post a new recipe or kitchen guide every day. The best of the week lands in one short email, no life story attached.