4-Ingredient Banana Bread — Why It Works, and the Fix for a Gummy Center
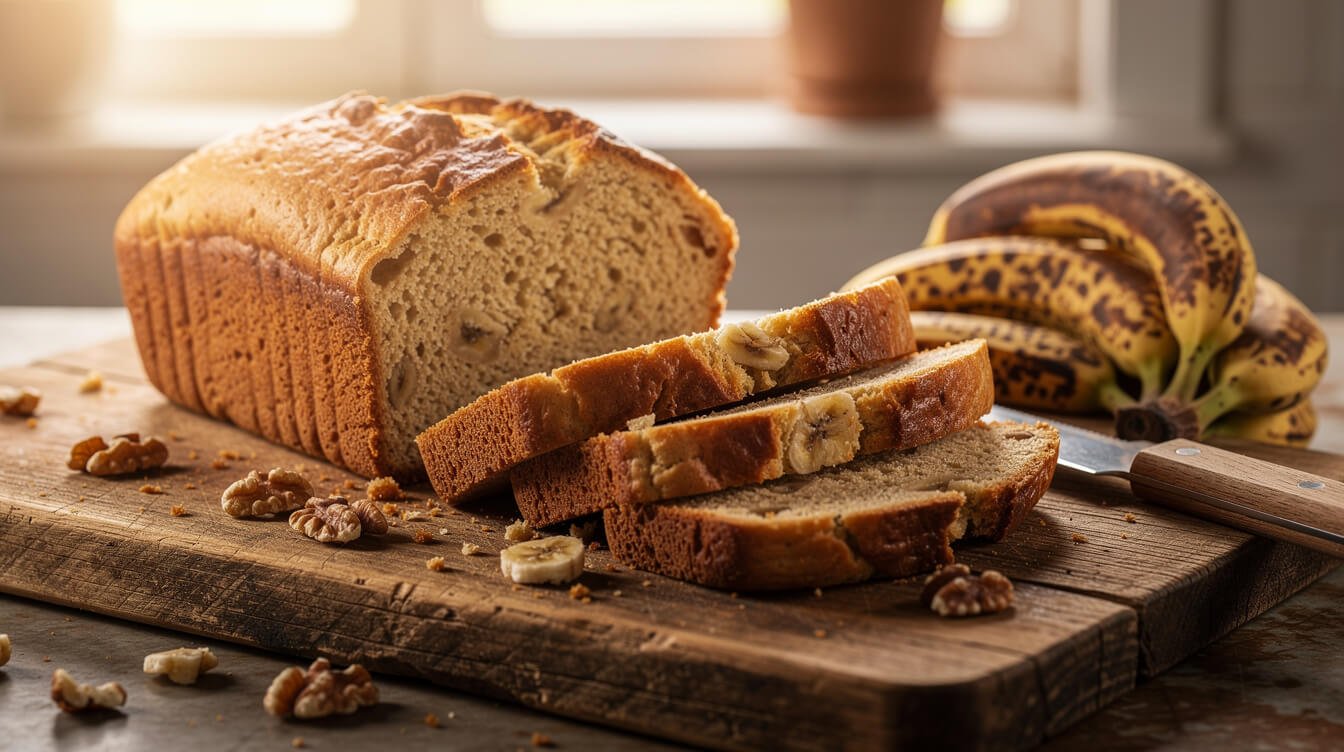
Four ingredients and a mixing bowl — no eggs to separate, no butter to cream, and somehow it comes out of the oven with a golden top and a soft, banana-forward crumb. This 4-ingredient banana bread works because of one ingredient most recipes never explain: self-rising flour. Get that part right, and the loaf takes care of itself. Here’s why it works, exactly how to make it, and the fix for the one thing that trips people up — a center that looks done but isn’t.
Why this banana bread only needs 4 ingredients
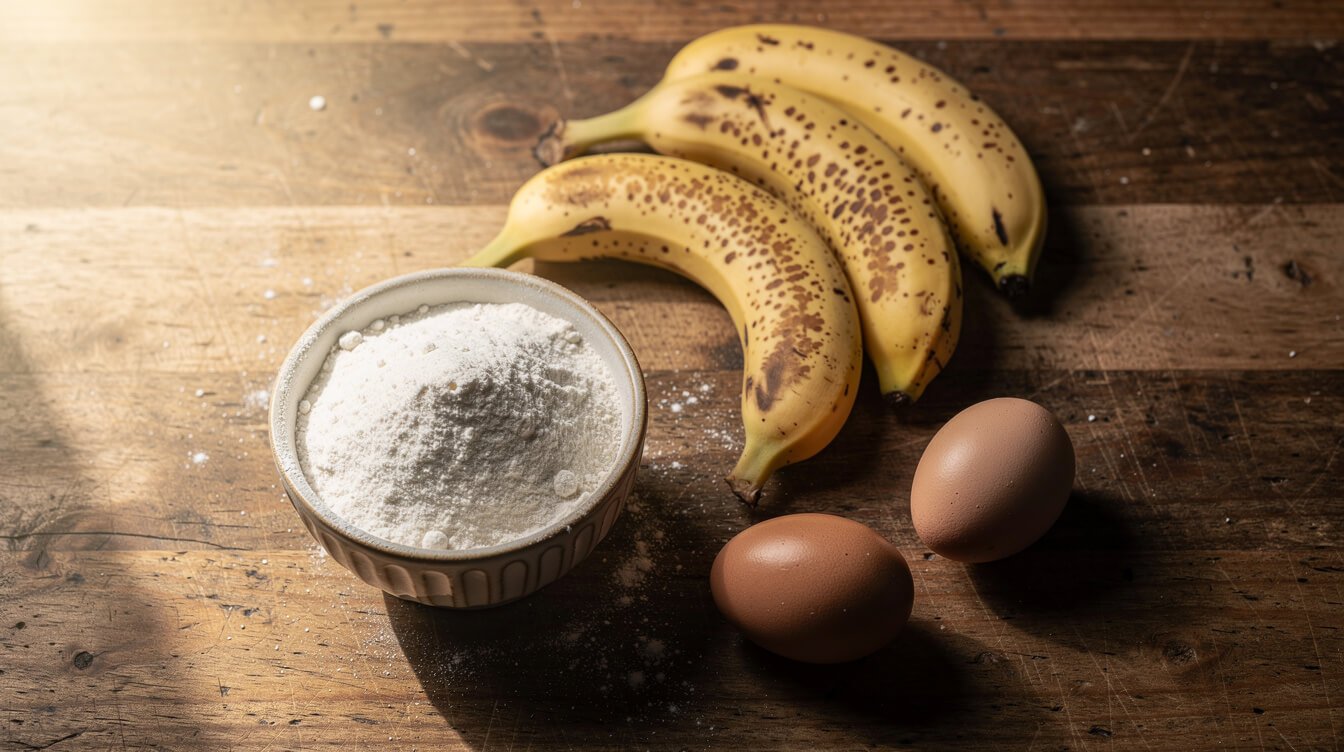
Every other banana bread recipe hands you a list of eight to twelve ingredients: flour, baking soda, baking powder, salt, butter, sugar, eggs, vanilla, sometimes buttermilk. This one skips half of that, and it’s not a shortcut — it’s a substitution.
The trick is self-rising flour. It’s regular flour that already has baking powder and salt mixed in at the ratio a quick bread like this one needs. So when the ingredient list says “self-rising flour,” it’s quietly doing the job of three ingredients at once. That’s the whole secret — nothing missing, nothing skipped, just consolidated into one bag.
The ripe bananas bring the moisture, the natural sugar, and most of the flavor. The eggs bind it all together and give the crumb structure. Four ingredients, four real jobs, no filler.
If it feels like it shouldn’t work, that’s only because most recipes make banana bread look more complicated than it actually is. And it’s worth knowing what happens if you skip the substitution instead of using the real thing: plain all-purpose flour on its own has no leavening at all, so a loaf made with it and nothing else comes out flat, dense, and barely risen — not lighter, just under-leavened. The self-rising flour isn’t an optional convenience here; it’s carrying weight the recipe genuinely needs.
The 4 ingredients in this banana bread (plus a substitution)
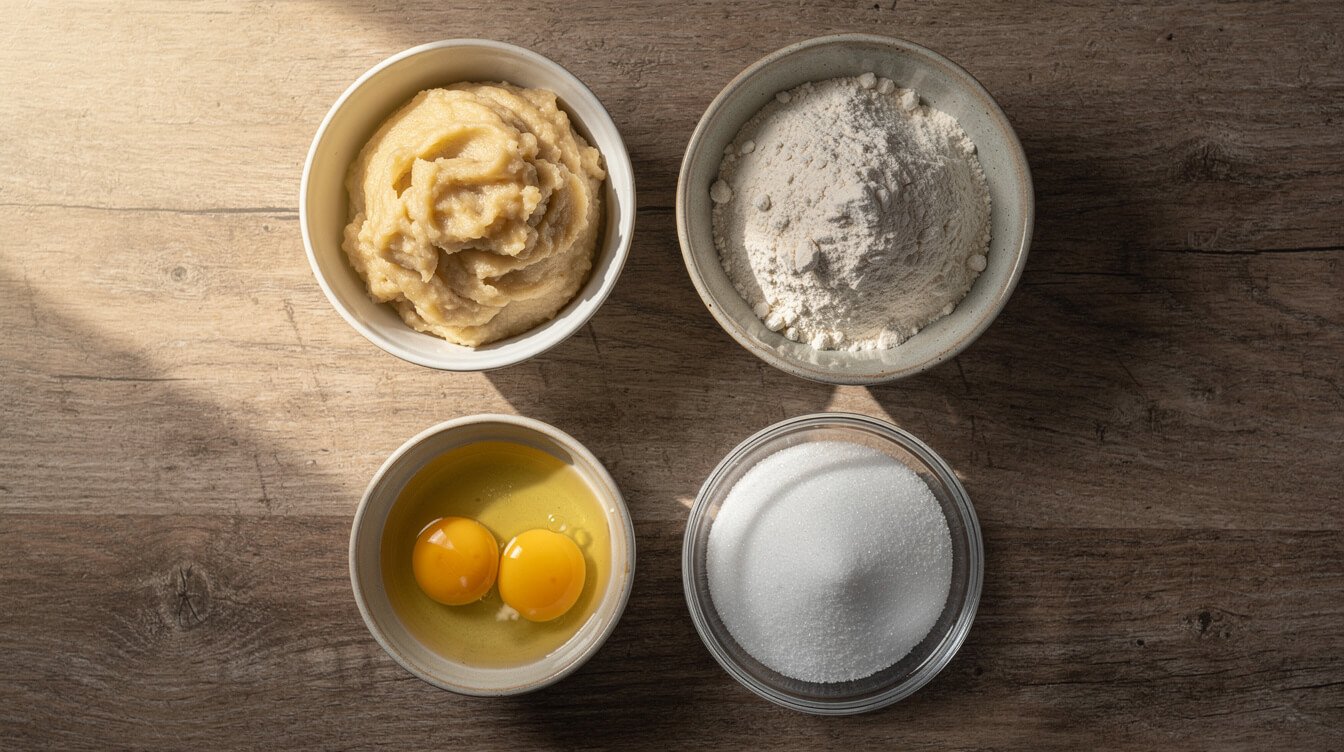
Here’s what actually goes into the bowl:
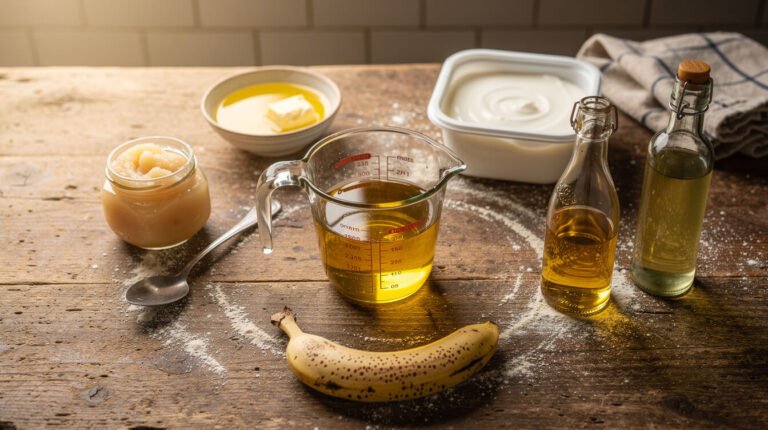
- 3 very ripe bananas, mashed (the more brown spots, the better)
- 2 cups self-rising flour
- 2 large eggs
- 1/2 cup sugar, white or light brown
That’s it. No butter, no oil, no vanilla required — though a splash of vanilla is a fine add-in if you have it on hand (more on add-ins below).
Don’t have self-rising flour? Make your own: for every cup of self-rising flour a recipe calls for, whisk together 1 cup all-purpose flour, 1 1/2 teaspoons baking powder, and 1/4 teaspoon salt. For this recipe’s 2 cups, that’s 2 cups all-purpose flour, 1 tablespoon baking powder, and 1/2 teaspoon salt. Whisk the dry ingredients together thoroughly before adding them to the wet ingredients, so the leavening is spread evenly — a pocket of baking powder in one bite and none in the next is how you end up with a loaf that rises unevenly.
A note on the sugar: white sugar gives a lighter crumb and a more neutral sweetness; light brown sugar adds a little more moisture and a faint caramel note. Either works here — it’s a matter of preference, not a make-or-break choice.
How to make 4-ingredient banana bread
- Preheat your oven to 350°F (175°C) and grease a 9×5-inch loaf pan.
- In a large bowl, mash the bananas until mostly smooth — a few small lumps are fine and add texture to the finished loaf.
- Whisk in the eggs and sugar until combined.
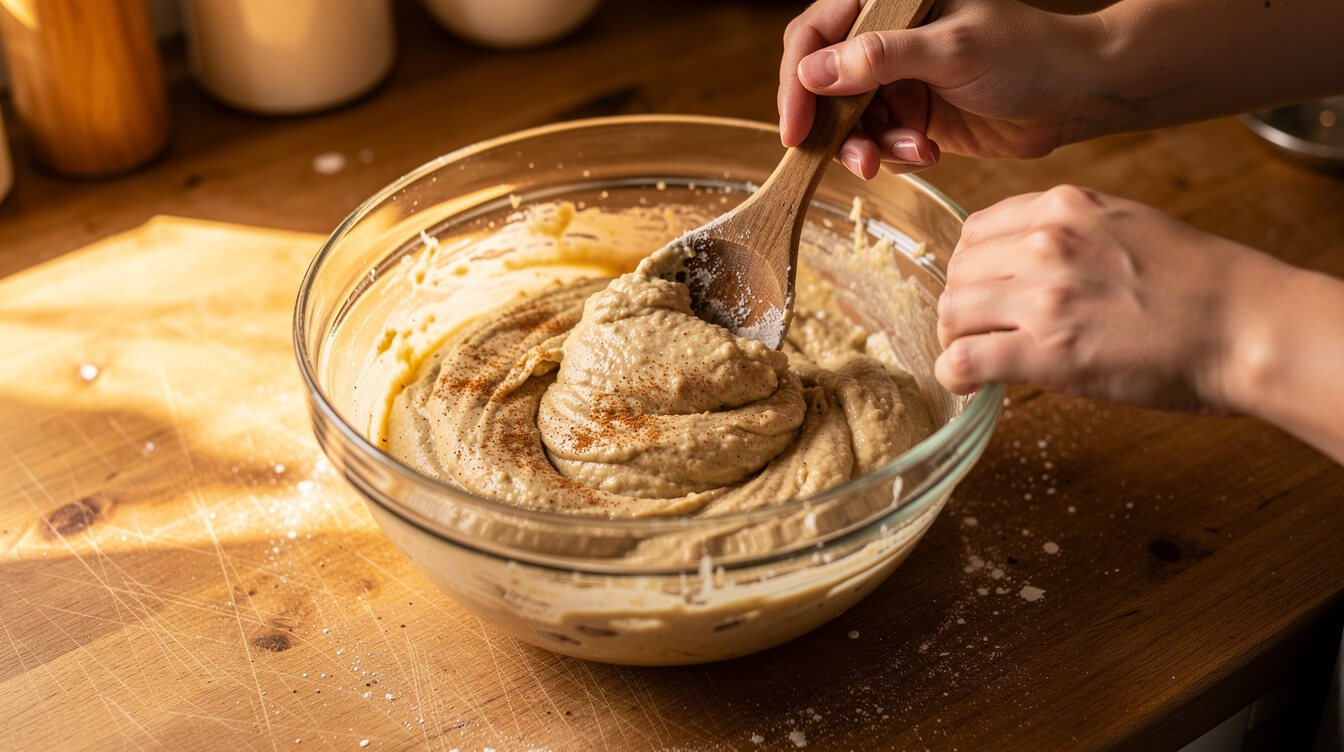
- Add the self-rising flour and stir just until no dry streaks remain. Overmixing is the fastest way to a tough, dense loaf — about 20 seconds of stirring is usually enough.
- Pour the batter into the prepared pan and bake for 50–60 minutes.
- Cool in the pan for 10 minutes, then turn the loaf out onto a wire rack to finish cooling before slicing.
That last step matters more than it looks like it should. Banana bread keeps cooking a little from residual heat after it comes out of the oven, and slicing it too early is one of the most common reasons a perfectly baked loaf ends up looking gummy in the middle when it isn’t.
Two small habits make the whole process easier: let your eggs sit out for 15–20 minutes before you start so they blend into the batter smoothly instead of seizing the mashed banana, and cut a strip of parchment paper to line the bottom and long sides of the pan before greasing it. The paper sling lifts the whole loaf out cleanly once it’s cooled, so you’re not coaxing a stuck loaf out of the pan with a butter knife.
Loaf pan size and material change your bake time
The 50–60 minute bake time above assumes a standard 9×5-inch metal loaf pan, and it’s a range for a reason — what you bake in shifts it more than most recipes admit.
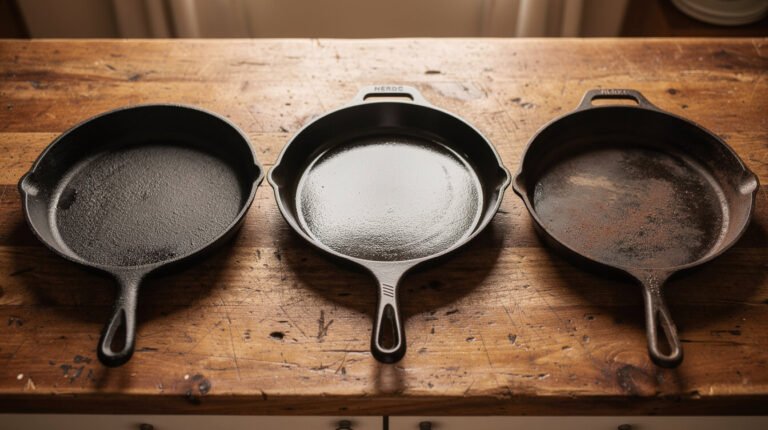
Glass and dark metal pans absorb and hold heat, which browns the crust faster and can make the outside look and feel done well before the center catches up. If you’re using either, start checking doneness at the 45-minute mark, and don’t be afraid to loosely tent the top with foil if it’s browning ahead of the inside.
Light-colored metal pans reflect heat instead of absorbing it, so they bake a little more evenly and slowly — closer to the full 60 minutes, sometimes a touch past it.
An 8×4-inch pan instead of a 9×5 gives you a taller, narrower loaf. The same batter needs roughly 10–15 minutes longer, since there’s more depth for the heat to reach the center. Whatever pan you use, the thermometer reading matters more than the clock — treat the bake time as a starting point, not a stopping point.
From the Eat Cafe kitchen
One good recipe a week, straight to your inbox
The recipe we're actually cooking this week, plus the one tip that saves it when it goes sideways. No spam. Unsubscribe anytime.
The real doneness test (why the toothpick can lie on banana bread)
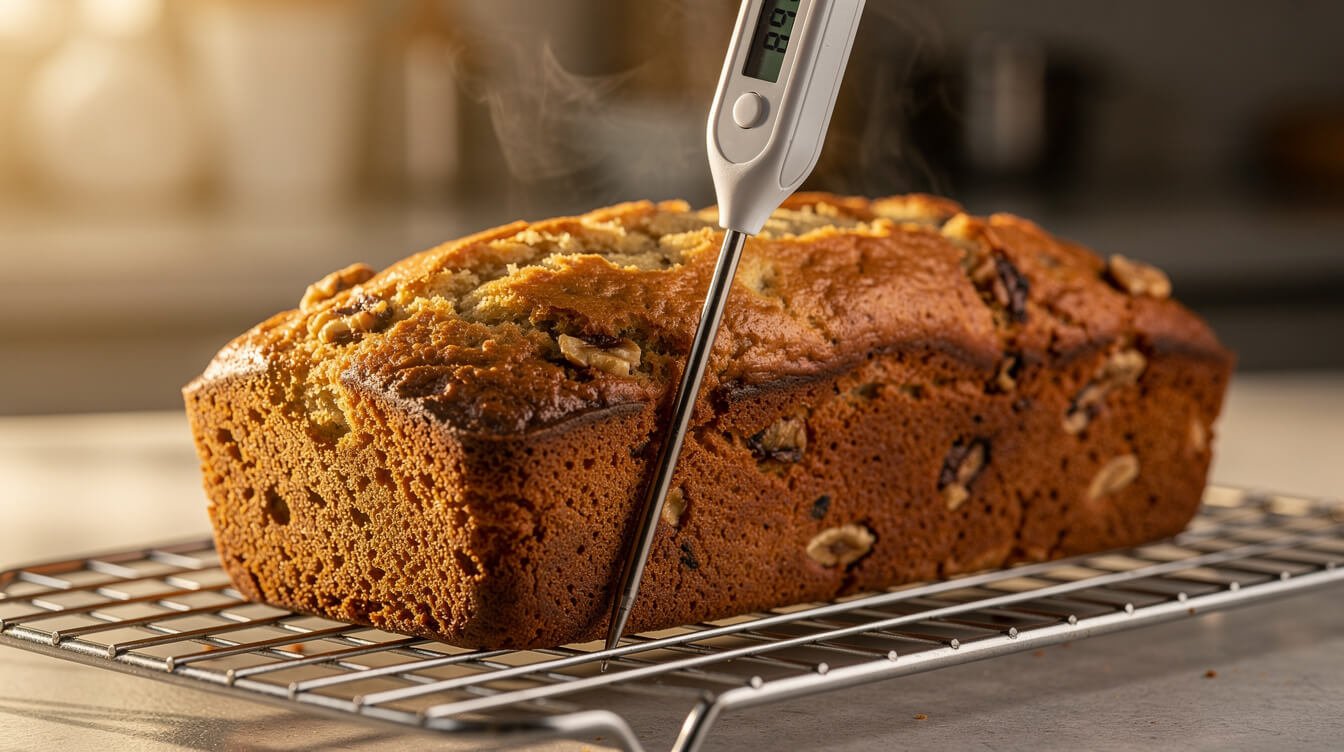
A toothpick coming out clean is the classic doneness test, and for most quick breads it works fine. Banana bread is the exception. Mashed banana adds so much extra moisture to the batter that a toothpick can hit a wet pocket near the center and come out looking underdone even when the loaf is fully baked — or it can come out “clean” from a spot near the edge while the true center is still wet.
The more reliable test: an instant-read thermometer inserted into the thickest part of the loaf should read 200–205°F. That’s the range where a quick bread’s structure has fully set. Below that, the center is still raw batter; right around there, you get a tender, fully baked crumb without gumminess.
If you don’t own a thermometer, use these two cues together instead of relying on the toothpick alone: the top should be deep golden brown and firm — not jiggly — when you press it lightly, and the loaf should have just started to pull away from the sides of the pan.
One more thing worth knowing: check the temperature in at least two spots, not just dead center. Ovens have hot spots, and a loaf pan positioned slightly off-center in the oven can bake unevenly enough that one end reads 205°F while the other is still closer to 190°F. If you get a low reading anywhere in the loaf, it needs more time, even if the first spot you checked looked perfect.
Fixing a dry loaf
If your banana bread comes out dry, it’s almost always one of two things.
Your bananas weren’t ripe enough. Under-ripe bananas have less moisture and less sugar, which shows up as a drier, less flavorful loaf. You want bananas that are more brown than yellow — spotty to nearly black on the peel. If yours aren’t there yet, the oven trick works: bake unpeeled bananas at 300°F for 15–20 minutes, until the skins are black, then let them cool before mashing. It’s not identical to a slow counter ripen, but it gets you the same soft, sweet interior fast.
Your eggs were small, or you measured the flour by scooping. Scooping the measuring cup directly into the flour bag packs in more flour than spooning it in and leveling off — sometimes 20% more. That extra flour with no extra moisture to balance it is a reliable way to end up dry. Spoon the flour into the cup, then level it off with the back of a knife.
A less common third cause: an oven running hotter than its dial says. Most home ovens drift by 15–25°F from what they’re set to, and a loaf baked too hot for too long dries out at the edges before the center catches up. An inexpensive oven thermometer left on the rack will tell you if yours runs hot, and it’s worth checking once — it explains a lot of “I followed the recipe exactly and it still came out dry” results.
Fixing a gummy or sunken center
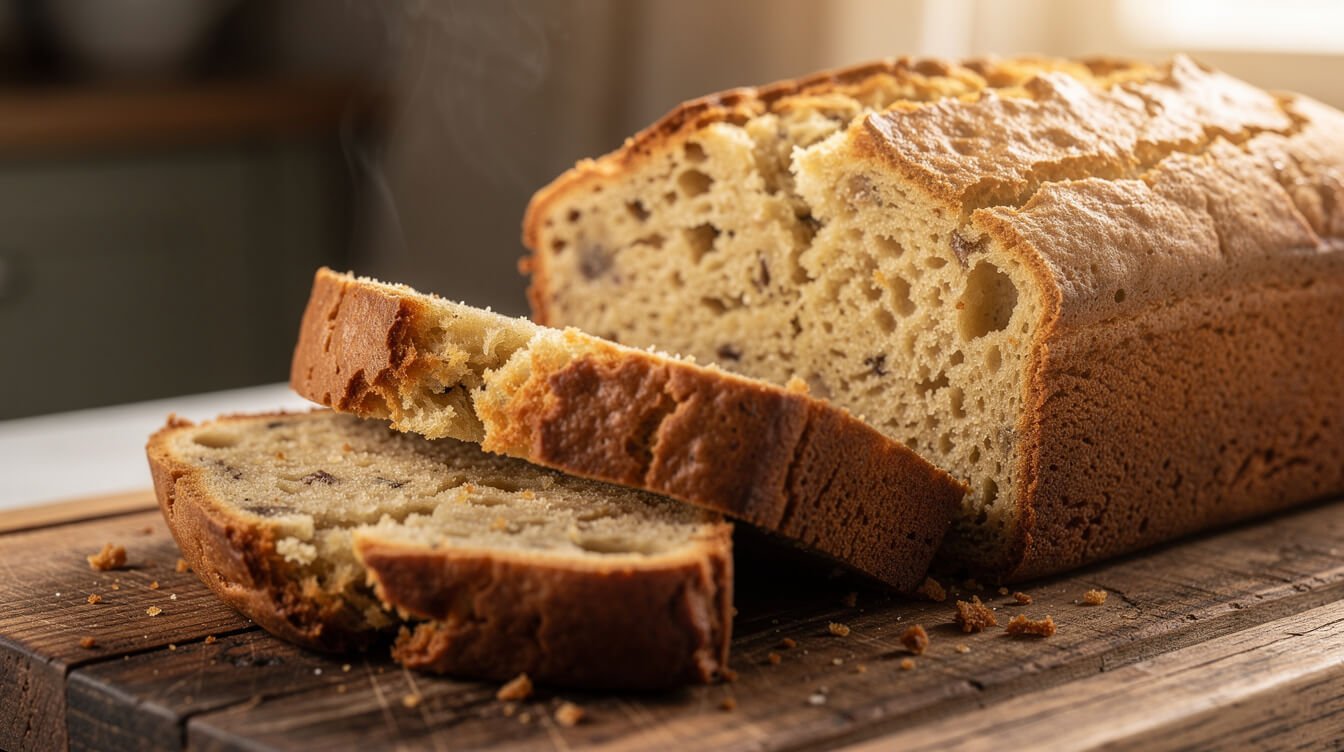
This is the failure the toothpick test tends to miss, and it’s usually one of three causes.
Underbaking. This is the most common cause by far. If the center is gummy, wet, or noticeably denser than the edges, it likely needed more time. Tent the top loosely with foil if it’s browning too fast, and keep baking in 5-minute increments until it reaches 200–205°F internally.
Slicing too soon. As mentioned above, a loaf cut within the first 30–40 minutes out of the oven can look underdone even when it’s fully baked, because the center hasn’t finished setting. Let it cool most of the way before you cut in.
Too much banana for the batter. If you love a very banana-forward loaf and used four or five bananas instead of three, that extra moisture can overwhelm what the flour and eggs can structurally support, leaving a dense, wet band through the middle. Stick to three medium-to-large bananas — about 1 1/2 cups mashed — for this ratio. If you want more banana flavor without the extra moisture, a few drops of banana extract does the job.
Add-ins and storage
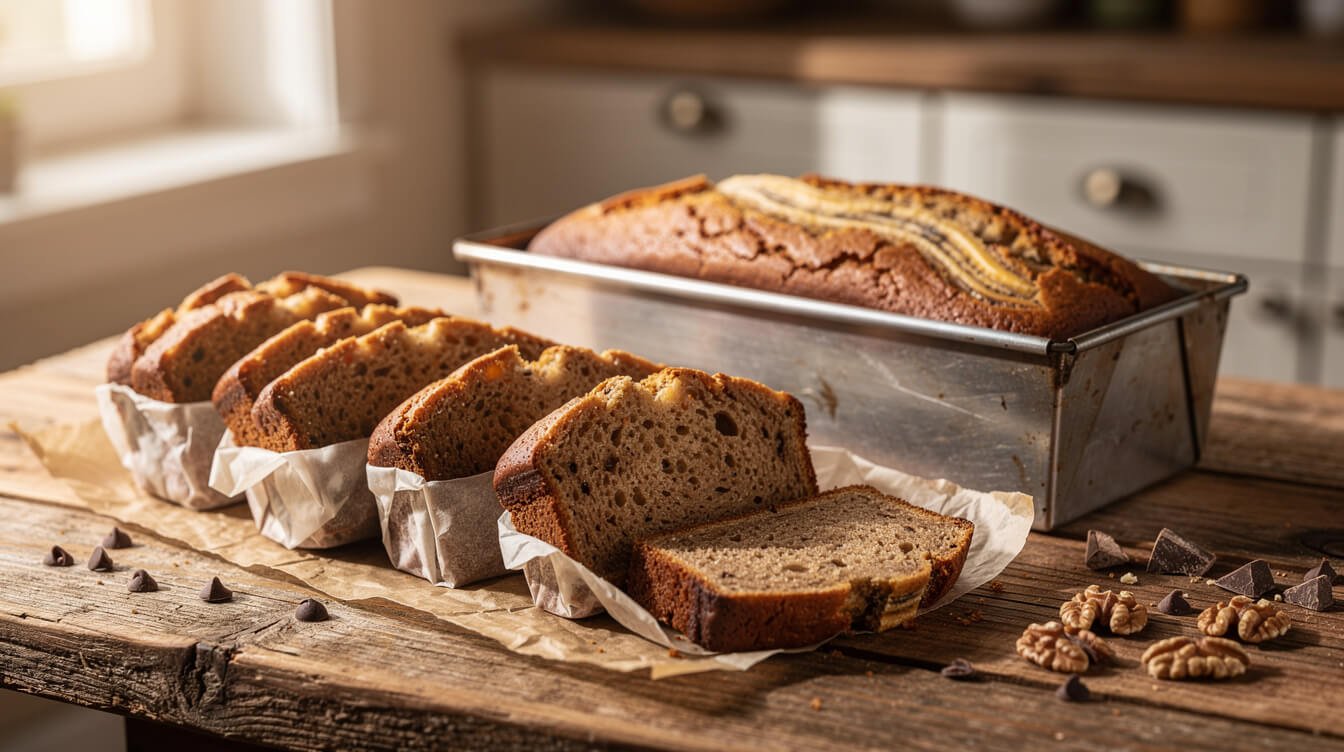
This base recipe is intentionally plain so it’s fast and foolproof, but it takes well to a handful of add-ins stirred in at the very end, right after the flour is incorporated:
- 1/2 cup chocolate chips
- 1/2 cup chopped walnuts or pecans
- 1 teaspoon cinnamon, added with the flour
- A swirl of peanut butter across the top before baking
Storage: Once fully cooled, wrap the loaf tightly or store it in an airtight container at room temperature for up to 3 days, or in the fridge for up to a week. To freeze, you have two options: wrap the whole cooled loaf first in plastic wrap, then in foil, for up to 3 months, and thaw it overnight in the fridge or a few hours on the counter before slicing. Or freeze individual slices laid flat until solid, then bag them together — that way you can pull out exactly as many as you want instead of thawing the whole thing. A frozen slice thaws in about an hour at room temperature, or you can warm it gently from frozen in a low oven.
A slice also crisps back up nicely in the air fryer for a couple of minutes if you’re reheating from the fridge — the same trick works well on other quick breads, and it’s one we lean on in our best air fryer recipes guide.
Common questions about 4-ingredient banana bread
Can I use frozen bananas?
Yes — frozen-and-thawed bananas are often even better for this than fresh ones, since freezing breaks down the cell walls and leaves them extra soft and sweet once thawed. Just drain off any excess liquid that collects before mashing.
Why is self-rising flour different from all-purpose?
Self-rising flour has baking powder and salt already blended in at a set ratio. Swapping in all-purpose flour without adjusting anything else means you’re missing the leavening and salt this recipe depends on — that’s exactly why the substitution above adds both back in.
Can I double this recipe?
Yes, but bake it in two loaf pans rather than one larger one — batter this dense doesn’t bake evenly in an oversized pan. Bake times stay close to the same; start checking for doneness at the 50-minute mark.
Can I bake this in a mini loaf pan or muffin tin?
Yes, and it’s a good option if you want to freeze individual portions. Mini loaves (about 5.75×3 inches) typically take 30–35 minutes; standard muffin cups take 18–22 minutes. Start checking early either way — smaller portions cross into “done” fast, and the same 200–205°F thermometer test still applies.
Why did my loaf sink in the middle after it cooled?
A loaf that looked fine coming out of the oven but caves in the center as it cools is almost always underbaked — the structure hadn’t fully set, so it collapses once the steam holding it up escapes. It can also happen if you used a double dose of leavening (for example, adding extra baking powder on top of self-rising flour that already contains it), which causes the batter to rise fast and then fall before the structure can catch up. If this keeps happening, add 5–10 minutes to your bake time and confirm you’re not double-leavening.
From the Eat Cafe shop
Eat Cafe - Support Our Charities Donor Membership T-Shirt
$24.99
See it in the shopFinal thoughts
Four ingredients doesn’t mean four shortcuts — it means one ingredient is doing extra work, and now you know which one and why. If your loaf has ever come out gummy in the middle before, it wasn’t a recipe you did wrong; it was a doneness test that was never built for banana bread’s extra moisture. Use the thermometer, trust the color and the pan-pull, and let it cool before you cut in. If you want to keep the baking streak going, our guide to baking a cake that doesn’t sink or dry out covers a lot of the same doneness logic for a different oven project.

Before you go
Want the next one?
We post a new recipe or kitchen guide every day. The best of the week lands in one short email, no life story attached.