Homemade French bread recipe (and the honest truth about the crust)
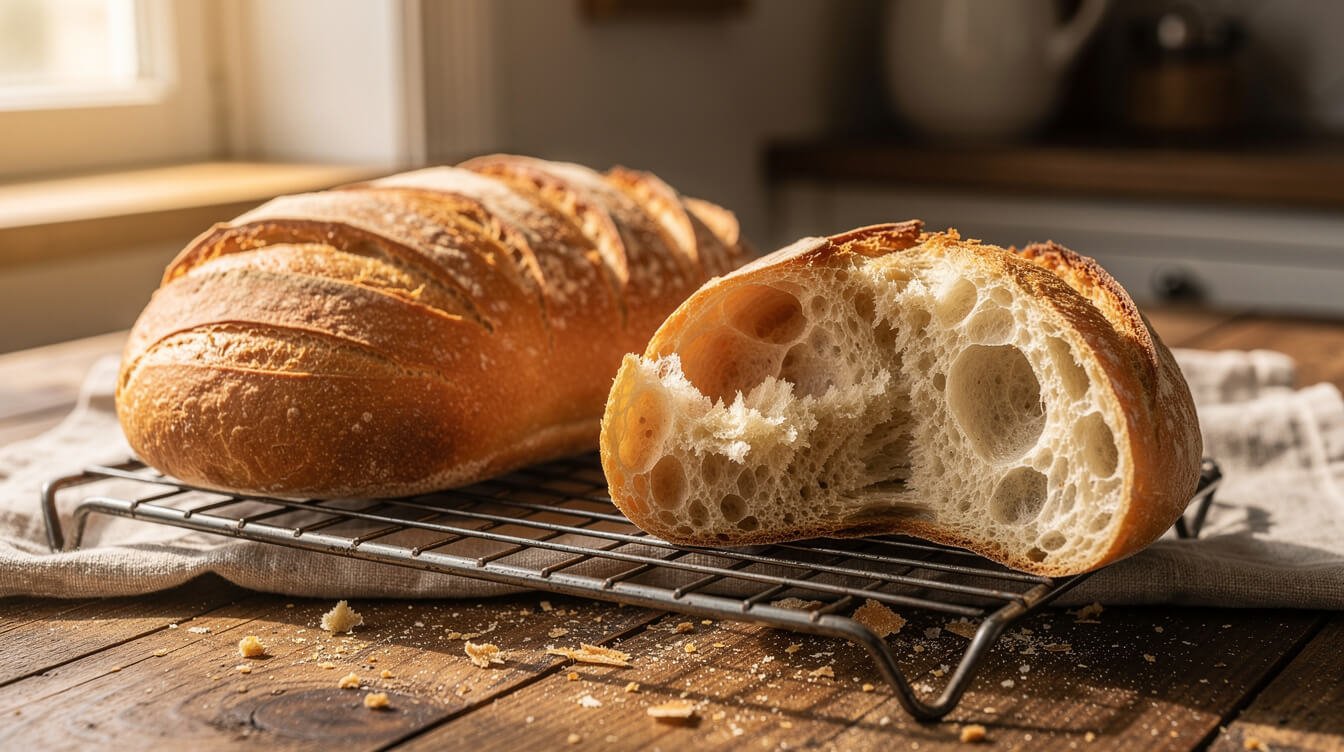
Most people who search for a homemade French bread recipe are chasing one specific thing: that crackle. The sound a good loaf makes when you squeeze it. And most people who bake one are quietly disappointed, because what comes out of the oven is soft, a little sweet, and shaped like a baguette’s friendly cousin.
Here is the thing nobody tells you up front: that is not a failure. That is what this bread is. The loaf almost every American recipe calls “French bread” is a soft-crumbed sandwich loaf with a thin golden crust — and it’s genuinely great. It just isn’t a Parisian baguette, and no amount of trying harder will turn it into one.
So this guide does two jobs. First, the recipe: two loaves, one rise, about two and a half hours with roughly twenty-five minutes of actual work. Second, the honest part — how to get the crispest crust this dough can give you, and how to read a dense, flat, or pale loaf so you know which step to change next time.
The short version: weigh your flour, bake to 200°F inside, and cool it on a rack with nothing covering it. Those three habits fix most homemade bread.
What this homemade French bread recipe actually makes (and what it doesn’t)
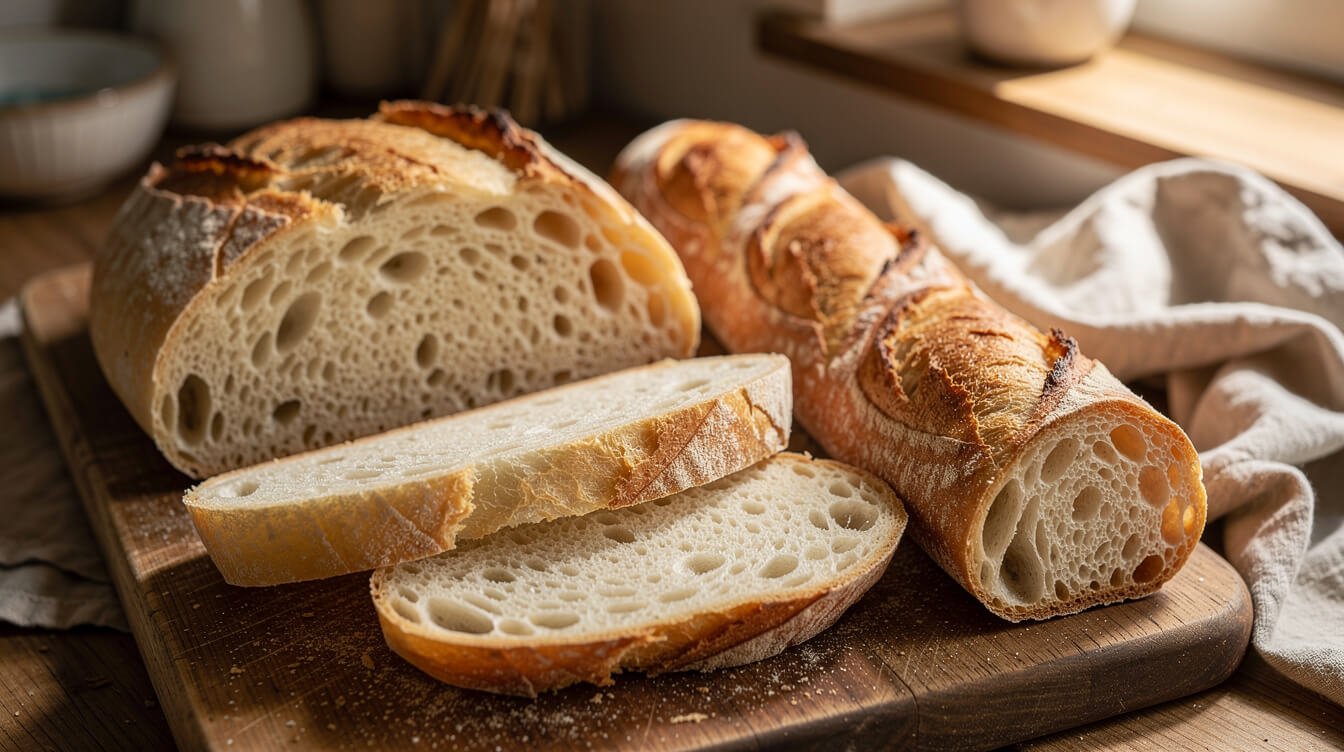
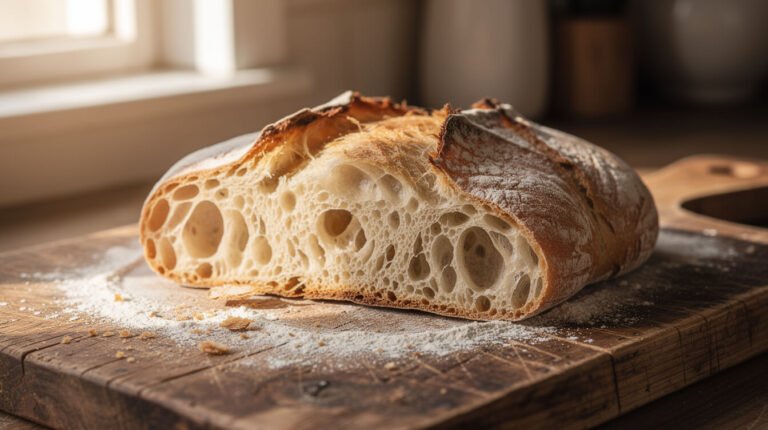
A real French baguette is a lean dough — flour, water, salt, yeast, and nothing else. No sugar, no fat. It’s baked ferociously hot in an oven that injects steam, which is how you get a crust that shatters and a crumb full of big irregular holes. Home ovens don’t do that. They’re not built for it.
The American soft-crust loaf solved that problem by changing the dough instead of the oven. Add a little sugar and a little oil, and you get bread that browns nicely at a normal 400°F, stays tender for a day or two, slices without destroying the sandwich, and forgives a lot of beginner mistakes. That’s the trade: you give up the shattering crust and you get a reliable, soft, genuinely delicious loaf.
Worth knowing which one you’re making:
- Soft-crust French bread (this recipe) — sugar and oil in the dough, thin crisp-when-warm crust, soft even crumb, about two and a half hours. Good for garlic bread, sandwiches, soup night, French toast.
- A true lean baguette — no sugar or fat, long cold ferment, serious steam, blistered crust, open holey crumb. A different project, and a much fussier one.
If what you actually want is the chewy, tangy, open-crumb end of the spectrum, that road runs through fermentation rather than technique, and our guide to making sourdough bread without a starter is an honest look at how close you can get without keeping something alive on your counter.
One honest note while we’re here: this loaf is at its best the day you bake it, fine on day two, and ready for a second life by day three — same story as our homemade Italian bread. We deal with that properly further down.
What you need, and why each thing is in there
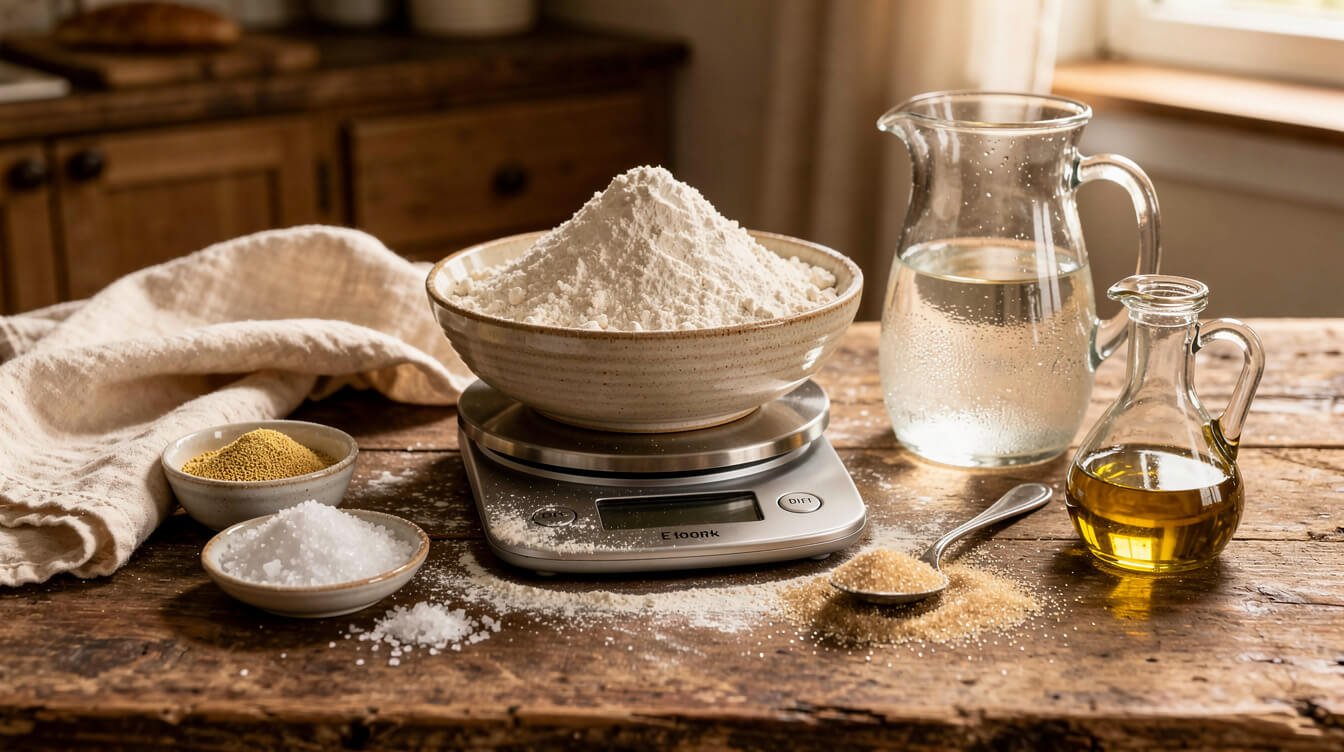
Six ingredients. The reason to understand them is that once you know what each one does, you can tell which one went wrong.
The ingredient list (makes 2 loaves, about 24 slices)
- 2¼ cups (530 g) warm water, 105–110°F (41–43°C)
- 1 tablespoon (10 g) instant or active dry yeast
- 2 tablespoons (25 g) granulated sugar
- 2¼ teaspoons (13 g) fine salt
- 2 tablespoons (25 g) olive oil, or any neutral oil
- 5½ to 6 cups (780–850 g) bread flour or all-purpose — start with 780 g and add from there
Flour: the one worth weighing
This is the single highest-leverage change you can make. A cup of flour weighs anywhere from 120 g to 160 g depending on whether you scooped it, spooned it, or packed it down. Across six cups, that’s a difference of up to 240 g — nearly two extra cups of flour in a recipe that only has six. That is exactly how a loaf ends up dense and tough.
A cheap kitchen scale removes the problem for good: zero the bowl, pour in 780 g, done. No scale? Spoon flour into the cup and level it with a knife — never dip the cup into the bag.
Bread flour has more protein (12–14%) than all-purpose (10–12%), which means more gluten, more structure, and a slightly chewier crumb. All-purpose works fine here and makes a softer loaf. Neither is wrong. We get into this properly in our breakdown of the best flour for sourdough bread, and the protein logic carries straight over.
Yeast, water temperature, and sugar
Instant and active dry yeast are interchangeable in the same amount. The difference is procedural: instant can go straight into the flour, while active dry likes to be woken up in the warm water first. Proofing active dry takes five minutes and tells you whether your yeast is still alive, so we do it either way.
Water temperature matters more than people expect. Aim for 105–110°F — warm like a comfortable bath, not hot. Yeast starts dying above roughly 120°F and is finished by about 130°F, so if your tap water feels hot on the inside of your wrist, let it cool. Too cold is a much smaller problem; it just means a slower rise.
The sugar is partly food for the yeast, but mostly it’s there for browning. Lean dough with no sugar browns slowly and reluctantly in a home oven. Two tablespoons gets you a golden crust in twenty minutes instead of a pale one in thirty-five. You won’t taste it as sweetness.
Salt and oil
Salt is flavor, and it’s also a brake — it slows fermentation and tightens the gluten. Leave it out and you get a loaf that rises fast, collapses, and tastes like nothing. Don’t dump it directly onto the yeast in concentrated form; add it with the flour.
The oil is what keeps this bread soft the next day. It coats the flour proteins and interrupts the staling process. It’s also why the crust stays thin rather than armor-plated — a fair trade for bread that’s still good in a lunchbox tomorrow.
No yeast in the house? Don’t substitute baking powder into this recipe and hope. It’s a structurally different bake, and our simple no-yeast bread recipe sets the right expectations for what that actually produces.
Homemade French bread recipe, step by step
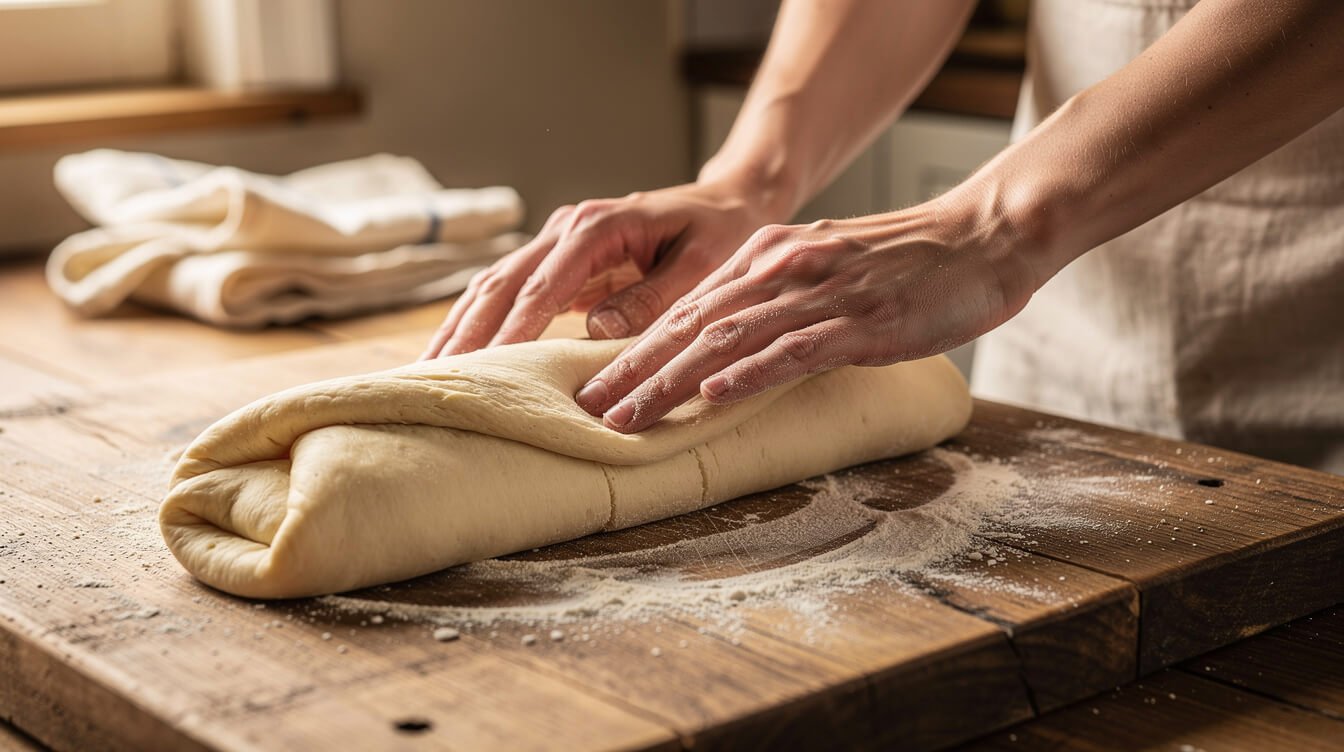
Yield: 2 loaves (about 24 slices) · Hands-on: ~25 minutes · Total: about 2½ hours
1. Wake up the yeast (5 minutes)
Combine the warm water, sugar, and yeast in a large bowl or the bowl of a stand mixer. Stir once and leave it alone for five minutes. It should go cloudy and foamy, with a smell like beer. If nothing happens in ten minutes, your yeast is dead — start over with a fresh packet rather than pushing on and hoping.
2. Mix the dough (5 minutes)
Add the salt, the oil, and 4 cups (about 570 g) of the flour. Mix until it comes together as a shaggy, rough mess. Then add the remaining flour a half cup at a time, mixing between additions, until the dough pulls away from the sides of the bowl and forms a soft ball.
Stop adding flour when it stops being sticky-wet, not when the measuring is finished. You’re aiming for a dough that’s slightly tacky — it should kiss your fingertip and let go without leaving residue. Humidity, your flour, and how you measured all shift the number. The dough is the authority, not the recipe.
3. Knead (5–8 minutes)
In a stand mixer with a dough hook, knead on medium-low for 5 minutes. By hand, 8 to 10 minutes on a lightly floured counter: push the dough away with the heel of your hand, fold it back, quarter turn, repeat. It goes from lumpy to smooth and satiny.
The test: stretch a piece thin between your fingers. If it goes translucent before it tears, the gluten is developed. If it rips immediately, keep going for another two minutes.
4. First rise (about 1 hour)
Put the dough in a lightly oiled bowl, turn it over once to coat, and cover with a towel or plastic wrap. Leave it somewhere warm until doubled — roughly an hour in a 70°F kitchen, longer if your house is cold.
Don’t trust the clock, trust the dough. Poke it with a floured finger: if the dent fills back in slowly and only partway, it’s ready. If it springs straight back, give it another fifteen minutes.
5. Shape the loaves (10 minutes)
This is the step that decides whether your loaf stands up tall or spreads out flat, so it’s worth doing deliberately.
- Turn the dough onto a lightly floured counter and press it down to release the big gas bubbles. Divide in half.
- Press one half into a rough rectangle about 9 x 12 inches, long side facing you.
- Roll it up tightly from the long edge, like a sleeping bag, keeping tension as you go. Tight is the whole point — a slack roll means a flat loaf.
- Pinch the seam closed along its entire length. Then fold each end in an inch and pinch those shut too.
- Place seam-side down on a parchment-lined baking sheet. Repeat with the second half, leaving at least 3 inches between loaves.
6. Score, then second rise (30–40 minutes)
Make three or four diagonal slashes across the top of each loaf, about ¼ inch deep, using a razor blade, a bread lame, or your sharpest serrated knife. Score now, before the rise — a dull blade on a fully proofed loaf will deflate it, and watching that happen is genuinely sad.
Cover loosely and let rise 30 to 40 minutes, until visibly puffy but not doubled. Meanwhile, preheat the oven to 400°F (205°C) with a rack in the upper-middle position.
7. Bake (20–25 minutes)
Bake for 20 to 25 minutes, until deeply golden. Then check the inside, because color alone is a liar — it tells you about the crust, not the crumb.
Slide an instant-read thermometer into the end of a loaf, aiming for the center. You want 195–205°F (90–96°C). Lean breads are done in that window. Under 190°F and the middle will be gummy no matter how brown the top looks. No thermometer? Tap the bottom — a hollow, drum-like sound means done, a dull thud means give it four more minutes.
8. Cool it properly (and actually wait)
Move the loaves straight to a wire rack — not the pan, not a plate, not under a towel. Steam needs somewhere to go, and a loaf cooling on a solid surface sits in its own moisture and goes soggy underneath.
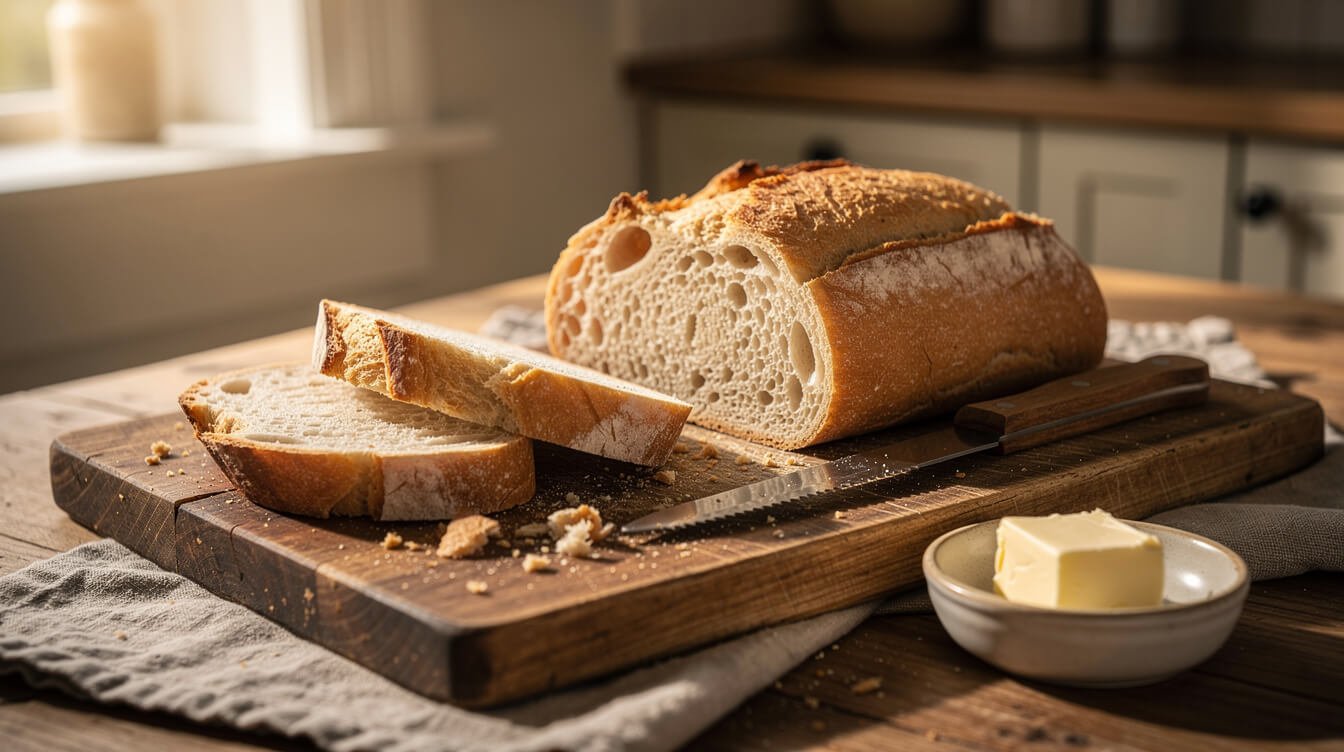
Give it at least 20 minutes before cutting. Bread is still finishing on the rack; the starches are setting as they cool. Slice it hot and you’ll compress the crumb into something gluey and blame the recipe. Twenty minutes. It’s the hardest step in the whole bake.
The crust: how to get one that actually crackles
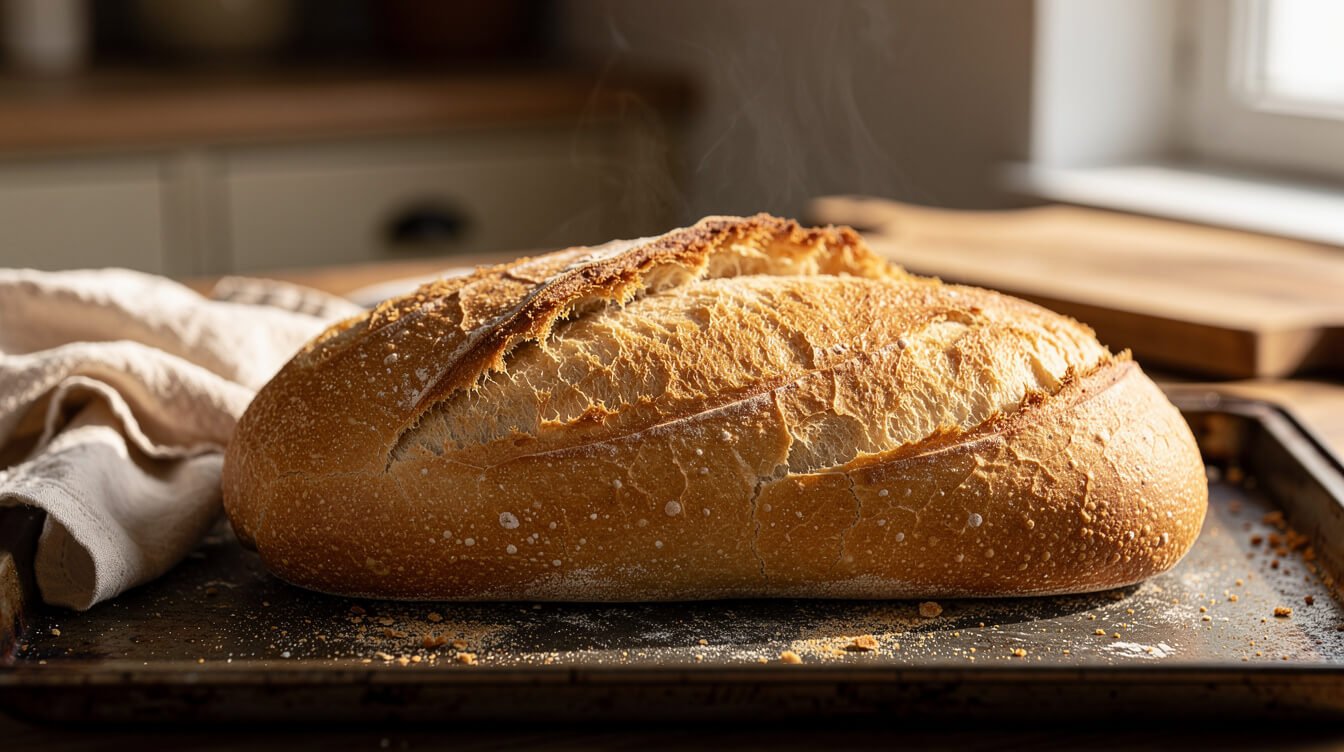
You won’t get baguette crust from this dough — the sugar and oil make that impossible, and that’s by design. But there’s a real gap between the softest version of this loaf and the crispest, and four things close it.
Steam, done safely
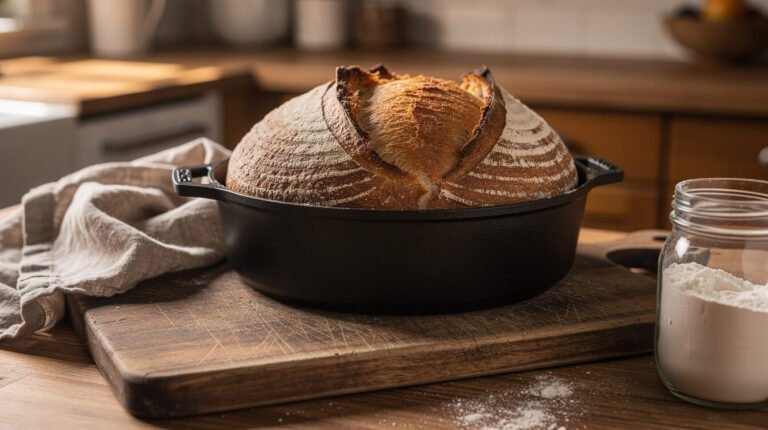
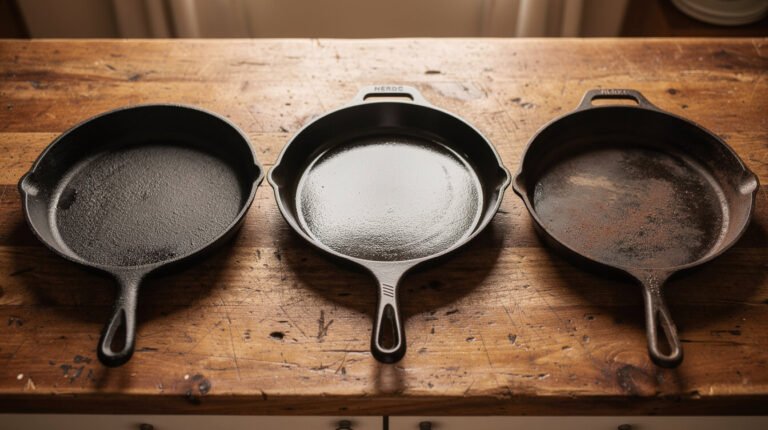
Steam in the first few minutes keeps the crust flexible while the loaf expands, then sets it thin and crisp. The safe way to do it at home: put an empty metal pan — an old sheet pan or a cast iron skillet — on the oven’s bottom rack while it preheats. When the bread goes in, pour about a cup of hot water into the hot pan and close the door quickly.
You’ll see a popular trick going around that involves throwing ice cubes onto the oven floor. It works, and we’re not going to pretend otherwise, but be aware of what you’re risking: cold water or ice hitting hot glass, an exposed heating element, or the oven’s enamel liner can crack glass and damage the oven, and plenty of manufacturers explicitly tell you not to do it. A preheated metal pan gets you the same steam with none of that. Check your oven’s manual if you’re unsure, and never aim water at the door glass or a visible element.
Skip the butter brush (if crisp is the goal)
Brushing melted butter on a hot loaf is lovely, and it makes the crust soft and rich. It also guarantees you won’t get crackle. Pick one. For a crisper, shinier finish, brush the loaves with egg wash — one egg white whisked with a teaspoon of water — right before they go in.
Bake higher in the oven, and a touch hotter
Most home ovens brown better in the upper half. If your loaves come out consistently pale on top, move the rack up a level before you change anything else, and consider going to 425°F for the first ten minutes before dropping to 400°F.
Give it five extra minutes with the oven off
Once the loaves hit 200°F inside, turn the oven off, crack the door, and leave them five more minutes. The residual dry heat drives off surface moisture and firms the crust without overbaking the crumb. Then onto the rack, uncovered.
From the Eat Cafe kitchen
One good recipe a week, straight to your inbox
The recipe we're actually cooking this week, plus the one tip that saves it when it goes sideways. No spam. Unsubscribe anytime.
Why your loaf came out dense, flat, or pale
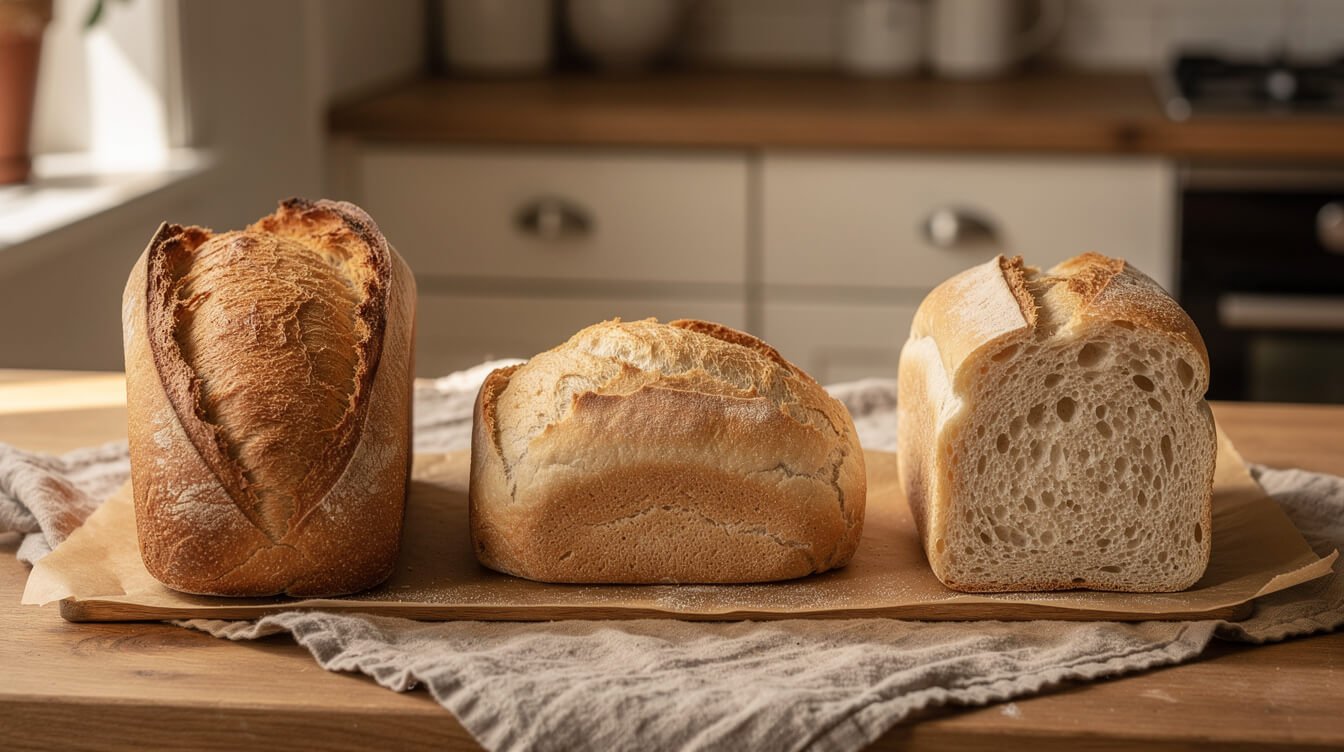
Cut the loaf open and it will tell you what happened. Here’s how to read it.
Dense and heavy, tight crumb
Almost always too much flour. This is the number one homemade bread failure and it’s a measuring problem, not a skill problem. Weigh it next time — 780 g to start — and stop adding when the dough is tacky rather than dry. Second suspect: under-kneading, so there isn’t enough gluten structure to hold the gas. Do the stretch test before you call it done.
If diagnosing bread by its crumb is new to you, the same logic applies across the board — we walk through it in detail for dense banana bread, where the crumb is an even clearer tell.
Spread out flat and wide instead of rising up
Three usual causes, in order of likelihood. One: the roll wasn’t tight enough and the seam wasn’t properly pinched, so the loaf had no internal tension to hold its shape. Two: over-proofing on the second rise — puffy is the target, doubled is too far, and a loaf that over-proofs has used up its structure and will slump. Three: the dough was too wet, which loops back to measuring.
Pale and soft-crusted
Oven position first — move the rack to the upper-middle. Then check your oven’s actual temperature with a cheap oven thermometer, because a lot of home ovens run 25°F cool and never tell you. Egg wash instead of butter, and the oven-off five minutes at the end, both help.
Gummy or doughy in the middle
Underbaked, or sliced too soon. Those are the only two options. The thermometer settles the first — 195–205°F in the center, no exceptions — and patience settles the second. A loaf cut at five minutes out of the oven will read as gummy even when it was baked perfectly.
Big tunnels and holes near the crust
Trapped gas from shaping. When you press the dough out into the rectangle in step 5, actually press the big bubbles out, and keep the roll tight so no air pockets get rolled in.
Sour, boozy, or oddly sharp flavor
Over-fermented — it sat too long somewhere too warm. Go by the poke test, not the clock; in a hot kitchen the first rise can finish well before the hour is up.
None of these are reasons to stop baking bread. Every one of them is a single variable you can change on the next loaf, and bread is cheap to practice on. If this kitchen has saved you a bake or two, our Support Our Charities Donor Membership T-Shirt is the simplest way to back the charities we work with — and it wears well on a flour-dusted Saturday.

Bake bread, back a good cause
The Eat Cafe Support Our Charities Donor Membership T-Shirt is a plain, well-made shirt that helps fund the charities we work with. A good thing to wear on a baking Saturday.
Storing it, freezing it, and reviving the crust
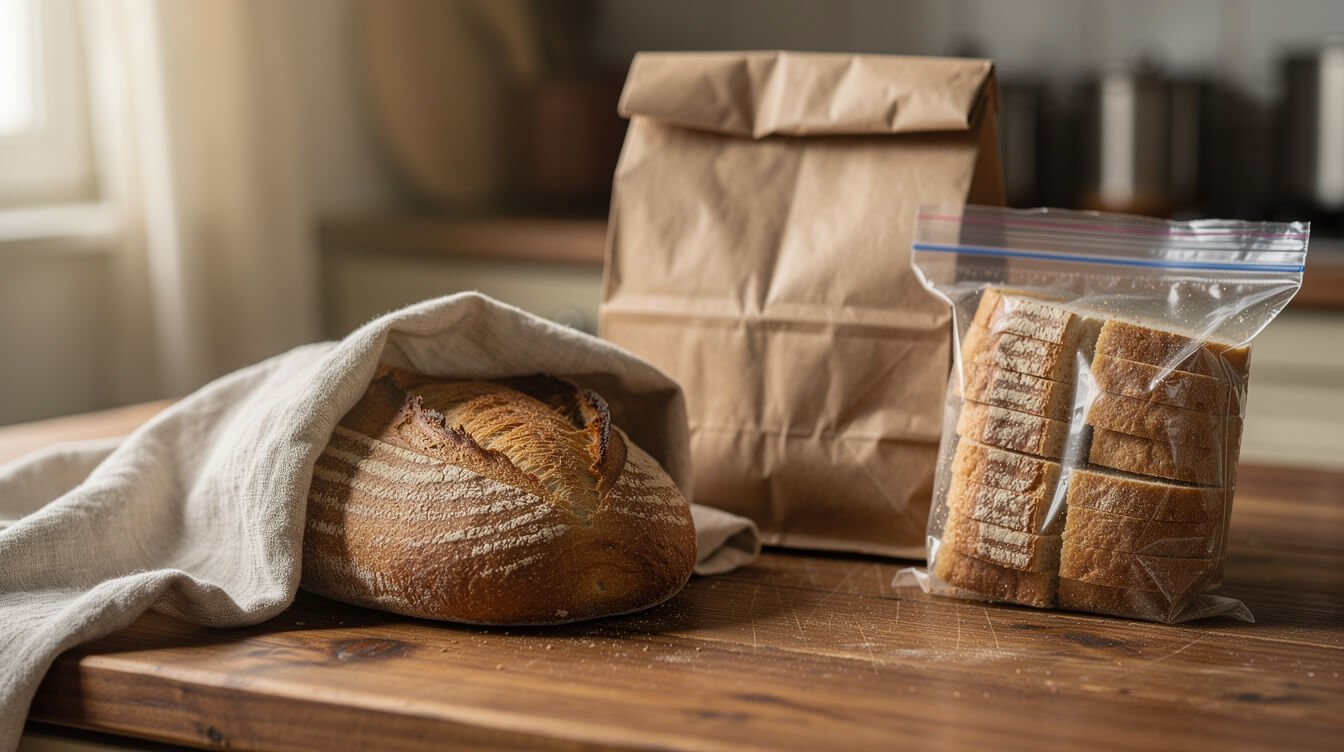
Let’s be straight about this: homemade bread with no preservatives in it is a day-one food. That’s not a flaw, it’s the deal. Plan around it instead of fighting it.
Day one and day two
On day one, leave it out cut-side down on the board, or in a paper bag — a plastic bag traps moisture and turns a crisp crust leathery within the hour. By day two, swap to a plastic bag or bread box: the crust has already softened, so now you’re protecting the crumb from drying out.
Don’t refrigerate bread. It feels like the careful thing to do and it’s the one genuinely wrong answer — the fridge is the ideal temperature for starch retrogradation, which is the technical name for going stale. Bread stales several times faster in the fridge than on the counter.
Freezing, which is the real answer
Cool completely, slice the loaf first, then wrap tightly in plastic and bag it. Sliced-before-freezing means you can pull two pieces for toast without defrosting a brick. It keeps about three months with no meaningful loss. Toast slices straight from frozen.
Bringing the crust back
A day-old loaf can be revived, and it feels like a trick the first time. Run the whole loaf briefly under the tap — a quick wet, not a soak — then straight into a 350°F oven for 8 to 10 minutes. The water steams through the crumb and recrisps the crust. Eat it within the hour; it only works once per loaf.
Day three and beyond
Stale bread is an ingredient, not garbage. This loaf is excellent for it:
- Garlic bread — split, butter, bake. Our homemade garlic bread recipe covers the fix for the soggy, greasy version.
- Croutons — the method genuinely changes with how stale the loaf is, which we break down in how to make croutons.
- French toast — day-old bread is actually better here, because dry bread drinks up more custard.
- Breadcrumbs — blitz it dry and freeze in a jar.
- Soup night — thick slices, toasted, under anything brothy.
Frequently asked questions about homemade French bread
How is French bread different from regular sandwich bread?
Mostly fat and sugar. A standard sandwich loaf is enriched with milk, butter, or eggs and baked in a pan, which gives a soft, fine, square crumb. French-style bread uses far less of all of that and bakes free-form on a sheet, so you get a crisper crust and a more open, chewier crumb. This recipe sits between the two — a small amount of sugar and oil, baked free-form.
What flour is best for a French loaf?
Bread flour, if you’re choosing. The extra protein builds more gluten, which means a chewier crumb and a loaf that holds its shape better in the oven. All-purpose makes a perfectly good, slightly softer loaf — don’t make a special trip. What matters far more than which bag you buy is weighing it.
Can I make this without a stand mixer?
Yes, and plenty of people prefer to. Mix with a wooden spoon until it comes together, then knead by hand for 8 to 10 minutes. You’ll know the dough better for it. A mixer saves your arms, nothing more.
Can I halve the recipe or make smaller loaves?
Halve everything straight across for one loaf. For smaller loaves or rolls, divide the dough further and cut the bake time — start checking rolls at 12 to 15 minutes, and go by internal temperature rather than the clock.
My dough didn’t double. What now?
Give it more time before you give up — a cold kitchen can easily double the rise time. If there’s no movement at all after two hours, the yeast was dead or the water was too hot, and the dough won’t recover. If it rose partway, bake it anyway; you’ll get a denser but entirely edible loaf.
Is this the hardest bread to make at home?
Not close. Soft-crust French bread is one of the friendlier yeast breads — one rise, forgiving dough, no starter, no special equipment. The genuinely hard ones are the lean, high-hydration breads that need long fermentation and real steam: baguettes, ciabatta, and open-crumb sourdough.
How do I know it’s really done?
Internal temperature, every time: 195–205°F (90–96°C) in the center. Golden on top tells you about the crust and nothing about the middle. An instant-read thermometer is the cheapest upgrade in bread baking.
That’s the whole thing. Weigh the flour, keep the roll tight, bake to temperature, cool it on a rack — and this loaf comes out right more or less every time. The first one teaches you what the dough should feel like. After that it stops being a recipe and starts being something you just make on a Saturday.

Before you go
Want the next one?
We post a new recipe or kitchen guide every day. The best of the week lands in one short email, no life story attached.