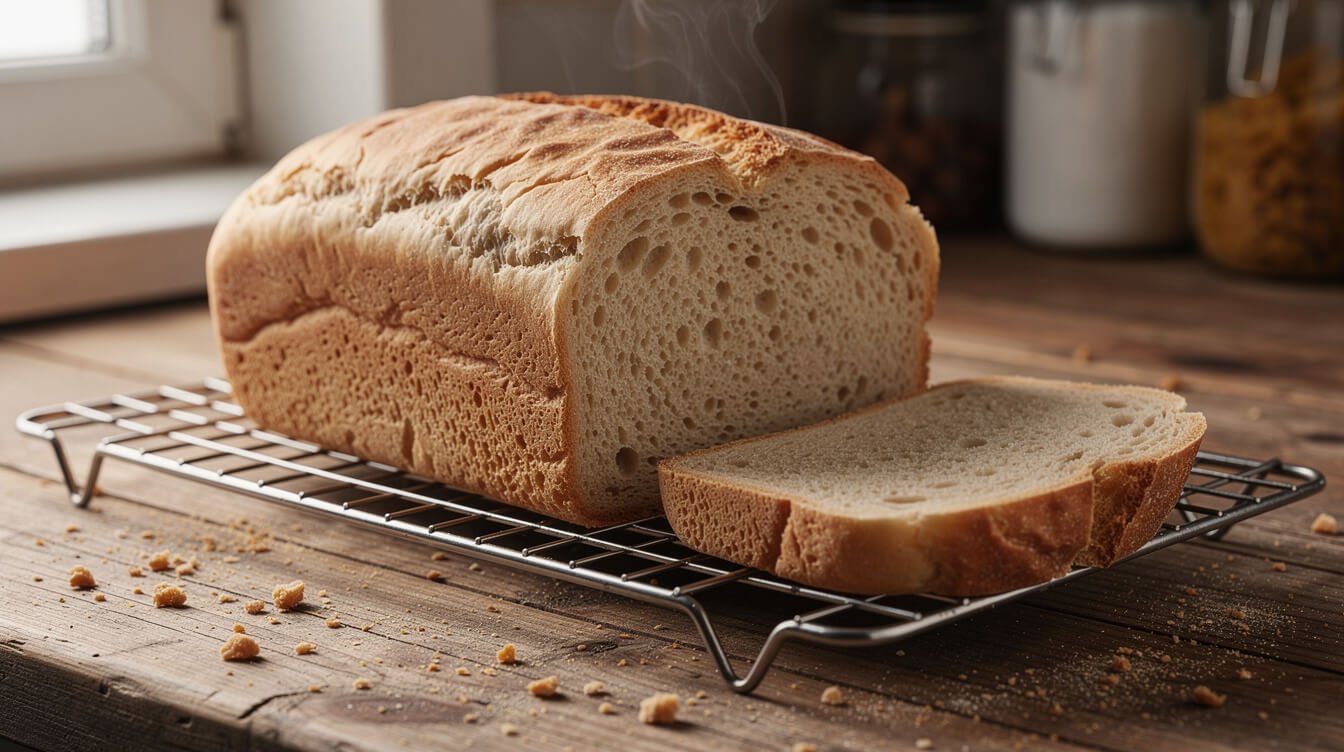
Simple Bread Recipe (No Yeast): What to Expect (and the Fix for a Gummy Center)
If you Google “simple bread recipe no yeast” tonight, it’s usually for one of two reasons: you want bread and you don’t have yeast, or you don’t have three hours to babysit a rise. This one gets you a warm, sliceable loaf in about an hour, with five pantry ingredients and zero kneading. But here’s the part most recipes skip over: this bread will not taste or behave like a yeasted sandwich loaf, and going in expecting that is the single biggest reason people call it a “fail.” Set your expectations right, and it’s a genuinely good loaf — dense in a good way, tender, great toasted, and forgiving enough for a weeknight. Here’s exactly how to make it, plus the real fixes if yours doesn’t come out right.
Why This Simple Bread Recipe (No Yeast) Won’t Taste Like Sandwich Bread — And That’s Fine
Yeast bread rises because yeast is a living organism that eats sugar and slowly burps out carbon dioxide over hours, while gluten strands stretch and strengthen around those bubbles, trapping them in place. That slow process is also what builds the light, airy, pull-apart texture and the deep, slightly tangy flavor of a proper loaf. It’s also why yeast bread takes real time — you’re not just baking it, you’re waiting on biology.
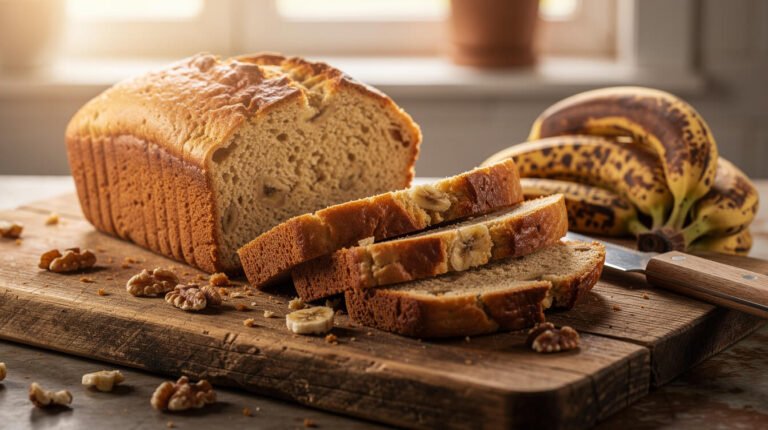
This bread skips all of that. It’s leavened by baking powder, a chemical leavener that works in minutes, not hours. There’s no rise time, no proofing, no kneading, and no need to check whether your yeast is “alive.” The tradeoff is texture: instead of light, stretchy, and open-crumbed, you get something closer to a big, soft biscuit or a dense quick bread — think banana bread‘s cousin, not sourdough‘s cousin.
That’s not a lesser bread. It’s a different category of bread doing a different job, in the same family as biscuits, cornbread, and Irish soda bread — all leavened chemically, all ready fast, all genuinely good on their own terms. It’s the right tool for a specific situation: you need bread today, you’re out of yeast, or you just don’t want to plan three hours around a rise. Compare that to something like no-yeast pizza dough — same logic, same fast payoff, different shape entirely.
Knowing that going in changes how you judge the result. If you slice into this expecting an airy, chewy sandwich loaf, a dense, tender crumb will feel like something went wrong. It didn’t — that’s just what a quick bread is.
One quick gut-check before you even preheat the oven: if a recipe calls for a rise time longer than the time it takes to preheat, or asks you to “proof” anything, it’s a yeast bread. If it goes straight from mixing bowl to oven, it’s in this quick-bread family. Knowing which one you’re making before you start saves you from expecting the wrong texture at the end.
What You Need for This Simple No-Yeast Bread Recipe
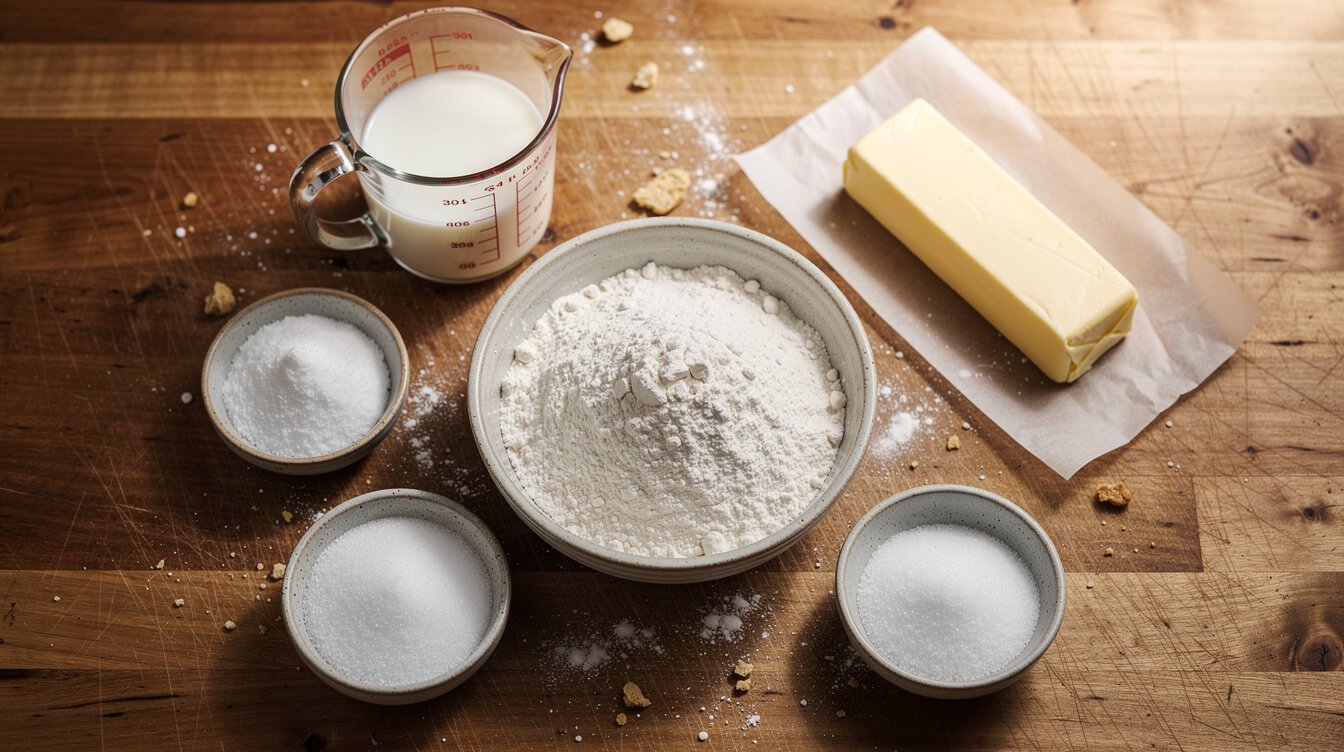
Five ingredients, all pantry staples. No proofing sugar, no lukewarm water fuss, no checking the yeast packet’s expiration date.
- 3 cups (375g) all-purpose flour — spooned into the measuring cup and leveled off with a knife, not scooped straight from the bag. Scooping packs the flour in and can add up to half a cup extra without you noticing, which is one of the most common causes of a dry, dense loaf.
- 1 tablespoon baking powder — this is the entire lift mechanism for this bread, so it needs to be fresh. Old baking powder loses its punch on the shelf even before the printed expiration date. More on testing it below.
- 1 teaspoon fine salt — don’t skip it even though it’s a small amount; salt controls flavor here more than in a yeast dough, where it also affects fermentation speed.
- 1 tablespoon sugar (optional) — a little sweetness and slightly better browning on the crust. Skip it if you want a more neutral, savory loaf for sandwiches.
- 3 tablespoons unsalted butter, melted (a neutral oil like canola or vegetable oil works too, if that’s what you have on hand — the crumb will be a touch less rich but still good).
- 1 1/4 cups whole milk — lower-fat milk works in a pinch, but whole milk gives a noticeably more tender crumb.
Buttermilk variation: swap the milk for buttermilk, cut the baking powder to 2 teaspoons, and add 1/2 teaspoon baking soda. The acid in buttermilk reacts with the soda for extra lift and a slight tang, landing closer to a true soda-bread cousin. Either version works well — just don’t mix and match the ratios between them, since baking soda needs an acid to activate and baking powder doesn’t.
How to Make It
- Preheat the oven to 375°F (190°C). Grease a 9×5-inch loaf pan, including the corners — this batter is thick enough that it won’t self-release the way a thinner batter would.
- In a large bowl, whisk together the flour, baking powder, salt, and sugar until evenly combined. Whisking the dry ingredients first (rather than just stirring) helps distribute the baking powder evenly, so you don’t get a pocket of concentrated lift in one spot.
- In a separate bowl or large measuring cup, whisk the milk and melted butter together. If the butter seizes into little clumps when it hits cold milk, that’s fine — it’ll smooth out once mixed into the flour.
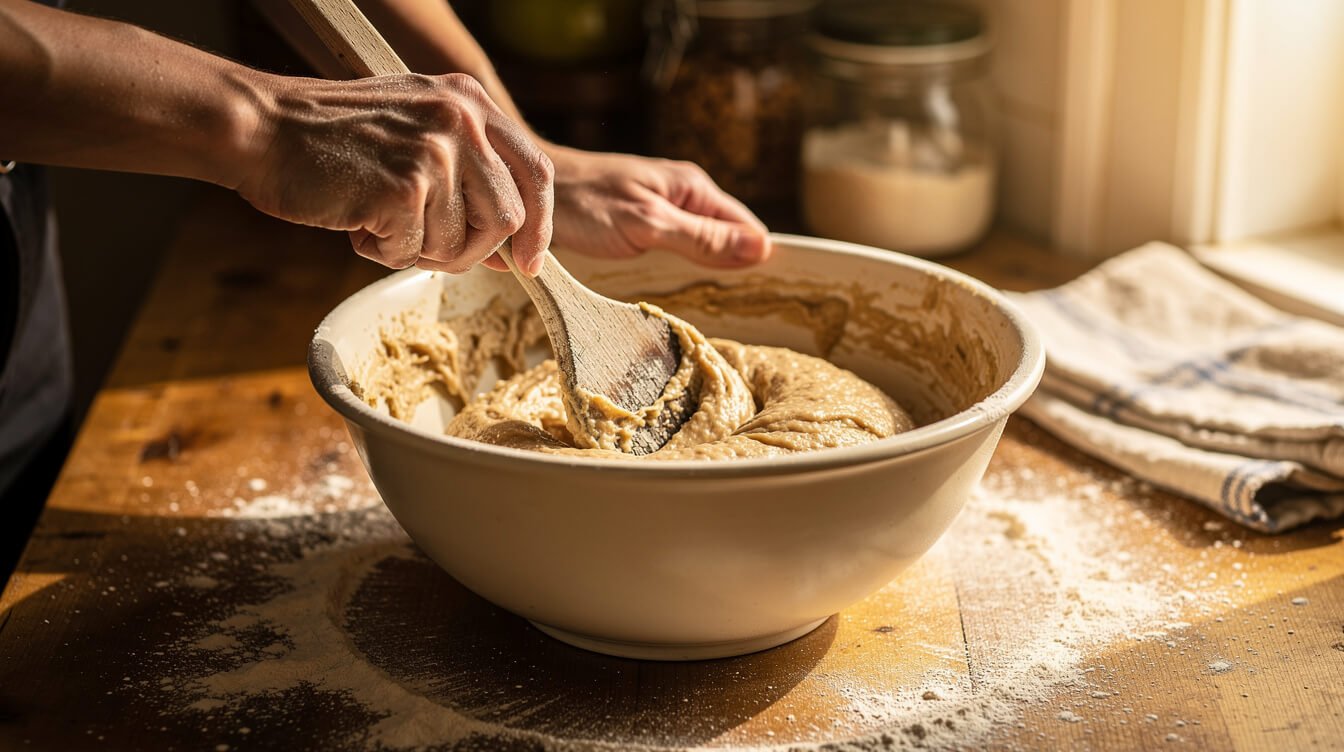
- Pour the wet ingredients into the dry and fold with a spatula just until no streaks of dry flour remain — about 15 to 20 strokes. The batter will be thick, more like a very heavy pancake batter than a kneadable dough. That’s correct; resist the urge to add extra flour to make it doughier.
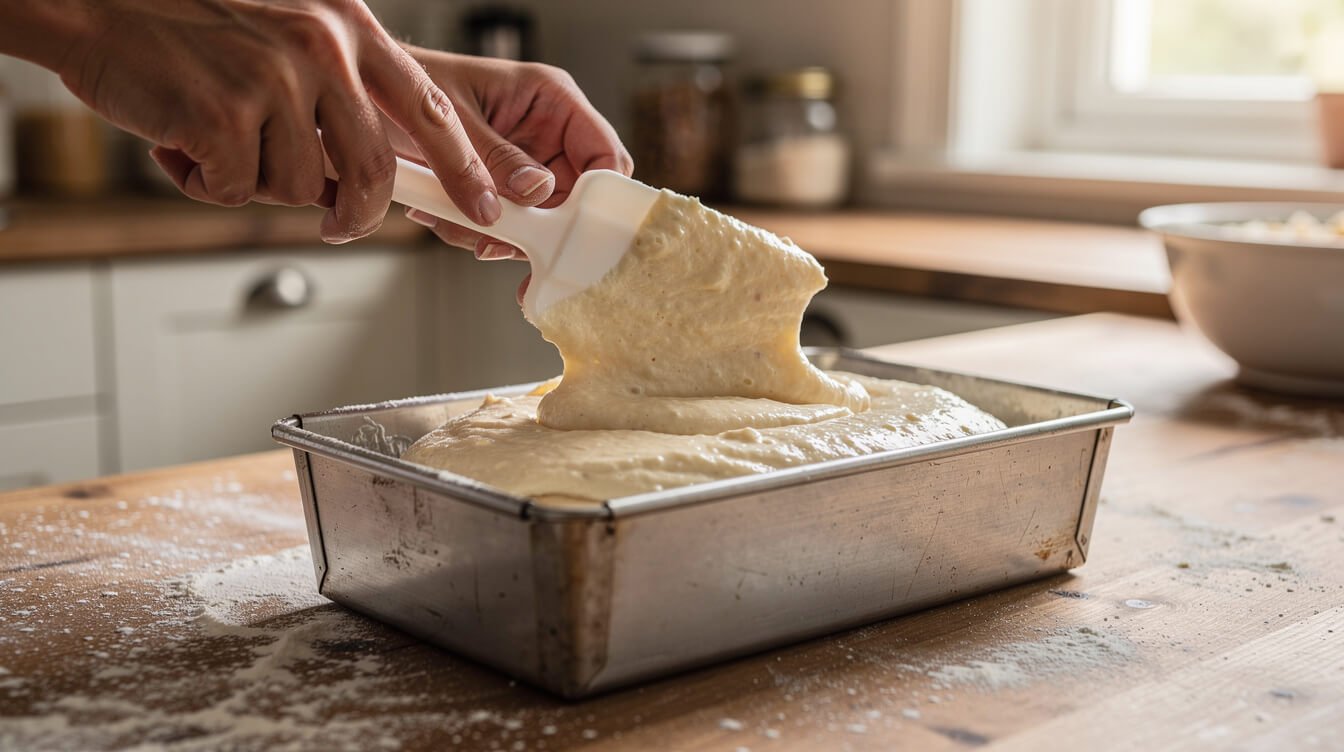
- Scrape the batter into the loaf pan and smooth the top with the back of a spoon or spatula. Optional: score a shallow line down the middle with a sharp knife — it gives the loaf a place to crack open evenly as it rises, instead of splitting somewhere random on top.
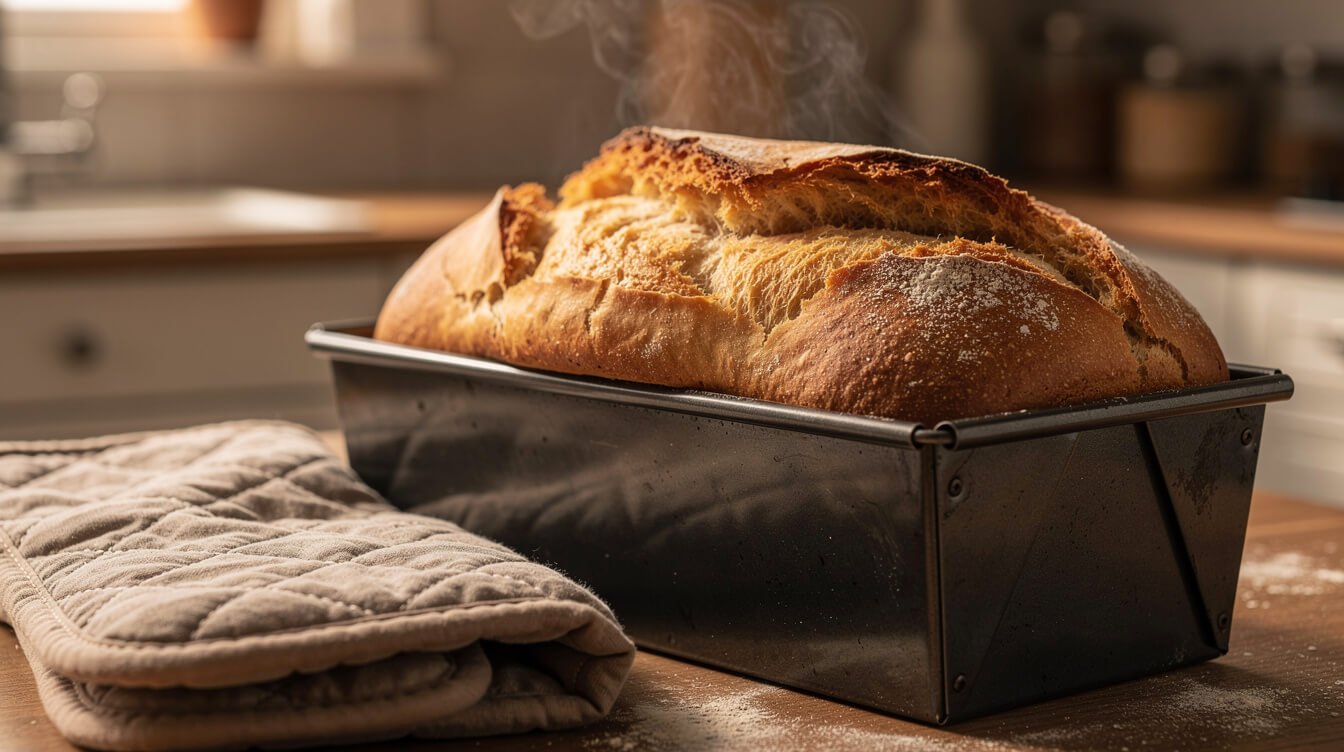
- Bake 40–45 minutes, until the top is deep golden and a toothpick inserted in the center comes out clean (or the internal temperature reads about 200–205°F on an instant-read thermometer — the most reliable way to know it’s done). If the top is browning too fast before the center finishes cooking, tent it loosely with foil for the last 10–15 minutes.
- Cool in the pan for 10 minutes, then turn out onto a wire rack. Let it cool at least 20–30 minutes more before slicing. This step matters more than it looks like it should, and skipping it is the single most common reason people think their bread came out “gummy” when it actually didn’t — see why below.
Why It Works
Baking powder is a fast-acting chemical leavener — it’s already got its own built-in acid and base, so the moment it hits liquid, and again once it hits oven heat, it releases carbon dioxide gas. That double reaction (once when wet, again when hot) is why baking powder is labeled “double-acting” and why this batter can go straight from bowl to pan to oven with no waiting. Compare that to yeast, a living organism that ferments sugars slowly over hours, building both gas and a stretchy, elastic gluten network strong enough to hold onto it.
Because this batter never gets that slow gluten-building time, the crumb stays tight and tender instead of airy and chewy — the same reason a quick bread like banana bread is dense rather than fluffy, or a biscuit is soft and crumbly rather than stretchy. It’s not a failed loaf of sandwich bread; it’s a quick bread wearing a sandwich-loaf shape.
One more thing worth knowing, because it trips people up constantly: that starchy, slightly wet feeling in the middle of a just-baked quick bread isn’t necessarily underbaking. Starch keeps absorbing moisture and setting as the loaf cools, the same way a cake or a pan of brownies firms up after it leaves the oven. That’s exactly why the cooling step above isn’t optional — cut into it too soon and it will look and feel underdone even when it’s perfectly baked.
From the Eat Cafe kitchen
One good recipe a week, straight to your inbox
The recipe we're actually cooking this week, plus the one tip that saves it when it goes sideways. No spam. Unsubscribe anytime.
The Fixes: Gummy Center, Too Dense, Crumbly, or Flat
This is the section most no-yeast bread recipes skip entirely, and it’s usually the actual reason someone’s loaf disappoints them. If yours didn’t come out right, it’s almost always one of these.
- Gummy or wet-looking center. The most common cause isn’t underbaking — it’s slicing too soon. The starch in the crumb keeps setting as the loaf cools, so cutting it warm will always look gummy, even on a loaf that’s fully baked through. Give it the full 20–30 minutes on the rack before you touch a knife to it. If it’s still gummy after a proper rest, it was likely underbaked — check for 200–205°F internal temp next time, and tent with foil if the crust is browning faster than the inside is cooking.
- Too dense or heavy, all the way through. Usually overmixing. Stirring develops gluten even without kneading, and this batter only needs folding until the flour disappears — roughly 15 to 20 strokes, no more. Stop as soon as you don’t see dry streaks. The other common cause is old baking powder, which brings us to the next one.
- Didn’t rise at all, or barely rose. Test your baking powder before you blame the recipe: drop 1/2 teaspoon into a cup of hot water. It should fizz up immediately and vigorously. If it barely bubbles, it’s expired — replace it before baking with it again. Because this bread has no second chance at a rise the way yeast dough does (no punch-down, no second proof), tired baking powder here means a flat, dense loaf, full stop.
- Crumbly, falls apart when you slice it. Almost always too much flour — usually from scooping the measuring cup straight into the bag, which packs it in and adds up to half a cup extra. Spoon the flour into the cup and level it off with a knife instead. Too little fat or milk in the mix can do the same thing, so measure those carefully too rather than eyeballing.
- Slightly bitter or metallic aftertaste. Too much baking powder. More doesn’t mean more lift past a certain point — it just means more of that chemical, slightly soapy taste people sometimes associate with “bad” quick breads. Stick to the 1 tablespoon per 3 cups of flour ratio and don’t round up “for insurance.”
- Burnt bottom or overly dark crust before the center is done. Loaf pans vary — dark metal pans absorb more heat and brown faster than light metal or glass. If this happens consistently in your pan, drop the oven temperature to 350°F and add 5–10 minutes to the bake time, or set the pan on a middle rack instead of a lower one.
What to Do With It
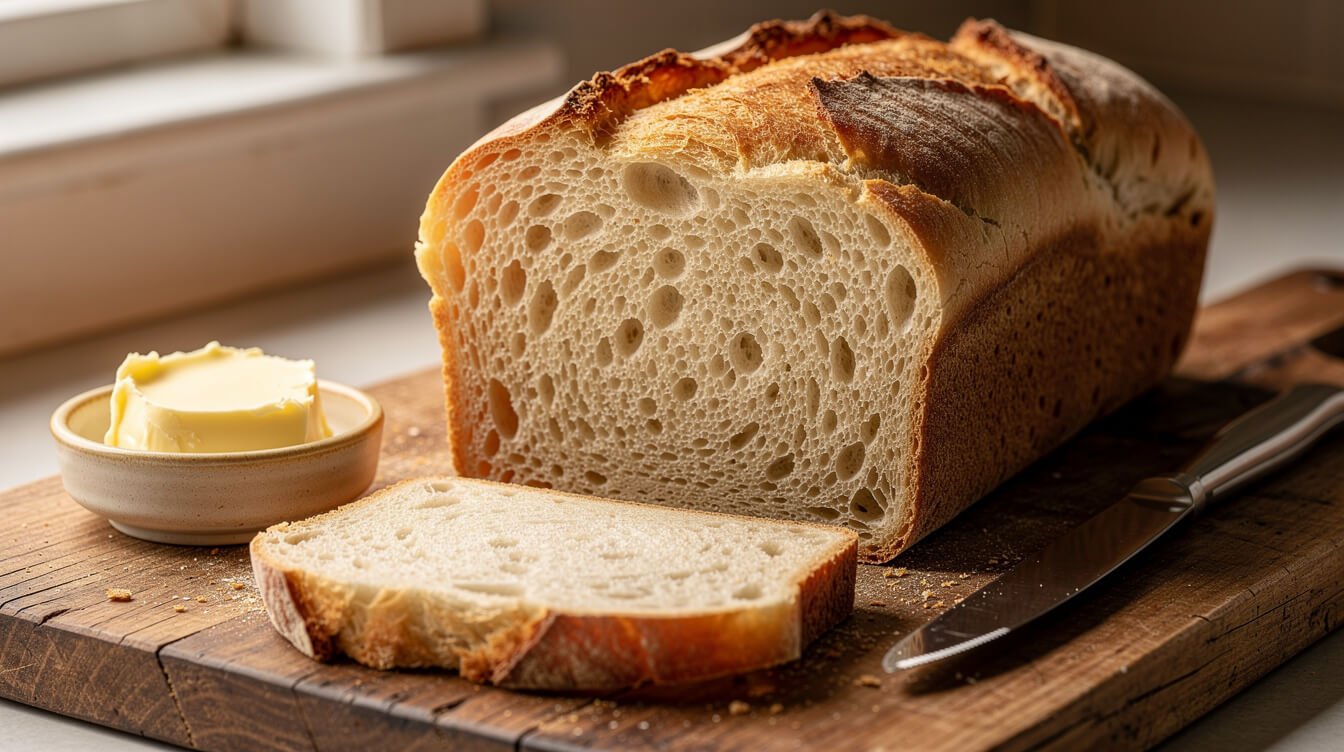
This loaf earns its keep as the bread you make on a Tuesday when there’s no yeast in the house and no time for a rise. Slice it thick for toast, use it for a grilled cheese, or serve it warm next to a bowl of soup or stew — the tight crumb actually holds up to soup-dunking better than an airy yeast loaf does, since it won’t fall apart as fast when it soaks up liquid. It also makes a good stand-in wherever you’d reach for a quick loaf of garlic bread: split it, butter it with garlic and herbs, and broil until golden and bubbling.
Toasted and buttered, it’s a solid breakfast bread on its own, and it takes jam or honey well since the crumb isn’t so airy that toppings soak straight through. Cubed and toasted in the oven with a little olive oil, it also works fine as a rustic crouton for a salad or soup.
It won’t replace a proper sandwich loaf for building a tall deli sandwich — for that, you still want a true yeasted bread with more structure and stretch. But for “I need bread in the next hour,” this is the one to reach for.
Day-old slices that have gone a bit firm are actually a plus here, not a problem — they make excellent French toast, since the tighter crumb soaks up the egg mixture without turning to mush the way a delicate yeast loaf can.
Frequently Asked Questions
Is this the same as soda bread?
Close cousins. Traditional Irish soda bread uses baking soda plus an acid (usually buttermilk) to react and produce lift. This recipe uses baking powder, which already has its own built-in acid, so it works with regular milk — no buttermilk required, though the buttermilk variation above nudges it closer to true soda bread.
Do I need to knead this?
No. This is a batter, not a dough — stir it just until combined, the same way you’d mix pancake batter or a muffin batter. Kneading it would only develop gluten you don’t want here, making the loaf tougher instead of better.
Can I add mix-ins?
Yes. Fold in up to 1 cup of shredded cheese, chopped fresh herbs, or dried fruit right after mixing the batter, before it goes into the pan. Heavier mix-ins like dried fruit can sink toward the bottom slightly — tossing them in a little flour first helps them stay suspended.
Can I use self-rising flour instead?
Yes — self-rising flour already contains leavener and salt, so skip the added baking powder and salt in the recipe and use it as a 1:1 swap for the all-purpose flour.
How do I store it, and can I freeze it?
Keep it in an airtight container at room temperature for 2–3 days. To freeze, slice it first, then freeze the slices in a zip-top bag for up to 3 months — pull out individual slices as you need them and toast straight from frozen, no thawing required.
Can I make it gluten-free?
A 1:1 gluten-free flour blend works reasonably well here, since there’s no gluten development to worry about losing in the first place. Expect a slightly more delicate, tender crumb than the all-purpose version, and check your blend’s package for any liquid-ratio adjustments.
Can I double the recipe?
Yes, but bake it as two separate loaves rather than one giant one — a single oversized loaf tends to brown on the outside well before the center catches up, which is the same gummy-center problem discussed above, just amplified.

From the Eat Cafe shop
Eat Cafe - Support Our Charities Donor Membership T-Shirt
$24.99
See it in the shopFinal Thoughts
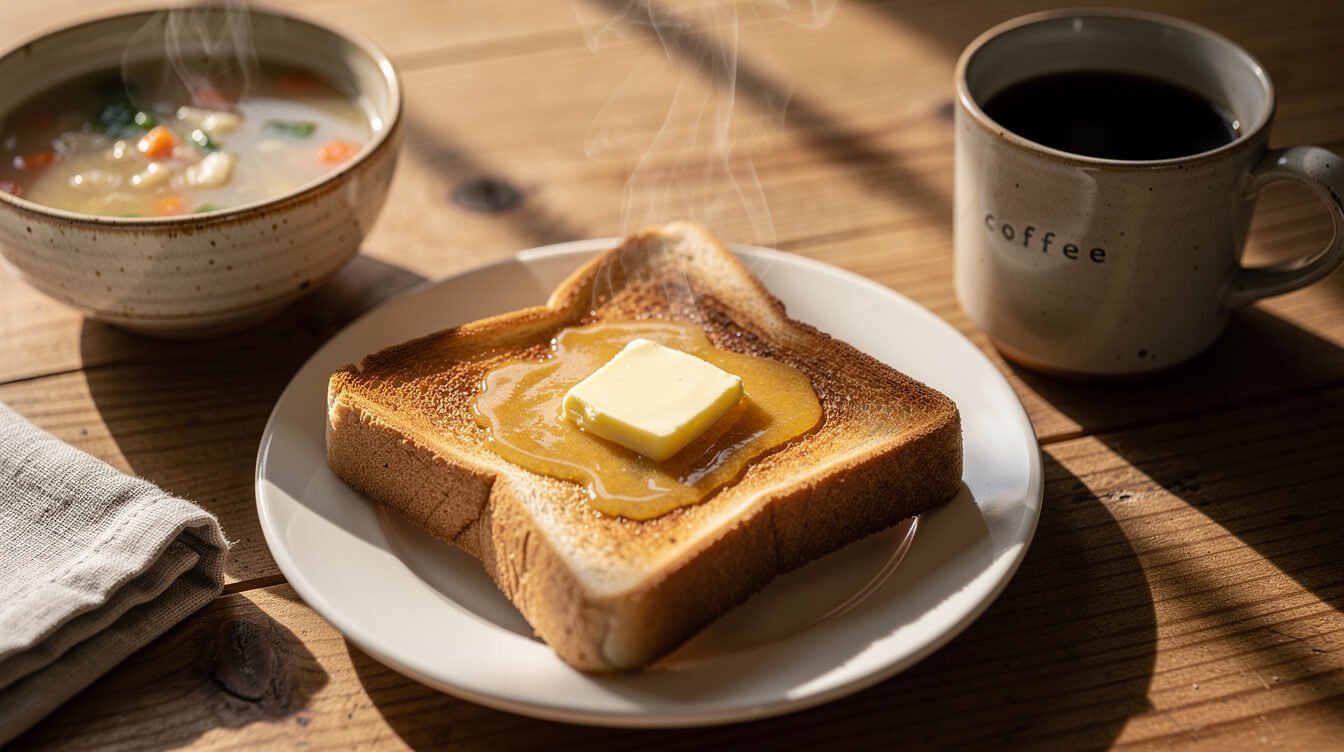
Judge this loaf on its own terms and it’s a genuinely useful bread to have in your back pocket — five ingredients, one bowl, about an hour from empty pantry to warm slice, no yeast packet required. It’s not trying to be sourdough, and it doesn’t need to be. Made this myself twice this week testing the ratios — zero regrets either time, and the second loaf disappeared faster than the first.
Want more bread without the wait? Try the no-yeast pizza dough next, or if you’ve got a little more time on your hands one of these days, start a sourdough starter for the long game.

Before you go
Want the next one?
We post a new recipe or kitchen guide every day. The best of the week lands in one short email, no life story attached.