Homemade Italian Bread (and Why It Goes Stale by Tomorrow)
Homemade Italian bread is easy to make, easy to fall in love with, and — if you don’t do one thing differently than most recipes tell you — hard as a brick by tomorrow morning. That’s the part nobody warns you about. Bakery Italian bread has no preservatives either, but bakeries sell it the same day. You’re keeping yours around for lunch tomorrow, so you need to know the two things that actually matter: the crust trick that makes it worth eating fresh, and the storage trick that keeps it soft past day one.
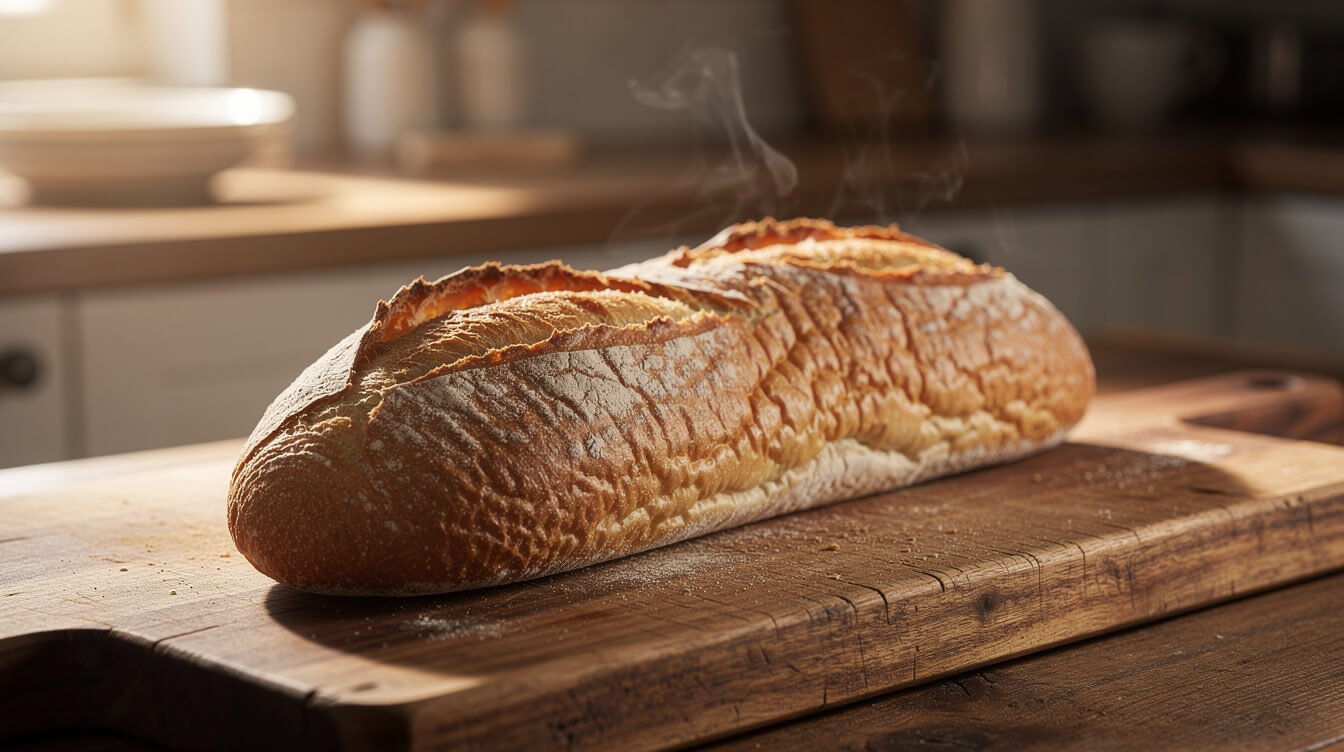
This is a plain, no-fuss white loaf — that classic torpedo shape with a crackly crust and a soft, slightly chewy crumb, the kind you’d tear into for garlic bread, bruschetta, or just butter. No starter, no overnight ferment, no special equipment. Here’s the recipe, the one trick that makes the crust, and the fix for the “why is my bread already stale” problem.
What you need for homemade Italian bread
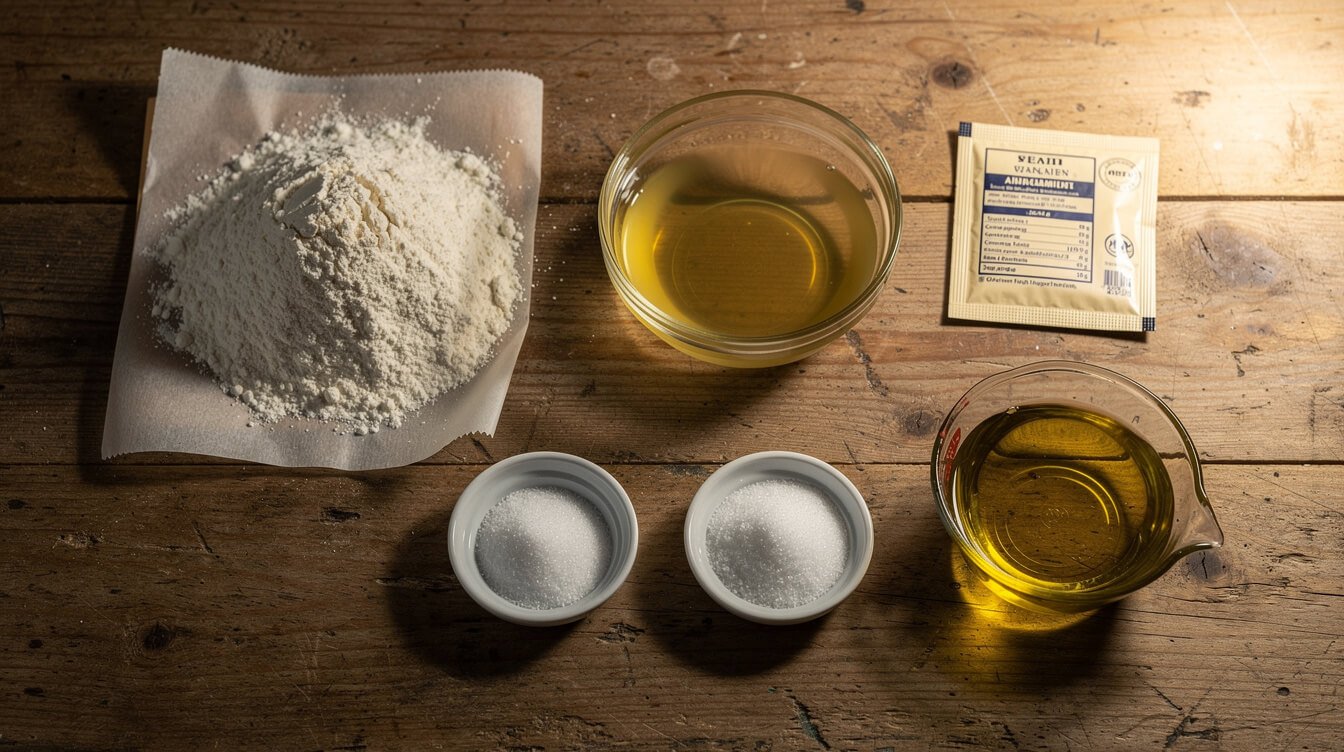
This is a lean dough — no eggs, no milk, barely any fat — which is exactly what gives Italian bread its light, chewy character (and, we’ll get to it, its shorter shelf life).
- 3½ cups (440g) bread flour, plus more for dusting — all-purpose works too, the loaf will just be a touch softer
- 1 packet (2¼ tsp) active dry yeast
- 1¼ cups (300ml) warm water, about 110°F (43°C) — warm to the wrist, not hot
- 1 tablespoon sugar — feeds the yeast, you won’t taste it
- 1¾ teaspoons salt
- 1 tablespoon olive oil (optional, for a slightly softer crumb)
- Cornmeal, for dusting the baking sheet
- 1 egg (optional, beaten with a splash of water, for that shiny bakery-case crust)
That’s it. No mixer required, though if you have one, our guide to picking a stand mixer for home cooks covers exactly how much machine you need for a dough like this — a stand mixer with a dough hook saves you about 8 minutes of kneading, nothing more.
How to make Italian bread, step by step
1. Bloom the yeast
Stir the yeast and sugar into the warm water and let it sit for 5-10 minutes, until it looks foamy on top. If it doesn’t foam, the water was too hot (it killed the yeast) or too cold (it’s still asleep) — toss it and start again rather than baking a loaf that won’t rise. This 5-minute check is the cheapest insurance in the whole recipe: it costs you nothing, and it’s the difference between finding out now or finding out two hours from now with a flat, dead loaf in the oven.
2. Mix and knead
Stir the flour and salt together, then add the yeast mixture and olive oil. Mix until it comes together into a shaggy dough, then knead — by hand on a floured counter, or with a stand mixer’s dough hook — for 8-10 minutes, until it’s smooth and springs back when you poke it. It should be tacky but not sticky to the touch; add flour a tablespoon at a time only if it’s actually sticking to your hands. Kneading isn’t just mixing — it’s what develops the gluten strands that will trap gas and hold the loaf’s shape, so don’t shortcut it just because the dough already looks “done” at minute four.
3. First rise
Place the dough in a lightly oiled bowl, cover, and let it rise somewhere warm for 1 to 1½ hours, until it’s doubled in size. Poke it with a floured finger — if the dent stays, it’s ready. A cold kitchen slows this down a lot; if your house runs cool, put the bowl in the (turned-off) oven with just the oven light on, or on top of the fridge where the motor’s warmth helps.
4. Shape the loaf
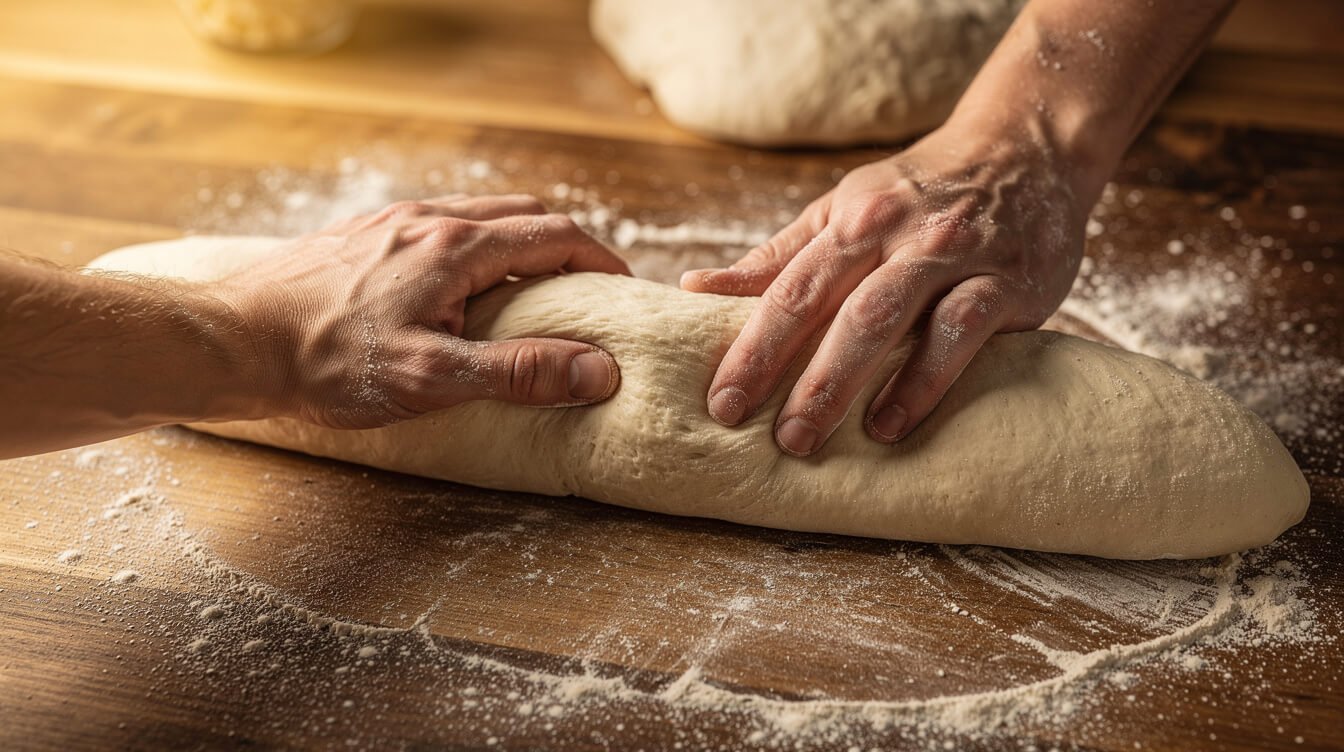
Punch the dough down gently, then shape it into a long torpedo loaf — flatten it into a rough rectangle, roll it up tightly from the long side like a jelly roll, and pinch the seam and ends closed. Place it seam-side down on a baking sheet dusted with cornmeal. Tight, even rolling matters more than it looks like it should — a loosely rolled loaf traps air pockets that show up as ragged holes near the crust instead of an even crumb.
5. Second rise and scoring
Cover loosely and let it rise again for 30-45 minutes, until puffy but not fully doubled — over-proofing here is the single most common reason Italian bread comes out flat instead of tall. Right before baking, brush with egg wash if using, then slash 3-4 diagonal cuts across the top with a sharp knife or razor blade, angled shallow rather than straight down. This isn’t decorative — it gives the loaf a controlled place to expand, instead of splitting wherever it wants along the side.
6. Bake
Bake at 400°F (200°C) for 25-30 minutes, until deeply golden and the loaf sounds hollow when you tap the bottom (or reads 195-200°F on an instant-read thermometer). Rotate the pan halfway through if your oven bakes unevenly. See the next section before you skip straight to the oven — this is where the bakery-crust trick happens, and it costs you nothing extra to do it.
The bakery trick for a crackly crust
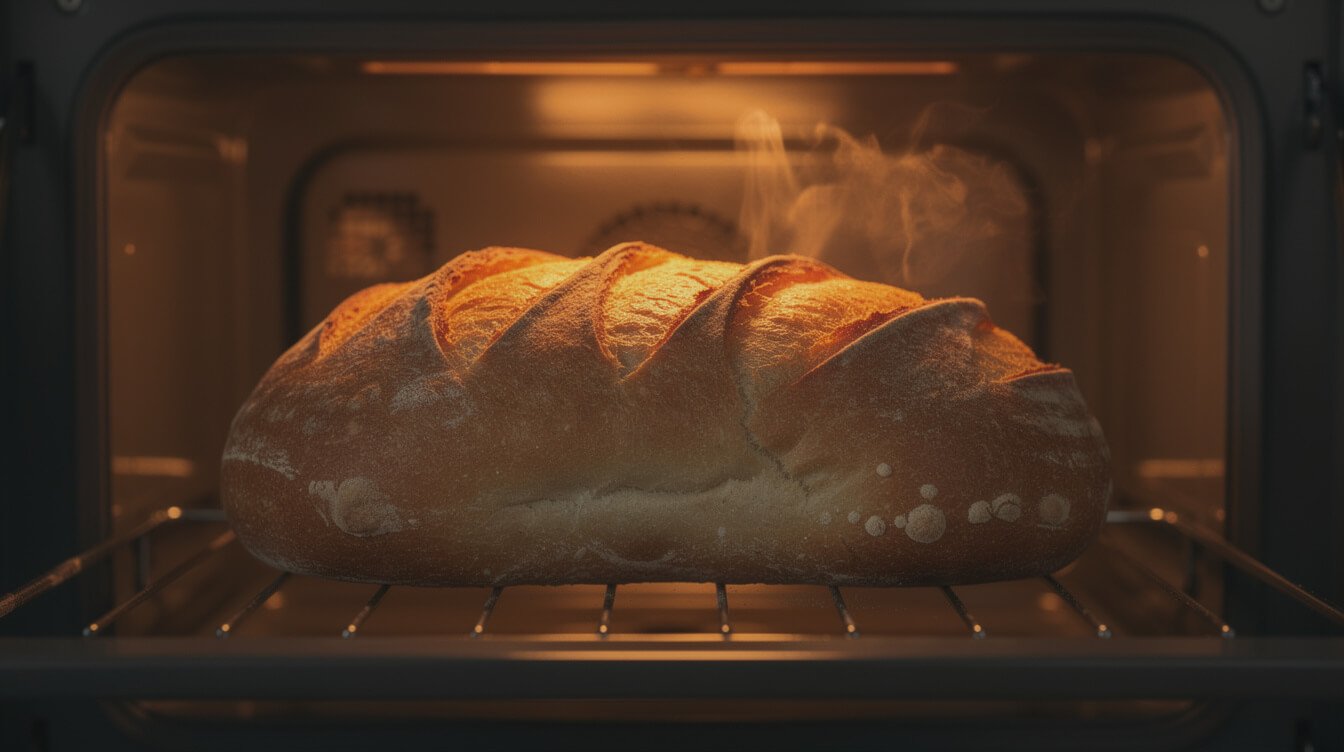
Here’s what almost no home recipe explains clearly: that shatter-crisp crust on bakery Italian bread comes from steam, not just heat. In a bakery, professional ovens inject steam for the first few minutes of baking. At home, you can fake it two easy ways:
- The water pan method: place an empty metal pan on the oven’s bottom rack while it preheats. Right after you put the bread in, pour a cup of hot water into that pan and shut the door fast.
- The spritz method: mist the inside walls of the oven (not the bread directly) with water from a spray bottle right when you load the loaf, then again once about 2 minutes in.
Steam keeps the crust soft and stretchy for the first several minutes, so the loaf can expand fully before the crust hardens — that’s what gives you height and those crackly, blistered ridges instead of a dense, pale dome. Skip it, and you’ll still get bread, just a softer, flatter crust with less of that audible crackle when you tear into it.
Storing homemade Italian bread so it doesn’t go stale by tomorrow
This is the part that trips people up. Bakery Italian bread and homemade Italian bread go stale fast for the same reason: there’s no fat, sugar, or preservatives in a lean dough to slow down moisture loss. Store-bought sandwich bread stays soft for a week because of what’s added to it — this loaf doesn’t have that safety net, and treating it like sandwich bread is exactly why it turns into a brick.
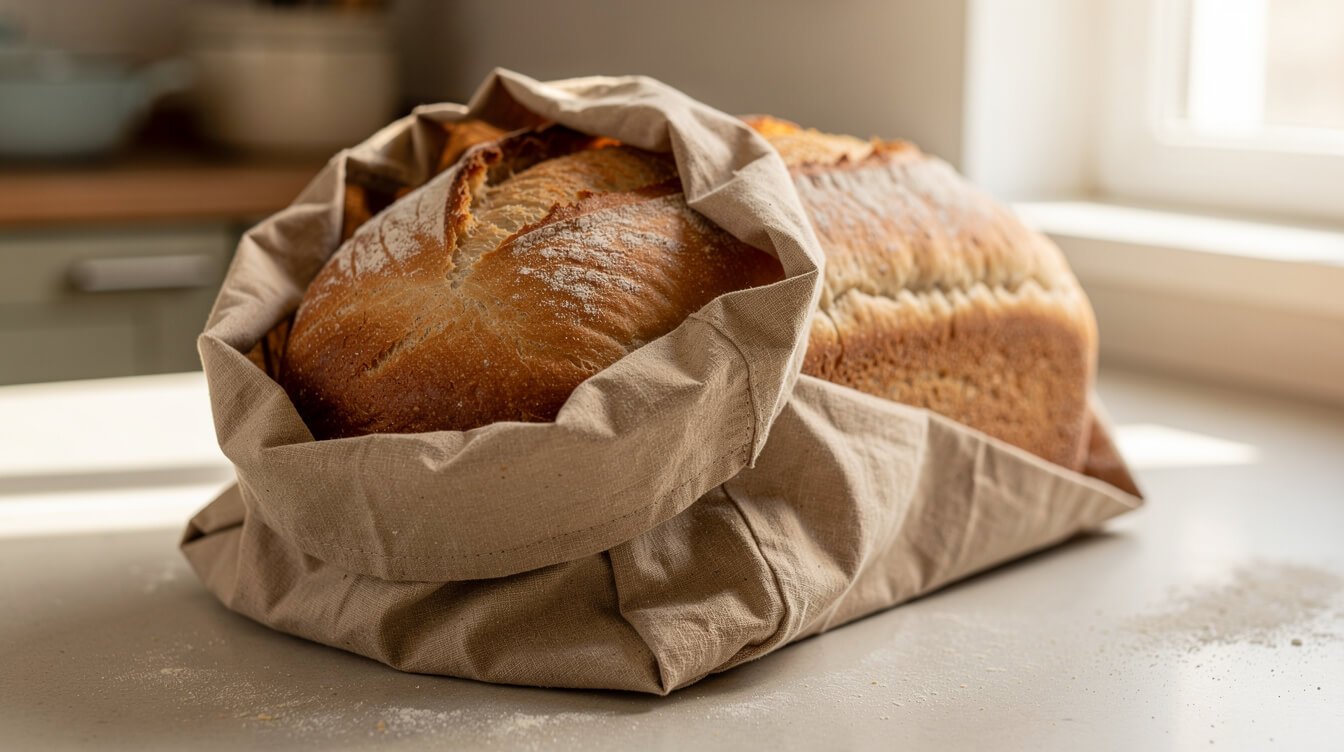
- Day one: let it cool completely, then keep it cut-side down on the counter, loosely wrapped in a paper bag or clean kitchen towel — not plastic. Plastic traps moisture, which softens the crust but speeds up staling of the crumb underneath.
- Day two onward: once it’s no longer fresh-baked soft, move it to a plastic bag or airtight container — at this point you’re not protecting freshness, you’re protecting what’s left.
- Freezing: slice it first, then freeze in a zip-top bag. Homemade Italian bread freezes and thaws far better than it sits on the counter for three days.
- Reviving a stale loaf: run the whole loaf under the tap for a few seconds to wet the crust, then bake at 400°F (200°C) for 8-10 minutes. The crust re-crisps and the crumb steams itself soft again — it won’t be fresh-baked, but it’s a real fix, not a myth.
From the Eat Cafe kitchen
One good recipe a week, straight to your inbox
The recipe we're actually cooking this week, plus the one tip that saves it when it goes sideways. No spam. Unsubscribe anytime.
Common mistakes (and how to fix a dense loaf)
If your loaf came out dense, flat, or tough, it’s almost always one of these:
- Yeast that didn’t bloom. If your water didn’t foam in step 1, your dough never had a real chance — always check before you commit the rest of the ingredients.
- Under-proofed dough. A loaf that goes into the oven before it’s puffy from the second rise won’t get taller once baking starts — the oven doesn’t fix a rise that didn’t happen.
- Over-proofed dough. The opposite problem: past its peak, the gluten structure that’s supposed to hold the loaf’s shape collapses, and you get a wide, flat loaf instead of a tall torpedo.
- Too much flour. Adding flour during kneading “until it feels right” is the most common way home bakers end up with a tough, dry crumb — measure the dough’s stickiness against how it feels after 3-4 minutes of kneading, not how it feels the moment it hits the counter.
- Skipping the steam. Not a dealbreaker, but if your crust came out soft and pale instead of crackly and deep gold, this is almost always why.
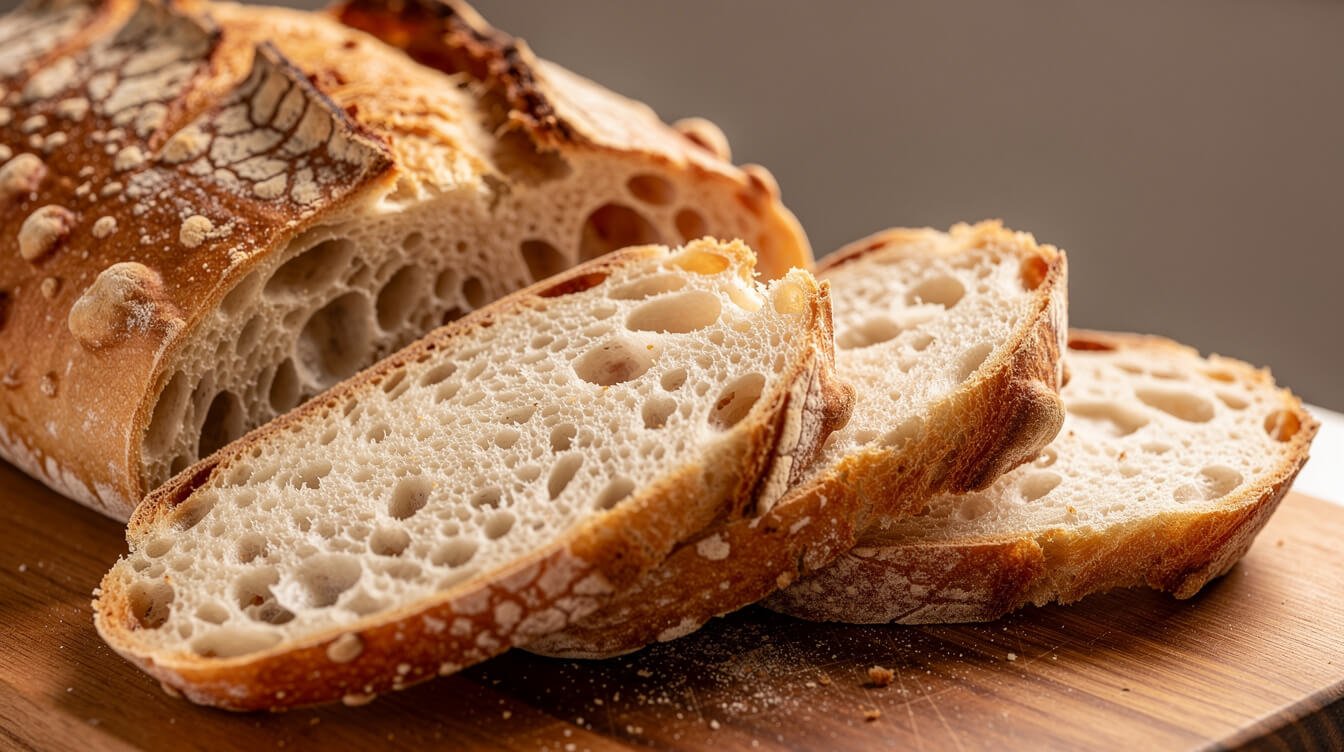
If you want a wetter, more open-holed crumb instead of this tighter, sliceable one, that’s actually a different bread entirely — our ciabatta bread recipe uses a much wetter dough and no shaping at all to get those big, irregular holes.
Make it your own
Once you’ve made the plain version once and know how the dough should feel, it’s an easy base to riff on:
- Herb loaf: knead in 1-2 tablespoons of chopped rosemary or Italian seasoning during step 2.
- Garlic-parmesan crust: brush the egg wash on, then sprinkle grated parmesan and a little garlic powder over the top right before baking.
- Seeded top: after the egg wash, sprinkle sesame seeds, poppy seeds, or a mix — press them on gently so they stick through baking.
- Two smaller loaves: divide the dough in half after the first rise for two shorter loaves instead of one long one — cut the bake time to about 20-22 minutes and start checking early.
None of these change the core method — same rises, same steam trick, same bake temperature. They’re additions, not substitutions, so if this is your first loaf, it’s worth making it plain once before you start customizing.
What to do with your loaf
A fresh torpedo loaf is built for tearing apart with your hands, but it holds up to a lot more than that:
- Garlic bread — split it lengthwise and it’s most of the way to our homemade garlic bread, especially once it’s a day old and slightly firmer.
- Bruschetta — thick diagonal slices, toasted, rubbed with a cut garlic clove.
- Sandwiches and paninis — the sturdy crust holds up to fillings without going soggy.
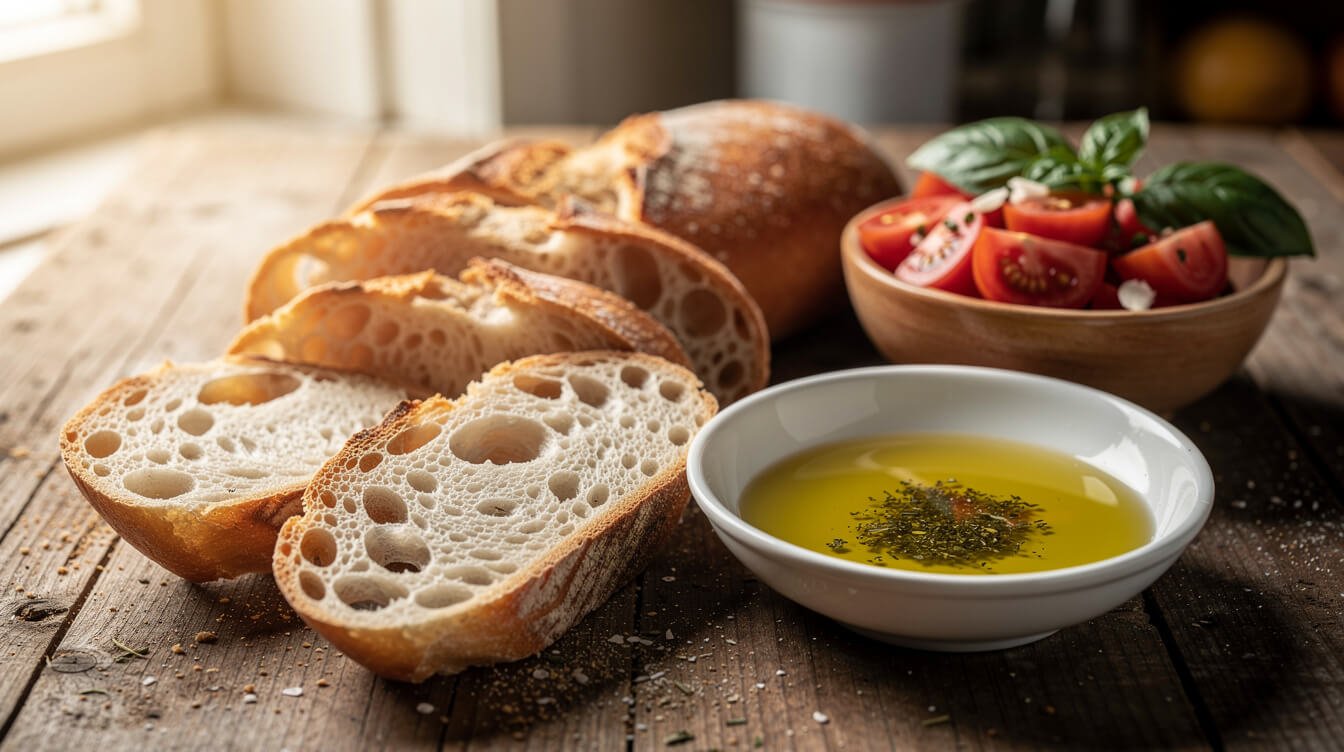
- Dipping — olive oil and a little balsamic, or straight into a bowl of soup.
Frequently asked questions
Is this the same as sourdough Italian bread?
No — this is a straightforward yeasted loaf, ready start to finish in about 3 hours. If you want the deeper, tangier flavor and longer fermentation of sourdough, our sourdough starter guide is the place to start, but it’s a different project — plan on days, not hours.
Can I make this without a stand mixer?
Yes, easily — hand-kneading takes about 8-10 minutes and this dough is soft and forgiving. A stand mixer just saves you the arm work.
Why is my crust hard as a rock instead of crackly?
Usually one of two things: it baked too long past the point of being done, or it cooled uncovered on the counter for hours before you wrapped it. A properly steamed loaf, pulled at 195-200°F internal and wrapped once fully cool, should have a crackly-but-not-hard crust.
Do I have to use bread flour?
No — all-purpose flour works fine and is what most home bakers already have. Bread flour’s higher protein gives a slightly chewier crumb, but the difference is subtle, not a dealbreaker.
How long does it actually stay good?
Properly stored (see the storage section above), 2 days at peak texture, up to 4 with the reviving trick, or 3 months frozen and sliced.
Can I add cheese or herbs to the dough?
Yes — see the “make it your own” section above. Knead them in during step 2 rather than folding them in later, so they distribute evenly instead of clumping in one spot.
What if my kitchen is cold and the dough won’t rise?
Yeast slows down significantly below about 70°F (21°C) — it’s not dead, just sluggish. Give it more time rather than more heat; a warm spot (turned-off oven with the light on, or near a running dishwasher) speeds things up without risking water hot enough to kill the yeast.
Can I let the dough rise overnight in the fridge instead?
Yes — after step 2, refrigerate the covered dough for up to 24 hours instead of doing the room-temperature first rise. Let it sit out for about 30 minutes to take the chill off before shaping. You’ll actually get slightly more flavor this way, since the slower, cold rise gives the yeast more time to develop character.

From the Eat Cafe shop
100 Essential Tools Every Chef Has in Their Kitchen eBook and Guide
$7.99
See it in the shopFinal thoughts
Homemade Italian bread is one of the most forgiving loaves you can bake — no starter to maintain, no overnight schedule to plan around, just an afternoon and a handful of pantry staples. The steam trick and the storage fix are the two details that separate a good loaf from a great one, and neither takes any extra skill, just knowing to do them. Once you’ve made it once, you’ll see how little stands between you and bakery-quality bread on a random Tuesday.
Save this recipe for the next time you want fresh bread on the table, and if you try it, we’d love to hear how your loaf turned out.

Before you go
Want the next one?
We post a new recipe or kitchen guide every day. The best of the week lands in one short email, no life story attached.