Homemade Garlic Bread Recipe (and the Fix for Soggy, Greasy Bread)
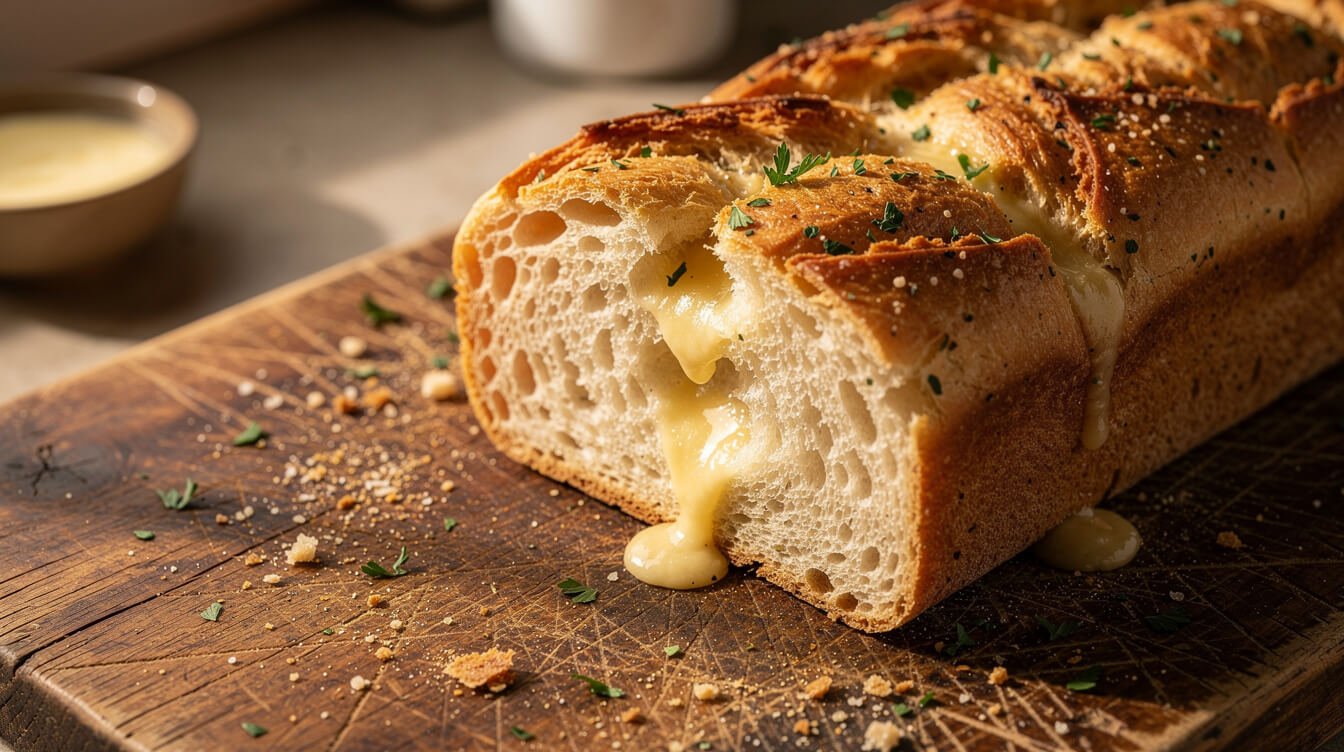
Homemade garlic bread recipe, the short version: butter, garlic, bread, heat. The long version is where most people go wrong — soggy centers, greasy tops that slide right off, or garlic that turns sharp and bitter under the broiler. Here’s the recipe, plus the two things that actually cause those problems and how to fix them, so the loaf you pull out of the oven matches the one you pictured.
You don’t need a fancy loaf, a food processor, or a trip to a specialty store. A basic French baguette and a butter knife will get you there in under 20 minutes.
Homemade garlic bread: the two methods, and how to pick
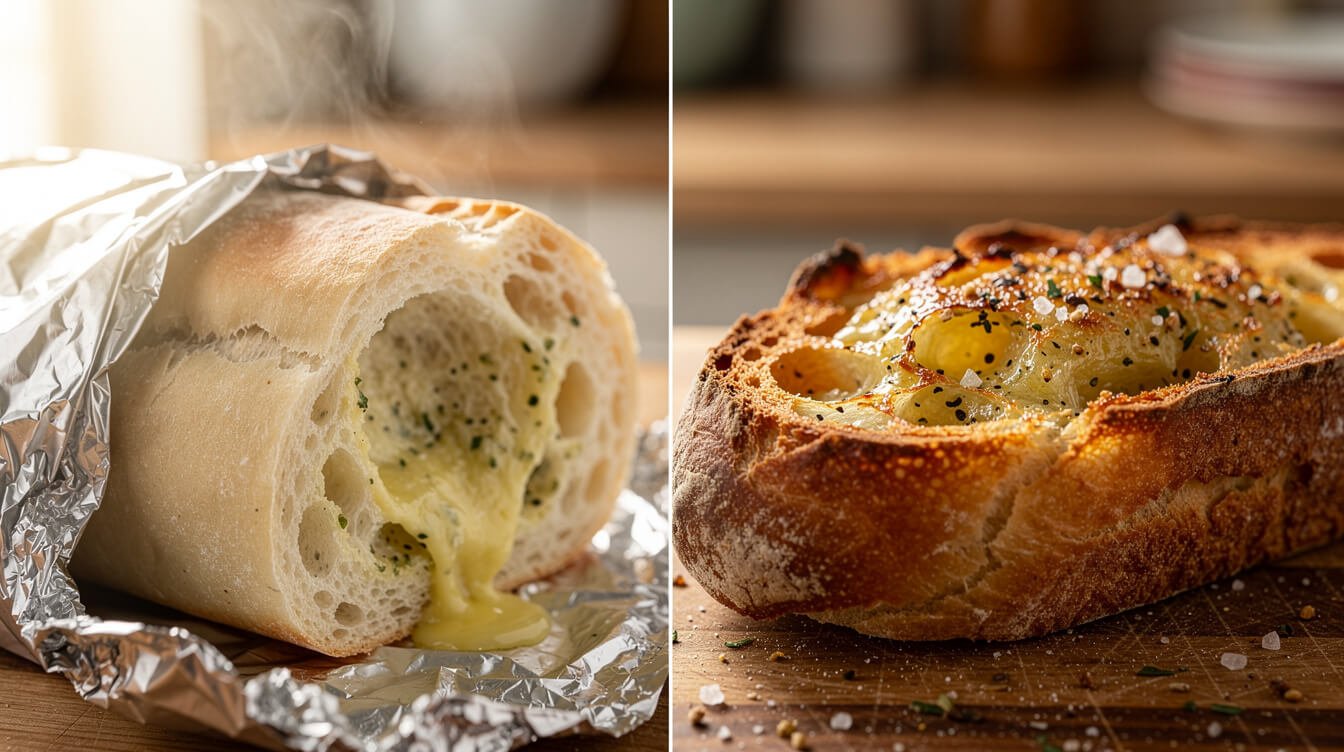
There are two honest ways to make garlic bread, and most recipes only tell you one, which is why so many people end up with a version that doesn’t match what they actually wanted.
- Foil-wrapped: Slice the loaf almost all the way through, spread garlic butter between every cut, wrap tight in foil, and bake. The bread steams in its own butter — soft all the way through, garlicky in every bite, less crust crunch.
- Open-faced: Split the loaf lengthwise, spread the butter on top, and broil uncovered. You get a golden, crisp top and a firmer bite, but the flavor stays mostly on the surface.
Neither is more “correct” — they’re built for different meals. Foil is what you want alongside a saucy pasta night, since the soft bread soaks up sauce without falling apart. Open-faced is what you want next to something dry, like a roast chicken or a grilled steak, where you want the crunch to do some work. This recipe below is written for open-faced, since it’s the version people ask about most and the one that tends to go wrong in the ways covered further down — but the swap is one step (wrap in foil and skip the broiler) if you want the other.
What you need for homemade garlic bread
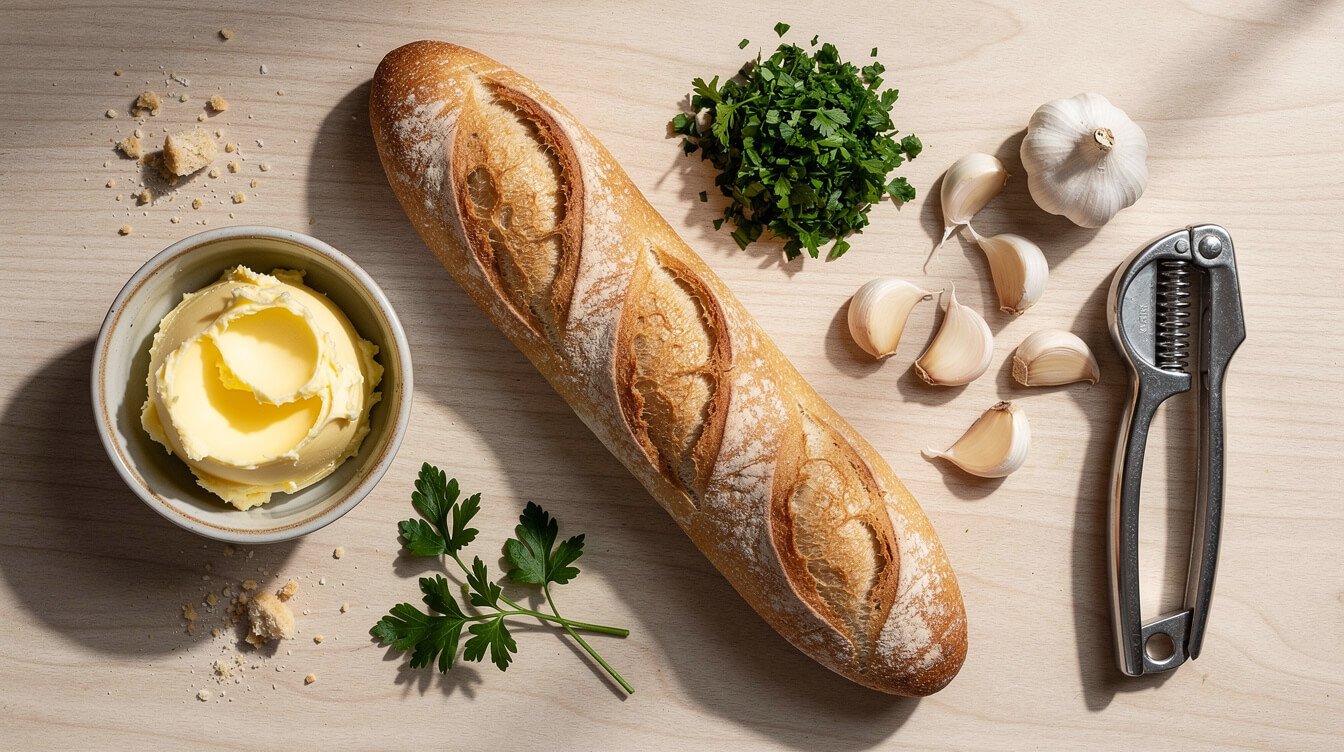
For one loaf (serves 4-6 as a side):
- 1 French baguette or Italian loaf, split lengthwise
- 6 tablespoons salted butter, softened (not melted)
- 3-4 cloves garlic, finely minced or pressed
- 2 tablespoons fresh parsley, chopped (or 2 teaspoons dried)
- Optional: 2 tablespoons grated Parmesan
Bread: skip anything too crusty and thick — a hard, artisan crust fights you when you slice it and gives you more crunch than bread underneath. A basic bakery baguette or soft Italian loaf works better here than anything fancy. If all you have on hand is a rustic sourdough loaf, it’ll still work, but expect a chewier bite and cut your slices a little thinner.
Garlic: fresh, not jarred or powdered, if you can manage it. Jarred garlic has a flatter, slightly sour edge once it’s baked. If fresh isn’t available, use 1 teaspoon garlic powder per clove called for — it won’t burn the way fresh garlic can (more on that below), which is its one real advantage over fresh.
Butter: let it soften on the counter for 30 minutes before you start. Cold butter tears the bread when you spread it; melted butter soaks in unevenly and pools instead of coating the surface. If you’re using unsalted butter, add a pinch of salt to the mixture — salted butter has enough built in.
Herbs: parsley is the classic choice mostly because people always have it, and it looks nice against the golden butter. Fresh oregano, chives, or a little fresh basil all work if that’s what’s in your fridge — none of them are wrong here, so don’t let a missing herb stop you from making this tonight.
How to make homemade garlic bread, step by step
- Preheat the oven to 400°F (200°C), or set the broiler to low if you’re broiling instead.
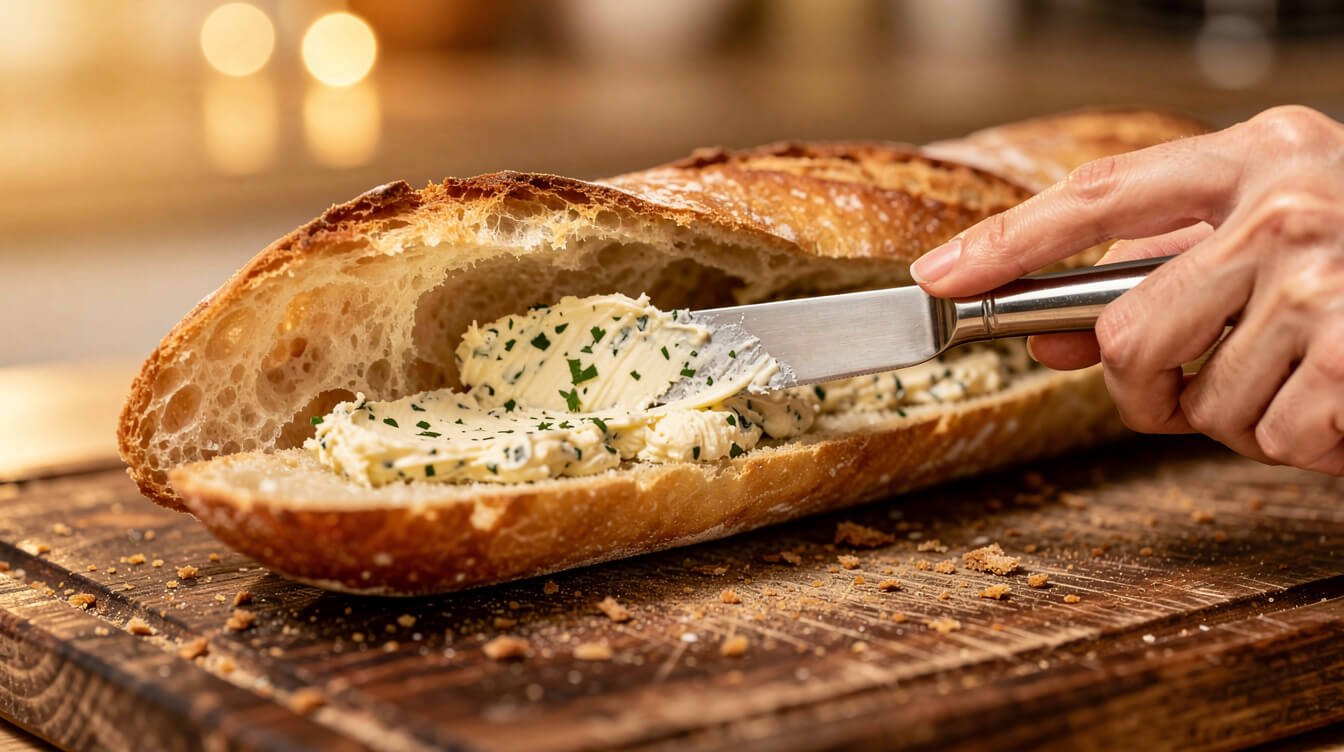
- Mix the softened butter, garlic, parsley, and a pinch of salt in a small bowl until evenly combined — it should look uniformly speckled, not streaky.
- Split the loaf lengthwise. Spread the garlic butter edge to edge — all the way to the corners, not just down the middle. This is the step that decides whether every bite tastes the same or somebody gets stuck with a plain end piece.
- Sprinkle with Parmesan if using.
- Bake open-faced at 400°F for 10-12 minutes, until the edges are golden. For extra color, switch to broil for the last 60-90 seconds, watching the whole time — broilers go from golden to black fast, faster than most ovens’ timers account for.
- Rest for 2 minutes before slicing. The butter needs a moment to set back into the bread instead of running off onto the cutting board the second the knife touches it.
For the foil-wrapped version instead: slice almost all the way through into 1-inch pieces, butter between each cut, wrap tightly in foil, and bake at 375°F for 15-18 minutes, until you can smell the garlic through the foil and the loaf feels soft when you press it.
The fix for soggy, greasy homemade garlic bread
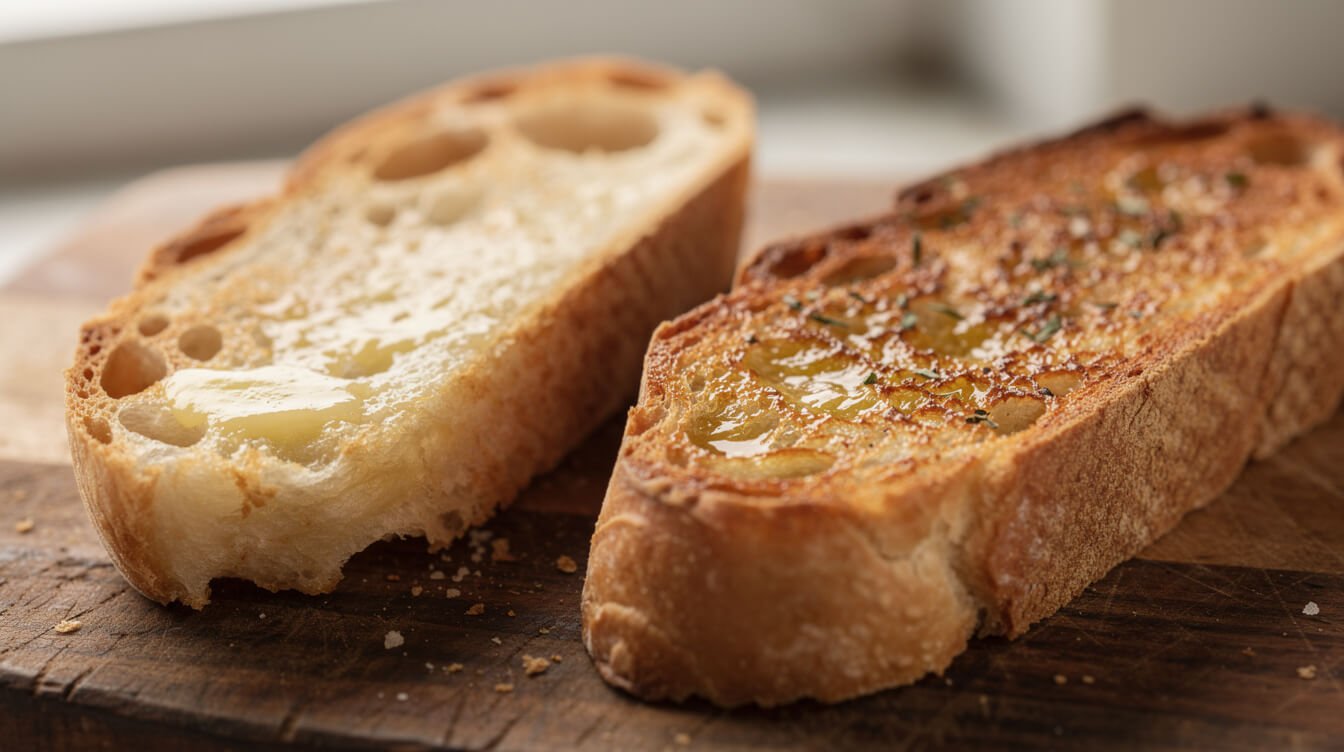
This is the complaint I hear most: the bread looks great coming out of the oven, then five minutes later it’s gone limp and greasy, with butter pooled on the plate underneath. Three usual causes, in order of likelihood:
- Too much butter, unevenly spread. A thick layer in the center and none at the edges means the center never firms back up — it just sits in liquid fat while it bakes. Spread a thinner, even layer instead of piling it on in the middle.
- Melted butter instead of softened. Melted butter soaks straight into the crumb before it even hits the oven, so there’s nothing left on the surface to crisp up. Softened, spreadable butter sits on top and toasts instead of disappearing into the bread.
- Skipping the rest. Butter is still liquid fat straight from the oven, no matter how well you baked it. Two minutes on the counter lets it re-set into the bread instead of running off the second you slice it.
If it’s already soggy by the time you notice, a 3-4 minute stint back in a hot, dry oven (no foil, no lid) will crisp the surface back up. It won’t fully undo an overly wet loaf, but it gets you most of the way there.
From the Eat Cafe kitchen
One good recipe a week, straight to your inbox
The recipe we're actually cooking this week, plus the one tip that saves it when it goes sideways. No spam. Unsubscribe anytime.
The fix for bitter, burnt garlic
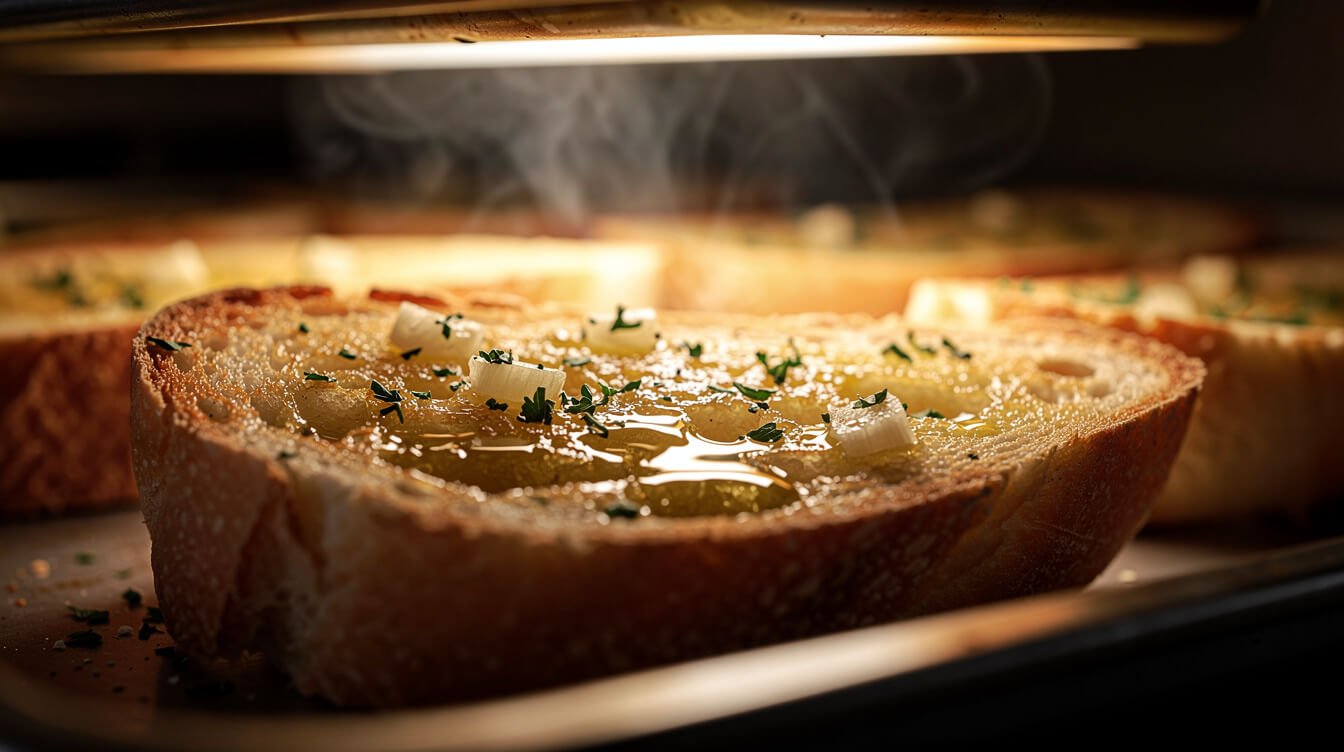
Burnt garlic doesn’t taste “extra toasty” — it turns sharp and bitter, and a few scorched bits can carry that flavor across the whole loaf. It happens because raw minced garlic sits directly exposed on top, and broilers run hotter and less evenly than they look from outside the oven door.
Two fixes, pick whichever fits how you’re baking:
- Bake before you broil. Let the butter and garlic cook gently at 400°F first, so the garlic is already soft and mellow before any direct high heat touches it. Only broil at the very end, briefly, just for color.
- Mellow the garlic first. Warm the minced garlic in the butter in a small pan over low heat for 60 seconds before spreading — just enough to soften the raw bite — then proceed as normal. This is the move if you’re generally sensitive to raw garlic’s sharpness, not just worried about burning it.
Either way: if you’re broiling, stand at the oven the whole time. Thirty seconds is the difference between golden and acrid, and it happens faster than it sounds like it should.
Cheesy garlic bread, one ingredient away
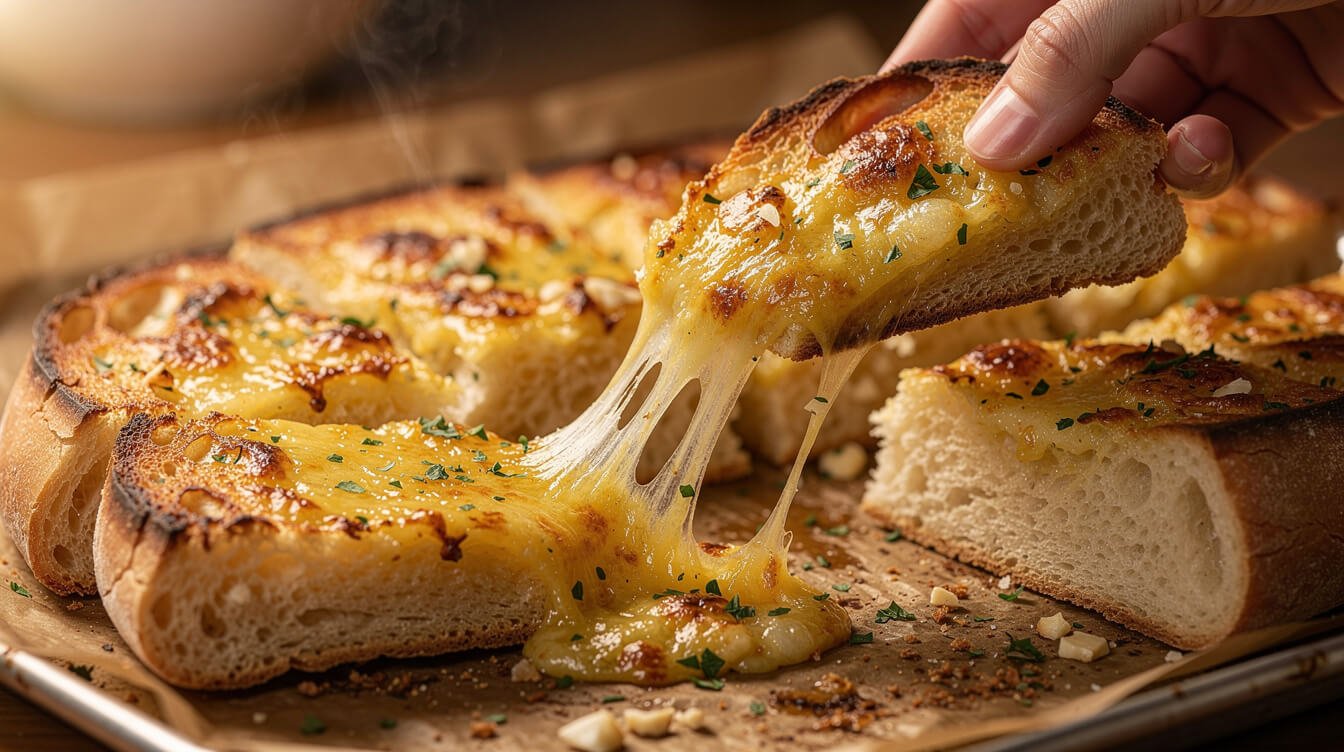
Same recipe, add 1 cup shredded mozzarella (or a mozzarella-Parmesan mix) on top after the butter, before baking. Bake at 400°F for 10 minutes, then broil for 1-2 minutes until the cheese is bubbling and spotted golden — watch it the whole time, since cheese goes from perfect to burnt just as fast as garlic does.
If you’re planning a full pasta night around this, our easy weeknight dinners for family guide has a few saucy mains that pair well with either version of this bread — the foil-wrapped one especially, since it’s built to soak up sauce without going to pieces.
Make ahead, freeze, and reheat without going soggy
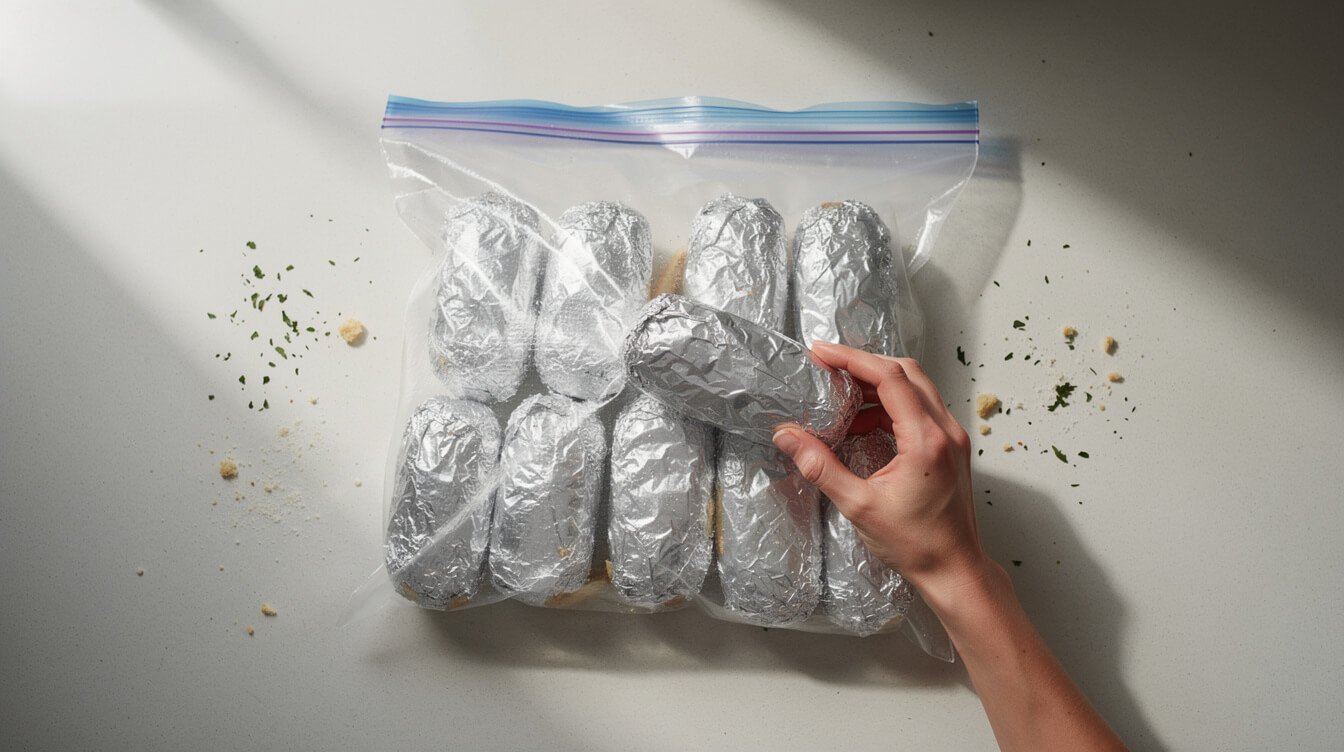
Make ahead (unbaked): spread the butter, wrap the whole loaf tightly in foil, and refrigerate up to 2 days before baking straight from the fridge — add 3-4 minutes to the bake time to account for the cold start.
Freeze (unbaked): wrap tightly in foil, then in a freezer bag, and freeze up to 2 months. Bake straight from frozen at 375°F, foil-wrapped, for about 25 minutes, then unwrap for the last 5 minutes if you want a crisp top instead of an all-soft one.
Reheating leftovers: a low oven (325°F) for 5-7 minutes brings back the crisp edges without drying out the middle. The microwave is faster but turns the crust soft and slightly chewy — fine in a pinch, not the same bread you started with.
If you’re building out a bread-baking habit at home, our homemade ciabatta bread recipe is a good next loaf to try your own garlic butter on once you’ve got this one down.
Frequently asked questions
Can I use garlic powder instead of fresh garlic?
Yes — use about 1 teaspoon garlic powder per fresh clove called for. The flavor is milder and more even, and it won’t burn under the broiler the way fresh minced garlic can.
Why did my garlic bread turn out hard instead of soft?
Usually too little butter, too long in the oven, or too crusty a loaf to begin with. Cut back the bake time by 2-3 minutes and check early — it should be golden at the edges, not deeply browned all over.
Can I make this dairy-free?
Swap the butter for a plant-based butter substitute in equal amounts. The texture and browning are close enough that the rest of the recipe doesn’t need to change.
What bread works best if I can’t find a baguette?
A soft Italian loaf, ciabatta, or even hot dog buns in a pinch. Avoid very hard, thick-crusted artisan loaves — they don’t take butter evenly and are harder to bite through once toasted.
How do I keep garlic bread warm for a dinner party without it going soggy?
Loosely tent it with foil (don’t wrap it tight) and keep it in a 200°F oven for up to 20 minutes. A tight wrap traps steam and softens the crust; a loose tent keeps it warm without trapping moisture underneath.
Can I use minced jarred garlic?
You can, but expect a flatter, slightly sour flavor once baked compared to fresh. If it’s what you have, mellow it in the butter over low heat first (see the burnt-garlic section above) — it helps jarred garlic too, not just fresh.
Why does my garlic bread taste bitter?
Almost always scorched garlic from too much direct broiler heat. Bake first at a moderate temperature, and only broil briefly at the very end for color — see the fix above for the full breakdown.
Can I double the recipe for a crowd?
Yes, it scales cleanly — just make sure you have enough oven space to bake the loaves without crowding, which slows browning and can leave the centers underdone by the time the edges look ready.
Does the type of garlic press or mincing method matter?
Not much for flavor, but finer mincing (or a press) spreads more evenly through the butter than a rough chop, so you’re less likely to bite into one overwhelming chunk of raw garlic in an otherwise mellow bite.
From the Eat Cafe shop
Eat Cafe - Support Our Charities Donor Membership T-Shirt
$24.99
See it in the shopFinal thoughts
Garlic bread is one of those sides that’s genuinely hard to get wrong once you know the two things that usually go sideways: too much or too-melted butter, and garlic that gets too much direct heat. Fix those, and the rest is just bread, butter, and twelve minutes in the oven — no special equipment, no hard-to-find ingredients, and no reason it shouldn’t turn out right the first time.
Made a batch? Save this recipe for next pasta night, or subscribe for a new one every week.

Before you go
Want the next one?
We post a new recipe or kitchen guide every day. The best of the week lands in one short email, no life story attached.