Homemade Pizza Dough Without Yeast (Ready in 20 Minutes, No Rise)
Out of yeast, or just out of time? You can still have homemade pizza dough without yeast on the table in about 20 minutes, start to oven. No packet to activate, no hour of waiting for the dough to double, no “is it dead or just slow” guessing game. Baking powder does the lifting instead, and it works the second the dough hits a hot oven.
Here’s the trade: you lose the deep, yeasty chew of a real pizzeria crust. What you get back is a tender, crisp-edged crust you can make on a random Tuesday with pantry staples, ready before the oven even finishes preheating. That’s a fair trade for a weeknight, and once you’ve made it once or twice, it becomes the recipe you reach for when the “let’s just order in” thought starts creeping in.
Why pizza dough works without yeast
Yeast is a leavener — its whole job is to eat sugars and burp out carbon dioxide, which is what puffs bread up. It’s a living organism, and it needs time and warmth to do that work, usually an hour or more for a first rise, sometimes longer if your kitchen is cool.
Baking powder is a leavener too, and it’s instant. It’s a mix of a base and a dry acid, and the moment it hits liquid, a little gas release starts right away; the rest happens once it hits oven heat. That’s the entire trick behind homemade pizza dough without yeast: swap the slow, living leavener for the fast, chemical one, and skip the proofing step completely. No warm spot on the counter, no plastic wrap tented over a bowl, no checking on it every 20 minutes.
The crust that results is genuinely different from a yeasted one — closer to a soft flatbread or a thick, tender cracker than a chewy, bubbly Neapolitan crust. It won’t have those big irregular air pockets around the edge that a long, slow ferment builds. What it will have is a fresh-baked crust, made from scratch, in less time than it takes a delivery driver to find your address.
If you love the deep flavor of a slow ferment and have the time for it, our Italian pizza dough recipe is worth the wait — and if you’re just trying to figure out why a yeasted dough isn’t behaving, our guide to how much yeast for pizza dough covers that separately. This recipe is for the nights when waiting isn’t an option.
What you need for homemade pizza dough without yeast
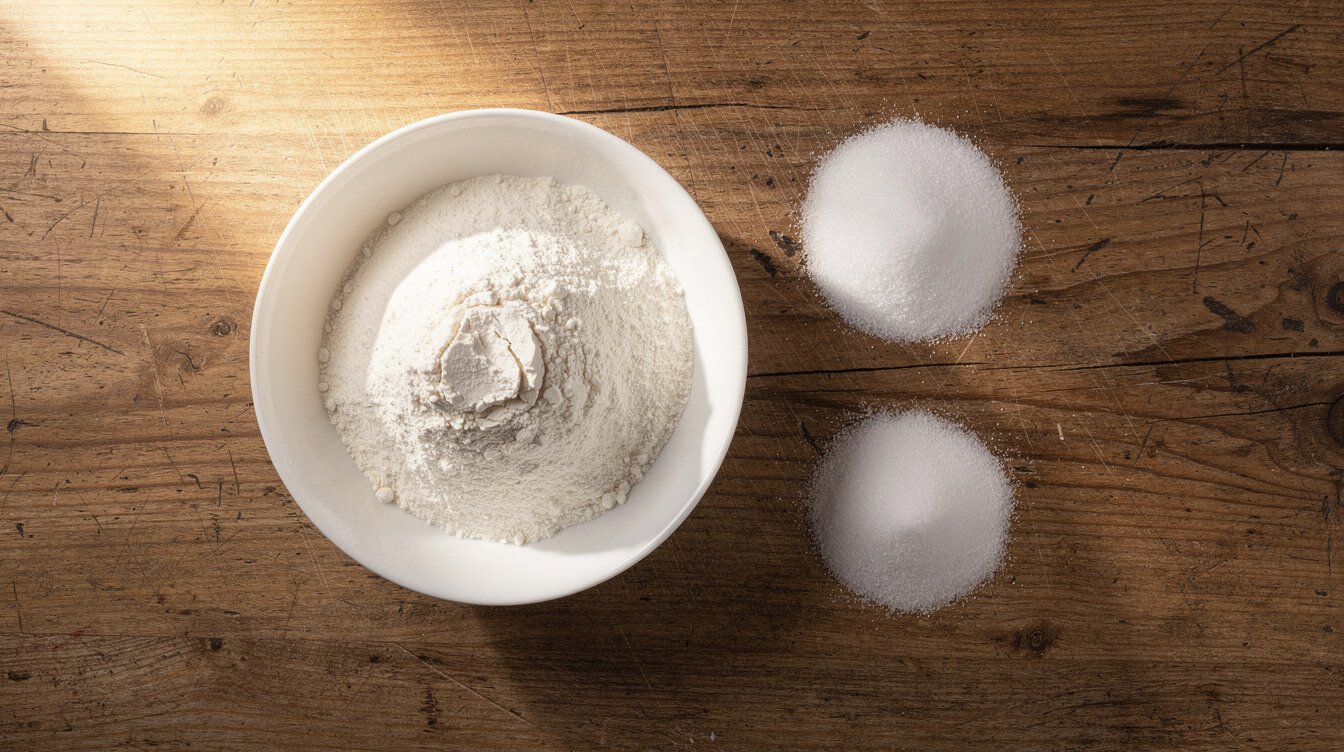
Six ingredients, all things you probably already have in the pantry:
- 2 cups (250g) all-purpose flour, plus a little extra for dusting the counter
- 1 tablespoon baking powder — make sure it’s fresh (see the FAQ below on why this matters more than you’d think)
- 1 teaspoon fine salt
- 1 teaspoon sugar (optional — it helps the crust brown a little more evenly, but skip it and nothing bad happens)
- 2 tablespoons olive oil, plus more for the bowl
- 3/4 cup (180ml) warm water — not hot, just warm to the touch
That’s it. No proofing yeast in warm water, no waiting to see if it foams, no worrying about killing it with water that’s too hot. A quick note on the flour: bread flour will give you a slightly chewier bite if that’s what you’re after, since it has more protein to build structure. All-purpose is what most home cooks have on hand, and it works perfectly well here — this dough doesn’t need bread flour’s extra strength the way a long-rise yeasted dough does.
If you’re doubling the recipe for a crowd, just double every ingredient evenly — this dough scales cleanly, and you can bake two crusts back to back while the oven’s already hot.
How to make it, step by step
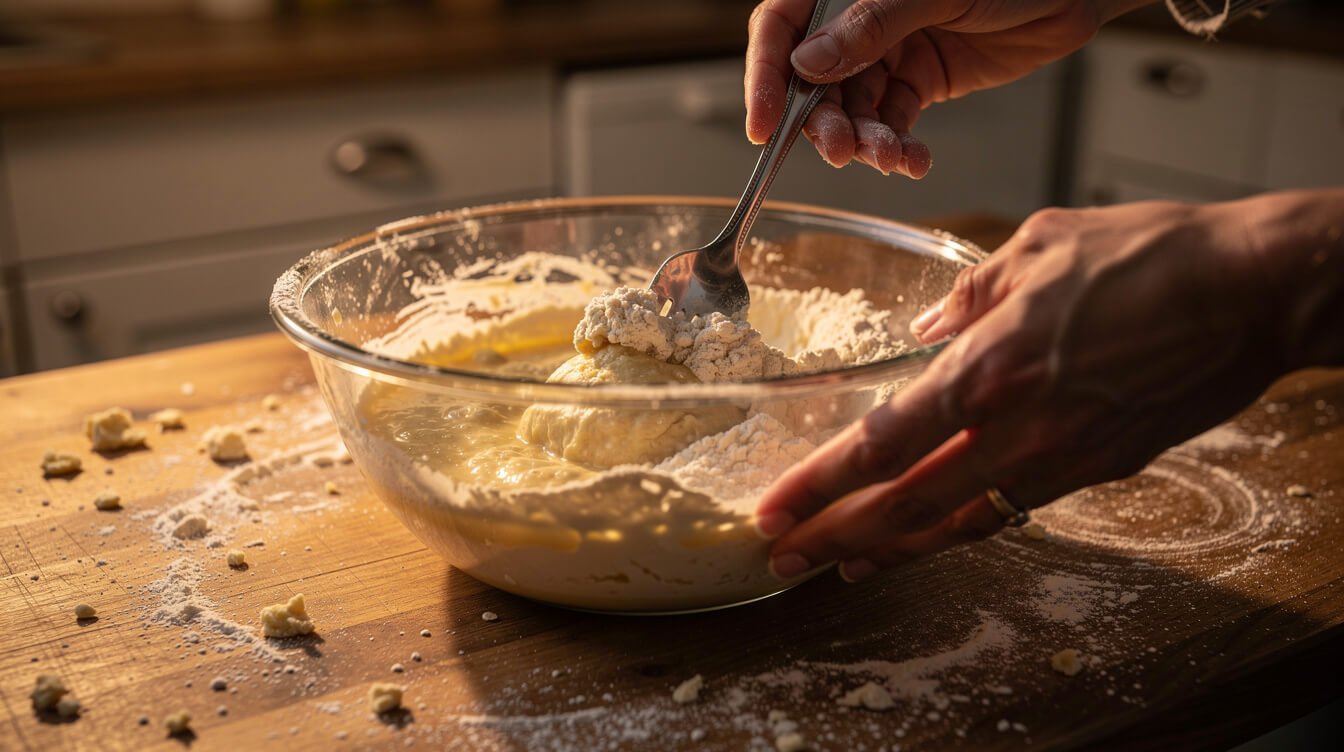
This whole process, mixing through resting, takes about 15 minutes, and most of that is hands-off.
- Whisk the dry ingredients. Flour, baking powder, salt, and sugar (if using) in a large bowl. Whisking first — rather than just dumping everything in together — spreads the baking powder evenly through the flour, so you don’t end up with a bitter pocket in one bite of crust.
- Add the wet ingredients. Pour in the olive oil and warm water. Stir with a fork until it starts to come together into a shaggy, slightly rough-looking dough. It won’t look smooth yet, and that’s fine.
- Bring it together by hand. Turn it out onto a lightly floured counter and knead gently for about 30 to 60 seconds — just until it’s smooth and no longer sticky, picking up loose flour from the counter as you go. That’s all it needs. Resist the urge to keep going past this point.
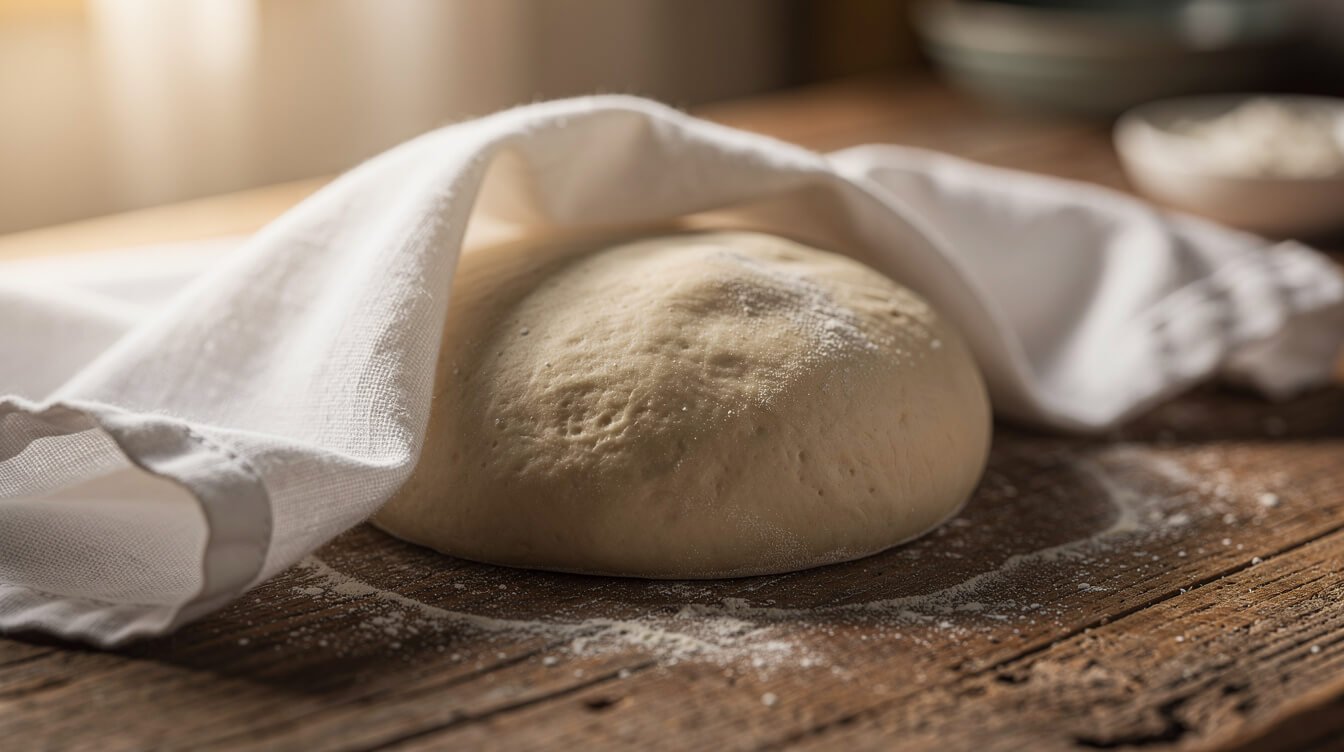
- Let it rest, covered, for 10 minutes. This is the step people skip when they’re in a hurry, and it’s the one that saves you from tough dough later (more on exactly why in the next section). A bowl with a plate or clean towel over it is fine — no special proofing setup required.
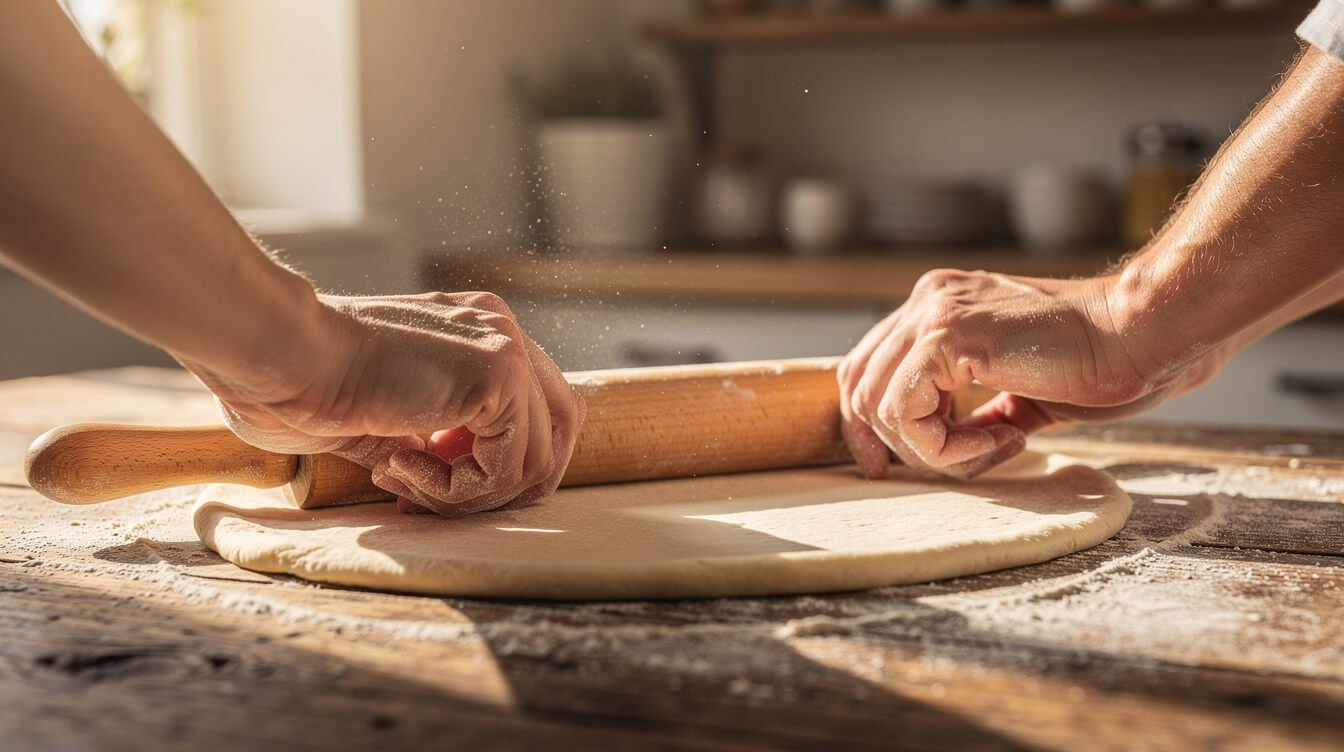
- Roll it out on a floured surface or a piece of parchment paper to your preferred thickness — about 1/4 inch for a classic, evenly-baked crust. Rolling on parchment makes it easy to slide the whole thing onto a hot stone or pan without stretching or tearing it.
From here, top it and bake it. Easy weeknight math: this is the kind of shortcut that belongs right alongside the rest of our easy weeknight dinners — minimal ingredients, minimal waiting, dinner that actually gets on the table instead of staying a good intention.
The one mistake that makes this dough tough
If your no-yeast pizza dough has ever come out tough, dense, or springing back every single time you try to stretch it, it’s almost always the same culprit: too much kneading.
Yeasted dough gets kneaded for a good 8 to 10 minutes on purpose — that extended kneading develops gluten, the stretchy protein network that gives dough structure and lets it trap all the gas the yeast produces over a long rise. Over an hour or more of resting, that gluten also has time to relax back out, which is why a well-risen yeasted dough is both strong and easy to stretch.
This dough doesn’t get that hour. There’s no long rise to let the gluten relax before it hits the oven. Knead it like a yeast dough — five minutes, ten minutes, working it until it’s perfectly smooth and elastic — and you’ll build all the same tight structure, with none of the resting time to loosen it back up. The result is a crust that fights you the whole time you try to shape it, shrinks back the second you stop pulling, and chews like a rubber band once it’s baked.
The fix is simple: knead just until the dough comes together — 30 to 60 seconds, no more — then let it rest. That 10-minute rest does the relaxing that extra kneading would otherwise force the dough to do the hard way. If the dough still snaps back while you’re rolling it, don’t fight it — stop, let it sit for another 5 minutes, and try again. It will cooperate the second time.
The same rule applies if you’re patching or re-rolling scraps: handle them as little as possible. Every extra minute of working the dough by hand builds a little more toughness in.
From the Eat Cafe kitchen
One good recipe a week, straight to your inbox
The recipe we're actually cooking this week, plus the one tip that saves it when it goes sideways. No spam. Unsubscribe anytime.
How to bake it so the middle isn’t gummy
The other common complaint with quick pizza dough is a crust that’s crisp and golden at the edges but wet and doughy right in the center. Three things fix that, and they all matter more here than they would with a thicker, longer-risen crust:
- Get the oven properly hot first. 450–475°F, and give it a real 20 to 30 minutes to preheat if you’re using a pizza stone or steel — not just until the oven’s preheat beep goes off, which usually means the air is hot but the stone itself isn’t yet.
- Roll it thin. This dough doesn’t puff the way yeasted dough does, since there’s no long fermentation building air pockets through the crumb. Aim for 1/4 inch or a bit less; a thick crust here just means a thick, undercooked middle by the time the edges are done.
- Go easy on wet toppings. A heavy layer of sauce, or watery vegetables like fresh tomato slices or raw mushrooms, can steam the crust from above before the bottom ever has a chance to crisp. Blot excess moisture from toppings with a paper towel, and resist the urge to over-sauce — a thin, even layer goes further than it looks like it will.
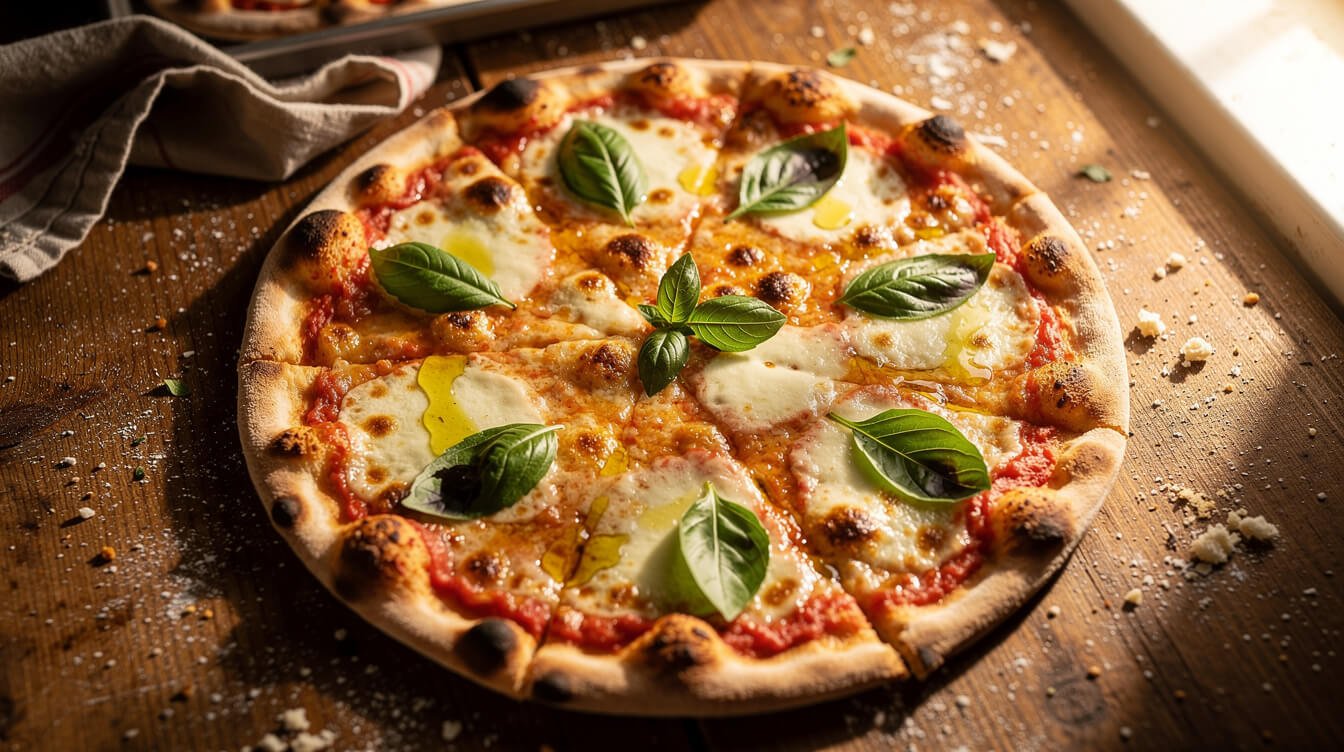
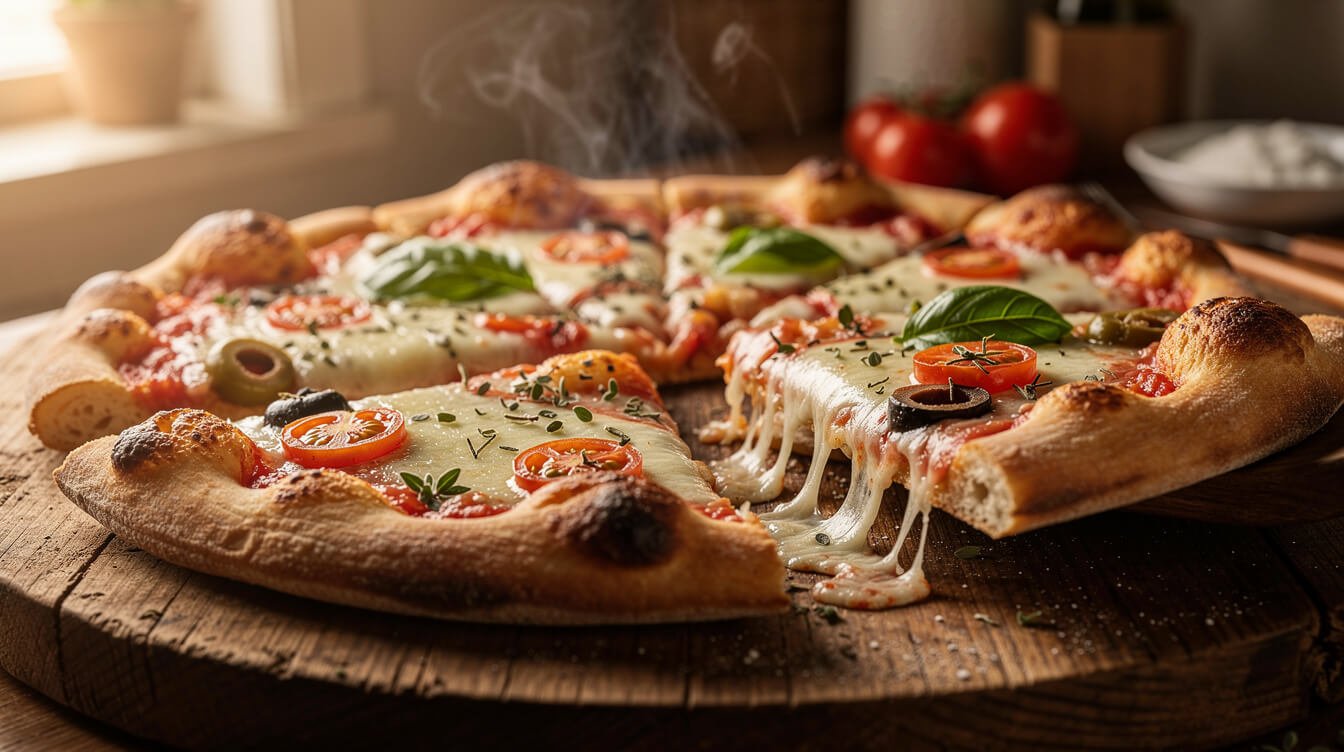
Bake for 12 to 15 minutes, until the crust is golden at the edges and the cheese is bubbling and just starting to brown in spots. If you’re baking on a regular sheet pan instead of a stone, preheat the pan itself in the oven for 5 minutes before sliding the topped dough onto it — that head start on the bottom makes a real difference.
Ways to customize your no-yeast pizza dough
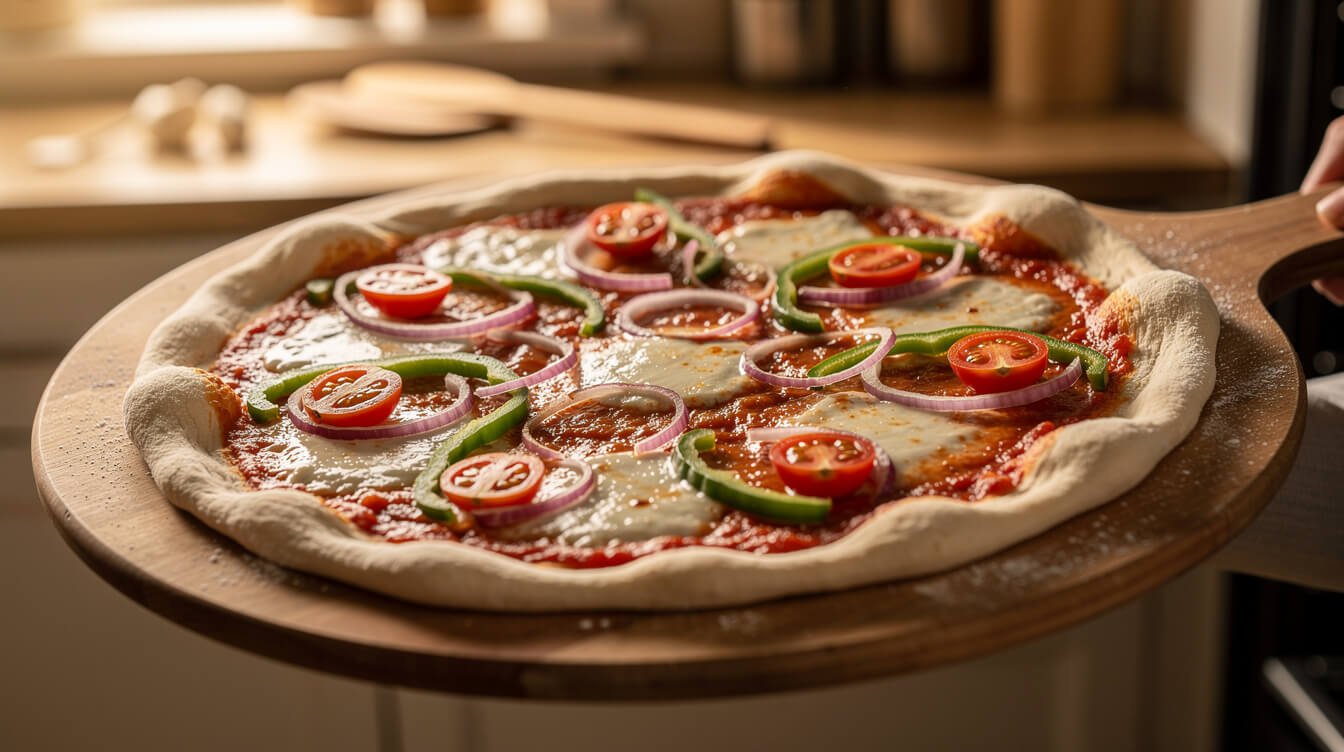
Once you’ve made the base recipe once and have a feel for it, it’s easy to bend it in a few directions:
- Self-rising flour swap: If you keep self-rising flour on hand, use 2 cups of it and skip the added baking powder and salt — it’s already built in, and the ratios work out almost exactly the same.
- Greek yogurt dough: Swap the water and oil for 3/4 cup plain Greek yogurt. It adds a slight tang and a softer, more tender texture, and it’s the base of a popular two-ingredient version (equal parts self-rising flour and yogurt) if you want to go even simpler than the recipe above.
- Whole wheat: Swap up to half the flour for whole wheat for a heartier, slightly nutty crust. Add a tablespoon more water when you do — whole wheat flour drinks up more liquid than all-purpose.
- Herbed crust: Add a teaspoon of dried oregano, garlic powder, or Italian seasoning right into the dry ingredients before mixing, so the flavor runs through the whole crust rather than just sitting on top.
- Flatbread or calzone base: This same dough works as a flatbread (skip the sauce and cheese, brush with olive oil and herbs, bake a few minutes less) or folded over fillings for a quick calzone.
None of these need extra rise time or special handling — the whole point of this dough is that it stays simple and fast no matter how you flavor it.
What to put on it
Because this crust is thinner and more delicate than a yeasted one, toppings that are light and not too wet work best:
- A thin layer of pizza sauce or crushed tomatoes, well-drained
- Shredded low-moisture mozzarella (fresh mozzarella can add too much liquid unless you pat it dry first)
- Pre-cooked proteins like crumbled cooked sausage or diced rotisserie chicken, since there’s no long bake time to fully cook raw meat through
- Sturdy vegetables — thin-sliced bell pepper, red onion, or pre-sautéed mushrooms hold up better than raw, watery ones
A good rule of thumb: if you can see liquid pooling on top before it goes in the oven, it’s going to slow down that bottom crust. Keep it light, and you’ll get a crisp bite every time.
Frequently asked questions
Why isn’t my dough rising at all?
Check your baking powder’s age. Baking powder loses its lifting power over time, especially once the container’s been opened and exposed to humidity. If it’s been sitting in your pantry for more than six months, it may not have enough punch left. A quick test: drop a little into warm water — if it doesn’t fizz right away, it’s time to replace it.
Can I use baking soda instead of baking powder?
Not as a straight swap. Baking soda needs an acid, like buttermilk or yogurt, to activate, while baking powder already has a dry acid built in and just needs liquid and heat to get going. If you’re making the Greek yogurt version above, you could experiment with baking soda instead, but for the standard water-and-oil version, stick with baking powder.
Can I make this dough ahead or freeze it?
Yes — wrap the raw dough ball tightly in plastic wrap and refrigerate for up to a day, or freeze for up to a month. Thaw frozen dough in the fridge overnight, then let it sit at room temperature for about 15 minutes before rolling so it’s easier to work with.
Is this dough healthier than yeasted dough?
It’s not meaningfully different, nutritionally speaking — it’s the same flour and a similar amount of oil either way. The real difference between the two is time, not health. If you’re looking to eat lighter, the topping choices you make will matter far more than which leavener is sitting in the crust.
Do I need a pizza stone or steel?
No. A stone or steel gives you a crisper bottom because it holds and transfers heat better than a regular sheet pan, but a well-preheated sheet pan gets you most of the way there. Don’t let not owning one stop you from making pizza tonight.
Can I make this gluten-free?
You can try a 1:1 gluten-free flour blend in place of the all-purpose flour, but expect a more delicate, crumblier dough since there’s no gluten network holding it together. Handle it gently, and consider pressing it into the pan rather than rolling it out.
Can I mix this in a stand mixer instead of by hand?
You can, with the paddle attachment on low speed just until the dough comes together — but honestly, this dough mixes by hand faster than you could get a stand mixer out and washed. Where a mixer earns its keep is on doughs that need several minutes of real kneading to build gluten, like a yeasted bread dough. If you’re regularly making those, our guide to the best stand mixer for home cooks can help you figure out how much mixer you actually need.

From the Eat Cafe shop
100 Essential Tools Every Chef Has in Their Kitchen eBook and Guide
$7.99
See it in the shopFinal thoughts
Homemade pizza dough without yeast isn’t trying to be a substitute for a slow-fermented crust — it’s solving a different problem: you want pizza now, with what’s already in your kitchen, and you don’t want to think about it for the next two hours. Knead it light, let it rest, roll it thin, and bake it hot, and it’ll do exactly what you need it to do on a weeknight.
Made this tonight? Save the recipe so it’s easy to find next time you’re staring down an empty fridge and a pizza craving, and come back and let us know how your toppings turned out.

Before you go
Want the next one?
We post a new recipe or kitchen guide every day. The best of the week lands in one short email, no life story attached.