Air Fryer Recipes for Beginners: The Settings, Safety Basics, and First 3 Dishes
Search “air fryer recipes for beginners” and you’ll get the same thing over and over: a list of fifteen dishes with links, no explanation, and an assumption you already know what you’re doing. Nobody tells you what the three buttons on the front actually do, why your first batch came out pale and sad, or why there’s suddenly smoke coming off the counter. That’s the part that actually matters, and it’s the part every other list skips.
So here’s the beginner guide I wish existed on day one: how the thing works, how to set it up, the only settings worth learning this week, the mistakes that trip up almost everyone, and three genuinely foolproof recipes to build your confidence before you go chasing anything fancier. No 15-recipe scroll, no assumed knowledge — just what you actually need for the first week.
Why Most “Air Fryer Recipes for Beginners” Lists Skip the Part That Matters
Most “beginner” roundups aren’t actually about being a beginner — they’re a recipe list dressed up with the word “easy.” That’s useful once you already know how to use the machine, but it skips the part where you’re standing at the counter wondering if you’re supposed to add oil, whether the basket needs to be full, or why the default timer feels wrong for what you’re cooking.
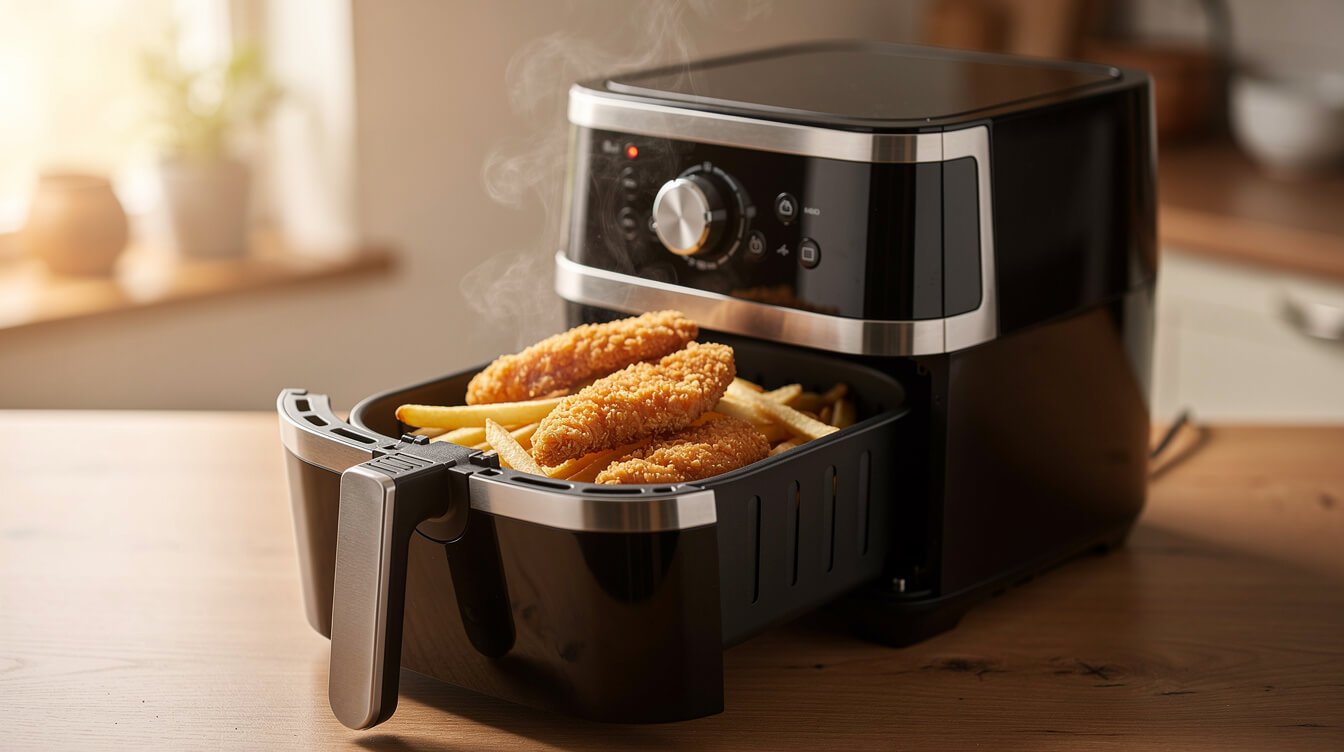
An air fryer is a small, fast convection oven: a heating element up top and a fan that pushes hot air around your food fast enough to crisp the outside before the inside overcooks. That’s the whole mechanism — no magic, no special “frying” happening in the sense of submerging food in hot oil. It’s moving air doing the work a deep fryer used to do, with a fraction of the oil and a fraction of the cleanup.
That difference matters for how you cook in one. A regular oven surrounds food with relatively still hot air, so it takes longer to brown and you often need a broiler for real crispness. A deep fryer submerges food in oil for fast, even crisping but adds a lot of fat and a pot of hot oil to manage. An air fryer sits in between: fast like a fryer, low-mess like an oven. Once that clicks, everything else about using one gets a lot less mysterious — you’re not looking for a secret technique, you’re just directing hot moving air at food efficiently.
You’ll also see two basic shapes on shelves: basket-style, where a pull-out drawer sits under the heating element (the most common and usually the cheapest), and oven-style, a bigger countertop box with a door and one or two trays, which behaves more like a small convection oven and can fit bigger cuts of meat or a full sheet pan of vegetables. The mechanism is identical either way — everything in this guide applies to both.
Setting Up Your Air Fryer the First Time
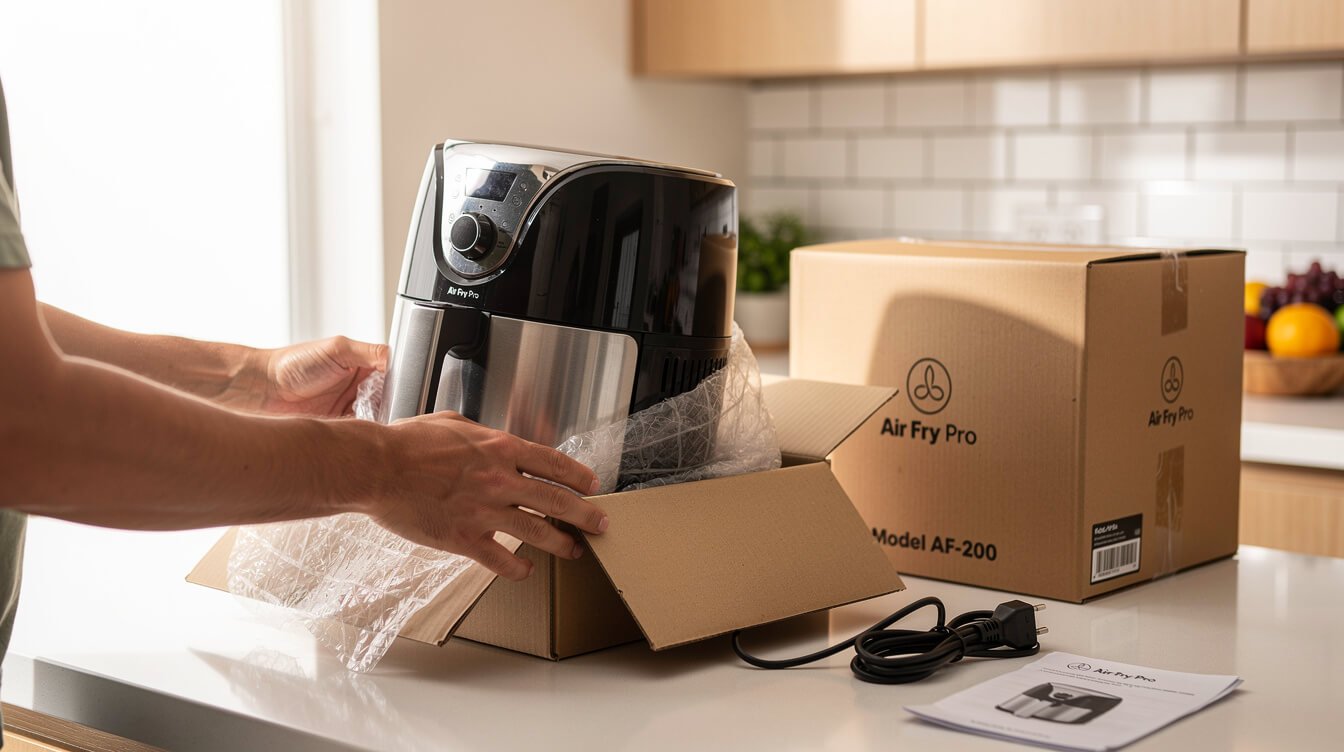
Before you cook anything, give it five minutes of real setup. It pays off for as long as you own the thing, and it’s the step almost every recipe list assumes you’ve already figured out.
Give it room to breathe
Air fryers pull air in and push hot air out, usually from the back or sides — check your specific model’s manual for exactly where. Leave at least four to five inches of open space behind and beside it. Pushed up against a wall or tucked under low cabinets, it can’t vent properly, which means it runs hotter, less evenly, and can trip a kitchen smoke detector that’s mounted too close overhead.
Wash the basket before the first use
New baskets and trays usually have a light manufacturing residue on them, plus dust from shipping. A regular wash with warm, soapy water before your first cook takes care of it — no special deep clean or degreaser required, just what you’d already use on a dinner plate.
Run one empty cycle
Run it empty at 400°F for about 5 minutes before your first real cook. It burns off any factory smell (totally normal, and it fades fast — don’t panic and unplug it), and it confirms the unit is heating properly before you commit actual food and ingredients to it. If it smells strongly or smokes heavily past that first empty run, that’s worth checking with the manufacturer before you keep using it.
Know your basket size
Basket sizes vary a lot, and this is the detail that causes the most beginner confusion. A 2-quart basket holds a single portion — think one person’s lunch. A 5-to-6-quart basket holds dinner for two or three. 8-quart-plus baskets, often the basket-and-tray “oven style” models, handle a full family meal in one go. If a recipe says “single layer” and your basket is small, plan on cooking in batches rather than assuming your machine is broken when a big pile of food doesn’t crisp evenly.
The Only 3 Settings You Need This Week
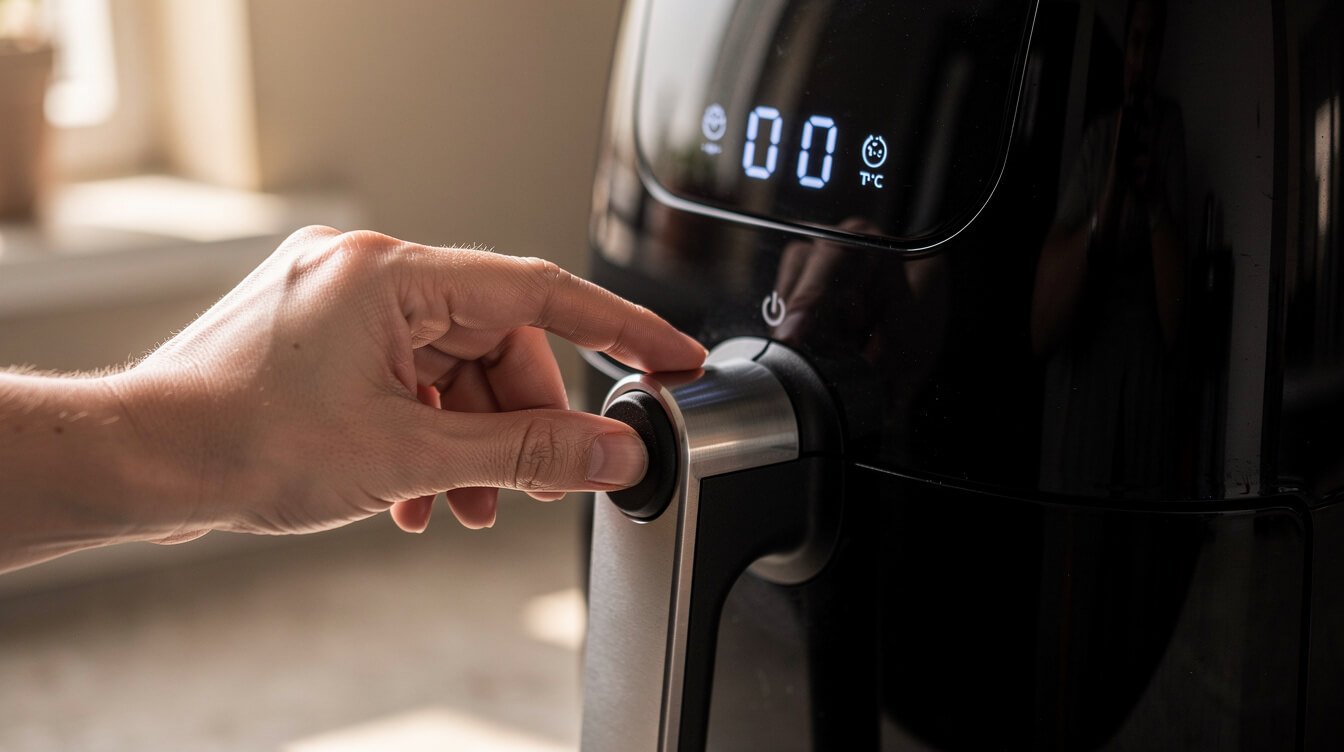
Most air fryers ship with a dozen preset icons on the display — fries, wings, fish, bacon, “dehydrate,” sometimes even “cake.” Ignore basically all of them for now; they’re just presets that dial in a temperature and time you can set manually anyway. You only need three temperature bands to cook almost anything well.
- 350°F — gentle and even. Good for reheating leftovers without drying them out, delicate items like fish fillets, and baked goods that need slower, more even heat.
- 375°F — the everyday setting. This is where most weeknight cooking happens: chicken tenders, vegetables, frozen appetizers, most proteins. If you’re not sure what temperature to use, start here.
- 400–425°F — for maximum crisp. French fries, wings, and anything you want genuinely crunchy on the outside, where a little extra heat drives off surface moisture fast.
Set the temperature, set a timer for the shorter end of whatever range a recipe gives you, and check early. Air fryers run hotter and faster than a regular oven set to the same number, so “check at the earliest time listed” will save you from a lot of overdone dinners while you’re still learning how your specific model runs. Every air fryer runs slightly differently — once you’ve made something twice, you’ll know whether yours tends to run a little hot or a little slow, and you can adjust from there.
Five Mistakes Almost Every Beginner Makes
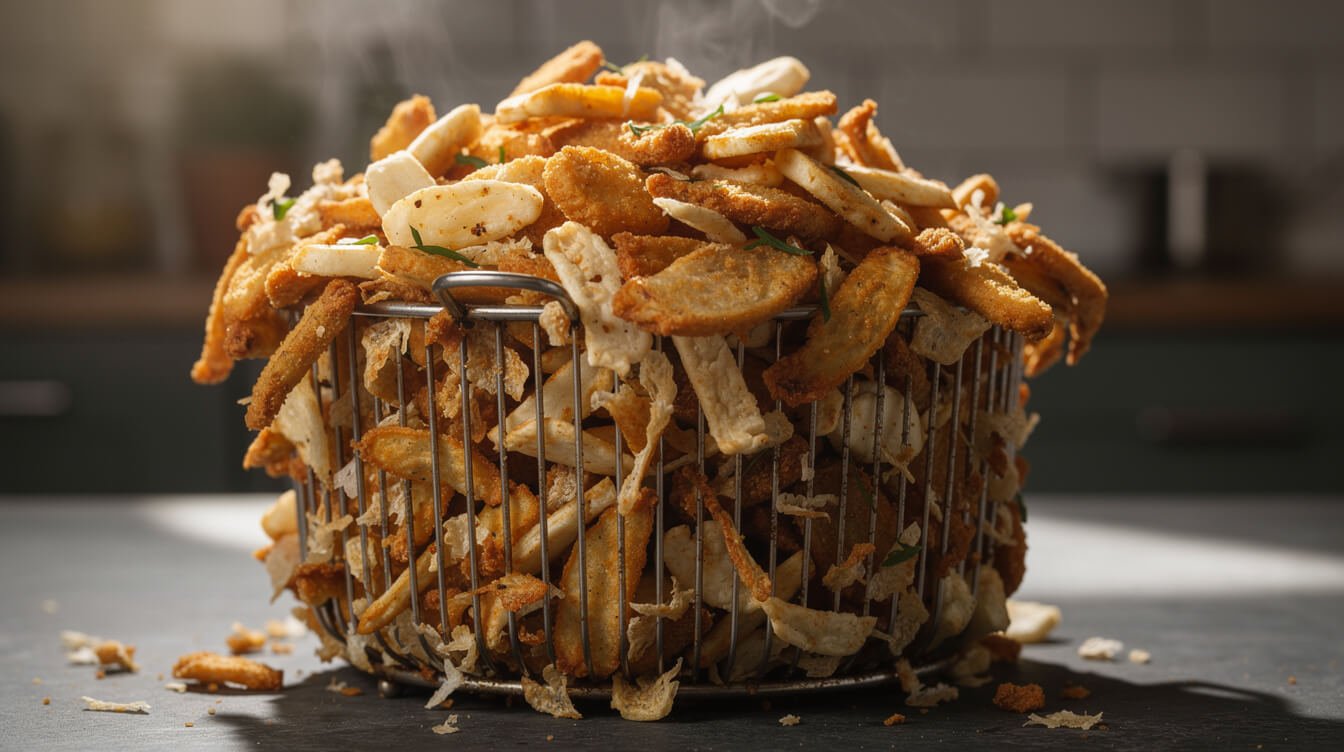
None of these ruin your air fryer permanently, but each one will ruin your first few meals if nobody warns you first. Most people learn each of these the hard way — you don’t have to.
1. Coating food in wet batter
Traditional wet batter (the kind you’d use for deep frying at a fair or a fish fry) drips through the basket holes, smokes against the hot element below, and never crisps the way it does in a pot of oil. There’s simply no oil bath to set the batter. Stick to dry coatings — flour, breadcrumbs, panko — or a light egg wash followed by breadcrumbs. Save the wet-battered dishes for the stovetop or deep fryer.
2. Using parchment paper the wrong way
Parchment is fine in an air fryer, but only when it’s weighed down by food sitting on top of it. Loose parchment — cut too big, or placed in an empty preheating basket — can get pulled up into the heating element by the fan. That’s a genuine fire risk, not just a “it’ll get a little singed” inconvenience. Cut it to fit the basket, poke a few holes in it if your model’s manual recommends that for airflow, and never run the machine with empty, unweighted parchment inside.
3. Assuming a bigger pile just needs more time
Doubling the food doesn’t mean doubling the timer — it usually means the air can’t circulate through the pile anymore, so the middle steams instead of crisping no matter how long you leave it in. You’ll pull out food that’s soft in the center and burnt on the outer edges, which feels like a contradiction but is really just physics: the hot air only reaches what it can actually touch. Cook in two shorter batches instead of one long, crowded one.
4. Judging doneness by color alone
Air fryers can brown the outside of food before the inside is safe to eat, especially with thicker cuts of chicken or anything frozen going in cold. Color is not a reliable doneness test for meat. For any poultry, use an instant-read thermometer rather than guessing from the crust — chicken needs to reach an internal temperature of 165°F (74°C) in the thickest part, checked with a thermometer, every single time, regardless of how golden and finished it looks on the outside.
5. Scrubbing the basket with steel wool
Most baskets have a nonstick coating that scratches easily under anything abrasive. A soft sponge and warm soapy water gets baked-on bits off just fine, especially if you let the basket soak in warm water for five or ten minutes first to loosen things up. Save the steel wool and heavy scrubbing for stainless steel pots — it’ll wear a nonstick basket out fast and shorten its life.
From the Eat Cafe kitchen
One good recipe a week, straight to your inbox
The recipe we're actually cooking this week, plus the one tip that saves it when it goes sideways. No spam. Unsubscribe anytime.
Your First Air Fryer Recipes for Beginners: Three Foolproof Dishes
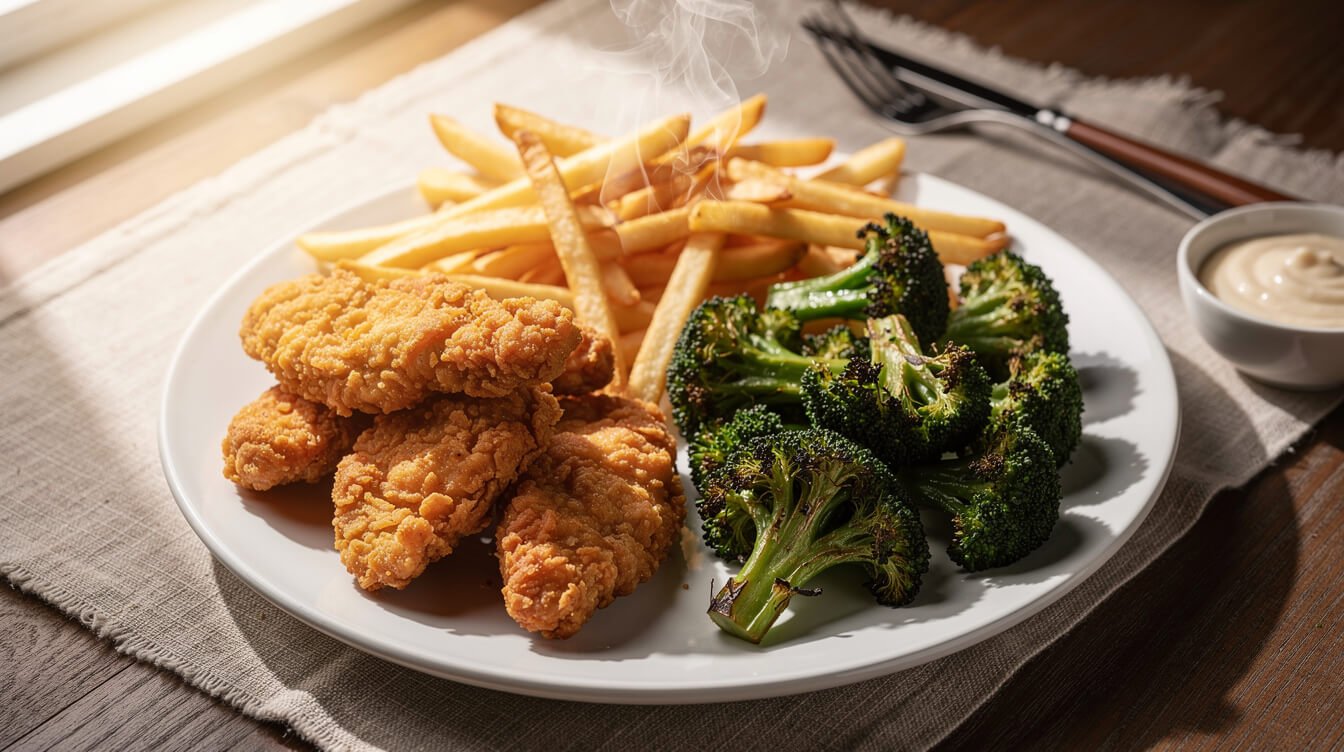
These three are genuinely hard to mess up, and between them you’ll practice every core skill above — dry coatings, batch spacing, temperature checks, and reading doneness by sight versus by thermometer. Make all three once and you’ll have a real feel for the machine.
Crispy frozen fries (no recipe needed, one rule that matters)
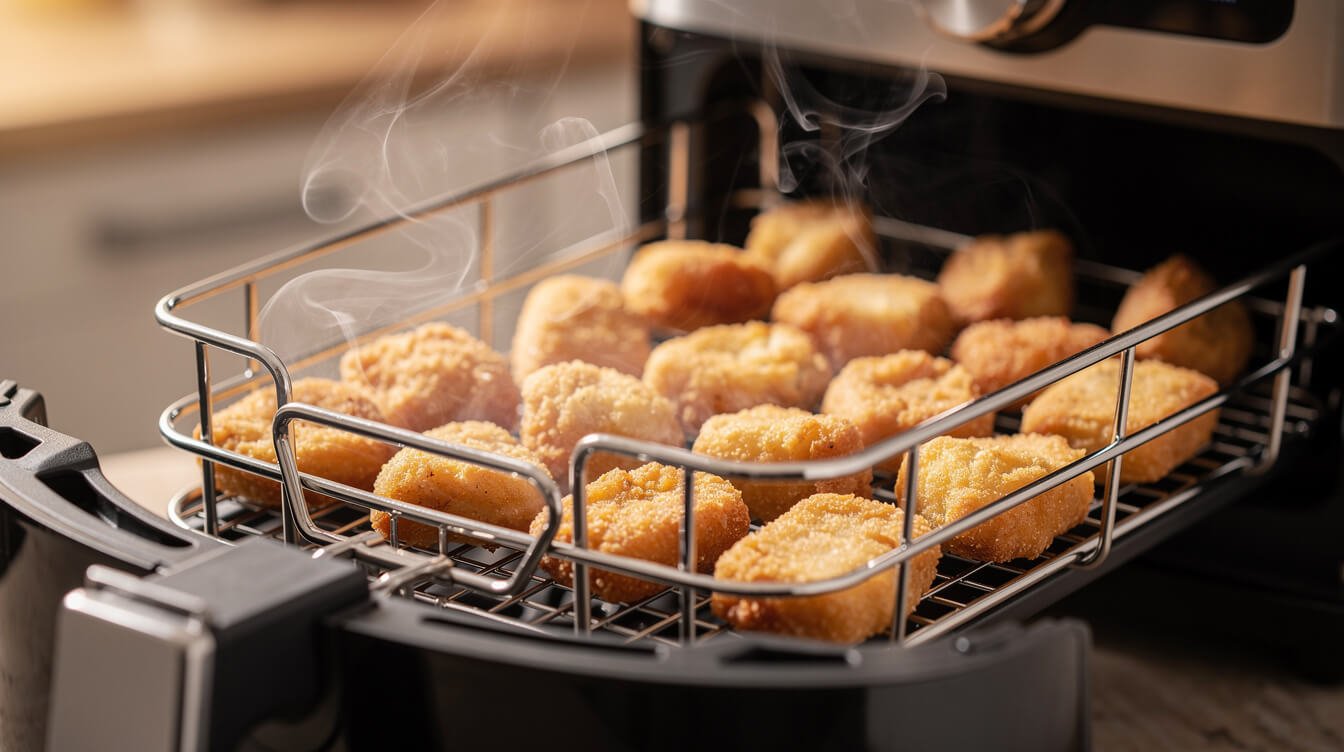
Spread frozen fries in a single layer — don’t dump the whole bag in at once, even though it’s tempting. Cook at 400°F for 12–15 minutes, shaking the basket halfway through so both sides get contact with the hot air. If they’re touching in a thick pile rather than a loose single layer, do two batches instead of one crowded one. This one dish teaches the crowding lesson better than any explanation can — cook a crowded batch and a single-layer batch side by side once, and you’ll never crowd the basket again.
Simple parmesan chicken tenders
Pat 1 pound of chicken tenders dry with a paper towel — moisture on the surface keeps the coating from sticking well. Dip each piece in a beaten egg, then press into a mix of 1 cup panko breadcrumbs, ½ cup grated parmesan, and a pinch of salt and pepper. Arrange in a single layer in the basket with a little space around each piece, lightly spray or brush with oil, and cook at 375°F for 10–12 minutes, flipping halfway through. Check the thickest tender with an instant-read thermometer — it needs to read 165°F (74°C) before it’s done, regardless of how golden the outside looks. If it’s not there yet, give it another 2 minutes and check again rather than guessing.
Roasted broccoli that actually gets crispy edges
Toss bite-sized broccoli florets with 1 tablespoon olive oil, a pinch of salt, and pepper, making sure every piece gets a light coat. Spread in a single layer and cook at 400°F for 8–10 minutes, shaking the basket once halfway through. You’re looking for browned, slightly crispy, almost charred edges on the florets — that’s your visual cue it’s done. Vegetables are much more forgiving than meat here; there’s no food-safety doneness threshold to hit, just a texture and color you’re chasing.
Cleaning It After Every Use (the 2-Minute Habit)
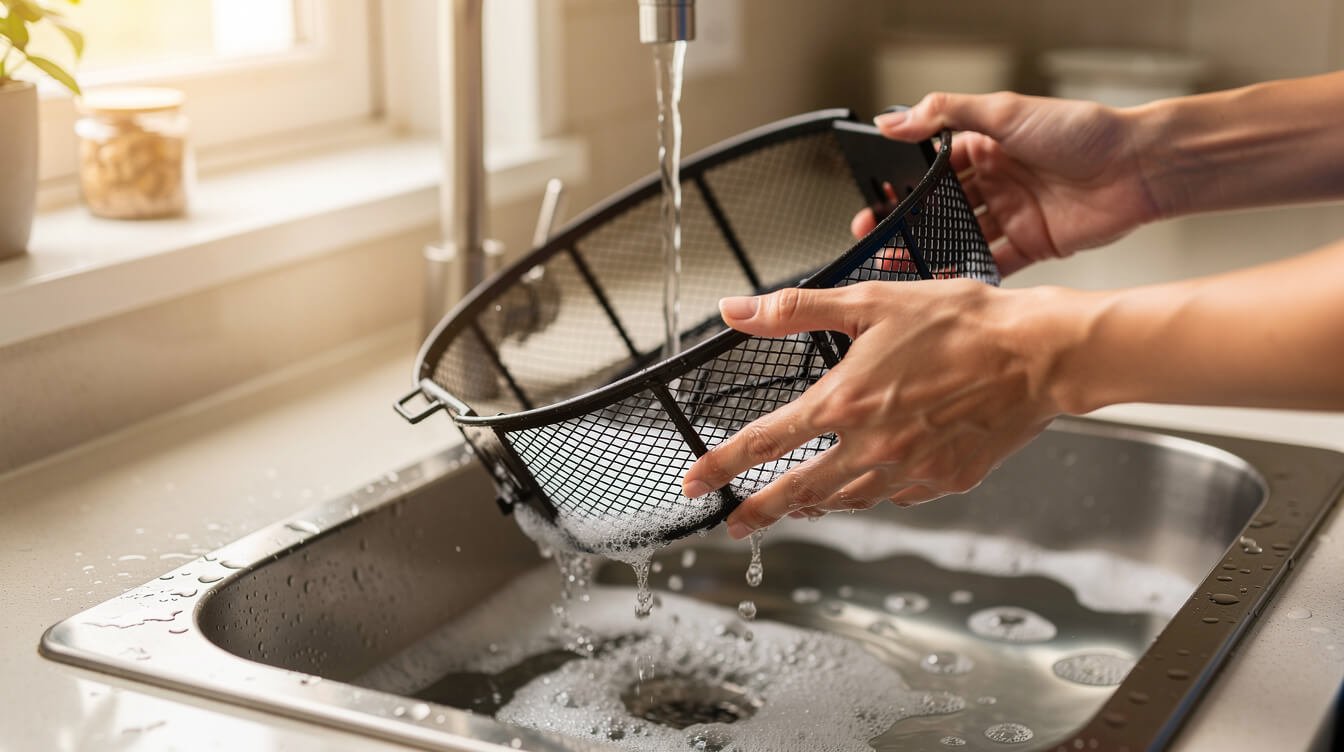
Skip this and grease buildup will start smoking on your next cook — it’s the single biggest reason people quit using their air fryer a month in, and it’s completely avoidable with a habit that takes less time than doing the dishes from dinner. Once it’s cool, pull the basket and tray and wash them in warm, soapy water with a soft sponge (most are dishwasher-safe too — check your specific manual to be sure). Wipe the interior walls of the main unit with a damp cloth to catch any splatter that made it past the basket, and leave the basket out to air-dry fully before you put it back in, since trapping moisture inside can lead to a musty smell over time.
If something’s really stuck on — a bit of melted cheese or a burnt sugar glaze — a 10-minute soak in warm, soapy water loosens it without any real scrubbing. Fighting dried-on food with a scouring pad is almost always a sign you should have soaked it first.
Frequently Asked Questions
Do I need to preheat every time?
For most everyday cooking, no — a couple of extra minutes on the timer does the same job. Preheating matters most when you want maximum crisp on something like wings or fries, where hitting hot air from second one makes a real difference in the final texture.
Can I use foil in my air fryer?
Yes, as long as it’s weighed down by food and doesn’t touch the heating element, and you avoid using it with acidic foods like tomato sauce or a lot of citrus, which can react with the foil over time.
Why is there smoke coming from my air fryer?
Almost always grease buildup on the bottom of the unit from previous cooks, or fat actively dripping from something you’re cooking right now, like wings or bacon. A splash of water in the bottom tray before cooking fatty foods helps prevent it by keeping drippings from scorching directly on hot metal, along with keeping up with the after-every-use cleaning habit above.
Do I really need oil if it’s an “air fryer”?
A little goes a long way, and skipping it entirely is one of the most common early disappointments. Completely dry food can come out dusty and pale rather than golden, because oil is what actually carries heat into a crackly, browned surface. A light coat — a teaspoon or two, tossed or brushed on — is usually all it takes.
Can I stack food in two layers if I use a rack?
Some models include a stacking rack made for exactly this, and it can work well for things like reheating or cooking two proteins at once. Without one, avoid stacking directly — you’ll end up with the crowding problem from Mistake #3, just organized vertically instead of horizontally.

From the Eat Cafe shop
Eat Cafe - Support Our Charities Donor Membership T-Shirt
$24.99
See it in the shopFinal Thoughts
Give yourself permission for the first batch or two to be a learning run, not a finished dinner. Once the setup, the three settings, and the five mistakes above are second nature, you’ll stop thinking about the machine itself and just start cooking with it — which is exactly when it’s worth branching out into a wider rotation of air fryer recipes and the crisp-every-time rules that go with them.
Looking for what to make next? Crispy zucchini fritters are a great next-step recipe once you’re comfortable with the basics, and if you’re cooking for the week ahead, an air fryer earns its counter space fast in a real meal prep routine or a busy weeknight dinner system.
Save this page for your first week with a new air fryer, and come back to it the second or third time something doesn’t crisp the way you expected — the fix is almost always here.

Before you go
Want the next one?
We post a new recipe or kitchen guide every day. The best of the week lands in one short email, no life story attached.