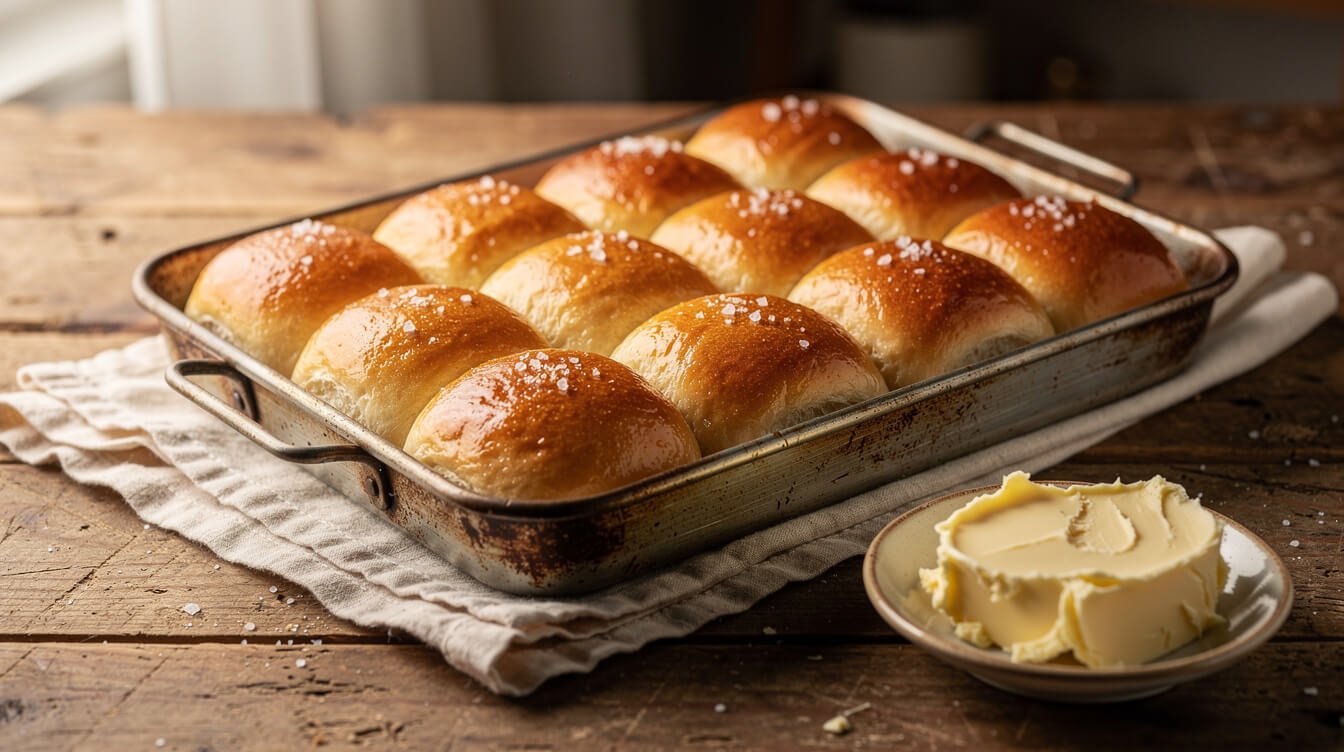
Easy dinner rolls: soft, fluffy, and make-ahead for Thanksgiving
These easy dinner rolls bake up soft, fluffy, and buttery from one simple dough, and you can make them the night before. If your homemade rolls have come out dense, flat, or dry by dinnertime, the recipe usually isn’t the problem. Two small things are: how much flour ends up in the dough, and when the pan comes out of the oven. Below is the recipe first, then the fixes for the usual failures, an easy way to tell when they’re done, and a make-ahead plan that keeps the oven free on Thanksgiving.
Here’s what’s coming: the recipe card, why rolls go dense or flat, the step-by-step, how to tell they’re done, three make-ahead options, a Thanksgiving-day oven plan, swaps, a troubleshooting table, and a short FAQ.
Easy dinner rolls: the recipe
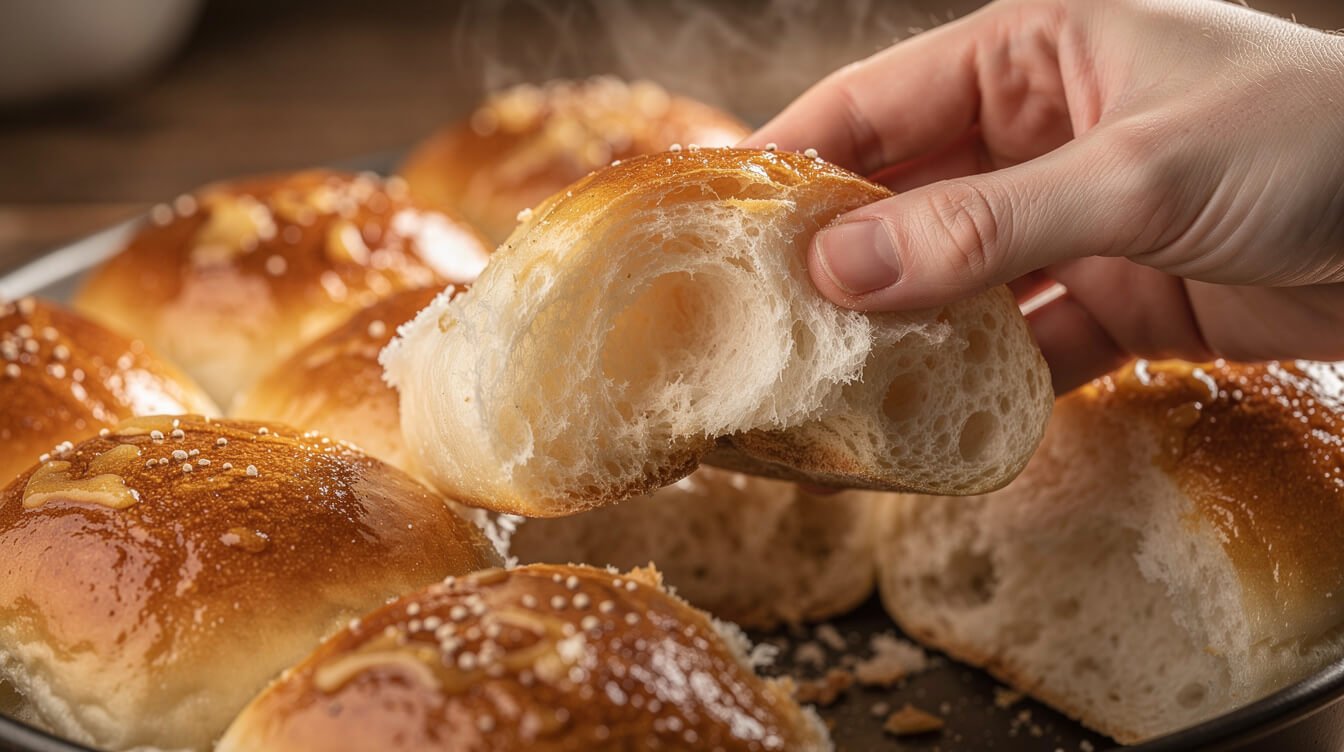
Makes: 12 rolls in a 9×13-inch pan
Time: about 2½ hours start to finish (25 minutes hands-on, 1 to 1½ hours first rise, 30 to 45 minutes second rise, 20 to 25 minutes baking)
Oven: 350°F (177°C), lower-middle rack
Ingredients
- 1 cup (240 ml) whole milk, warmed to about 110°F (43°C), warm like bathwater, not hot
- 2¼ teaspoons (1 packet, 7 g) instant yeast
- 3 tablespoons (38 g) granulated sugar, divided
- 1 large egg, at room temperature
- 4 tablespoons (57 g) unsalted butter, softened
- 1¼ teaspoons (7 g) fine salt
- 3½ cups (420 g) all-purpose flour, spooned and leveled, plus up to ¼ cup (30 g) more only if needed
For the tops
- 2 tablespoons (28 g) butter, melted
- Optional: flaky salt, or 1 tablespoon honey stirred into the melted butter
Method
- Wake up the yeast. In a large bowl or a stand mixer bowl, stir the warm milk, yeast, and 1 tablespoon of the sugar. Let it sit for 5 minutes. A little foam on top tells you the yeast is alive.
- Mix. Add the rest of the sugar, the egg, the soft butter, the salt, and 2 cups (240 g) of the flour. Mix until smooth. Add the remaining 1½ cups (180 g) flour a little at a time, mixing until a soft dough pulls away from the sides of the bowl.
- Knead. Knead with the dough hook on medium-low for 5 to 6 minutes, or by hand on a lightly floured counter for 8 to 10 minutes, until the dough is smooth, springy, and still slightly tacky. Add extra flour only a tablespoon at a time, and only if it’s truly sticking to everything.
- First rise. Put the dough in a lightly greased bowl, cover it, and leave it somewhere warm until it has about doubled, 1 to 1½ hours.
- Shape. Grease a 9×13-inch pan. Press the air out of the dough and divide it into 12 equal pieces (about 65 to 68 g each if you’re weighing). Roll each into a smooth ball and set them in the pan in 3 rows of 4.
- Second rise. Cover and let them rise until puffy and touching, 30 to 45 minutes. Heat the oven to 350°F (177°C) during this rise.
- Bake. Bake on the lower-middle rack for 20 to 25 minutes, until the tops are golden and a roll from the middle of the pan reads about 190°F (88°C) inside.
- Butter. Brush the hot rolls with melted butter right away. Let them cool for 5 to 10 minutes before pulling them apart.
Short on time? Skip the first rise. After kneading, let the dough rest for 10 minutes, shape it, and give the rolls one longer rise of 45 to 60 minutes in a warm spot. That gets them to the table in about 1½ hours. They’ll taste a little plainer and won’t be quite as tall, but they’re still soft and good. That’s the trade the “30-minute rolls” recipes are making too.
Why homemade rolls come out dense, flat, or tough
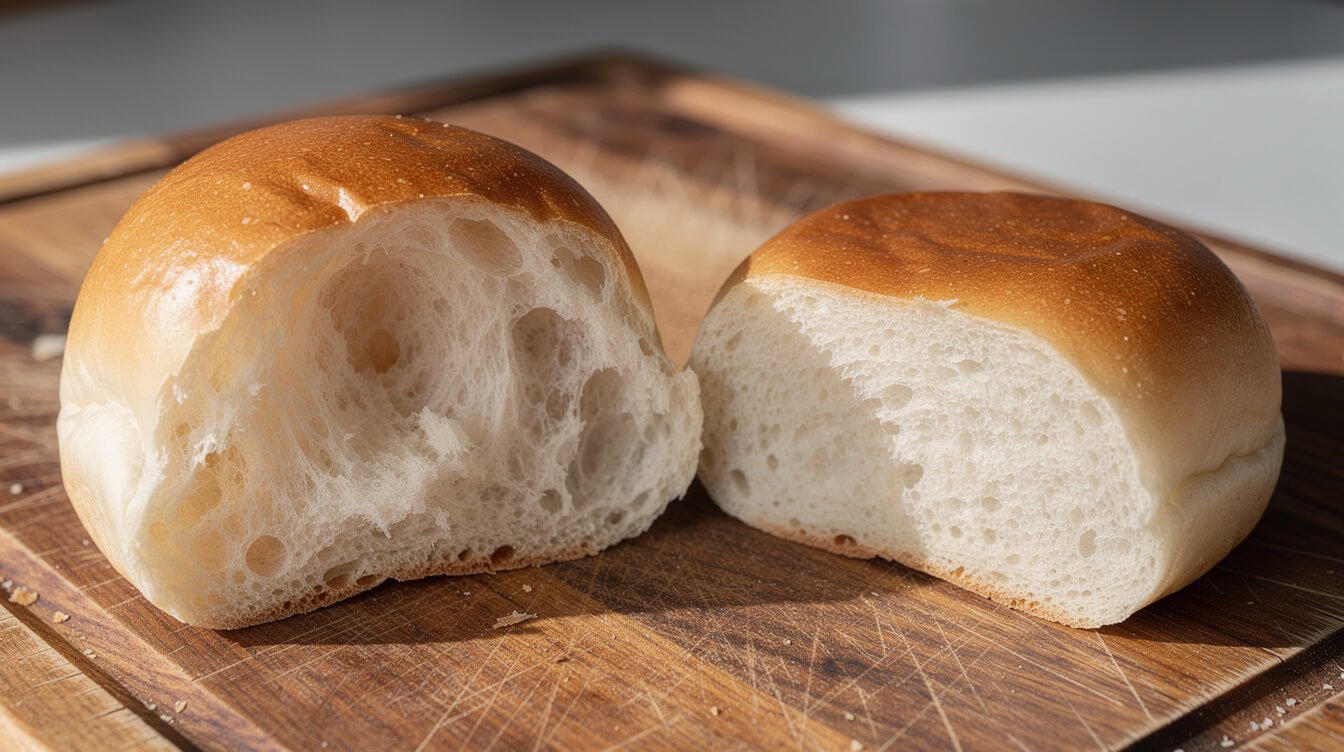
Nearly every disappointing pan of easy dinner rolls comes down to one of five things. Here they are in the order we’d check them.
1. Too much flour
This is the big one. Scooping a measuring cup straight into the flour bag packs it down, and you can end up with 20 to 25 percent more flour than the recipe wants. Extra flour makes a stiff dough, and a stiff dough can’t stretch and rise, so you get heavy, bready rolls. Spoon the flour into the cup and level it off, or weigh it: 120 g per cup of all-purpose flour. Then hold back on the extra flour while kneading. A soft dough that sticks to your fingers a little is right. If you want the full picture on flour types, our guide to cake flour vs all-purpose flour explains why protein matters for structure.
2. The milk was too hot, or the yeast was old
Yeast is alive, and very hot liquid can damage it. Aim for about 110°F, which feels comfortably warm on your wrist. Milk that’s steaming is too hot, so let it cool down first. Old yeast is the other culprit. If you don’t see any foam after the 5-minute rest in step 1, start over with a fresh packet before you waste the flour and butter. (Our post on how much yeast to use covers instant vs active dry if you’re unsure what you have.)
3. A cold kitchen
This is the quiet one, and it shows up every November. Yeast slows way down below about 70°F, so a recipe’s “1 hour” can turn into 2 or 3 in a chilly house. If you shape the rolls before the dough has really doubled, they bake up small and tight. Go by how the dough looks, not the clock. To give it a warm spot:
- Oven with the light on. Turn the oven light on (oven off) and set the covered bowl inside. The bulb usually keeps it pleasantly warm. Check after 30 minutes, and crack the door if it feels hot.
- Oven with a pan of hot water. Oven off, a pan of just-boiled water on the bottom rack, and the dough on the rack above.
- Near, not on, a warm appliance. Next to the stove while something simmers is fine. Directly on a hot surface will cook the bottom of the dough.
4. Under-kneading
Kneading builds the stretchy gluten that traps gas and makes rolls tall. A dough that’s shaggy or tears right away needs a few more minutes. You’re done when it’s smooth and springs back slowly when you poke it. In a mixer that’s about 5 to 6 minutes, and by hand about 8 to 10. If you’re on the fence about whether a mixer is worth it for jobs like this, our best stand mixer guide is honest about when you need one. You don’t need one for this recipe.
5. Spaced too far apart
Rolls set far apart on a sheet spread out into flat little domes and brown all over, which gives them a firmer crust. Rolls packed snugly in a 9×13 pan hold each other up, rise taller, and keep those soft, pull-apart sides. For soft dinner rolls, crowd them.
Step by step: mix, knead, rise, shape, bake
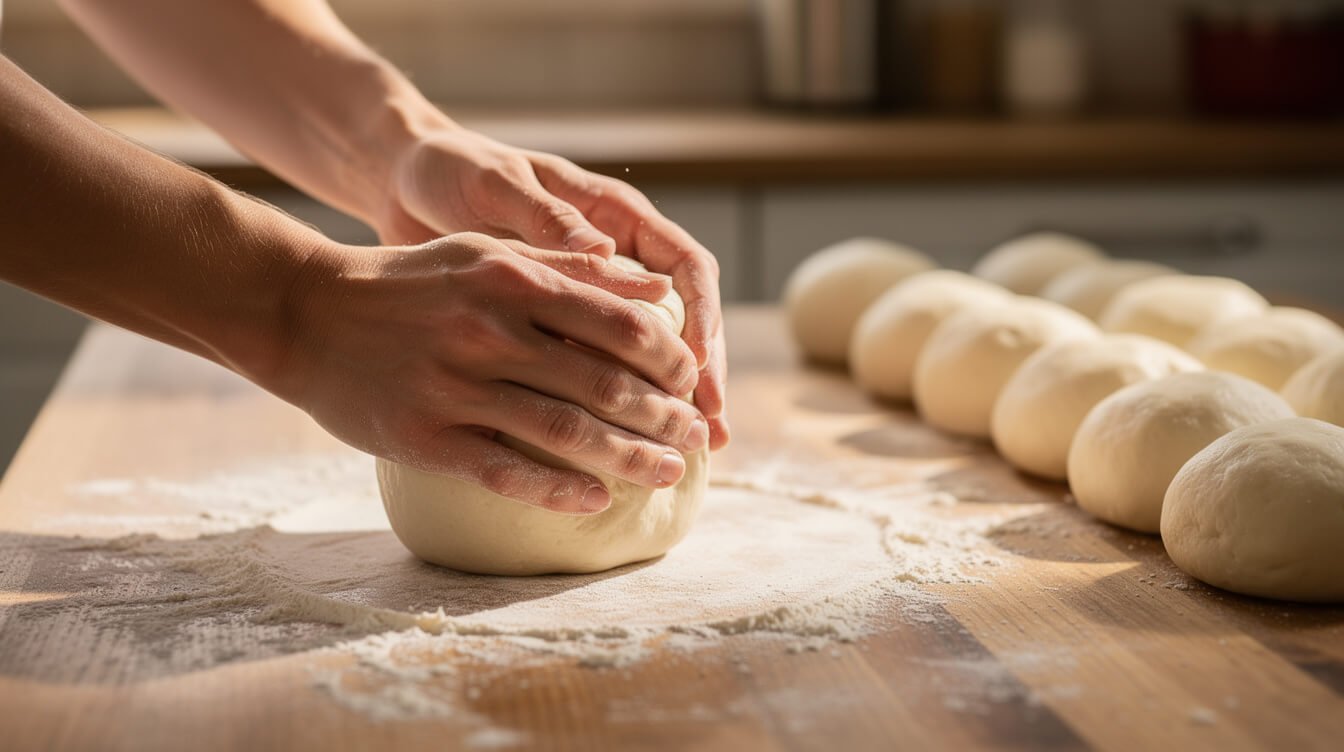
The recipe card above is everything you need to make easy dinner rolls. This section covers what each stage should look and feel like, so you know when to move on.
Mixing
Add the salt with the flour, not straight onto the foamy yeast. A small amount of salt mixed into a dough won’t hurt the yeast, but it’s a good habit. Start with 2 cups of flour and beat until it looks like thick, smooth batter. That’s when gluten starts forming, and it means you’ll need less flour overall. Then add the rest gradually. Stop when the dough cleans the sides of the bowl, even if a little flour is left over.
Kneading
By hand: push the dough away with the heel of your hand, fold it back over itself, turn it a quarter turn, and repeat. It will be sticky at first and get smoother as you go. Resist dumping on more flour. A bench scraper helps more than extra flour. If you want to check, pinch off a small piece and stretch it gently. If it stretches thin enough to let some light through before tearing, the gluten is ready.
The first rise
Cover the bowl with a plate, a lid, or plastic wrap so the surface doesn’t dry out and form a skin. “Doubled” is easier to judge in a straight-sided container, but a bowl works. A quick test: flour a finger and press it about half an inch into the dough. If the dent stays, it’s ready. If it springs right back, give it more time.
Shaping
Weighing the pieces is the easiest way to get even rolls that bake evenly. Weigh the whole dough and divide by 12. To shape, cup your hand over a piece of dough on an un-floured spot on the counter and roll it in small circles. The slight grip of the counter tightens the ball and gives it a smooth top. Pinch any seams underneath. A smooth, tight surface is what gives you a nicely domed roll.
The second rise
The rolls are ready to bake when they look puffy, have grown about half again in size, and touch each other. Press one gently on the side. It should spring back slowly and leave a slight dent. If it springs back right away, wait another 10 minutes. If the dent doesn’t come back at all and the rolls smell boozy, they’ve over-risen. Bake them right away anyway. They’ll be a bit flatter but still good.
Baking
The lower-middle rack keeps the tops from browning before the centers finish. If the tops are getting dark before the 20-minute mark, lay a loose piece of foil over the pan. Brush with butter the moment they come out. That’s what gives them that soft, shiny top.
Eggs, flour, and dough: don’t taste the raw dough. The CDC notes that raw flour and raw eggs can both carry germs that make people sick, and that those germs are only killed once the flour is baked or cooked. Wash your hands, bowl, and counter after handling it.
How to tell dinner rolls are done
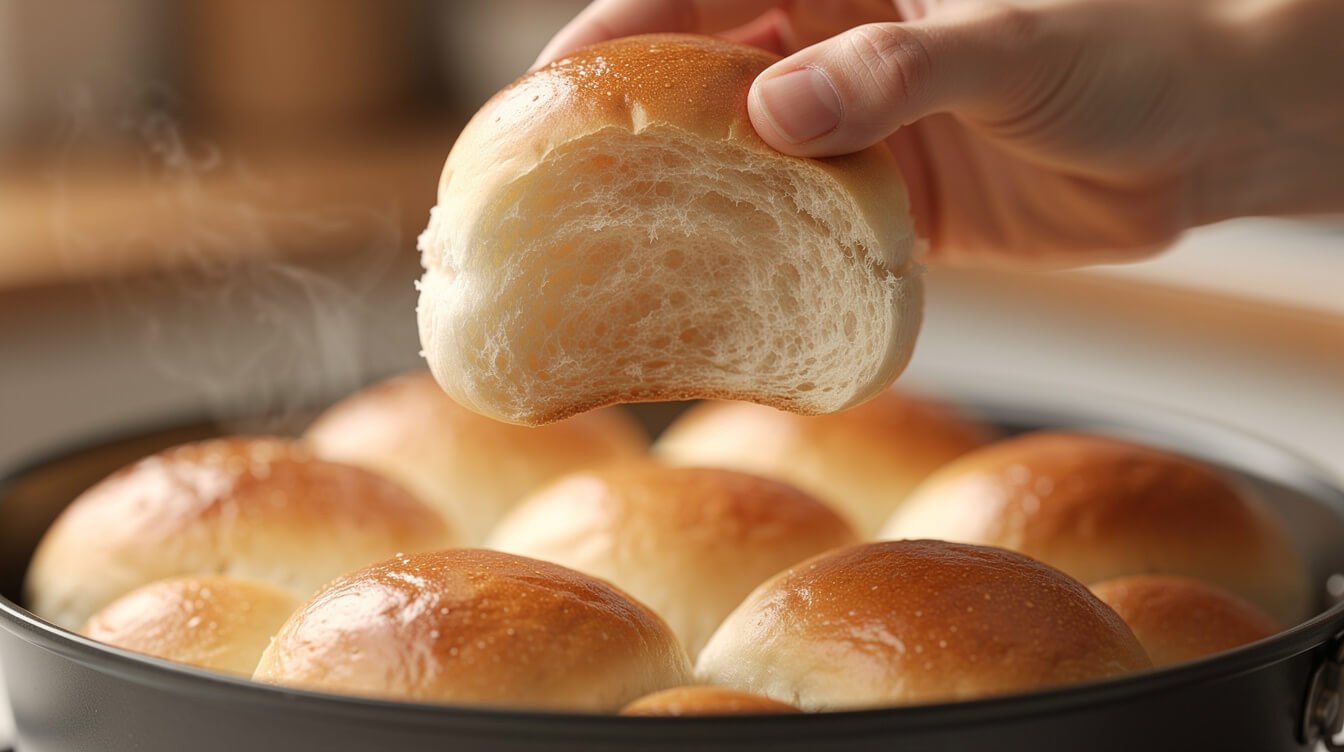
With easy dinner rolls, golden tops are a decent clue, but they’re also how most people overbake rolls. The edge rolls brown first and finish first. The center roll is the one to check.
When King Arthur tested soft dinner rolls with a thermometer, a bun at the edge of the pan read 192°F at 15 minutes while the center bun was only 171°F. Five minutes later, the edge read 208°F and the center 199°F. Their takeaway: if you’re serving rolls hot from the oven, bake until light brown. If you’re serving them later or reheating them, pull them when they’re pale gold and the center is about 190°F. Rolls baked past that went drier as they cooled.
So here’s the simple plan:
- Serving right away: bake until the tops are golden and the middle roll reads about 190°F (88°C), usually 20 to 25 minutes.
- Baking ahead to reheat: pull them a few minutes earlier, when the tops are pale gold and the middle roll reads about 190°F. They’ll brown a little more when you reheat them.
- No thermometer? Lift out a center roll with a fork or small spatula. The bottom should be evenly golden, and the sides where it touched its neighbors should spring back when pressed, not look wet or doughy.
Underbaked rolls are gummy in the middle and sink a little as they cool. If you cut one open and it’s tacky, slide the pan back in for 3 to 5 minutes. Overbaked rolls aren’t ruined either. Brush them with extra butter and serve them warm, while they’re at their softest.
From the Eat Cafe kitchen
One good recipe a week, straight to your inbox
The recipe we're actually cooking this week, plus the one tip that saves it when it goes sideways. No spam. Unsubscribe anytime.
Make-ahead easy dinner rolls: overnight, frozen, or baked ahead
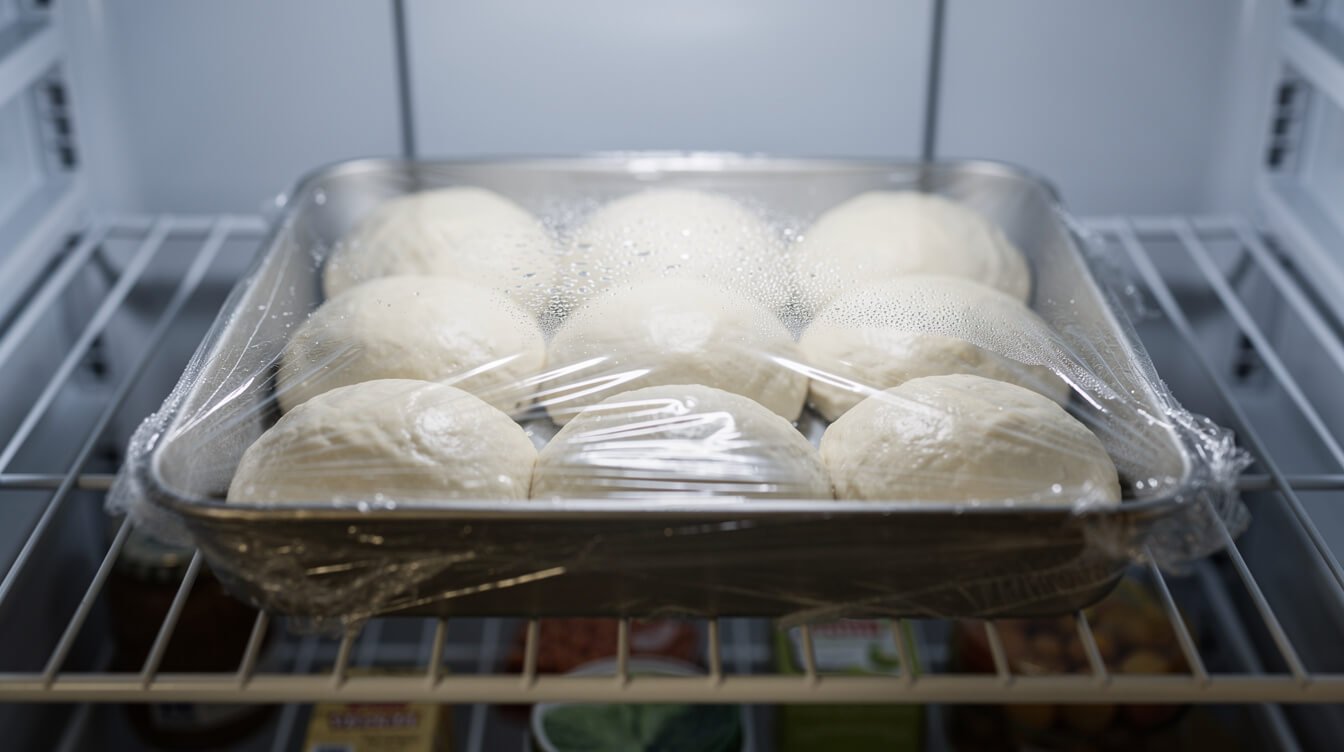
This is where easy dinner rolls really earn the name. You can do almost all of the work a day ahead, or even weeks ahead. Here are the three options, from freshest-tasting to most flexible.
Option 1: Shape tonight, bake tomorrow (best flavor)
- Make the dough and let it have its first rise as usual.
- Shape the rolls into the greased pan, cover tightly with plastic wrap, and refrigerate right away. The dough has egg and milk in it, so the overnight wait goes in the fridge, not on the counter. The counter would also leave you with over-risen, collapsed rolls by morning.
- Keep them in the fridge for up to about 15 hours.
- The next day, leave the covered pan on the counter for 1 to 2 hours, until the rolls are puffy and touching. Cold dough is slow, so give it the full time. Then bake as usual, maybe adding a couple of minutes.
The slow, cold rest actually gives the rolls a little more flavor. This is our favorite way to make them for a holiday.
Option 2: Freeze the shaped dough (most flexible)
- Shape the rolls into a greased pan, cover tightly, and freeze until solid, a few hours.
- Once they’re frozen, the balls won’t stick together, so you can move them to a freezer bag and get your pan back. Squeeze out the air.
- Use them within about a month for the best rise. Yeast slowly loses strength in the freezer.
- To bake, put the frozen balls back in a greased pan, cover them, and either thaw them in the fridge overnight and then rise on the counter for 1 to 2 hours, or thaw and rise on the counter for about 4 to 5 hours. Bake when they’re puffy and touching.
Option 3: Bake ahead and reheat (least stress on the day)
- Bake the rolls to pale gold, with the center roll at about 190°F (see above). Slightly underbaked is better than browned, since they get a second trip through the oven.
- Cool completely, then wrap the whole slab tightly. Keep it at room temperature for up to 2 days, or freeze it for up to 3 months.
- To reheat, thaw if frozen, wrap the slab loosely in foil, and warm it at 300 to 350°F for about 10 minutes, until heated through. Brush with fresh butter.
Baked rolls keep well. Wrapped tightly, they’re fine on the counter for 2 to 3 days. The fridge actually makes bread go stale faster, so only use it if your kitchen is warm and humid. For anything longer, freeze them.
If you’re the one who always gets asked to bring the rolls, our Support Our Charities T-shirt is a soft tee for baking day, and it helps support the kitchen too.

For the one who brings the rolls
The Eat Cafe Support Our Charities tee is a soft black cotton shirt with a small logo over the heart and a big one on the back. Wear it on baking day, and help support the kitchen while you’re at it.
A Thanksgiving-day oven plan for dinner rolls
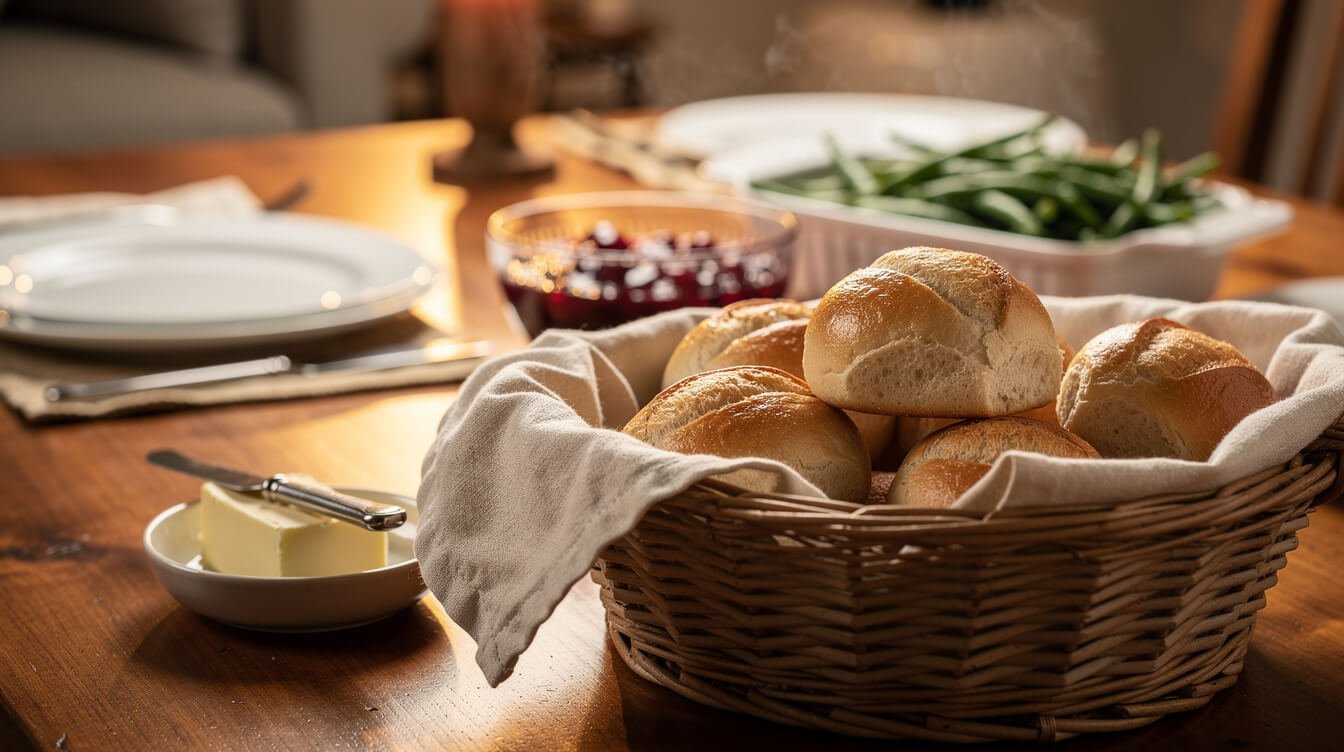
On a holiday, the problem usually isn’t the rolls. It’s the oven. The turkey is in it for hours, the sides need it too, and the rolls end up squeezed in at the last minute. Here’s how to fit easy dinner rolls into a crowded holiday oven.
The plan we’d follow
- The day before: make the dough, shape the rolls, cover the pan, and refrigerate (Option 1 above). This is also a good day to make cranberry sauce, which keeps well in the fridge.
- About 2 hours before dinner: take the rolls out of the fridge and leave them, covered, somewhere warm-ish to rise. Not right next to the oven if it’s blasting, or the side of the pan nearest the oven will race ahead.
- When the turkey comes out to rest: set the oven to 350°F and bake the rolls. A rested turkey needs time on the counter anyway, and that window is about the same as a pan of rolls in the oven. Make the gravy on the stovetop while they bake. (If it gets lumpy, here’s how to thicken and rescue gravy.)
- Straight to the table: brush with butter and serve them in the pan, or in a towel-lined basket to keep them warm.
If the oven really can’t spare 25 minutes
Go with Option 3: bake the rolls Wednesday, wrap them in foil, and slide the foil packet in alongside whatever’s already in the oven for the last 10 minutes. Between 325°F and 375°F all works for reheating. Just check them a couple of minutes early at the higher end. A slow cooker set to warm, lined with a clean towel, also keeps a batch of reheated rolls warm for an hour. If you want to free up even more oven space, our crock pot green bean casserole moves a whole side dish out of the oven.
Feeding a crowd
Make two separate batches rather than doubling everything in one bowl. A doubled dough is hard to knead well, especially by hand, and may be more than your mixer can handle. Bake the two pans on the same rack if they fit. If you have to use two racks, swap them halfway through and check the center roll in both pans. A dozen rolls feeds about 6 to 8 people, assuming some will want seconds. For the rest of the menu, our Thanksgiving dinner ideas round-up has more ideas.
Swaps and easy variations
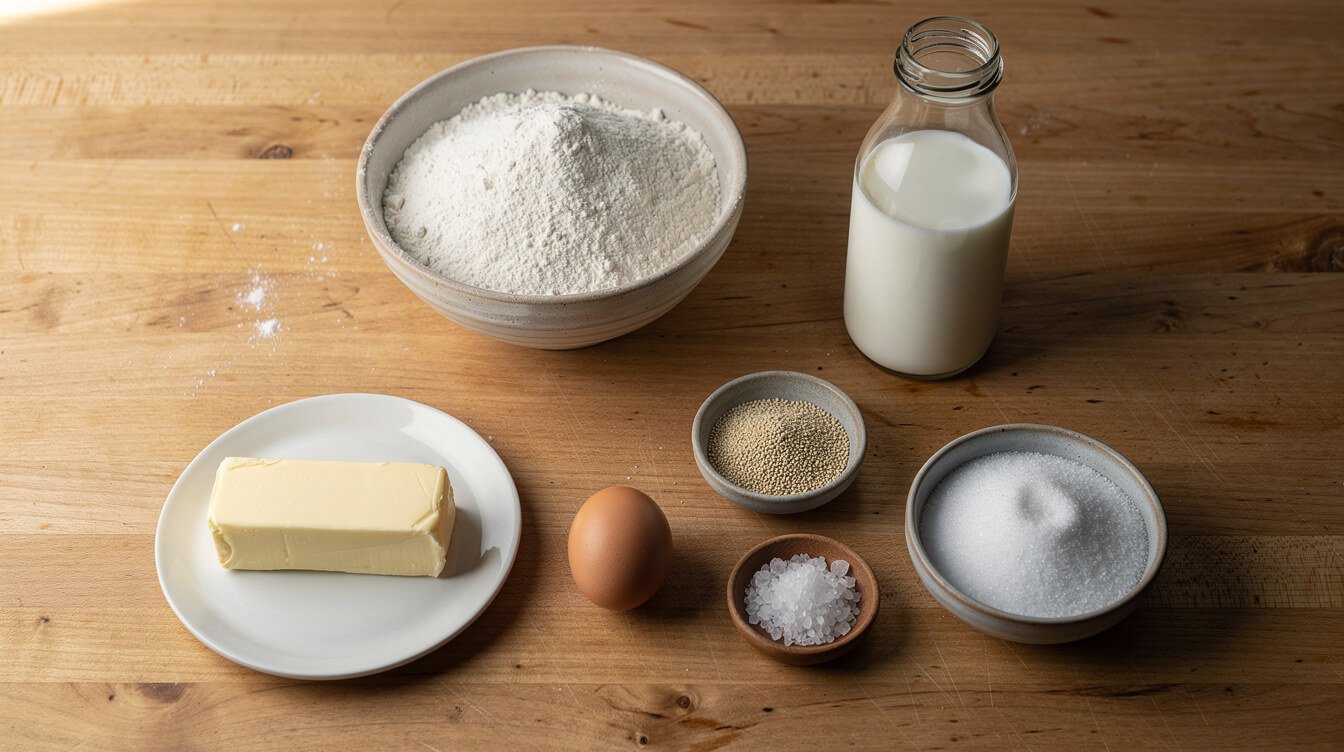
The dough for these easy dinner rolls is forgiving. Here’s what you can change, and what happens when you do.
| Swap | What to do | What changes |
|---|---|---|
| Active dry yeast instead of instant | Use the same amount. Give it the full 5 to 10 minutes in the warm milk to foam. | Rises run a little slower. Watch the dough, not the clock. |
| Bread flour instead of all-purpose | Swap cup for cup. You may need 1 to 2 tablespoons more milk. | Slightly taller, chewier rolls. Still soft. |
| Some whole wheat flour | Replace up to 1 cup (120 g) of the flour with whole wheat. | Nuttier and a bit denser. More than 1 cup makes them noticeably heavier. |
| 2% milk | Use it the same way. | A touch less rich. Hardly noticeable. |
| Dairy-free | Use unsweetened oat or soy milk and a plant-based butter. | Very close to the original. Check every label if you’re cooking for someone with an allergy. |
| No egg | Leave it out and add 2 to 3 tablespoons more milk. | A little less rich and soft, more like a sandwich bread. Still good. |
| Salted butter | Use it, and cut the salt to 1 teaspoon. | Nothing else. More on that in our salted vs unsalted butter guide. |
| No stand mixer | Stir with a wooden spoon, then knead by hand for 8 to 10 minutes. | Only your arms notice. |
Easy flavor variations
- Honey butter tops: stir 1 tablespoon honey into the melted butter for brushing. Skip the honey if anyone at the table is under 1 year old, since honey isn’t safe for babies.
- Garlic herb: stir a minced garlic clove and a tablespoon of chopped parsley or rosemary into the melted butter. If you love this direction, our homemade garlic bread goes all in.
- Everything bagel: brush the risen rolls with a beaten egg, sprinkle with everything seasoning, and bake.
- Cheddar: knead ¾ cup (85 g) shredded sharp cheddar into the dough after kneading.
- Bigger rolls: divide the dough into 9 pieces for sandwich-size rolls. Bake 3 to 5 minutes longer.
No yeast in the house at all? Our simple no-yeast bread and the buttermilk cornbread are both good same-day alternatives for the bread basket.
Troubleshooting and frequently asked questions
| Problem | Most likely cause | Fix next time |
|---|---|---|
| Dense, heavy rolls | Too much flour, or not enough rise | Spoon and level, or weigh. Stop adding flour once the dough clears the bowl. Let it fully double. |
| Dough barely rose | Cold kitchen, old yeast, or too-hot milk | Warm spot (oven light on). Check for foam in step 1. Milk at about 110°F. |
| Flat, spread-out rolls | Over-risen dough, loose shaping, or rolls spaced too far apart | Bake when they pass the poke test. Shape tight balls. Crowd them in a 9×13. |
| Tough, chewy rolls | Too much flour, or overbaked | Softer dough. Pull them at about 190°F in the center roll. |
| Gummy middle | Underbaked center rolls | Check the middle roll, not the edges. Give it 3 to 5 more minutes. |
| Tops too dark, centers raw | Rack too high, or oven running hot | Lower-middle rack. Tent with foil. Check your oven with an oven thermometer. |
| Pale, dull tops | No butter brushed on, or slightly underbaked | Brush with butter right out of the oven. Bake 2 more minutes if the center isn’t there yet. |
| Dry by the next day | Overbaked, or left uncovered | Bake to pale gold if serving later. Wrap tightly once cool. |
| Uneven sizes | Divided by eye | Weigh the dough and divide by 12. |
| Boozy smell, collapsed tops | Over-risen | Bake sooner. In a warm kitchen, start checking 15 minutes early. |
Can I make easy dinner rolls without a stand mixer?
Yes. Mix with a sturdy spoon until it’s too stiff to stir, then knead by hand on a lightly floured counter for 8 to 10 minutes. It’s a nice, low-key kitchen job. The dough will be sticky at first, so use a bench scraper rather than lots of extra flour.
Why do my rolls taste yeasty?
Usually because the dough over-rose, or it rose very fast in a hot spot. A slower rise at a comfortable room temperature tastes better. The overnight fridge rest is even better for flavor.
Can I use this dough for cinnamon rolls?
Yes. It’s a rich, soft dough, so it works well. Roll it out, fill, roll up, and slice. If you need cinnamon rolls fast with no rising at all, our no-yeast cinnamon rolls are ready in about an hour.
How far ahead can I make dinner rolls for Thanksgiving?
Shaped and refrigerated: the night before (up to about 15 hours). Shaped and frozen: up to about a month ahead. Baked, wrapped, and frozen: up to 3 months ahead. Reheat in foil.
What’s the difference between these and Parker House rolls?
The dough is very similar. Parker House rolls are rolled flat, brushed with butter, and folded in half before the second rise, which gives them their folded, pocket shape. You can shape this dough that way if you like. Bake them on a sheet, close together.
Can I bake the rolls in a different pan?
Yes. Two 9-inch round cake pans (6 rolls each) work. So does a 10-inch cast iron skillet for a rustic look. Rolls spaced apart on a baking sheet will bake a few minutes faster and come out firmer and more browned, so start checking at 15 minutes.
The short version
Easy dinner rolls come down to a few small habits:
- Measure the flour lightly (spoon and level, or 120 g per cup), and keep the dough soft and a little tacky.
- Use warm, not hot, milk (about 110°F), and watch for foam so you know the yeast is alive.
- Let the dough fully double, using the oven light if your kitchen is cold.
- Shape tight balls and crowd them in a 9×13 pan for soft, tall, pull-apart rolls.
- Check the center roll and pull the pan at about 190°F inside.
- Make them ahead: shape and refrigerate the night before, freeze the shaped dough for up to a month, or bake ahead and reheat in foil.
That’s it. Once you’ve made these easy dinner rolls once, they’ll become a dough you can make without the recipe. Happy baking.

Before you go
Want the next one?
We post a new recipe or kitchen guide every day. The best of the week lands in one short email, no life story attached.