Italian Pizza Dough Recipe That Actually Stretches — Plus the 3 Fixes
If you’ve tried an italian pizza dough recipe before and ended up with dough that snaps back like a rubber band, a crust that bakes up dense and bready, or a soggy pale middle no matter how long it sits in the oven — you’re not bad at this. Almost every home pizza problem comes down to one of three things, and each one has a one-line fix. This dough is made entirely by hand, needs no special flour hunt, and by the end of this post you’ll know exactly why pizza dough misbehaves and how to make it behave, every single time.
Here’s what we’re covering: why dough fights you, the flour question settled honestly, the actual recipe, your two timing options, how to stretch it without a rolling pin, how to get real heat into a home oven, and the fixes for the three most common fails.
Why your italian pizza dough recipe fights back (and the one-line fix)
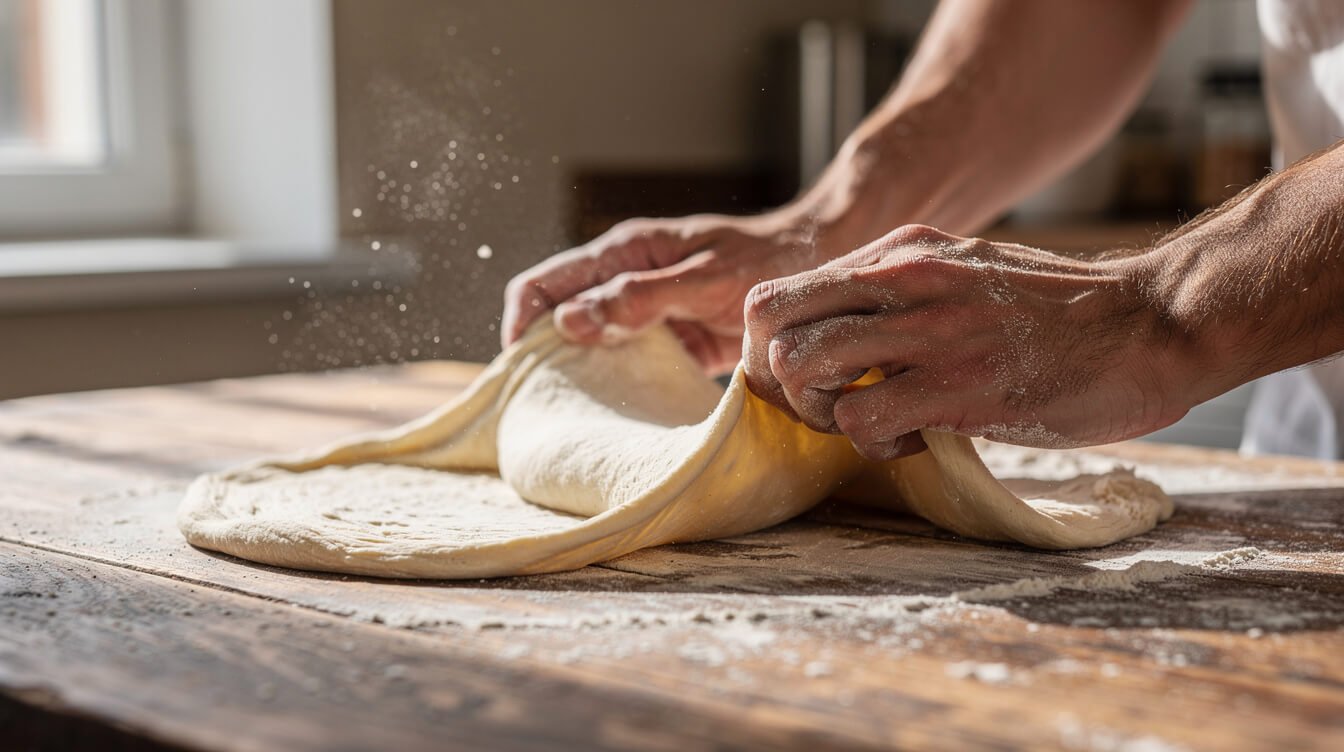
You stretch the dough, it springs back to half the size, and you fight it in circles until you give up and end up with a small, thick, sad circle. This isn’t a skill problem — it’s gluten doing exactly what gluten does.
When you knead dough, you build long, tight strands of gluten. That’s good — it’s what gives pizza crust its chew. But tight gluten is also elastic, which means it resists being stretched right after kneading. Try to force it and it just snaps back.
The fix is rest, not muscle. Every time the dough fights you, stop, cover it, and let it sit on the counter for 10 to 15 minutes. The gluten relaxes on its own. Come back and it’ll stretch twice as easily with half the effort. This one habit — rest instead of wrestle — solves more pizza dough problems than any ingredient swap.
The same idea applies to the whole dough-making process: a longer, slower rise relaxes gluten more than a short, rushed one, which is part of why the overnight version (more on that below) is so much easier to shape than a same-day rush job.
There’s a quick way to check if you’ve kneaded enough without guessing: pull off a small piece of dough and gently stretch it between your fingers. If you can stretch it thin enough to see light through it before it tears, you’re there — that’s the “windowpane test,” and it means the gluten network is developed enough to trap the gas bubbles that give your crust lift. If it tears immediately into a ragged hole, give it another minute or two of kneading and try again.
The flour question: 00 vs. bread flour, honestly
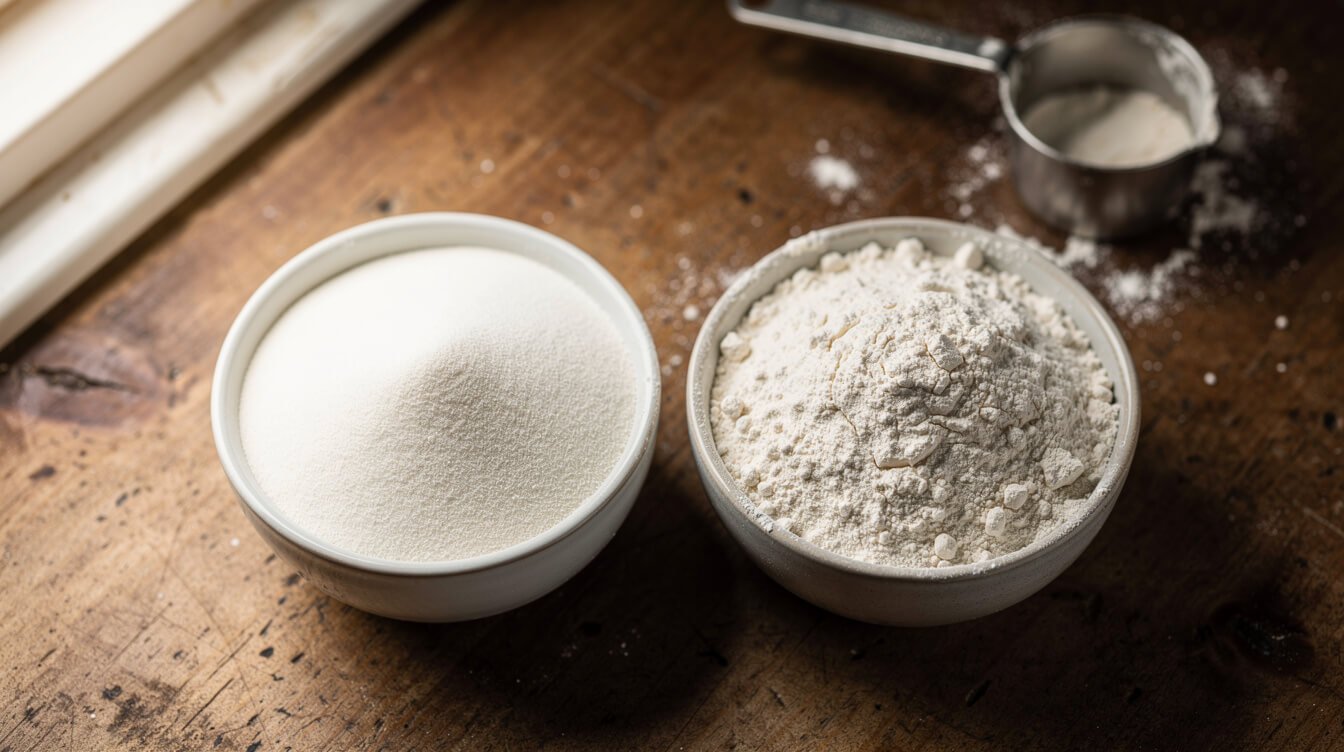
You’ll see recipes insist on Italian 00 flour like it’s the difference between a good pizza and a bad one. It isn’t. Here’s the honest version.
00 flour is ground finer than American flours and traditionally used in Naples for high-heat, short-bake pizza (think 90 seconds in an 800°F wood oven). It gives a softer, more tender crust when it gets that kind of blast of heat.
Bread flour has more protein than 00 or all-purpose, which means more gluten, which means more chew and structure — and it holds up better in a home oven, which tops out around 500-550°F and bakes for 8-12 minutes rather than 90 seconds.
The honest answer: for a home oven, bread flour usually gives you a better result than 00. It’s also sitting in most pantries already. If you have 00 flour and want to use it, go ahead — the recipe below works with either. But don’t buy a $9 bag of imported flour thinking it’s the missing piece. It isn’t. The missing piece is almost always time (see the fermentation section) and heat (see the baking section), not flour type.
All-purpose flour works in a pinch too — the crust will be a little softer and less chewy, but it’s a completely reasonable Tuesday-night pizza. Nobody’s grading you on flour protein content.
If you want the numbers: 00 flour typically runs about 11-12% protein, bread flour sits around 12-14%, and all-purpose lands lower, around 10-12%. More protein means more gluten-forming potential, which means more chew. That’s the whole difference in practical terms — not mystique, just protein percentage doing what protein does.
The italian pizza dough recipe: one dough, by hand, no mixer needed
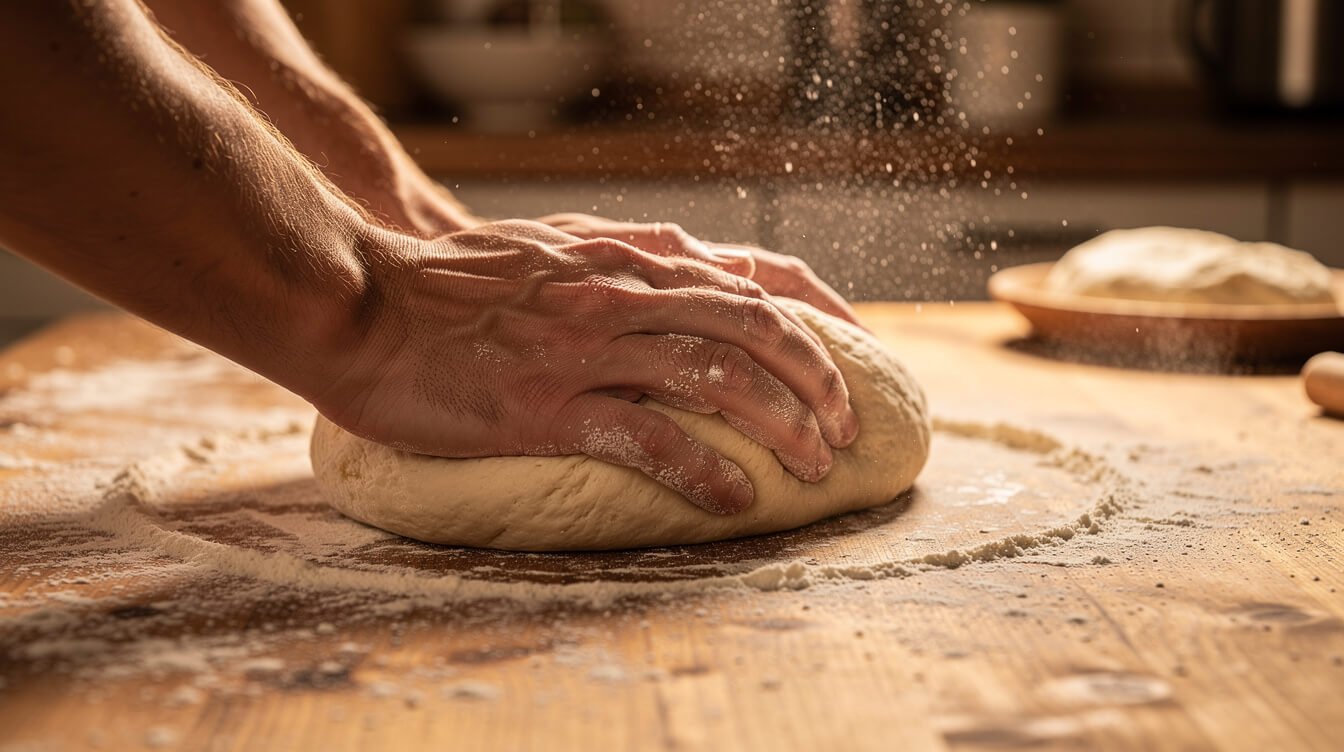
This makes two 12-inch pizzas. It doubles cleanly if you’re feeding a crowd.
What you actually need: a large mixing bowl, a kitchen towel or plastic wrap, and your hands. A kitchen scale makes the flour measurement more accurate (dough is forgiving, but weighing beats scooping), and a bench scraper is nice for handling sticky dough — but neither is required. You don’t need a stand mixer, a dough hook, or any specialty gear to make this well.
Ingredients:
- 500g (about 4 cups) bread flour, plus more for dusting
- 350g (about 1½ cups) warm water, 100-110°F — warm to the touch, not hot
- 2¼ teaspoons (1 packet) active dry yeast or instant yeast
- 2 teaspoons fine salt
- 1 teaspoon sugar (feeds the yeast, you won’t taste it)
- 2 tablespoons olive oil, plus more for the bowl
Steps:
- In a large bowl, stir the warm water, yeast, and sugar together. Let it sit 5-10 minutes until it looks foamy on top — that’s your proof that the yeast is alive and working. If it doesn’t foam, the water was too hot (it killed the yeast) or too cold (it’s still asleep); start over with fresh yeast and water in the right range.
- Add the flour, salt, and olive oil. Mix with a wooden spoon or your hand until it comes together into a shaggy, sticky ball. It won’t look pretty yet — that’s normal.
- Turn it out onto a lightly floured counter and knead for 8-10 minutes. Push with the heel of your hand, fold it back over, quarter-turn, repeat. The dough goes from sticky and rough to smooth and slightly tacky — press it and it should spring back slowly, not instantly.
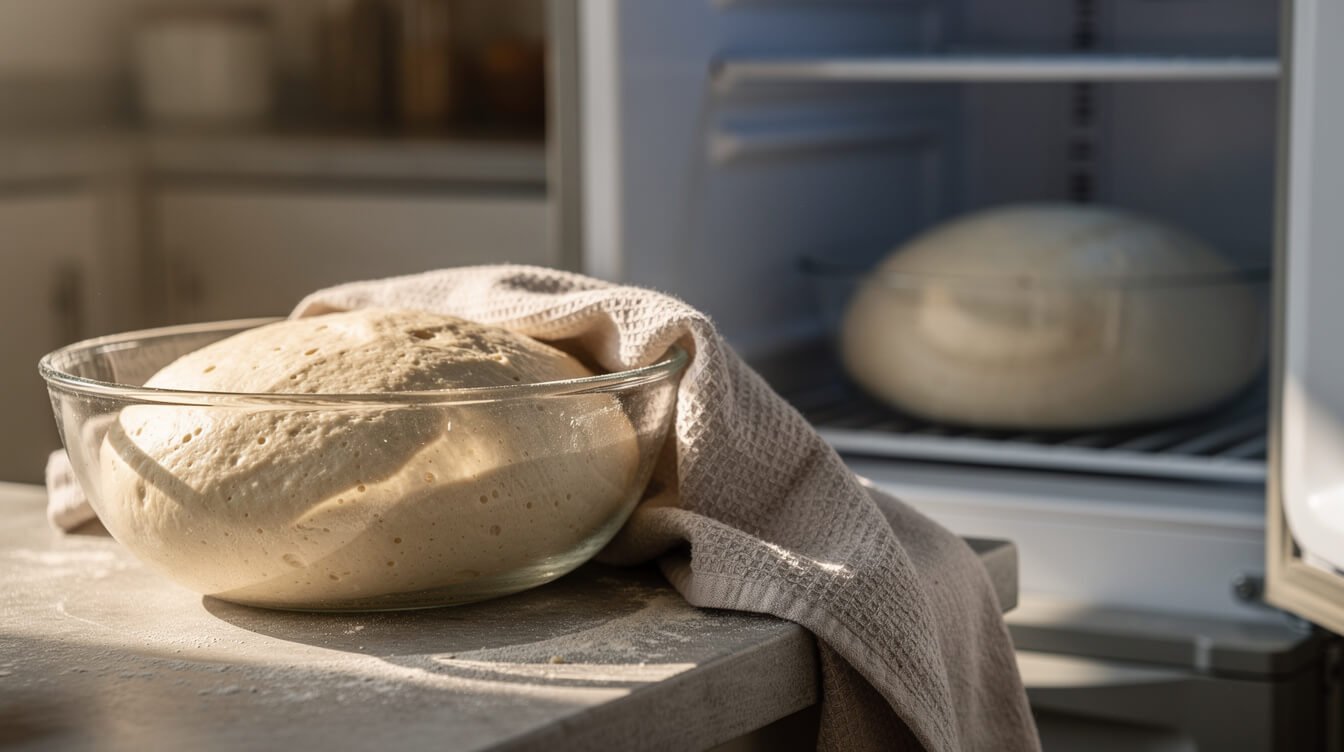
- Shape it into a ball, put it in a lightly oiled bowl, and cover with a damp towel or plastic wrap. Now pick your path: same-day or overnight (next section). For the same-day rise, a warm spot speeds things along — the top of the fridge, near (not on) a warm stove, or an oven with just the light on all work well.
- Once risen, punch it down gently, divide into two equal pieces, and shape each into a tight ball. Let those rest, covered, for 20-30 minutes before stretching — this is the relax step from the section above, and skipping it is the #1 reason dough fights back at the stretching stage.
If you’re making this for movie night or a casual easy weeknight dinner, this dough holds up fine as the anchor of the meal — round out the table with a simple salad and call it done.
Same-day (2 hours) vs. overnight cold ferment — pick your path
Both make good pizza. They’re just different tools for different nights.
Same-day, about 2 hours: Leave the dough covered at room temperature until it’s roughly doubled — usually 1.5 to 2 hours depending on how warm your kitchen is. This is the one for “I want pizza tonight and it’s already 5pm.” The crust will be good: light, a little chewy, perfectly satisfying.
Overnight cold ferment, 12-24 hours: After the first 30-45 minutes at room temperature (just to get the yeast started), move the covered bowl to the fridge for anywhere from 12 to 24 hours. The cold slows the yeast way down but doesn’t stop it, so the dough keeps developing flavor slowly instead of just puffing up fast. The result is a deeper, slightly tangy, more complex-tasting crust — the kind that tastes like it took real effort, because in a sense it did, just not effort from you.
Pull cold dough out of the fridge about an hour before you plan to shape it, so it’s not fighting you while it’s still chilled and stiff. Everything else about the recipe stays the same.
If you’re not sure which to pick: same-day for tonight, overnight if you’re already thinking about tomorrow’s dinner. There’s no wrong answer — one just tastes a little better for a little more patience.
From the Eat Cafe kitchen
One good recipe a week, straight to your inbox
The recipe we're actually cooking this week, plus the one tip that saves it when it goes sideways. No spam. Unsubscribe anytime.
How to stretch it without tearing (never a rolling pin)
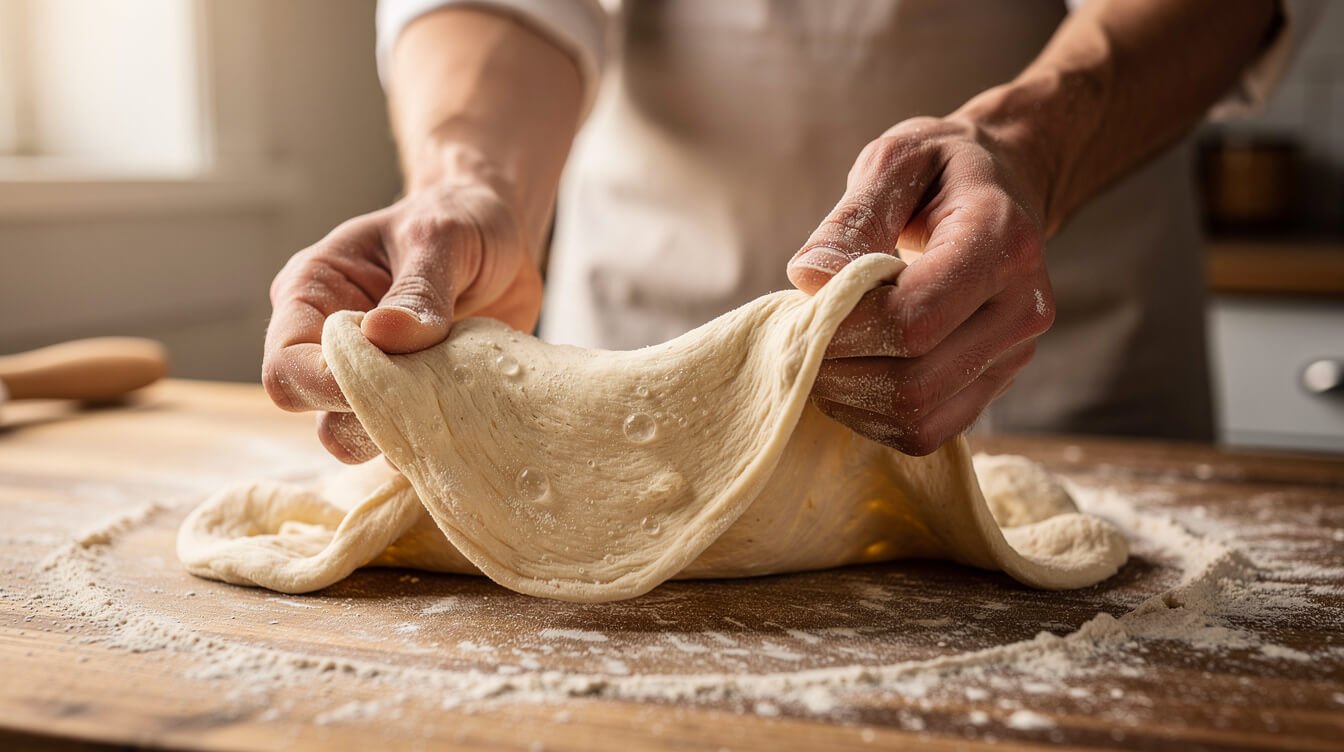
A rolling pin presses all the air out of the dough, which is exactly what you don’t want — that trapped air is what gives you a crust with any lift and chew at all. Stretch it with your hands instead.
- Flour your hands and the counter lightly. Press the rested dough ball flat with your fingertips, working from the center out, leaving a slightly thicker border for the crust edge.
- Pick it up and drape it over your knuckles, letting gravity pull it wider as you slowly rotate it. This is the “no tossing required” version — you don’t need to throw it in the air to get it thin.
- If it starts springing back or resisting, stop and set it down for 5 minutes. This is the same fix from earlier in this post: rest, don’t wrestle. Every single time dough fights you, the answer is time, not force.
- Work toward roughly 10-12 inches across, with the center thinner than the edge. A few uneven, rustic patches are normal and honestly look more authentic than a perfect machine-made circle.
- If it tears, don’t panic — pinch it back together and keep going. A small patch job disappears once it’s baked and topped.
Once it’s stretched, resist the urge to load it up. Go lighter on sauce and cheese than feels natural — a thin, even layer of crushed tomatoes, a scatter of mozzarella (torn, not sliced, so it melts into pockets instead of one solid sheet), and a drizzle of olive oil is genuinely enough. Overloading toppings is one of the most common reasons home pizza turns out soggy in the middle, which we’ll come back to in the troubleshooting section.
If you want to dress it up, torn fresh burrata melts beautifully into the heat — the same idea we use in our burrata sandwich recipes works just as well on a pizza. Add it after baking, not before, so it stays soft and pooled instead of drying out in the oven.
Baking it hot at home: stone, steel, or the skillet-broiler trick
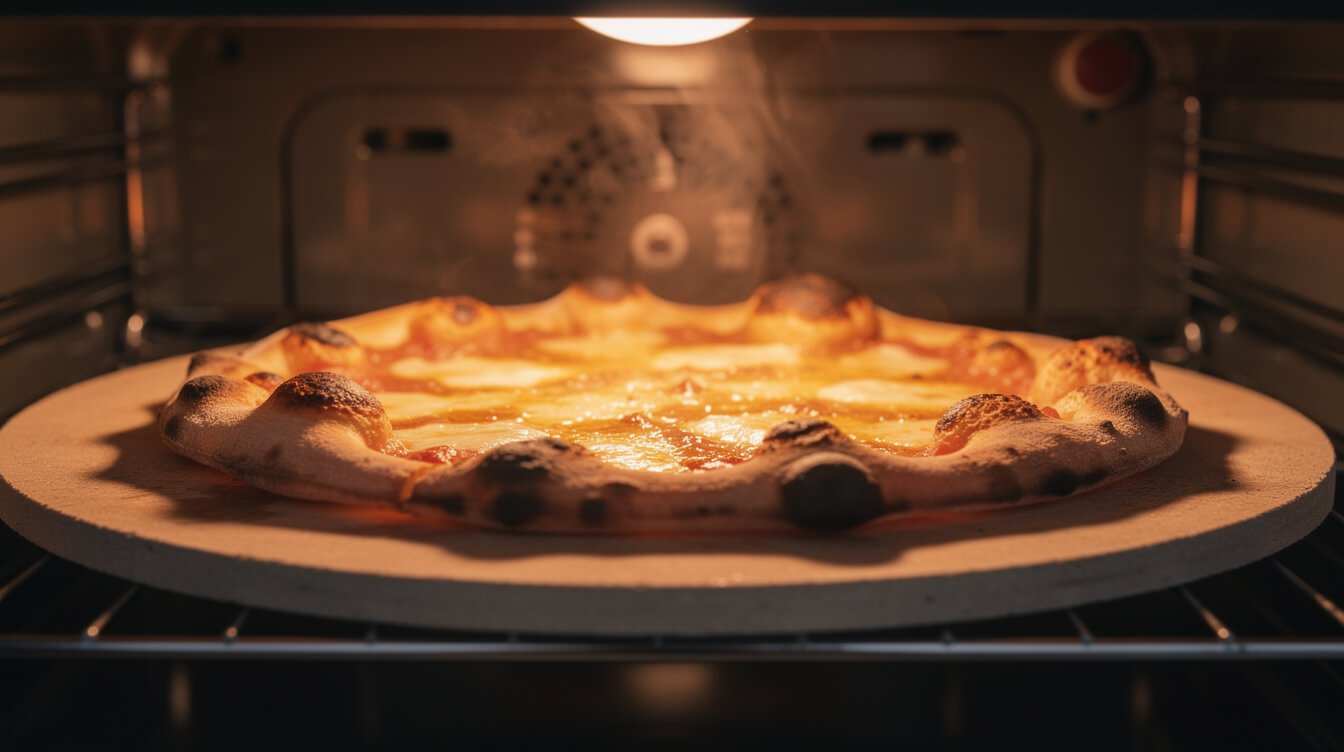
The single biggest gap between home pizza and restaurant pizza isn’t the dough recipe — it’s heat. Pizzerias bake at 700-900°F. Home ovens max out around 500-550°F. You can’t match that heat, but you can get a lot closer than most people do.
Pizza stone or steel: Put it on a rack in the lower third of the oven and preheat for at least 45 minutes at your oven’s highest setting — the stone needs that long to actually soak up the heat, not just for the oven to reach temperature. Slide the shaped, topped dough directly onto the hot stone using a floured pizza peel or the back of a flat baking sheet.
No stone? The skillet-broiler trick: Preheat a cast-iron skillet on the stovetop over medium-high for a few minutes, then stretch the dough directly into the hot, lightly-oiled skillet. Cook on the stovetop for 2-3 minutes until the bottom is browned and set, add your toppings, then slide the whole skillet under the broiler for 3-5 minutes until the cheese bubbles and the edges char. This gets you real bottom-crust heat and real top-crust char without owning any special gear.
Either way: watch it, not the clock. Look for a deeply golden, blistered crust with a few dark leopard spots, and cheese that’s fully melted and just starting to brown. That’s usually somewhere between 8-12 minutes in the oven, or the few minutes under the broiler in the skillet method.
Troubleshooting your italian pizza dough recipe: 3 fixes for the most common fails

My dough won’t stretch — it just keeps springing back.
This is tight, unrested gluten, and it’s the most common complaint by far. Stop pulling. Set the dough down, cover it, and walk away for 10-15 minutes. Come back and it will stretch dramatically easier. If it’s still fighting you after that, your dough may be under-rested overall — next time, give the shaped balls a full 30 minutes to rest before you try to stretch them.
My crust came out dense and bready instead of light and chewy.
Usually one of three culprits: too much flour worked in during kneading (measure by weight if you can, or spoon-and-level your flour rather than scooping it packed into the cup), a rise that was cut short (give it the full time — doubled in size, not just puffy), or over-kneading past the smooth-and-tacky stage into something stiff. Next time, try the overnight cold ferment — the slower rise builds better texture almost automatically.
The middle is soggy or pale even though the edges look done.
This is almost always heat, not dough. Either the oven wasn’t fully preheated (that 45-minute stone preheat matters more than it sounds like it should), too many wet toppings were piled on (go lighter on sauce and cheese than feels natural — you can always add more next time), or the dough was rolled too thick in the center. Try the skillet-broiler method above if your oven runs cool — the direct stovetop heat solves a soggy middle that the oven alone can’t fix.
Do I need a stand mixer or bread machine for this?
No. Everything in this recipe is built around hand-kneading — it takes 8-10 minutes of real effort, but no equipment. If you own a stand mixer with a dough hook, you can absolutely use it (mix on low for about 6-7 minutes), but it’s a convenience, not a requirement.

From the Eat Cafe shop
100 Essential Tools Every Chef Has in Their Kitchen eBook and Guide
$7.99
See it in the shopStoring and reheating leftovers
Extra dough keeps in the fridge, covered, for up to 3 days — punch it down once if it puffs up too much. For longer storage, portion it into balls, rub lightly with olive oil, and freeze in a sealed bag for up to 3 months; thaw overnight in the fridge before shaping.
Baked leftover slices keep in the fridge for 3-4 days. Skip the microwave, which turns crust rubbery — a hot skillet on the stovetop or a few minutes in the air fryer gets the bottom crisp again while the cheese re-melts. If you haven’t tried it, our best air fryer recipes guide has the timing details for reheating leftovers like this without drying them out.
That’s the whole thing — one dough, two timing paths, and three fixes for when it fights back. Once you’ve made it a couple of times, you’ll stop needing the recipe at all. Save this one for the next time the dough gives you trouble, and tell us how your crust turned out.

Before you go
Want the next one?
We post a new recipe or kitchen guide every day. The best of the week lands in one short email, no life story attached.