Pumpkin dump cake recipes: the classic, 6 easy twists, and the fix for dry spots
You want a pumpkin dessert for a crowd that doesn’t need a pie crust, a mixer, or an afternoon. Pumpkin dump cake is it: a creamy pumpkin-pie layer on the bottom and a buttery, crisp cake-mix crumble on top, all baked in one 9×13 pan. The catch is that most pumpkin dump cake recipes skip the part that goes wrong. You pull it out of the oven and find pale, powdery patches of dry cake mix sitting on top. Below are the classic recipe we make, the one butter trick that prevents those dry spots, how to tell it’s actually done, and six easy twists for when you want something a little different.
Short version: whisk the pumpkin layer, pour it in, sprinkle the dry cake mix evenly over it without stirring, and cover every bit of that mix with butter. Bake at 350°F until the edges bubble and the center barely wobbles. That’s the whole dessert.
Our classic pumpkin dump cake recipe
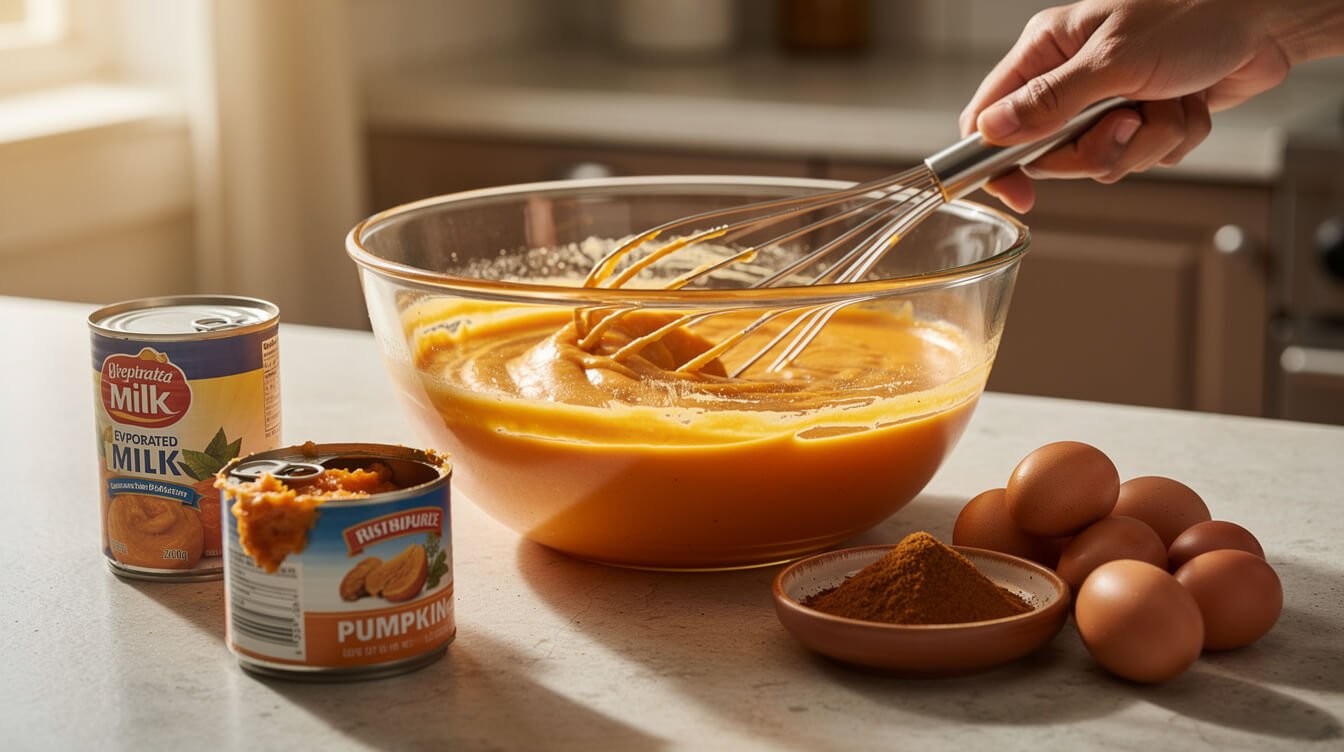
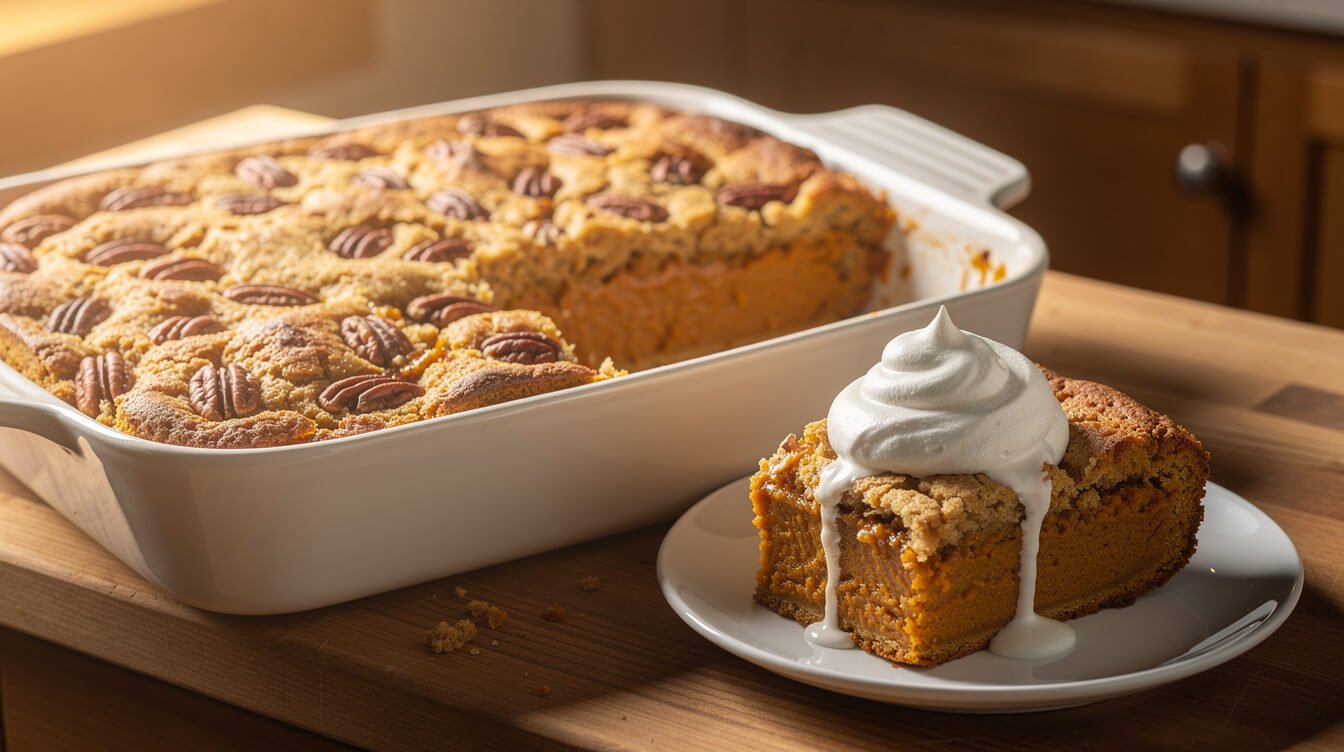
This is the version we keep coming back to. The bottom layer is basically pumpkin pie filling: canned pumpkin, evaporated milk, eggs, brown sugar, and spice. It bakes up silky and sliceable once it cools a bit. The top is boxed cake mix and butter, which bakes into something between a cobbler crust and a pecan-praline crunch. It serves 12 to 15 and travels well to a potluck.
Ingredients (9×13-inch pan)
Pumpkin layer
- 1 can (15 oz) pure pumpkin puree, not pumpkin pie mix (about 1¾ cups)
- 1 can (12 oz) evaporated milk, not sweetened condensed
- 3 large eggs
- 1 cup packed light brown sugar
- 2 teaspoons pumpkin pie spice (or 1 tsp cinnamon, ½ tsp ginger, ¼ tsp nutmeg, ¼ tsp cloves)
- 1 teaspoon vanilla extract
- ½ teaspoon salt
Topping
- 1 box yellow or spice cake mix, dry (13.25 to 15.25 oz — either size works)
- 1 cup chopped pecans
- ¾ cup (1½ sticks) unsalted butter, melted or cold and thinly sliced. Use 1 cup (2 sticks) if your box is the larger 15.25 oz size.
Instructions
- Heat the oven to 350°F (175°C). Grease a 9×13-inch baking dish.
- Make the pumpkin layer. In a large bowl, whisk the pumpkin, evaporated milk, eggs, brown sugar, spice, vanilla, and salt until completely smooth, with no streaks of egg. Pour it into the dish.
- Add the cake mix. Sprinkle the dry cake mix evenly over the pumpkin. Break up any lumps with your fingers as you go. Don’t stir it in. Gently level it with the back of a spoon so the layer is the same depth everywhere, corners included.
- Add the pecans. Scatter them evenly over the cake mix.
- Cover with butter. Either drizzle the melted butter slowly in tight back-and-forth lines across the whole pan, or tile thin slices of cold butter edge to edge so they touch. The next section explains why this step matters most.
- Bake 50 to 60 minutes. Glass and ceramic dishes usually need the longer end. If the top is deep golden at 40 minutes but the center still sloshes, lay a sheet of foil loosely over the top and keep going.
- Check that it’s done (details below), then cool at least 30 minutes before serving. The pumpkin layer keeps setting as it cools, so cutting it piping hot gives you soup.
Serve it warm with whipped cream or vanilla ice cream. And yes, it’s a cake-mix dessert. Nobody’s grading you, and it’ll be the first pan emptied at the table.
The one fix: no dry, powdery cake mix on top
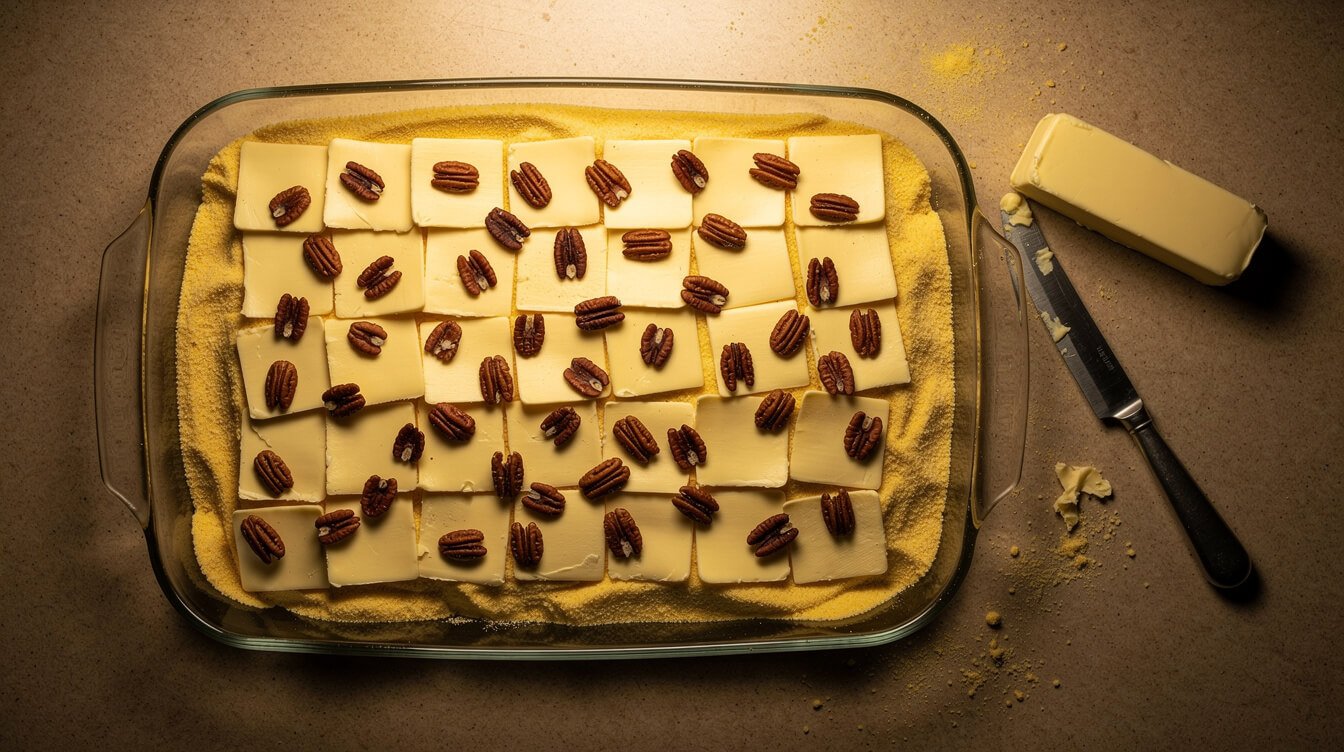
Almost every complaint about a pumpkin dump cake comes back to the same problem: bits of the top come out as raw-looking, dusty cake mix instead of a golden crunch. It happens because the dry mix only bakes into a crust where fat reaches it. The pumpkin layer below adds some moisture from underneath, but not enough to hydrate the top half of the mix. Wherever the butter didn’t land, you get powder.
Here’s what fixes it:
- Level the cake mix first. Thick drifts in one spot and a thin dusting in another will never bake evenly. Spend 20 seconds smoothing it out.
- Melted butter: go slow, go everywhere. Pouring it from the measuring cup in one stream leaves rivers and dry islands. Drizzle with a spoon in tight lines, rows about ½ inch apart, then a second pass crosswise. Hit the corners and edges deliberately; that’s where dry spots hide.
- Cold butter: slice thin and tile it. Cut the sticks into slices about ⅛ inch thick and lay them over the top so they touch, like shingles. As they melt, they cover the whole surface. This is the most foolproof method, and it’s what we do when cooking for company.
- Grated frozen butter also works. Grate it straight over the top on the large holes of a box grater for very even coverage.
- Check at 30 minutes. If you see a pale, dry patch, spoon some of the melted butter pooling at the edges over it and slide the pan back in. If nothing’s pooling, dot the spot with a thin pat of butter.
Pecans sit on top of the mix and under the butter, so they toast in it instead of drying out. If you’re skipping nuts, the butter rules are the same.
Can you use less butter? You can drop to about ½ cup, but you need to spread it more carefully. With less fat there’s less to spare, so dry spots show up faster. Thin cold slices or grated butter go the furthest.
How to tell your pumpkin dump cake is done
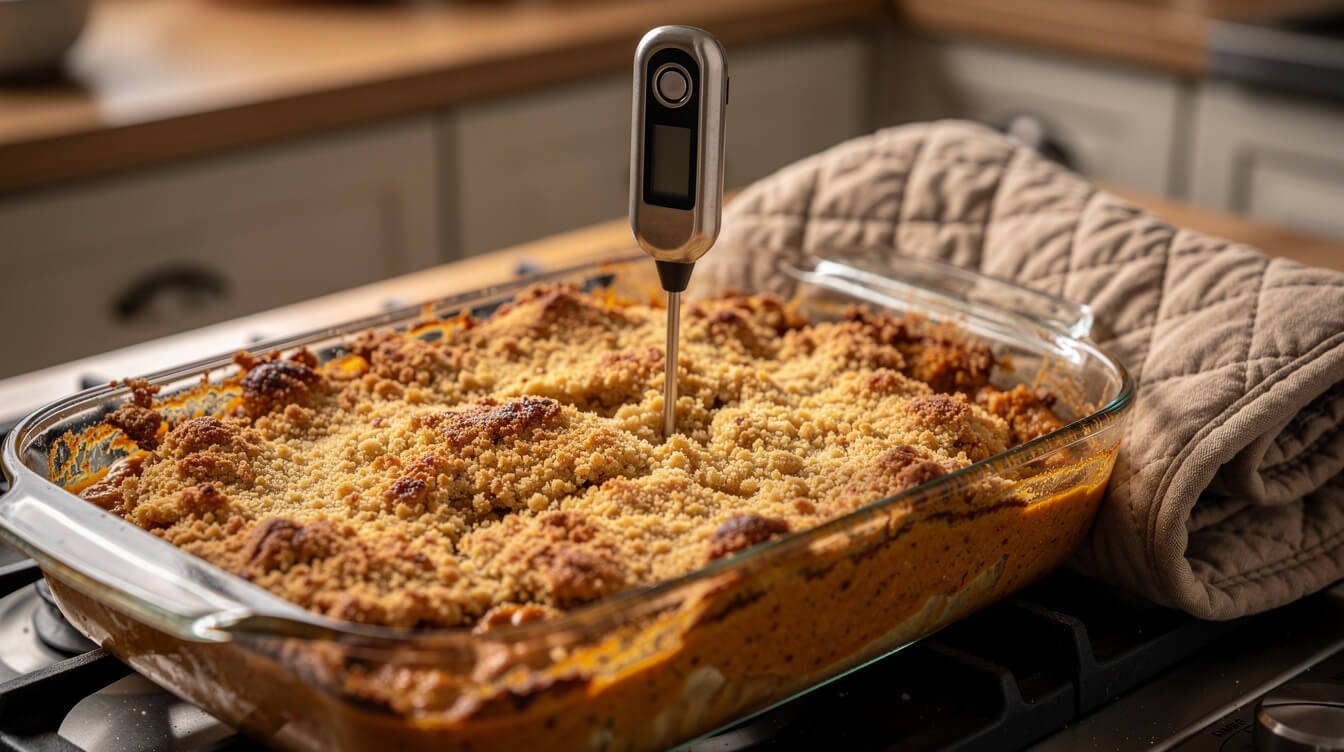
Most pumpkin dump cake recipes just say “bake until a toothpick comes out clean.” That test gets tricky here, because the toothpick has to travel through a crumbly, buttery top before it reaches the soft custard, and it can come out messy either way. Use these cues together instead.
The signs it’s ready
- The edges are bubbling and the top is deep golden brown all over, with no pale or powdery patches.
- The center barely wobbles. Give the pan a gentle nudge. The middle should shift as one piece, like set custard, not ripple like liquid.
- A knife comes out mostly clean. Push a thin knife straight down about 2 inches from the center into the pumpkin layer. A little moist pumpkin clinging to it is fine. Runny, liquid filling is not.
Use a thermometer if you have one
Because the bottom layer is an egg custard, it needs to cook through. The USDA’s safe minimum for egg dishes is 160°F (71°C). Slide an instant-read thermometer into the center of the pumpkin layer, not the topping, and make sure it reads at least that. The custard will usually be well set by then. If you’ve been guessing at doneness on custards and pies for years, a cheap instant-read thermometer is the most useful tool you can buy for baking.
If the top is done before the middle
This happens a lot in deep glass dishes. Lay foil loosely over the top, don’t crimp it, and keep baking in 5- to 10-minute stretches until the center passes the checks above. Pulling it early because the top looks finished is how you get a soupy middle.
Why it’s soggy in the middle even though it’s done
Two common reasons. You cut it hot, so give it at least 30 minutes and ideally an hour. Or your pumpkin was wetter than canned, which happens with homemade puree (see the FAQ). Cooling fixes the first. Draining your puree fixes the second.
Ingredient swaps that do (and don’t) work
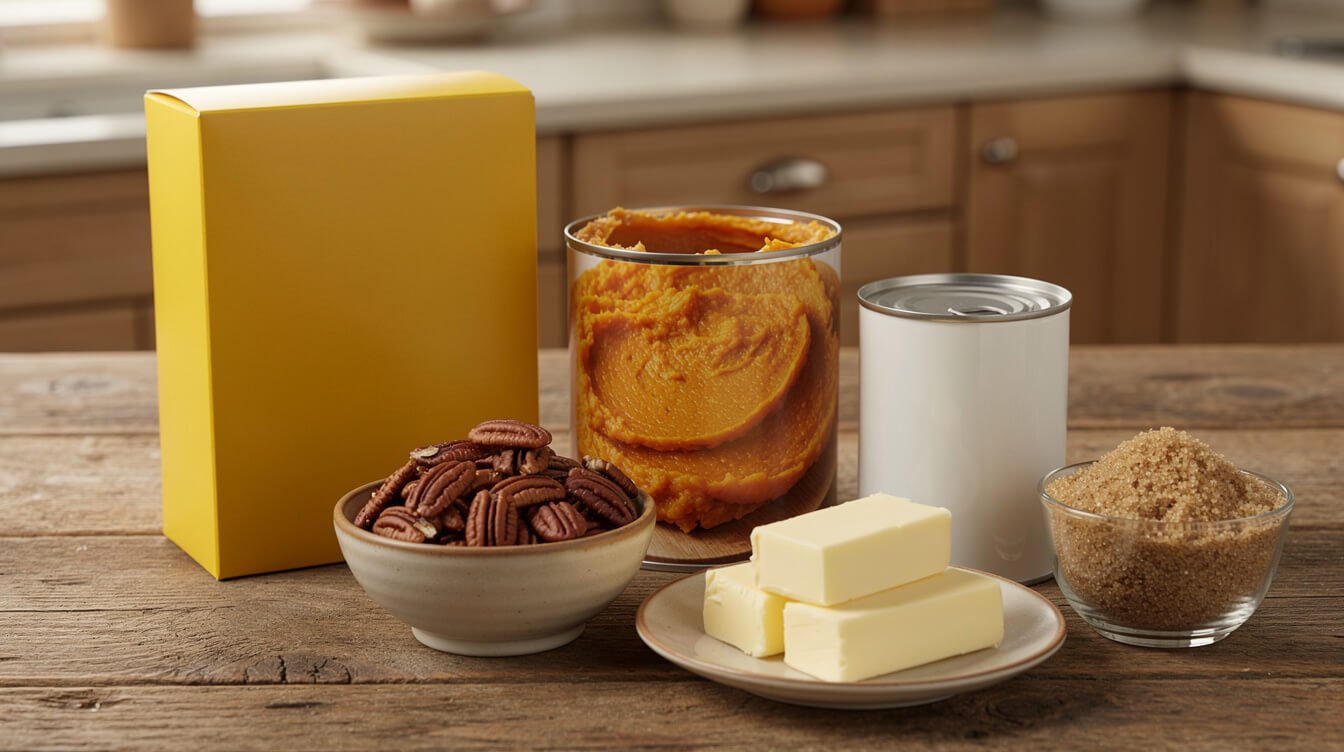
Pumpkin dump cake is forgiving, but a few swaps change the result more than people expect. Here’s what to know before you start pulling cans from the pantry.
Pumpkin puree vs. pumpkin pie mix
They sit next to each other on the shelf and look almost identical. Pure pumpkin puree is just cooked pumpkin. Pumpkin pie mix (sometimes labeled “pumpkin pie filling”) is already sweetened and spiced. If you use pie mix in the classic recipe above, leave out the brown sugar and the spice or it’ll be cloying. There’s a full pie-mix version in the twists below.
Evaporated milk vs. sweetened condensed milk
Don’t swap these one-for-one. Evaporated milk is unsweetened milk with some of the water cooked off. Sweetened condensed milk is loaded with sugar, and the cans aren’t even the same size (usually 12 oz vs. 14 oz). Swap it straight in and you add a lot of sugar plus extra liquid, so the custard gets very sweet and sets softer. If condensed is all you have, leave out the brown sugar entirely and expect a sweeter, softer layer.
No evaporated milk? Use the same amount of half-and-half, or whole milk with 2 tablespoons of melted butter whisked in. Full-fat canned coconut milk works for a dairy-free layer, too. Our coconut milk substitute guide explains why fat content matters so much in swaps like this.
Yellow vs. spice cake mix
Both are good. Yellow cake mix gives a cleaner, buttery-caramel top that lets the pumpkin spice in the bottom layer do the talking. Spice cake mix doubles down on the warm spice. If you use spice mix, you can cut the pumpkin pie spice in the filling to 1 teaspoon. Don’t have either? Whisk together 2 cups all-purpose flour, 1¼ cups sugar, 2 teaspoons baking powder, and ½ teaspoon salt, and use that in place of the box.
Butter
Salted butter is fine. Just cut the added salt in the pumpkin layer to a pinch. Plant-based butter sticks work too. Margarine spreads in tubs have more water and can leave the top a little soggy. Our butter substitute guide goes deeper on what each swap does in the oven.
If this dessert ends up in your fall rotation and you’re bringing it to a potluck, our Support Our Charities Donor Membership T-Shirt is a comfy black tee with the Eat Cafe logo, small on the front and big on the back.
From the Eat Cafe kitchen
One good recipe a week, straight to your inbox
The recipe we're actually cooking this week, plus the one tip that saves it when it goes sideways. No spam. Unsubscribe anytime.
More pumpkin dump cake recipes: 6 easy twists
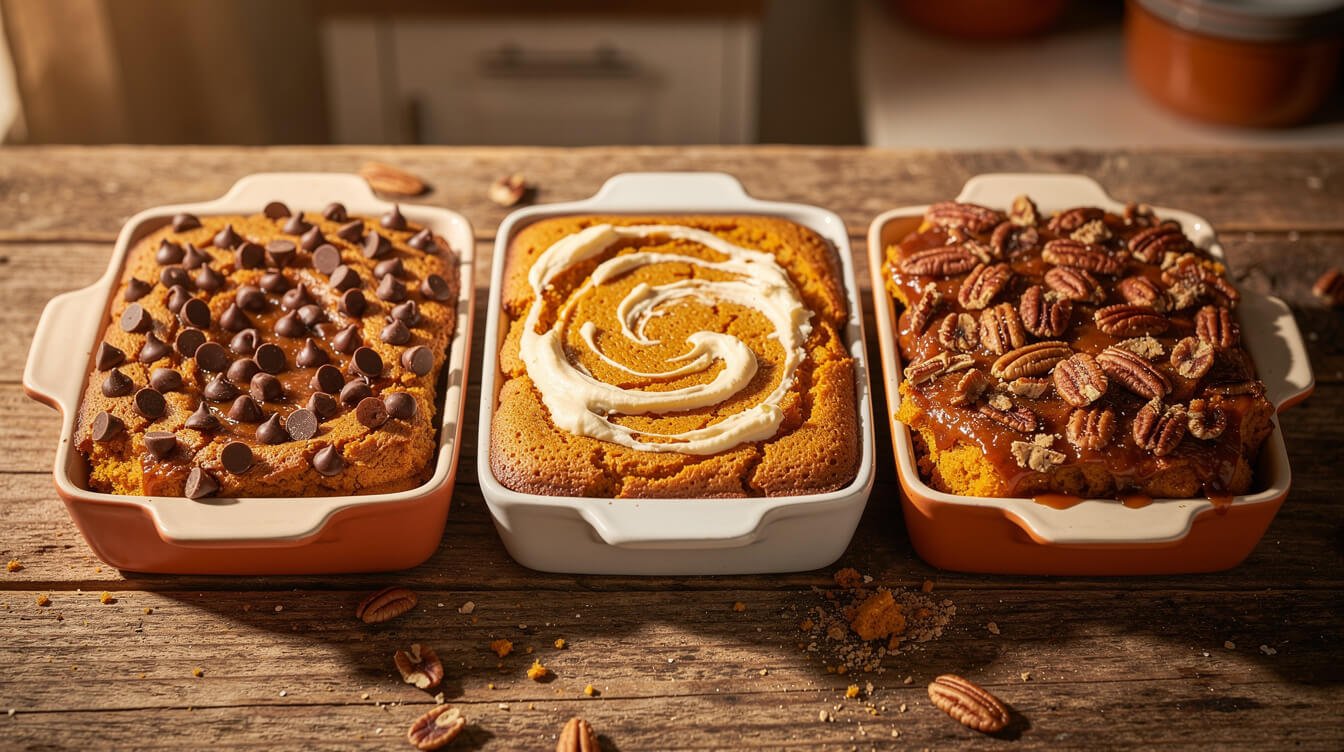
Once you’ve made the classic, these are the variations worth knowing. Each one starts from the recipe above unless it says otherwise.
1. The eggless 4-ingredient version
Spread one 15 oz can of pumpkin puree straight into the greased pan. Stir 1 teaspoon of pumpkin pie spice and ¼ cup brown sugar into it right in the pan, then add the cake mix and butter as usual. There are no eggs and no milk, so the bottom stays soft and spoonable, more like pumpkin pudding than pie. It’s best served warm from a spoon with ice cream. Bake 45 to 50 minutes, until the top is golden with no dry spots. Without the custard, you’re looking for a fully golden, crisp top rather than a set center.
2. The pumpkin pie mix shortcut
Swap the puree, brown sugar, and spice for one 30 oz can of pumpkin pie mix. Whisk it with ⅔ cup evaporated milk and 2 eggs, then pour that into the pan. Top as usual. The flavor is a little sweeter and more “store-bought pie,” which plenty of people love. Use the same doneness checks as the classic, since it’s still an egg custard.
3. Cream cheese swirl
Beat 4 oz of softened cream cheese with 2 tablespoons of sugar until smooth. Drop small spoonfuls over the pumpkin layer and drag a knife through once or twice to swirl. Add the cake mix gently so you don’t flatten the swirls. It tastes a bit like pumpkin cheesecake bars with a crunchy top.
4. Chocolate chip pumpkin dump cake
Scatter 1 cup of semisweet chocolate chips over the pumpkin layer before the cake mix goes on. Chips on top of the cake mix will scorch, so tuck them underneath. If you like pumpkin and chocolate together, our pumpkin chocolate chip bread is the loaf-pan cousin of this one.
5. Gluten-free or nut-free
For gluten-free, use a gluten-free yellow cake mix. It tends to brown a little faster, so start checking at 40 minutes and tent with foil if needed. For nut-free, skip the pecans or swap in ½ cup old-fashioned oats tossed with 2 tablespoons brown sugar for crunch. If you’re baking for someone with an allergy, read the cake mix label every time. Many contain wheat, milk, soy, or egg, and formulas change.
6. Small batch (8×8-inch pan)
Halve everything. Use 2 eggs instead of 1½, which makes it a touch richer and is totally fine. Measure half the cake mix by volume, about 1¾ cups. Bake 40 to 50 minutes at 350°F and use the same doneness checks. Seal the rest of the cake mix in a zip-top bag for next time.

Wear it to the potluck
The Eat Cafe Support Our Charities Donor Membership T-Shirt is a sturdy, comfortable black Gildan tee with a small logo over the heart and a big one on the back. It’s an easy way to show some love for the kitchen.
Serving, storing, and making it ahead
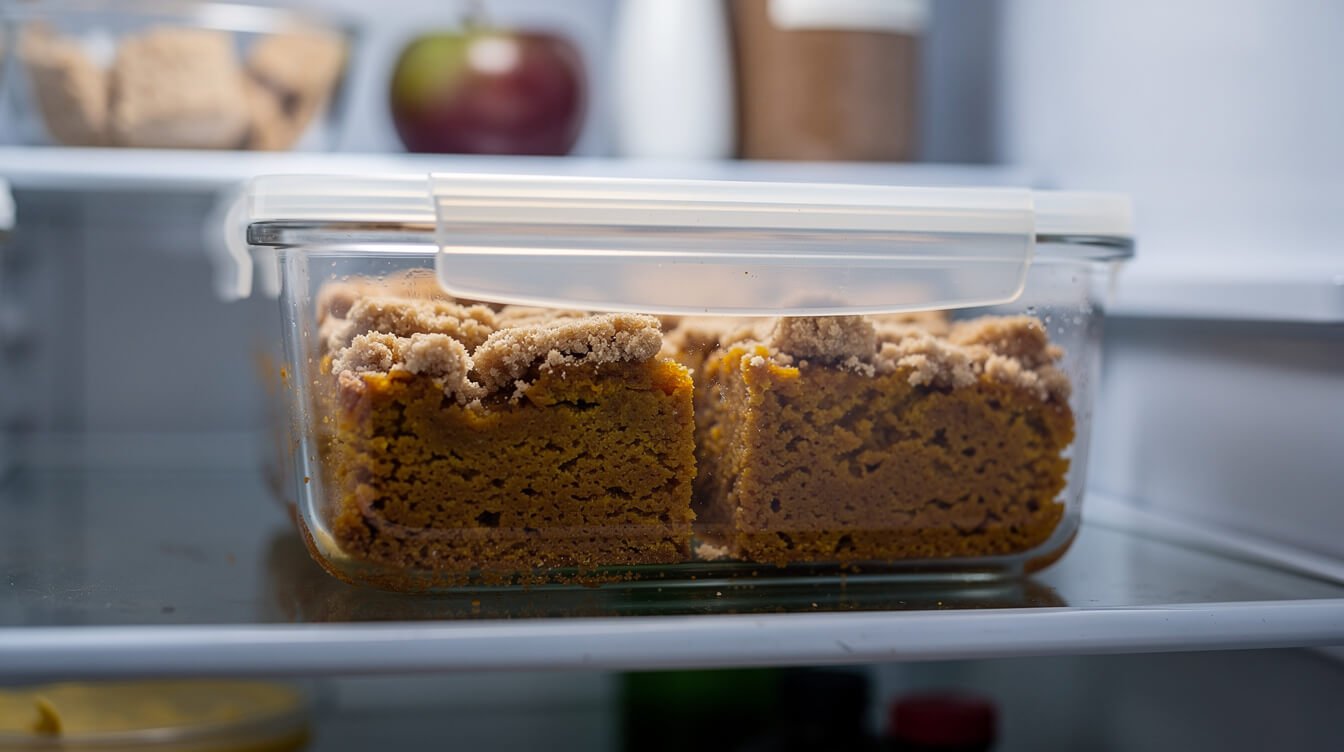
Pumpkin dump cake is one of the easiest desserts to plan around a busy holiday, as long as you treat the pumpkin layer like what it is: a custard made with eggs and milk.
Serving
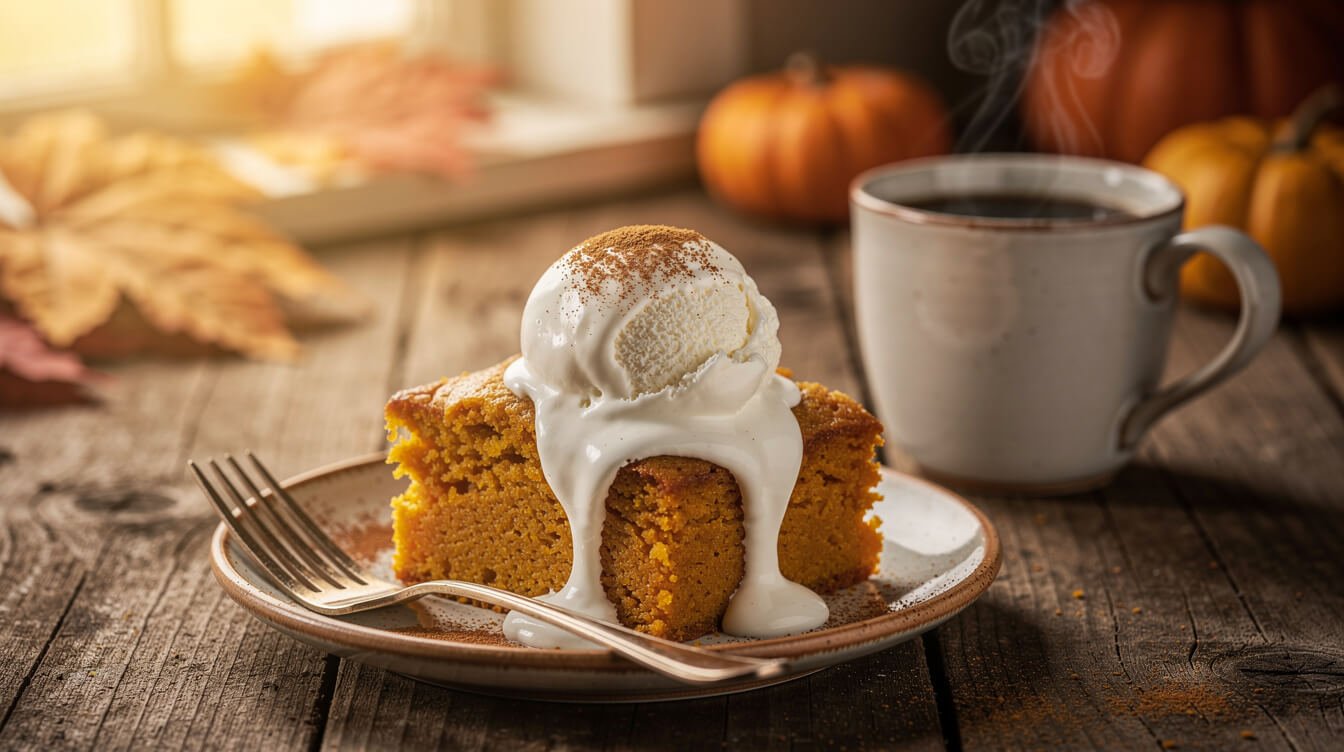
Warm is best. The top is at its crispest and the pumpkin layer is soft and creamy. Room temperature is good, too, and some people prefer it cold from the fridge the next day, almost like pumpkin pie bars. Whipped cream, vanilla ice cream, a drizzle of caramel, or a pinch of flaky salt all work.
Storing
- Refrigerate it within 2 hours of baking, or within 1 hour if your kitchen or picnic spot is above 90°F. Because it’s an egg custard, it can’t sit on the counter overnight the way a plain cake can. Grocery-store pumpkin pies that sit out unrefrigerated are formulated with preservatives for that. Homemade custards aren’t.
- Cover and keep it in the fridge for 3 to 4 days. The topping softens a bit over time, which is the trade-off for leftovers.
- Freeze it for up to about 2 months for the best quality. Wrap individual squares tightly in plastic wrap and then foil. Thaw in the refrigerator, not on the counter.
Reheating
To bring the top back to crisp, warm squares on a baking sheet at 325°F for 10 to 15 minutes. The microwave works if you just want it warm, about 20 to 30 seconds a square, but the top will stay soft.
Making it ahead for Thanksgiving
Bake it the day before, cool it, cover it, and refrigerate it. On the day, rewarm the whole pan at 325°F for 15 to 20 minutes while dinner rests. That frees up your oven for the main event. If you’re planning the whole menu, our Thanksgiving dinner ideas can help you fill in the rest of the table.
Pumpkin dump cake FAQ
Do you stir a dump cake?
No. That’s the whole point. The pumpkin layer stays on the bottom and the dry cake mix sits on top. If you stir them together, you get a dense, gummy cake instead of a custard with a crunchy crust.
Why is my pumpkin dump cake still powdery on top?
The butter didn’t reach every part of the cake mix. Level the mix, then use thin cold butter slices tiled edge to edge or drizzle melted butter in tight rows, and check at 30 minutes to patch dry spots. The full fix is in the dry-spot section above.
Can I use fresh pumpkin instead of canned?
Yes, but homemade puree is usually much wetter than canned, and that extra water makes the custard layer soggy. Measure 1¾ cups, then let it drain in a fine-mesh sieve lined with a paper towel for about 30 minutes, or until it’s as thick as canned pumpkin. Our pumpkin bread guide covers why pumpkin moisture varies so much.
Does pumpkin dump cake need to be refrigerated?
Yes, if it has eggs and milk, which the classic version does. Refrigerate leftovers within 2 hours and eat them within 3 to 4 days. The eggless version is also best kept in the fridge, since moist pumpkin desserts spoil faster at room temperature.
Can I make it in a slow cooker?
You can, but you lose most of the crisp top, because the lid traps steam. The oven gives a much better result, and it’s only about an hour. If you do try a slow cooker, cook it until the center of the pumpkin layer reaches 160°F on a thermometer.
Can I make it without a mixer?
Absolutely. All you need is a bowl and a whisk. You don’t need a stand mixer for this one, though if you’re thinking of buying one for holiday baking, our stand mixer guide covers how much mixer you actually need.
Is this the same as pumpkin crunch cake?
Pretty much. “Pumpkin crunch,” “pumpkin dump cake,” and “pumpkin pie dump cake” are all names for the same idea, a pumpkin custard under a cake-mix crumble. Recipes differ mostly in how much pumpkin and butter they use.
Final thoughts on pumpkin dump cake recipes
Every pumpkin dump cake recipe comes down to the same few moves. Make a smooth pumpkin layer, sprinkle the cake mix evenly without stirring, and make sure butter touches every bit of the top. Then bake until the edges bubble and the center only barely wobbles, and let it cool before you cut it. Nail those and you can play with the rest: eggless, chocolate chip, cream cheese swirl, small batch, whatever your crowd wants.
It’s a dessert that feels like you went to more trouble than you did, which is exactly what you want in the busy stretch between Halloween and Thanksgiving. If you’re in a baking mood, our guide on how to bake a cake from scratch is a good next step once the cake mix runs out.

Before you go
Want the next one?
We post a new recipe or kitchen guide every day. The best of the week lands in one short email, no life story attached.