Recipe for pie crust made with butter (and why yours shrinks, cracks, or turns tough)
Here’s a recipe for pie crust made with butter, and nothing else doing the work. It’s flaky, it tastes like butter, and it’s sturdy enough to hold a juicy apple filling or a pumpkin custard. The recipe comes first, with amounts for a single crust and a double crust. After that are the parts most recipes rush through: how to tell when the dough is right, how to make it without a food processor, what to do if you’ve only got salted butter, and a fix for each of the usual problems (shrinking, cracking, toughness, and the soggy bottom).
The short version: keep the butter cold, add just enough water to hold it together, and let the dough rest twice. Almost every pie crust failure traces back to one of those three.
A recipe for pie crust made with butter (single or double crust)
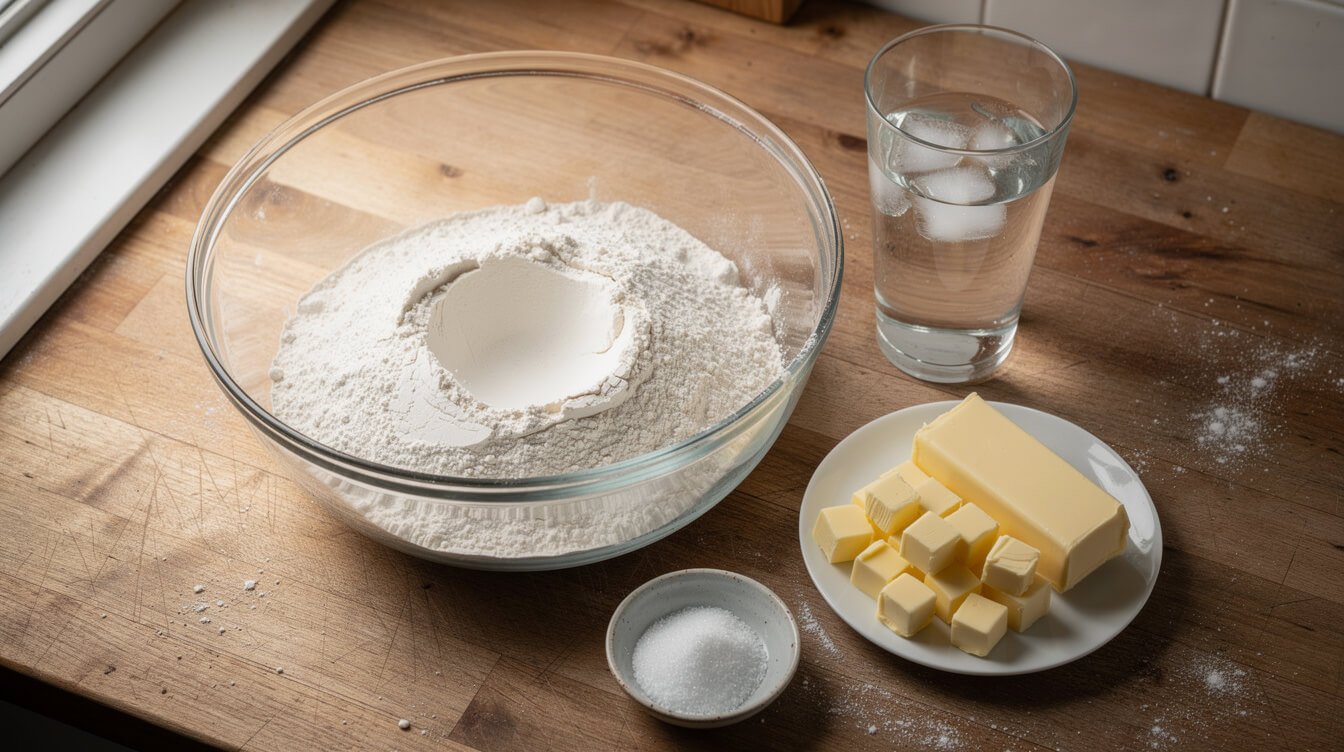
This makes enough for a 9-inch pie plate. Use the double amounts for a pie with a top crust (apple, cherry, berry), or make the double batch and freeze the second disc for later.
Ingredients
| Ingredient | Single crust | Double crust |
|---|---|---|
| All-purpose flour | 1¼ cups (160 g) | 2½ cups (315 g) |
| Table salt* | ½ tsp | 1 tsp |
| Sugar (optional, for sweet pies) | 1½ tsp | 1 Tbsp |
| Cold unsalted butter | ½ cup (1 stick, 113 g) | 1 cup (2 sticks, 226 g) |
| Ice water | 3 to 5 Tbsp | 6 to 9 Tbsp |
*Using kosher salt? Double the amount for Diamond Crystal, or use about 1¼ times as much for Morton. Using salted butter? Halve the salt. There’s more on that below.
Method
- Chill the butter. Cut the butter into ½-inch cubes and put them in the freezer for 10 to 15 minutes while you measure everything else. Put a cup of water with ice in the fridge too.
- Mix the dry ingredients. Whisk the flour, salt, and sugar (if using) in a wide bowl.
- Work in the butter. Toss the cold cubes in the flour, then break them down with a pastry blender, two forks, or your fingertips. Press each cube flat between your thumb and fingers instead of rubbing it in. Stop while you still have plenty of butter pieces the size of peas, with some as big as flattened almonds. Those pieces are your flakes. In a food processor, this takes about 8 to 10 one-second pulses.
- Add the water slowly. Drizzle in the ice water (just the water, no ice) a tablespoon at a time, tossing with a fork after each one. Start with 3 tablespoons for a single crust or 6 for a double. The dough is ready when it still looks shaggy in the bowl but holds together when you squeeze a handful. If it crumbles apart, add another tablespoon and check again.
- Shape and rest. Tip the dough onto the counter, press it together, and shape it into a disc about 1 inch thick (two discs for a double crust). Wrap each one and refrigerate for at least 1 hour, or up to 2 days. This rest lets the water spread evenly and lets the gluten relax, which matters later.
- Roll, fill, and chill again. Roll the dough into a 12-inch circle about ⅛ inch thick, ease it into the pan, trim, and crimp (details below). Chill the lined pan for 30 minutes (or freeze it for 15) before it goes in the oven.
- Bake. Follow your pie recipe for temperature and time. Most double-crust fruit pies start hot, around 425°F, then drop to about 375°F to finish. For pies with a wet custard filling like pumpkin, par-bake the shell first (see how to blind bake a pie crust).
One safety note: don’t taste the raw dough. Most flour is a raw ingredient, and the CDC notes that it can carry germs like E. coli and Salmonella that only baking kills. Wash your hands, bowl, and counter when you’re done.
Optional: a splash of vodka or vinegar
Some bakers swap part of the water for cold vodka. Gluten forms when flour meets water, and alcohol doesn’t build gluten the same way, so the dough stays more forgiving if you add a little too much liquid. If you want to try it, replace up to half the water with vodka, and the crust won’t taste of it. Others add a teaspoon of cider vinegar. Neither is required. Plain ice water and a light hand make a great crust.
Why cold butter is the whole game
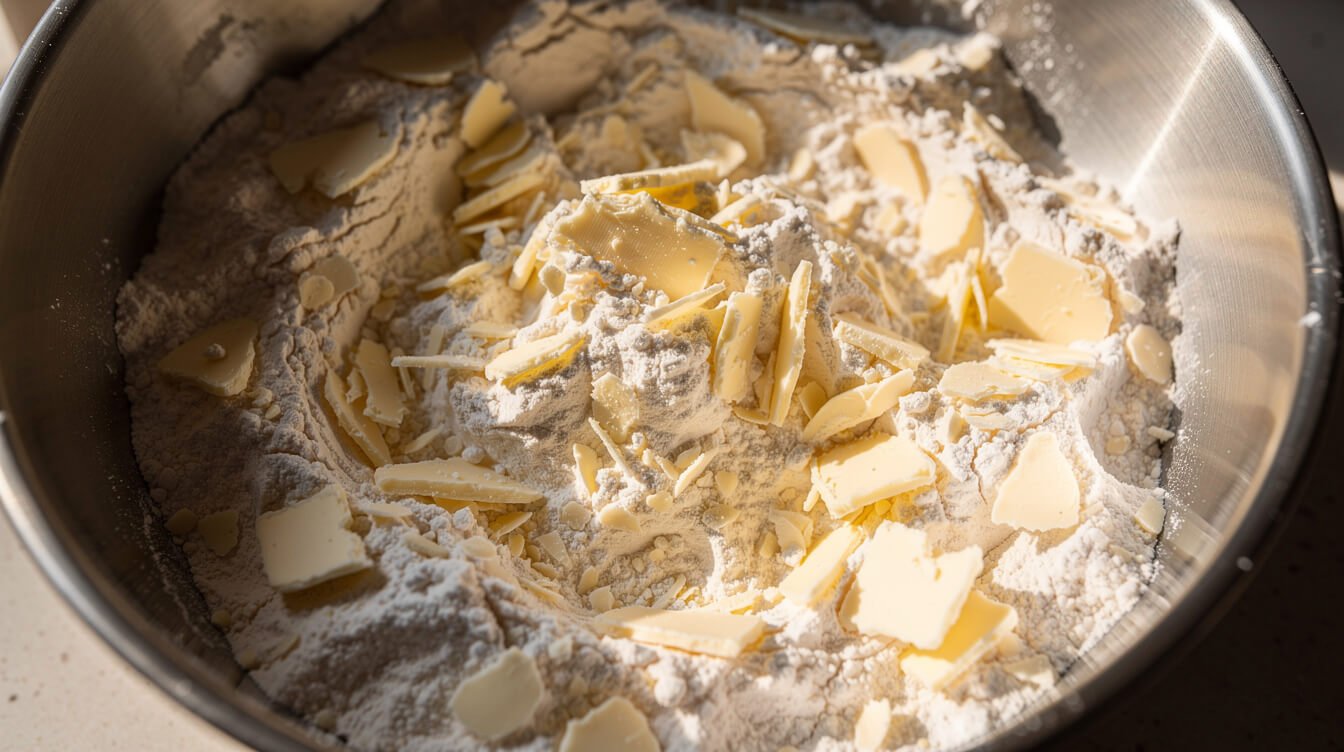
Flaky layers come from solid bits of butter trapped in the dough. When the pie hits a hot oven, the water in those butter pieces (butter is roughly 16% water) turns to steam and pushes the dough apart into thin layers. Then the fat melts and fries those layers crisp.
That only works if the butter is still in pieces when it reaches the oven. If the butter softens while you mix, it smears into the flour instead. A smeared-in crust still tastes buttery, but it bakes up more like a shortbread than a flaky crust: tender, sandy, and flat.
So everything in the recipe above is there to keep the butter cold:
- Freeze the cubes briefly before you start, especially in a warm kitchen.
- Use ice water, not cold tap water.
- Handle it with fingertips, not palms. Your palms are the warmest part of your hands.
- Chill twice: the disc after mixing, and the lined pan before baking.
- Stop and chill anytime it goes soft. If the butter starts to look shiny or the dough feels greasy, put the whole bowl in the fridge for 10 minutes. It’s a pause, not a failure.
Why all-butter instead of shortening? Flavor. Shortening has a higher melting point, which makes a shortening crust easier to handle, but it doesn’t taste like much. An all-butter crust takes a little more care with temperature and pays you back in taste. If you’ve ever had a pie where the crust was the best part, it was probably butter.
Using salted butter in pie crust
A lot of recipes say “use unsalted” and stop there, but plenty of people only have salted butter in the fridge. It works fine. You just take salt out of the recipe to make room for what the butter already brings.
A stick of salted butter carries roughly the equivalent of ¼ teaspoon of table salt (brands vary a little). So:
- Single crust (1 stick salted butter): use ¼ teaspoon table salt instead of ½.
- Double crust (2 sticks salted butter): use ½ teaspoon table salt instead of 1.
That keeps the crust seasoned without tipping into salty, which matters more for a sweet pie than a savory one. For the math behind it and a chart for kosher salt, see our guide to salted vs unsalted butter.
Making pie dough without a food processor
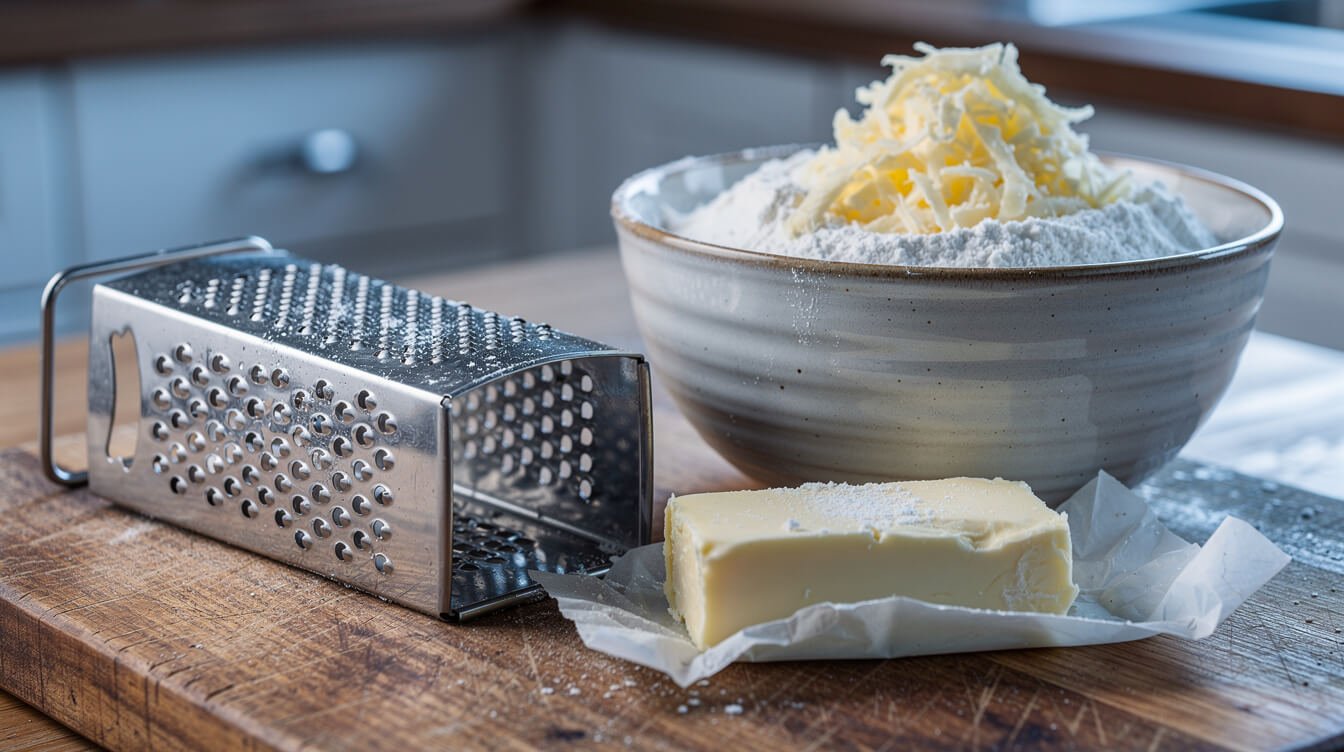
You don’t need a food processor or a pastry blender to make good pie dough. Here are three ways to do it with what’s already in your kitchen.
1. Grate frozen butter (the easiest)
Freeze the whole stick for 30 minutes, then grate it on the large holes of a box grater straight into the flour. Every few strokes, toss the shreds in the flour so they don’t clump. Hold the butter by its wrapper so your hand doesn’t warm it. When it’s all grated, toss it once more and go straight to the water. There’s no cutting-in step at all, because grating has already broken the butter into small pieces. This is the most forgiving method for beginners and for warm kitchens.
2. Fingertips (the classic)
Toss the cold cubes in the flour, then pick up a cube at a time and press it flat between your thumb and first two fingers, like snapping your fingers in slow motion. You’re making flat sheets of butter, not rubbing it into crumbs. Work fast and stop when most of the butter is flattened into pieces from pea size to almond size. If the dough starts to feel warm, chill it for 10 minutes and come back.
3. Two forks or a sturdy whisk
Two table forks, held back to back and dragged through the butter, will cut it into the flour. It’s slower, and your wrists will notice by the end of a double batch. A stiff wire whisk pressed down on the butter does the same job. Either way, the target is the same: pea-size pieces, some bigger, none smeared in.
Whichever method you use, the water step is the same: drizzle, toss with a fork, squeeze-test. Bringing the dough together with your hands only at the very end keeps it cold.
Rolling it out without cracks
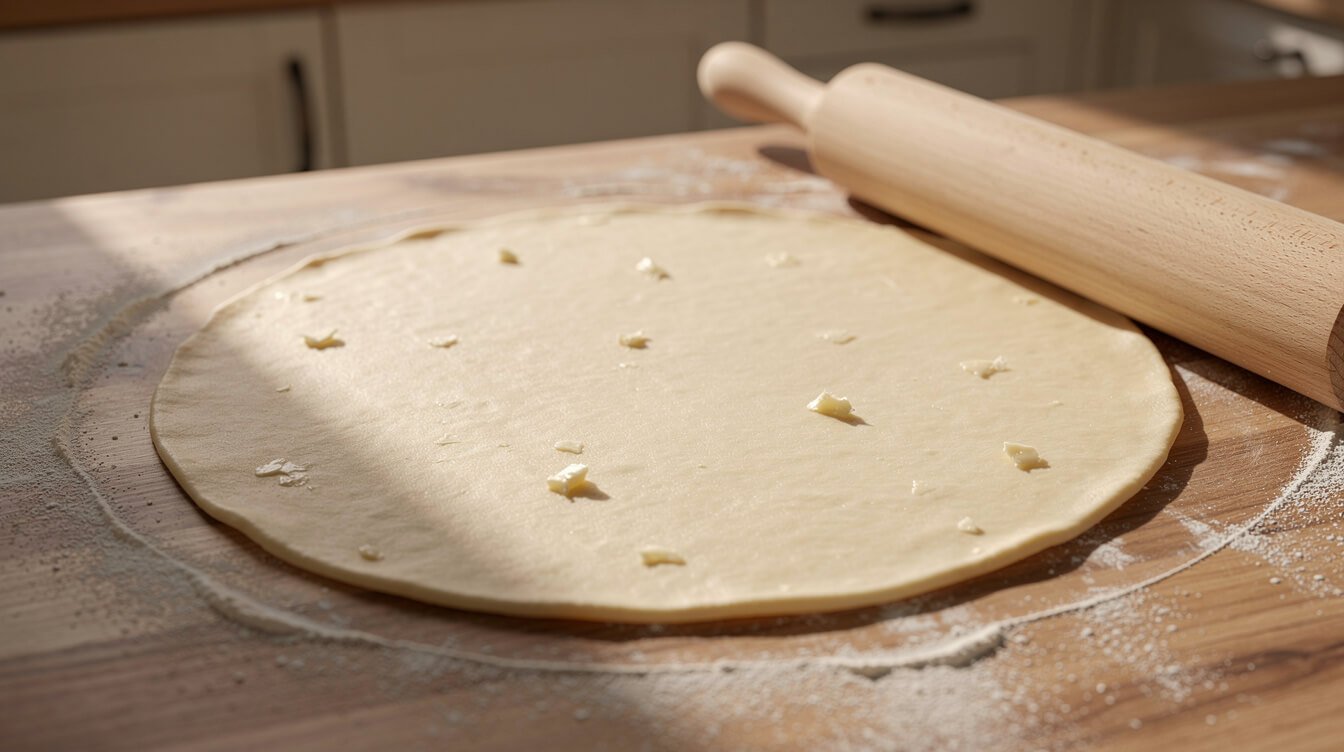
Rolling is where most people decide they’re “bad at pie crust.” Usually the dough is just the wrong temperature.
Let it warm up for 5 to 10 minutes
Straight out of the fridge, an all-butter disc is hard as a brick, and if you lean on it, it cracks around the edges. Let it sit on the counter for 5 to 10 minutes, until it gives a little when you press it but still feels cold. If you’re unsure, press the rolling pin down in a few places to flatten it slightly before you start rolling.
Roll from the center out, and turn the dough
- Lightly flour the counter and the top of the disc. Use as little as you can get away with, because extra flour makes the crust drier and tougher.
- Roll from the center outward, then give the dough a quarter turn. Repeat. Turning keeps it round and tells you right away if it’s sticking. If it is, slide a bench scraper or thin spatula under it and dust a little more flour underneath.
- Aim for a 12-inch circle, about ⅛ inch thick. For a 9-inch pie plate, that leaves enough to cover the sides with about an inch of overhang.
- Small cracks at the edge are normal. Pinch them closed and keep going. If the dough cracks everywhere, it’s either too cold (wait 5 more minutes) or too dry (see the troubleshooting section below).
- If the dough gets soft or sticky partway through, slide it onto a baking sheet and refrigerate it for 10 minutes. Then pick up where you left off.
Getting it into the pan
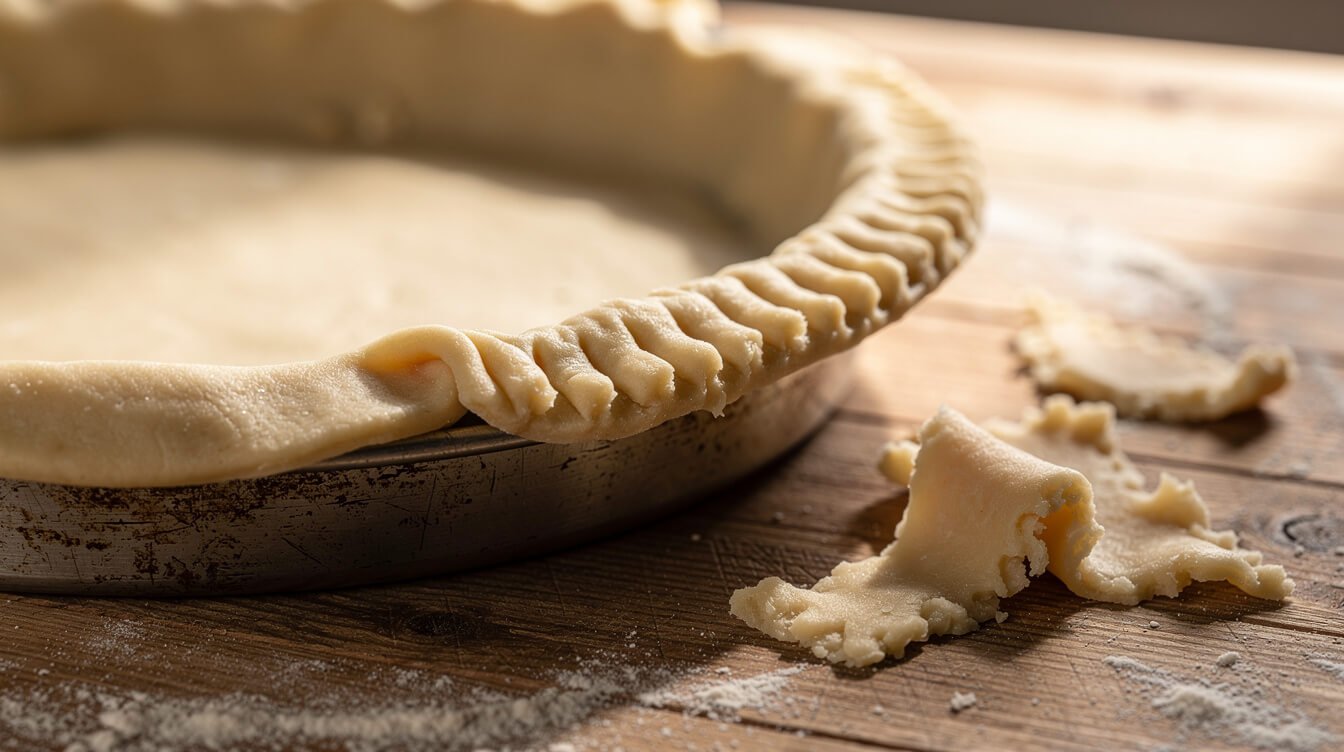
Roll the dough loosely around the rolling pin and unroll it over the pan. Then lift the edges and let the dough fall into the corners of the pan. Don’t press or stretch it down. Stretched dough remembers, and it pulls back in the oven. Trim the overhang to about 1 inch, fold it under itself so it sits on the rim, and crimp with your fingers or press with a fork. For a double-crust pie, add the filling, lay the top crust over, trim and seal the two edges together, and cut a few vents in the top.
Then chill the lined pan for 30 minutes before baking. It’s the step people skip, and it’s the one that keeps the crimp crisp and in place. If you’re going to get flour all over a shirt anyway, our Support Our Charities Donor Membership T-Shirt is a soft one to bake in, and buying it supports the kitchen.
From the Eat Cafe kitchen
One good recipe a week, straight to your inbox
The recipe we're actually cooking this week, plus the one tip that saves it when it goes sideways. No spam. Unsubscribe anytime.
Why your crust shrinks, cracks, or turns tough (fix by symptom)
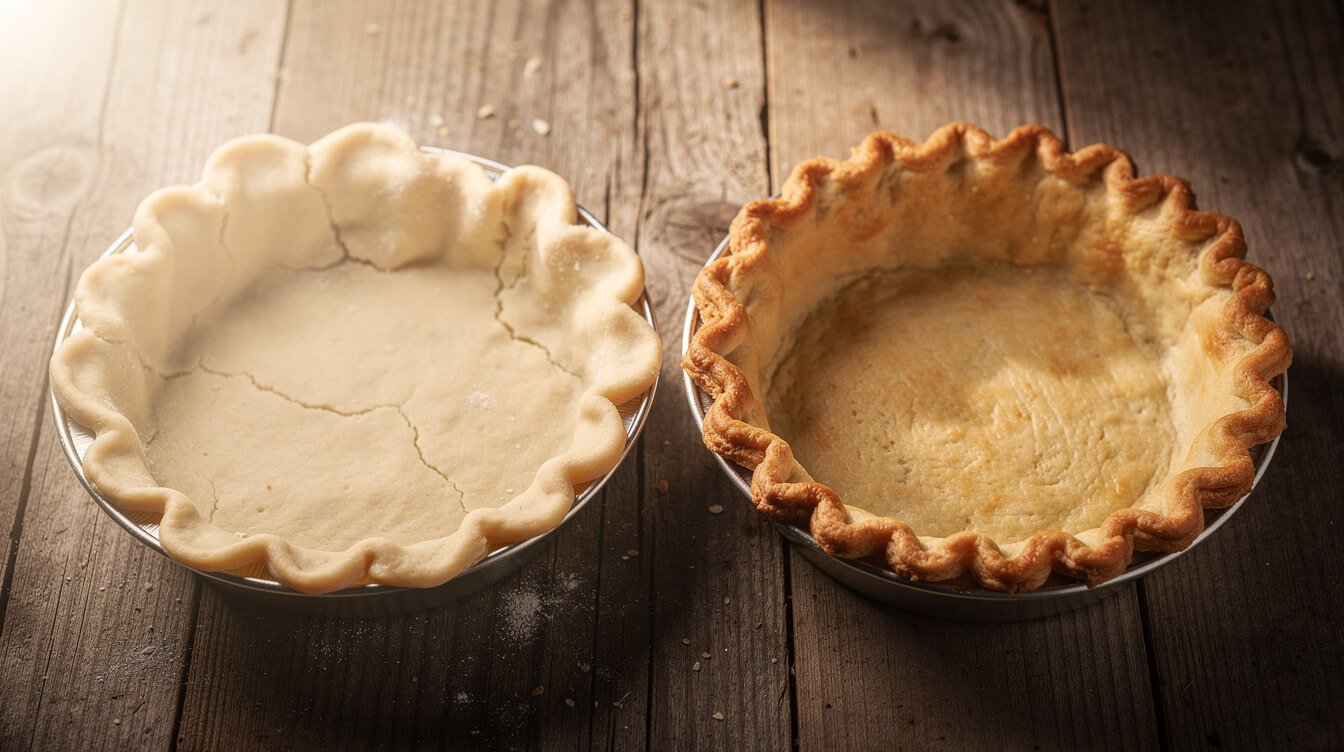
Most troubleshooting lists are sorted by cause. That’s not much help when you’re looking at a pie and wondering what went wrong. This list starts with what you see.
It shrank down the sides of the pan
Likely causes: the dough was stretched to fit the pan, it didn’t rest long enough, or it went into the oven warm. Gluten acts like a rubber band. When it’s stretched or freshly worked, it pulls back in the heat.
Fix next time: roll the circle big enough that you never have to tug it, lift-and-drop it into the corners, and always chill the lined pan for 30 minutes first. For an empty shell, fill it to the rim with pie weights (the blind-baking guide covers this).
It’s tough or chewy
Likely causes: too much water, too much flour while rolling, or too much handling. All three develop extra gluten.
Fix next time: stop adding water as soon as a squeezed handful holds together, use the lightest dusting of flour, and don’t knead the dough when you shape the disc. Just press it together. The vodka swap above also helps if you tend to add too much water.
It cracks when you roll it
Likely causes: the dough is too cold, or it’s too dry.
Fix now: if it’s cold, wait 5 minutes and try again. If it’s dry and crumbly even when it’s softened, sprinkle a teaspoon of water over the cracked areas, fold the dough over on itself once, rewrap it, and chill for 20 minutes. To patch a crack in the pan, press a scrap of dough over it with a dab of water.
It’s crumbly and won’t hold together
Likely cause: not enough water. Flour varies, and so does humidity, so the same recipe can need a tablespoon more on a dry winter day.
Fix now: crumble it back into the bowl, drizzle in another tablespoon of ice water, toss, and squeeze-test again.
Butter leaked out and the crust is greasy
Likely causes: the butter was too warm by the time it reached the oven, or the oven wasn’t fully preheated. The butter melted out before the crust could set around it.
Fix next time: chill the lined pan before baking, give the oven a full 20 minutes to preheat, and set the pie on a baking sheet to catch any drips.
It’s pale, especially underneath
Likely causes: the pie came out too early, or it baked too far from the heat.
Fix next time: bake on a lower rack and bake until the crust is a deep golden brown, not blond. For fruit pies, look for the filling bubbling thickly through the vents, including in the center. An egg wash on top helps it brown evenly.
It didn’t flake. It’s sandy, like a cookie
Likely cause: the butter was worked in too small or got too warm and smeared into the flour.
Fix next time: stop cutting in sooner. You want visible pieces of butter in the dough, and some should be bigger than a pea.

A tee for pie-baking days
A soft black tee with a small Eat Cafe logo over the heart and a large one on the back. It’s a comfortable one to roll dough in, and buying it supports the kitchen.
How to avoid a soggy bottom
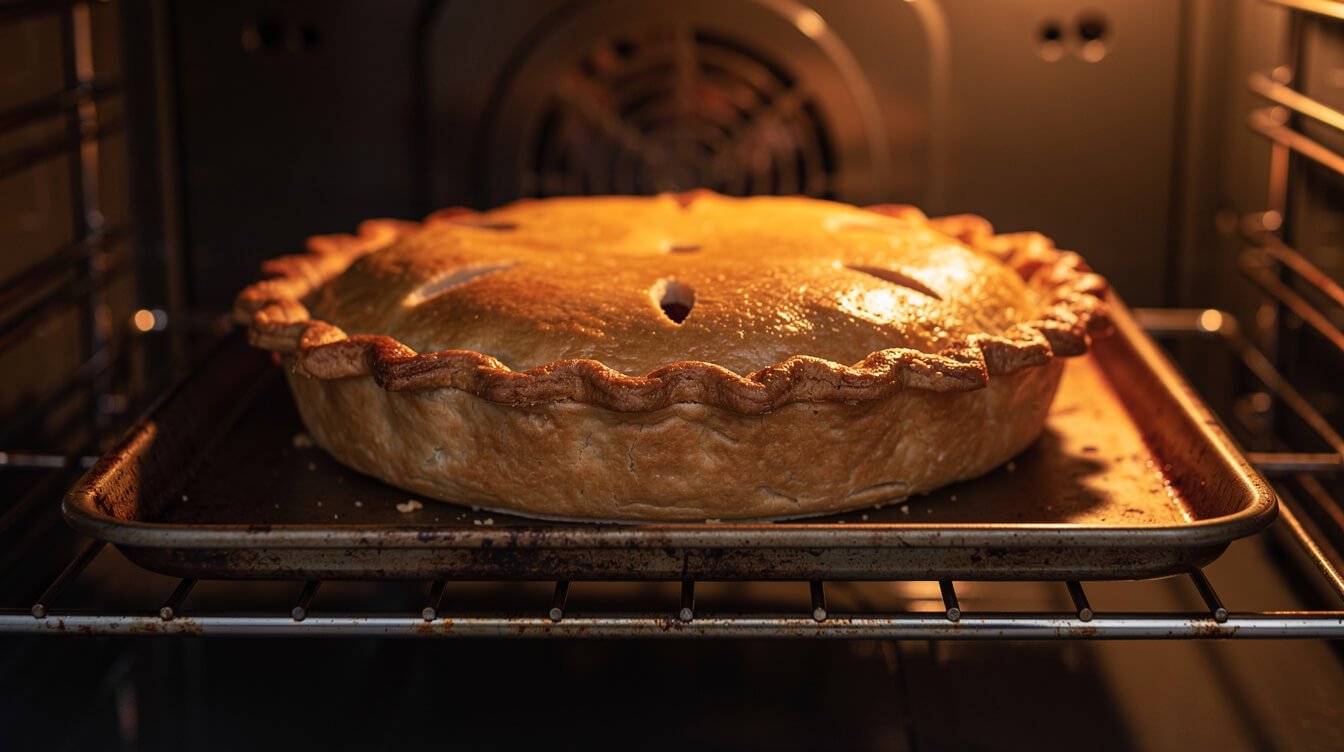
A pale, damp bottom crust under a beautiful top is the most common pie complaint there is, especially at Thanksgiving. It happens because the bottom crust is the farthest from the heat and sits under a wet filling. The top bakes in direct heat while the bottom basically steams. Here’s how to tip the odds back in your favor.
For every pie
- Bake low. Put the rack in the lower third of the oven so the bottom of the pie is closer to the heat. You can move it up for the last stretch if the top is browning too fast, or lay a loose sheet of foil over the top.
- Use a preheated baking sheet with a metal pan. Put a rimmed baking sheet on the rack while the oven heats, then set the metal pie pan straight onto it. The hot sheet gives the bottom an immediate blast of heat and catches drips. If your pie plate is glass or ceramic, skip the preheating and set it on a room-temperature sheet instead. A sudden temperature change is what cracks glass bakeware.
- Pick a pan that conducts heat. Thin metal pans brown the bottom fastest. Glass is slower but lets you check the bottom as it browns. Thick ceramic is the slowest of the three.
- Fill it right before it goes in. Filling a raw shell and leaving it on the counter gives the juices time to soak in.
- Bake it long enough. Most soggy bottoms are really underbaked bottoms. Fruit pies are done when the crust is deep golden and the filling is bubbling thickly in the center, not just at the edges.
- Let fruit pies cool. Give a fruit pie a few hours to set before slicing. Cut it hot and the filling runs, and the bottom crust ends up sitting in it.
For custard pies (pumpkin, pecan, sweet potato)
Custard fillings bake at lower temperatures, and they set before a raw crust underneath them can bake through. For these, par-bake the shell before you fill it, and seal it with a quick egg wash while it’s still hot. Our step-by-step guide to blind baking a pie crust walks through exactly how, with a chart of which pies need it and which don’t.
For juicy fruit pies
Thicken the filling properly (follow the cornstarch, flour, or tapioca amount in your recipe instead of guessing), and pick fruit that holds its shape. If you’re making apple pie, our list of good baking apples applies to pie too. The ones that turn to mush also release the most liquid.
Making it ahead for Thanksgiving
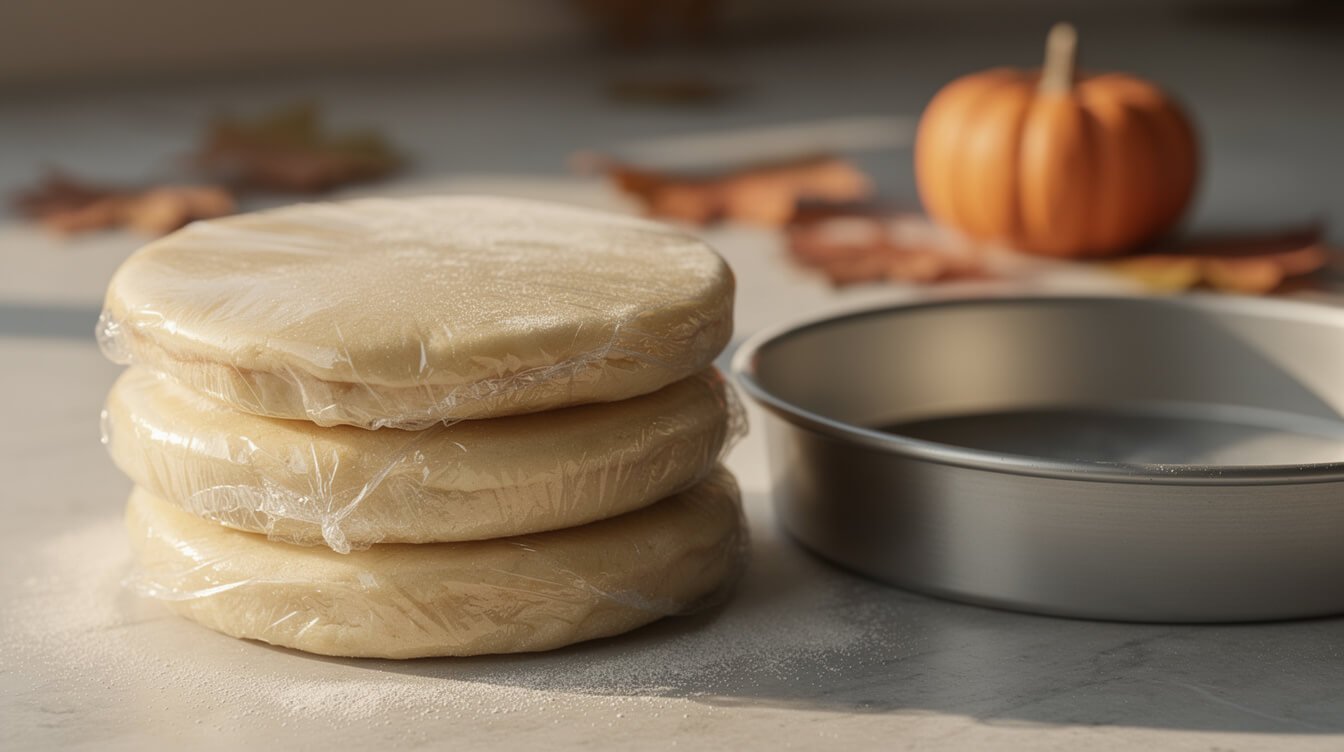
This recipe for pie crust made with butter is one of the best things to get out of the way early. It freezes beautifully, and making it on a calm weekend beats making it next to a turkey. Thanksgiving 2026 falls on Thursday, November 26. Here’s a timeline that works backward from there.
| When | What to do |
|---|---|
| Up to 3 months ahead (any weekend in November works) | Make the dough, shape discs, wrap each one tightly in plastic, then put them in a freezer bag. Label the bag with the date. |
| Sunday or Monday (Nov 22–23) | Move the frozen discs to the fridge to thaw. Overnight is enough. Or make fresh dough now. It keeps for up to 2 days in the fridge. |
| Tuesday (Nov 24) | Roll out the dough, line the pans, crimp, then wrap the lined pans and freeze them. Metal pans can go from freezer to oven. Glass pans should thaw in the fridge first. |
| Wednesday (Nov 25) | Blind bake shells for custard pies. Bake the pies themselves today or on Thursday, whichever your oven schedule and pie recipe allow. |
| Thursday (Nov 26) | Bake anything left, and let fruit pies cool for a few hours before slicing. |
A few make-ahead details
- Thaw in the fridge, not on the counter. A disc that’s still a little firm in the center is fine. Give it 5 to 10 minutes on the counter before rolling.
- Freezing a lined pan saves the most time on the day. Freeze it uncovered for 30 minutes so the crimp sets, then wrap it well. You can blind bake straight from frozen in a metal pan. Just add a few minutes.
- Gray spots are common on all-butter dough that has sat in the fridge for a couple of days. For the best color, freeze anything you won’t use within 2 days.
- Storing the finished pie depends on the filling, so follow your pie recipe. Custard and cream pies, including pumpkin, always go in the fridge.
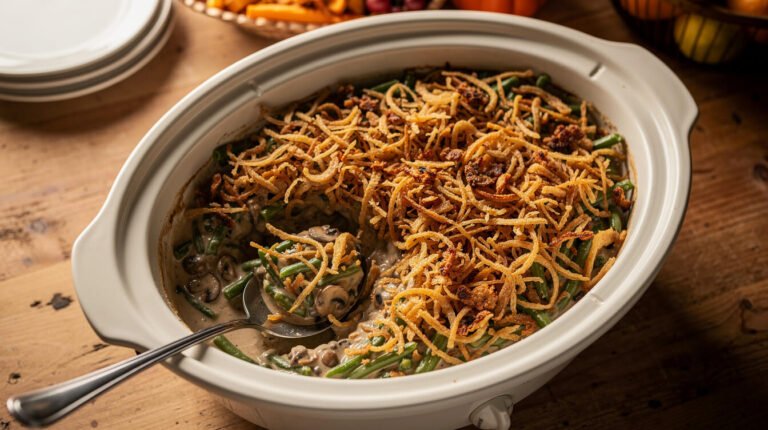
Planning the rest of the meal? Our Thanksgiving dinner ideas and the crock pot green bean casserole (which frees up oven space for pies) are a good place to start.
Questions about this recipe for pie crust made with butter
Can I use this recipe for pie crust made with butter for savory pies?
Yes. Leave out the sugar, and it works for chicken pot pie, quiche, and hand pies. For quiche, par-bake the shell first, the same way you would for pumpkin.
Do I have to use a food processor?
No. The grated-butter method above is the easiest way to make it by hand, and it’s arguably more forgiving than a processor, which can overwork the dough in a couple of extra pulses.
Can I use European-style butter?
Yes, and it makes a lovely crust. European-style butters have a bit more fat and a bit less water, so you may need slightly more ice water to bring the dough together. Add it a teaspoon at a time at the end.
Why do I need to chill the dough twice?
The first chill (after mixing) lets the water spread evenly and the gluten relax, so the dough rolls without fighting you. The second chill (in the pan) firms the butter back up after you’ve handled it, so it steams into flakes in the oven instead of melting out. Skip the second one and you get shrinking and greasy edges.
Can I make the dough with half butter, half shortening?
You can. Use the same total amount of fat, split evenly. Shortening makes the dough easier to roll in a warm kitchen. You give up some of the butter flavor and gain some forgiveness. This post is about the all-butter version because the flavor is worth learning the temperature tricks for. For other swaps, see our butter substitute guide.
My dough is sticky. Should I add more flour?
Only a little. Sticky dough usually means it’s warm, not wet. Chill it for 15 minutes first. If it’s still sticky once it’s cold, dust the counter and pin lightly. Working lots of extra flour in is a reliable way to end up with a tough crust.
If you’re new to baking, our baking basics for beginners covers measuring flour and the oven habits that make every recipe more reliable, pie crust included.
The bottom line
A good recipe for pie crust made with butter comes down to a short list: cold butter left in visible pieces, just enough ice water to hold it together, and a rest before rolling and again before baking. Bake it low and long enough to turn deep golden, par-bake for custard pies, and you’ve handled most of what goes wrong with homemade crust.
Make a double batch this weekend, freeze the discs, and Thanksgiving pie day gets a lot calmer. And if the oven gets too crowded for one more pie, our pumpkin dump cake needs no crust at all. Save this page so the troubleshooting list is handy the next time a crust surprises you.

Before you go
Want the next one?
We post a new recipe or kitchen guide every day. The best of the week lands in one short email, no life story attached.