How to Blind Bake a Pie Crust (and Which Pies Actually Need It)
Your pumpkin pie came out with a perfect filling and a pale, gummy bottom crust. Or your crust shrank halfway down the pan before the filling ever went in. Both problems have the same fix: learn when and how to blind bake a pie crust. That means baking the shell empty, held in place with weights, before the filling goes in. It sounds fussy. It’s about 30 minutes of mostly hands-off oven time. Below is a quick chart of which pies actually need it, the step-by-step method, how to tell par-baked from fully baked, and the one thing most people get wrong: they don’t use nearly enough weights.
Short version: chill the lined pan until the dough is firm, line it with parchment, fill it to the rim with pie weights, beans, or sugar, and bake on a low rack at 425°F until the edges are set. Lift the weights out, then bake a few more minutes for a par-baked shell, or until golden all over for a fully baked one.
Does your pie need blind baking?
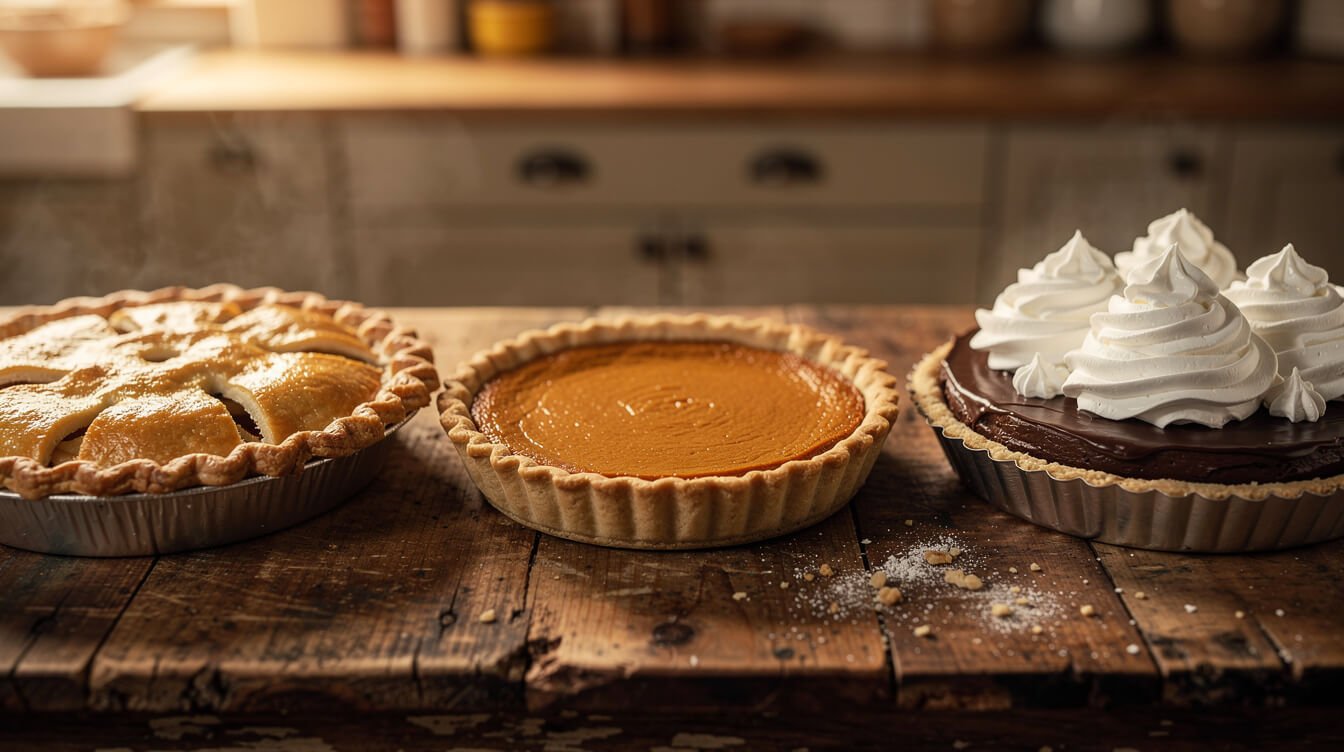
Not every pie needs it. A lot of recipes tell you to blind bake out of habit, and a lot more skip it when they really shouldn’t. The question to ask is simple: how wet is the filling, and how long does it bake?
| Type of pie | Examples | What to do with the crust |
|---|---|---|
| Double-crust fruit pies | Apple, cherry, peach, blueberry | No blind bake. The long bake cooks the bottom, and you need raw edges to crimp the top crust on. |
| Crumb-topped or galette-style fruit | Dutch apple, rustic galettes | No blind bake. Bake on a low rack instead. |
| Wet, raw fillings baked in the shell | Pumpkin, sweet potato, pecan, custard, buttermilk, chess, quiche | Par-bake. The filling is basically liquid going in, and it bakes too briefly or too gently to cook the crust under it. |
| Fillings that never go in the oven | Chocolate, banana, or coconut cream; lemon meringue; pudding pies; fresh strawberry; no-bake cheesecake | Fully blind bake. This is the crust’s only trip to the oven. |
| Short-bake fillings | Key lime and other pies that bake 15 minutes or less | Fully blind bake, or use a graham cracker crust. |
If your recipe says to par-bake and you skip it, the pie will still be edible. You’ll just get that soft, pale layer where the crust meets the filling. If your recipe says to fully bake and you only par-bake, the bottom will stay raw. Raw dough under a cold cream filling isn’t something more time in the fridge can fix.
Pumpkin pie is the one people argue about every November. Some recipes skip the par-bake and rely on a hot oven and a low rack. It can work, especially with a thin store-bought crust. But if you’ve ever had a soggy pumpkin pie bottom, par-baking is the reliable fix, and it takes about 25 minutes. (Want the pumpkin flavor with no crust to worry about at all? That’s what pumpkin dump cake is for.)
What you need to blind bake a pie crust
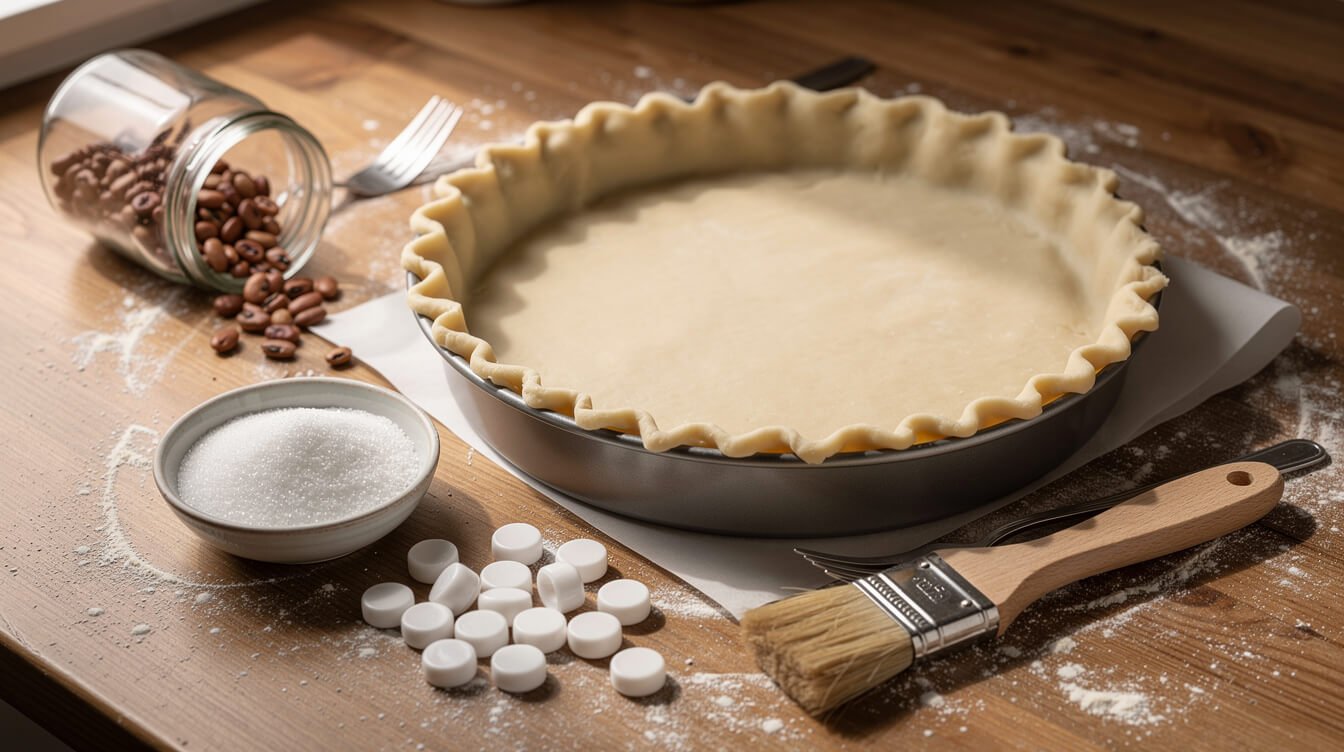
You don’t need special gear. You need something to hold the dough against the pan while the butter melts, and something to lift that weight back out.
Pie weights, or what to use instead
- Ceramic or metal pie weights. They work well and last forever. Here’s the catch: one package almost never fills a 9-inch pie. You’ll usually need two, or more for a deep dish.
- Dried beans or uncooked rice. They’re cheap and you probably already have them. Once you’ve baked with them, keep them in a labeled jar as your pie weights. After a few rounds in the oven they’re dry and partly toasted, and they won’t cook up the way they should if you try to eat them.
- Granulated sugar. This is our favorite. It’s heavy, it fills every corner, and it pours into the curves of a crimped edge better than beans do. Afterward, the sugar is lightly toasted and still perfectly good for baking. Let it cool completely, then store it in its own jar.
Skip coins and anything else that wasn’t meant to touch food.
Parchment or foil
Parchment is easiest. Crumple it into a ball first, then flatten it, so it settles into the pan without stiff corners poking the dough. Foil works too, and it gives the sides a little extra support. Press it gently and don’t wrap it over the crimped edge, or it can stick. Don’t use wax paper. The wax melts and smokes at blind-baking temperatures.
The pan
Metal pie pans (aluminum or aluminized steel) conduct heat fastest and give you the crispest bottom. They can also go straight from the freezer into a hot oven. Glass bakes a little slower, but you can see the bottom browning through it, which is genuinely helpful when you’re learning. Ceramic is pretty and the slowest of the three. Never move a glass or ceramic dish straight from the freezer into a 425°F oven. The sudden temperature change can crack or shatter it. Chill glass and ceramic in the fridge instead, or let a frozen dish sit on the counter for 10 minutes while the oven finishes heating.
One more thing: set the pie pan on a rimmed baking sheet. It catches any butter that leaks out and makes the hot pan much easier to move.
How to blind bake a pie crust, step by step
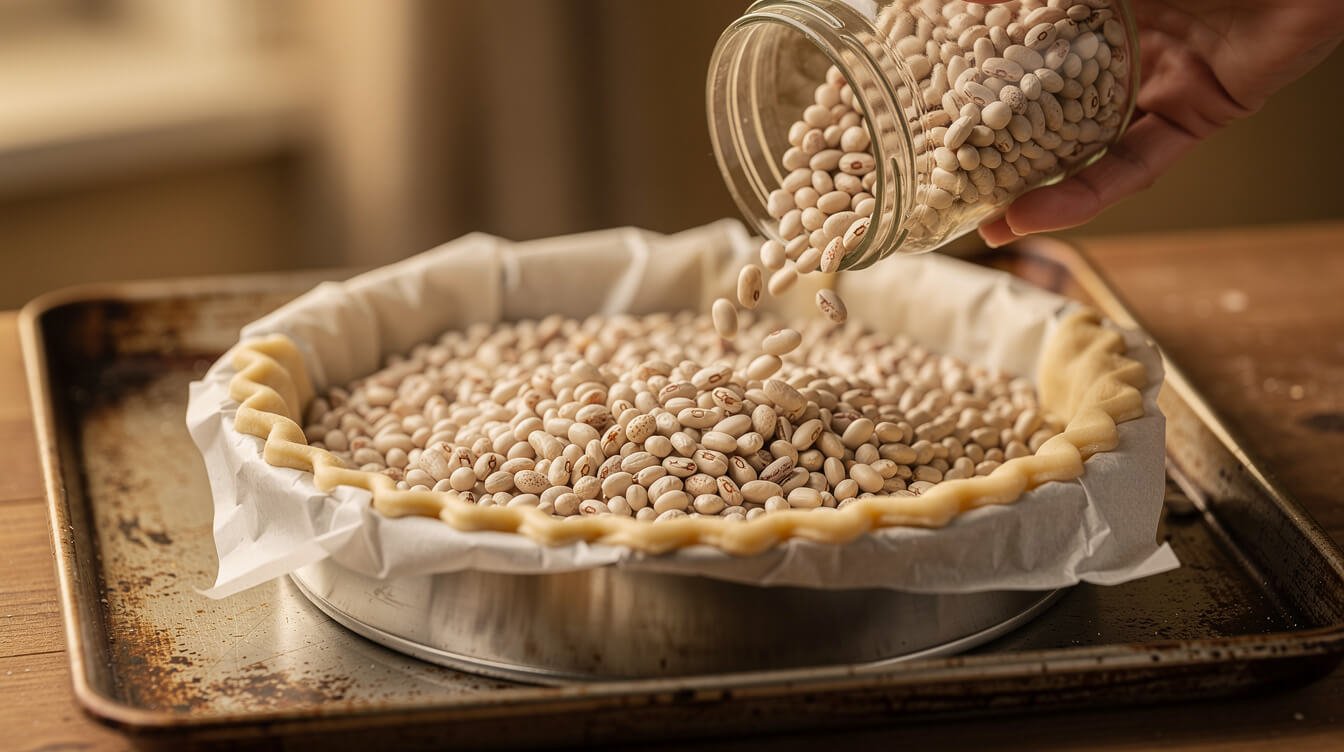
This method works for a homemade butter crust in a standard 9-inch pan. For store-bought crusts, see the notes after the steps.
Method
- Line the pan without stretching. Roll the dough about 12 inches across and ease it into the pan, lifting the edges and letting the dough drop into the corners. Stretched dough snaps back in the oven, and that’s most of what “shrinking” is. Trim, fold the overhang under, and crimp. Save a small scrap of raw dough in the fridge, because you may want it later.
- Dock the bottom. Prick the base all over with a fork, about every inch. It lets steam escape so the bottom doesn’t balloon up.
- Chill until firm. Refrigerate for at least 30 minutes, then freeze a metal pan for 20 to 30 minutes more. Cold, firm butter keeps the crimps sharp. Warm dough slumps before it sets.
- Heat the oven. Put a rack in the lower third of the oven and heat it to 425°F (220°C). The bottom of the crust needs the most heat, so get it closer to the element.
- Line and fill to the rim. Press the crumpled parchment or foil into the cold shell, then fill it with weights all the way to the top edge, pushing them against the sides. This is the step that fixes slumping. A single layer of beans on the bottom holds down the floor, but nothing supports the walls.
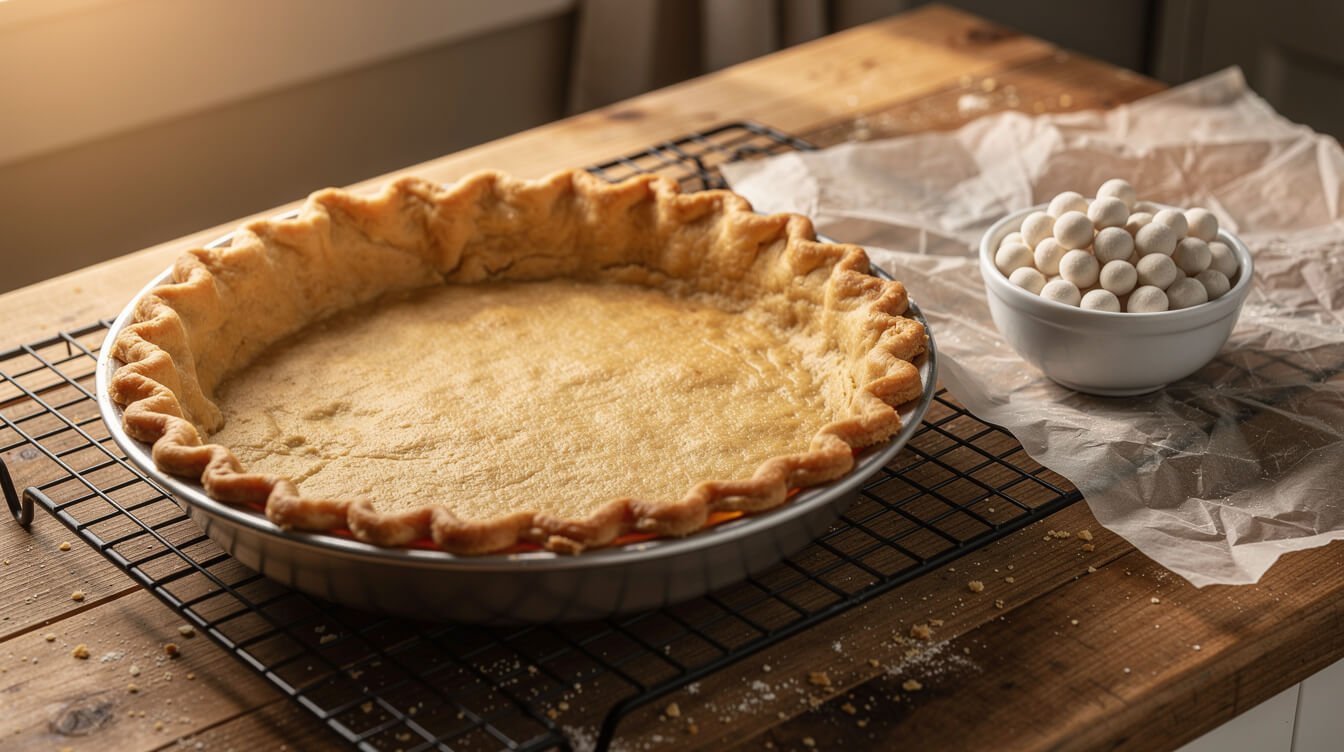
- Bake with the weights for 15 to 20 minutes. It’s ready for the next step when the edges are set and just starting to color. Lift a corner of the parchment and look. The dough underneath should look dull and set, not wet or glossy with melted butter. If it still looks wet, give it 3 to 5 more minutes.
- Remove the weights. Lift them out by the corners of the parchment and set the whole thing in a heatproof bowl. Weights, beans, and sugar are extremely hot at this point, so use oven mitts and keep little hands away.
- Finish the bake. Turn the oven down to 375°F (190°C) and return the empty shell to the oven:
- Par-baked: 3 to 5 minutes, just until the bottom looks dry.
- Fully baked: 10 to 15 minutes, until golden brown all over, including the bottom.
Store-bought crusts
Refrigerated rolled crusts (the kind you unroll into your own pan) follow the steps above. They’re thinner than homemade, so start checking about 5 minutes early. Frozen crusts that come in their own foil tin bake fastest of all. Use the times on the package, dock the bottom, and still fill them with weights to the rim. Those thin tins flex, so always set them on a baking sheet before they go in the oven.
New to working with dough? Our baking basics every beginner should know covers measuring flour and why cold butter matters. Both make a real difference in pie crust.
Par-baked vs. fully baked: how to tell when it’s done
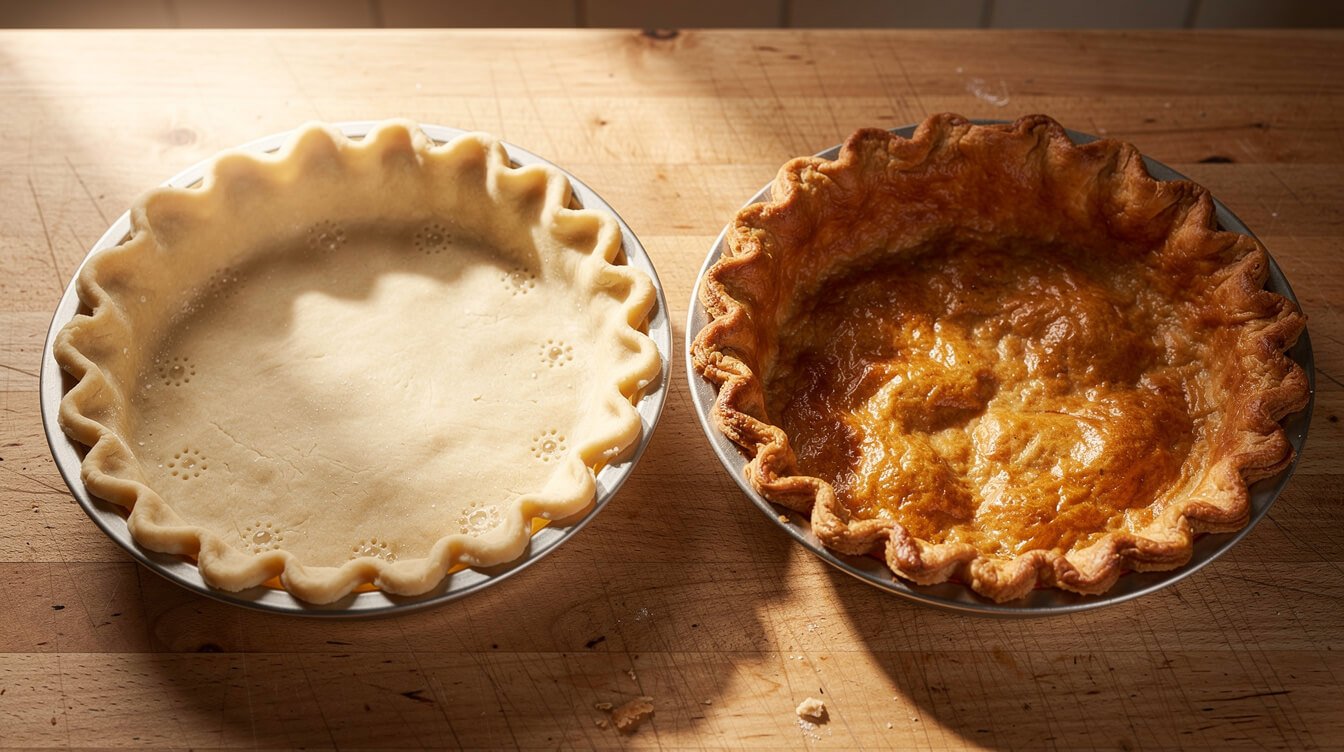
Times are a guide, but ovens, pans, and crusts all vary. Go by what the crust looks like, not the timer.
Par-baked looks like this
- The edges are set and lightly colored, maybe pale gold in spots.
- The bottom is matte and dry, with no shiny or wet-looking patches. Shiny means there’s still raw, buttery dough.
- The bottom is still pale. It’ll brown more once the filling goes in and the pie bakes.
- When you press it gently, it feels firm, not doughy.
Fully baked looks like this
- Evenly golden brown all over, including the center of the bottom, not just the edges.
- Small blisters or flaky layers are visible on the surface.
- In a glass pan, the underside is golden when you lift it and look.
- It smells toasty and nutty, like a good cracker.
When in doubt on a fully baked crust, give it a few more minutes. An underbaked crust under a no-bake filling stays soft and pasty, while a slightly dark one just tastes nutty. If a fully baked shell has cooled and you realize the bottom is still pale, return it to a 350°F oven for 10 minutes or so. Pie crust forgives a second trip.
If you’re building up your baking kit for the holidays, our 100 Essential Tools Every Chef Has in Their Kitchen guide covers which pans and tools are worth buying first, and which ones you can skip.
From the Eat Cafe kitchen
One good recipe a week, straight to your inbox
The recipe we're actually cooking this week, plus the one tip that saves it when it goes sideways. No spam. Unsubscribe anytime.
Seal the bottom so wet fillings don’t soak in
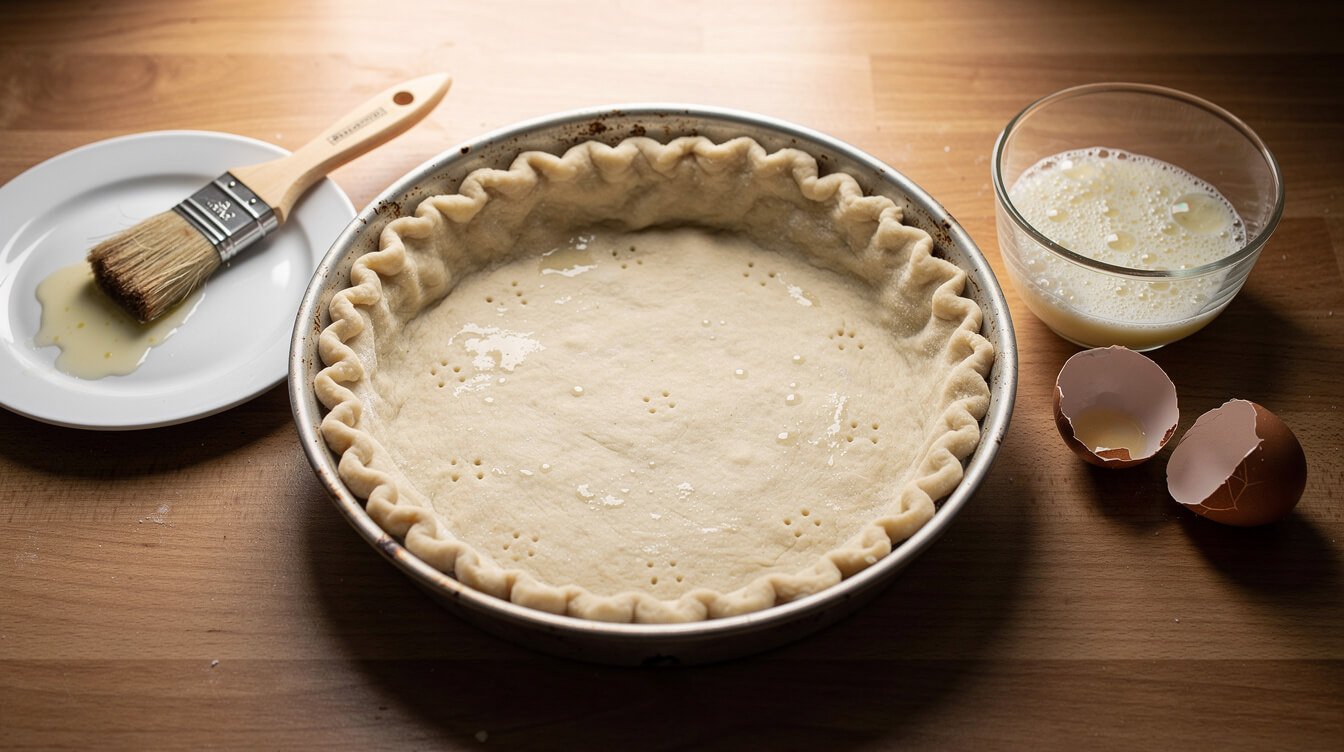
Par-baking does most of the work for a pumpkin, pecan, or custard pie. These three small steps finish the job. Do them right after the weights come out, while the shell is still hot.
1. Patch every crack first
Look closely at the bottom and the spot where the floor meets the wall. A hairline crack is all it takes for liquid custard to seep under the crust, where it glues the pie to the pan and turns the bottom soggy from below. Remember the scrap of raw dough you saved? Press a thin piece over any crack while the shell is warm, smoothing the edges with your finger. It bakes right in during the final few minutes.
2. Brush on an egg-white seal
Whisk one egg white until it’s just foamy and brush a thin layer over the bottom and up the sides of the hot shell. Put it back in the oven for 2 to 3 minutes, until the white looks dry and matte. That thin cooked layer of protein acts like a raincoat between a liquid filling and the dough. It also seals the fork holes from docking, which custard otherwise loves to find. A whole beaten egg works too, but it browns faster and adds a bit of shine.
Baking egg-free? Skip the seal and par-bake a few minutes longer, until the bottom is dry and just starting to color. For a fully baked shell going under a cream or pudding filling, you can brush the cooled crust with a thin layer of melted chocolate and let it set. It keeps the crust crisp for an extra day, and nobody’s ever been sorry about more chocolate.
3. Fill it while it’s warm
A par-baked shell that’s still warm gives the filling a head start. The bottom begins setting the moment the custard hits it, instead of sitting there soaking. If your pie recipe allows it, pour the filling into the warm shell and get it straight into the oven. And since the shell is already par-baked, keep the pie on the lower rack so the bottom keeps baking alongside the filling.

Know which tools earn their spot
A metal pie pan, a rolling pin, a pastry brush, and a rimmed baking sheet do most of the work on this page. Our 100 Essential Tools guide walks through what’s worth having in a home kitchen, what you can skip, and what to buy first. It’s a PDF or Kindle download.
Why your crust shrank, slumped, or puffed (and the fix for each)
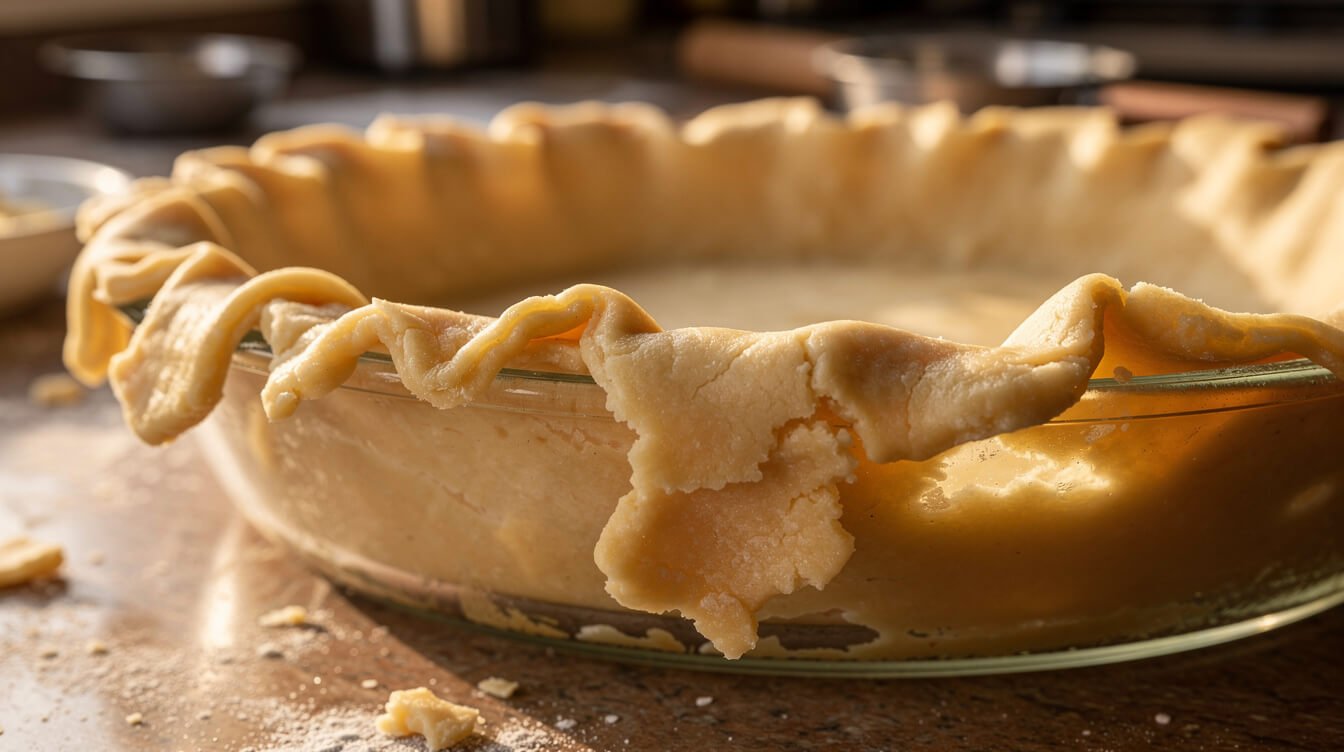
Every one of these has happened to us. They’re all fixable, and most of them are fixable next time with one change.
It shrank down the sides
Why: the dough was stretched to fit the pan, or the gluten was still tight from rolling. In the oven, it springs back like a rubber band.
Fix: ease the dough into the pan instead of pulling it, and give it the full chill. A rest in the fridge relaxes the gluten, and freezing sets the shape. If your dough fights you while rolling, cover it and let it rest in the fridge for 15 minutes, then try again.
The sides slumped and the crimps melted
Why: there wasn’t enough weight against the walls, the dough was too warm, or both.
Fix: fill the weights right up to the rim and press them against the sides. Bake straight from the freezer (metal pan) or a cold fridge (glass). Don’t remove the weights until the edges look dry and set. If they’re still soft and shiny, the walls will slide.
The bottom puffed up
Why: steam got trapped under the dough, usually because the bottom wasn’t docked or the weights came out too early.
Fix: dock before chilling. If it puffs after the weights come out, gently press it flat with the back of a spoon or a folded kitchen towel while it’s hot. It’ll settle right down.
It cracked
Why: the dough was a little dry, or it was rolled too thin in one spot.
Fix: patch with a scrap of raw dough as described above. For a par-baked crust, the egg-white seal fills any hairline cracks you missed. Next time, add a teaspoon more ice water when you mix the dough.
The bottom is still pale and soft
Why: the rack was too high, the weights came out too early, or the pan was thick ceramic.
Fix: bake on the lower-third rack, wait until the dough under the parchment is no longer shiny, and give glass and ceramic pans a few extra minutes. Preheat a baking sheet on the rack and set the pie pan on it. That hot metal gives the bottom a boost.
It’s tough, not flaky
That one happens before the oven. It usually means the dough was overworked or the butter got warm. Keep the butter in visible, pea-sized pieces, use just enough ice water to bring the dough together, and chill before you roll. If you’re short on butter, our butter substitutes for baking guide explains which swaps hold up in pastry (shortening does) and which ones don’t (oil won’t give you flakes).
Blind baking FAQ
Can I blind bake a pie crust a day ahead?
Yes, and it’s a great move for Thanksgiving. Let the baked shell cool completely, cover it loosely, and keep it at room temperature for up to a day. A plain baked crust holds up about as well as a cracker. Add the egg-white seal and the filling on baking day. If you’re planning further ahead, freeze the unbaked shell, crimped and wrapped well in a metal pan, for up to a month. Then blind bake it straight from the freezer.
What does a Thanksgiving pie timeline look like?
- Up to 2 days before: make the dough and keep it wrapped in the fridge.
- The day before: roll, line, chill, and par-bake the shell. Cool it and cover it.
- The day of (or the day before, if you have the fridge space): seal, fill, and bake. Pumpkin and other custard pies are made with eggs and milk, so once a baked pie has cooled, it goes in the fridge. Don’t leave it out for more than 2 hours.
For what to serve alongside it, here are our Thanksgiving dinner ideas.
Can you blind bake without pie weights?
Yes. Sugar, dried beans, or rice all work as weights (see above). There’s also the upside-down method. Drape the dough over the outside of an inverted pie pan, set a second pan on top, and bake them together. Gravity holds the dough in place instead of pulling it down the sides. It works well for a fully baked shell, though fancy crimps don’t survive. Baking with nothing inside is the one thing that reliably fails, because the sides collapse.
Do I need to dock the crust if I’m using weights?
We still do. Weights stop the bottom from puffing while they’re in, but once they come out, trapped steam can lift it. Docking is ten seconds of insurance. If you’re worried about a very loose filling leaking through the holes, that’s exactly what the egg-white seal is for.
Is blind baking the same as par-baking?
Blind baking means baking a crust empty. Par-baking is blind baking partway, for a filling that will bake in the shell. Fully baking is blind baking all the way, for a filling that won’t. Recipes use the words loosely, so check whether yours bakes the filling afterward.
What temperature should I use?
We use 425°F with the weights in, then 375°F to finish. Recipes range from 375°F to 425°F, and all of them work. A hotter start sets the butter-and-flour structure before it can slump, and a cooler finish browns the bottom without burning the edges. For a frozen store-bought crust in a foil tin, use the package temperature.
Final thoughts: when to blind bake a pie crust (and when to skip it)
Here’s what matters most. Check the chart: fruit pies with a top crust don’t need it, custard-style pies get a par-bake, and no-bake fillings need a fully baked shell. When you do blind bake a pie crust, chill it hard, fill the weights to the rim, and wait for the dough under the parchment to look dry before the weights come out. For pumpkin, pecan, and every other custard pie, patch the cracks and brush on that thin egg-white seal. That’s how you get a bottom crust that’s actually crisp.
Your first shell might shrink a little. Ours did. It still holds a pie, and it still tastes like buttery, flaky crust. Make one this week as practice and you’ll be relaxed about it by Thanksgiving. If cakes are next on your list, our how to bake a cake guide uses the same cold-butter, don’t-overmix thinking. Happy baking.

Before you go
Want the next one?
We post a new recipe or kitchen guide every day. The best of the week lands in one short email, no life story attached.