Peanut butter blossoms cookie recipe: soft, puffy cookies with kisses that don’t melt or crack
You rolled every ball in sugar, pressed in every kiss, and twenty minutes later the cookies were flat, the chocolate had slumped into brown puddles, and half of them had cracked down the middle. That’s the most common way a peanut butter blossoms cookie recipe goes wrong, and most recipes skip right past it. This one doesn’t. Below is a soft, puffy peanut butter cookie that holds its shape, and the three things that make or break a blossom: the right peanut butter, a short chill, and pressing the kiss at the right moment, then leaving it alone to set.
The full recipe comes first, so you can just bake if you want to. After that you’ll find the press-timing window, a troubleshooting table for flat, dry, or cracked cookies, easy swaps, and a make-ahead plan for cookie trays and swaps. One note before you start: these cookies contain peanuts, and that matters if you’re baking for a crowd. More on that in the storage section.
Peanut butter blossoms cookie recipe: what you need (and why the peanut butter matters)
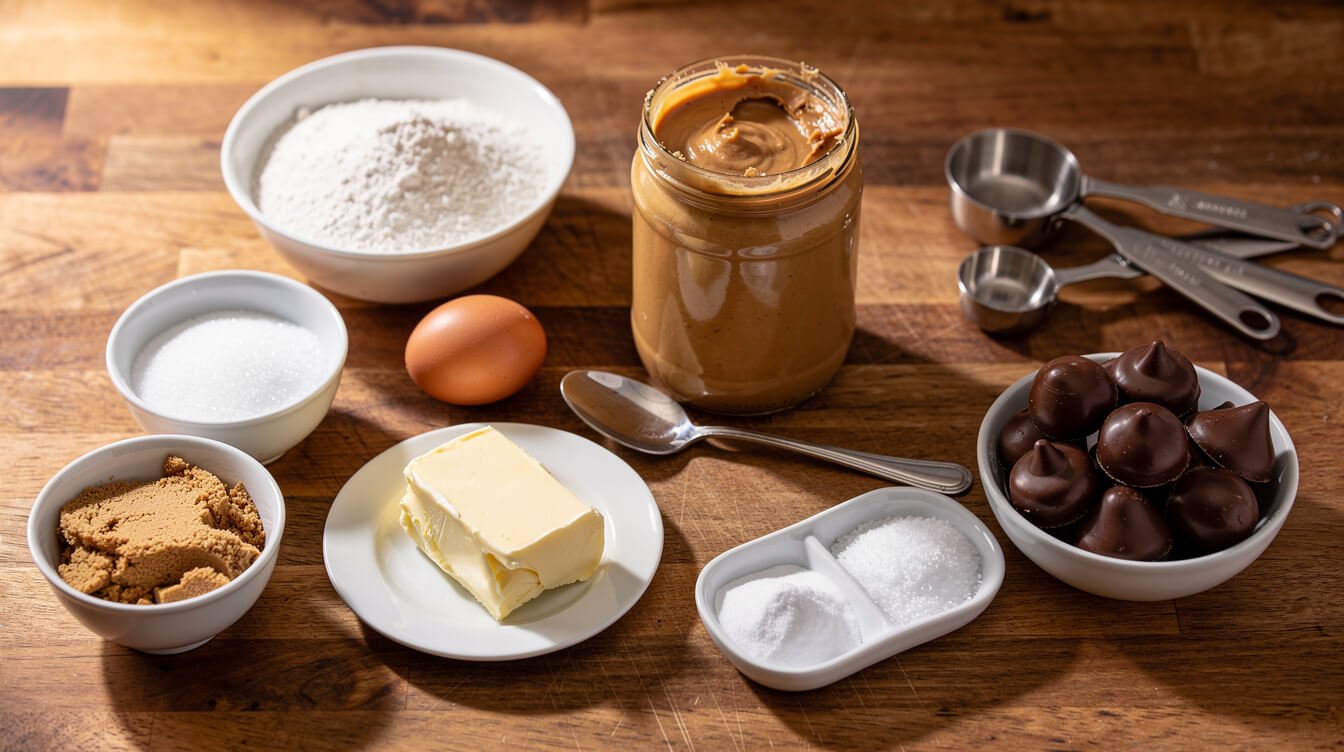
This peanut butter blossoms cookie recipe makes about 36 cookies from 1-tablespoon balls. Hands-on time is about 25 minutes, plus a 30-minute chill that does a lot of the work for you.
For the cookies
- 1/2 cup (1 stick, 113g) unsalted butter, softened but still cool
- 3/4 cup (190g) creamy, no-stir peanut butter
- 1/3 cup (67g) granulated sugar
- 1/2 cup (100g) packed light brown sugar
- 1 large egg, at room temperature
- 1 tablespoon milk
- 1 teaspoon vanilla extract
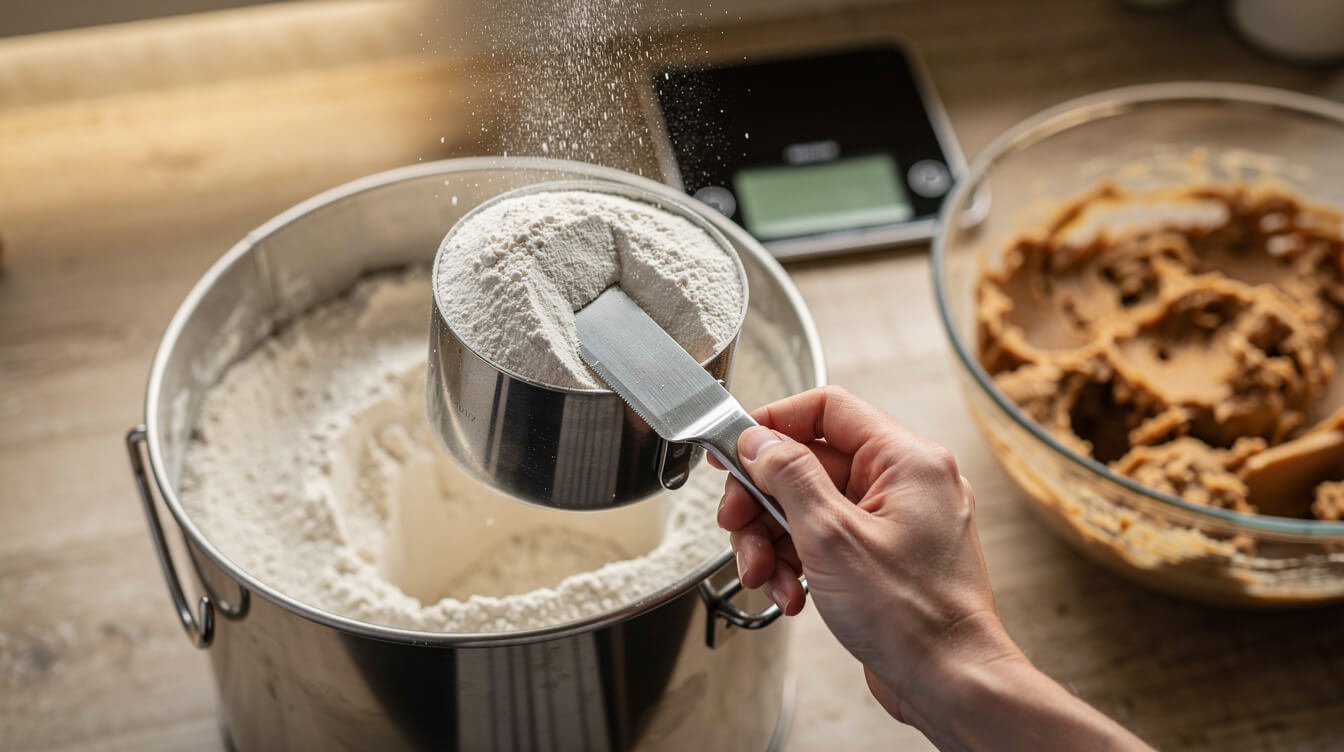
- 1 3/4 cups (220g) all-purpose flour, spooned and leveled
- 1 teaspoon baking soda
- 1/2 teaspoon fine salt (use 1/4 teaspoon if your butter is salted)
For rolling and topping
- 1/3 cup (67g) granulated sugar, for rolling
- About 36 milk chocolate kisses, unwrapped
Why no-stir peanut butter
This is the single biggest reason blossoms go flat. Natural peanut butter, the kind with a layer of oil on top, is just ground peanuts and salt. That loose oil melts out in the oven, so the dough spreads into thin, greasy discs before it has a chance to set. No-stir peanut butter has a small amount of added fat that keeps the oil locked in, so the dough holds a dome. Creamy gives you the classic smooth crackle. Crunchy works too (see the swaps section). If natural peanut butter is all you have, it can work with a couple of tweaks, also covered below.
Why butter, and why cool butter
The original blossom recipes, including Hershey’s own, use shortening. Shortening makes a taller, softer cookie, but it doesn’t taste like much. Butter tastes better and spreads a little more, so we keep it in line with a short chill and butter that’s soft enough to press with a finger but still cool to the touch, around 65°F. If your butter is shiny and greasy, it’s too warm, and your cookies will spread. Using salted butter? Our salted vs unsalted butter guide explains how much salt to drop. And if you want to go half butter, half shortening for extra puff, that works with no other changes. Our butter substitute in baking guide explains what each fat does to a cookie.
Weigh the flour if you can
Peanut butter dough is already thick, so a little extra flour tips it from soft to sandy fast. Scooping the cup straight into the bag can pack in 20 to 25% more flour than the recipe means. Spoon the flour into the cup and level it off, or weigh it: 220g.
How to make peanut butter blossoms, step by step
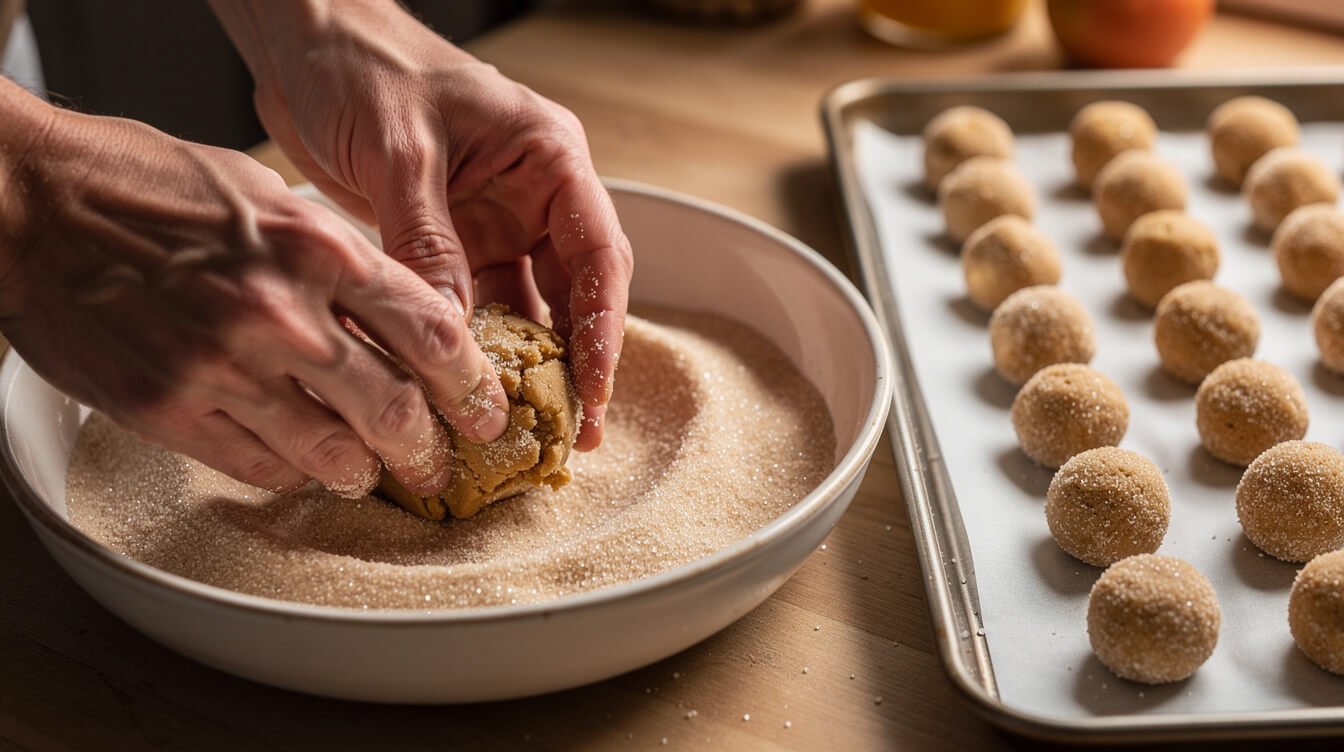
Unwrap the kisses before anything else. You’ll need them within a minute of the first tray leaving the oven, and peeling 36 foil wrappers with a hot tray waiting is how kisses end up going on late. Put the unwrapped kisses in a bowl in the fridge while you make the dough. Cool kisses hold their point better when they meet a hot cookie.
- Mix the dry ingredients. Whisk the flour, baking soda, and salt in a bowl and set it aside.
- Beat the butter and peanut butter. In a large bowl, beat the butter and peanut butter with a hand or stand mixer on medium for about 1 minute, until smooth.
- Add the sugars. Add the granulated and brown sugar and beat for about 2 minutes, until the mixture looks a shade lighter. Don’t go much longer. Lots of creaming whips in air that makes the cookies puff up in the oven and then collapse flat.
- Add the egg, milk, and vanilla. Beat until combined, scraping down the bowl once.
- Add the flour. Mix on low just until no dry flour is left. The dough should be soft and a little sticky, like play dough.
- Chill for 30 minutes. Cover the bowl and refrigerate it. This firms the butter so the cookies keep their dome. You can chill for up to 2 days if that suits your schedule better.
- Heat the oven. While the dough chills, heat the oven to 375°F (190°C) with a rack in the middle. Line two baking sheets with parchment.
- Shape and roll. Scoop level tablespoons of dough (about 22g each) and roll them into smooth balls. Roll each ball in the sugar until it’s fully coated. Place them 2 inches apart, about 12 per sheet.
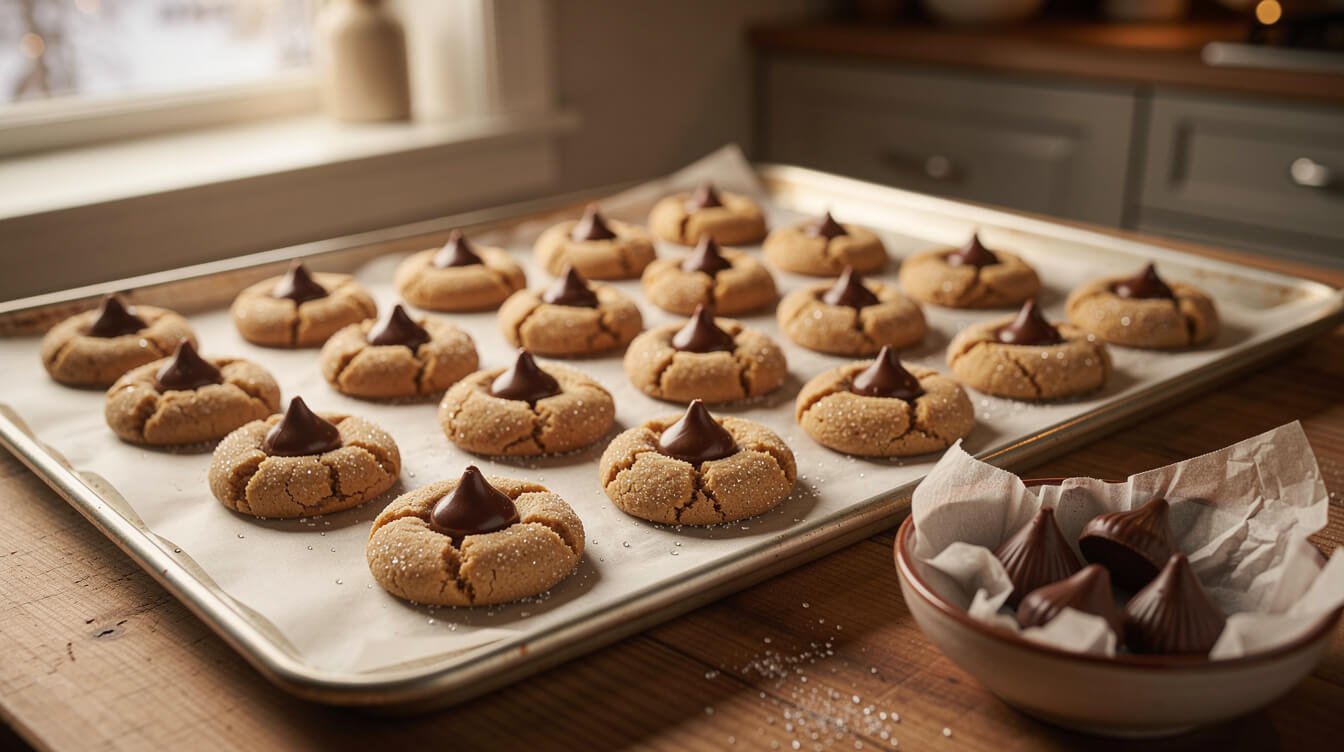
- Bake one sheet at a time for 8 to 10 minutes, until the cookies have puffed, the tops are crackled, and the middles still look soft and slightly underdone. They won’t brown much, so don’t wait for color. Start checking at 8 minutes.
- Press the kisses. Let the tray sit for about 1 minute, then press a kiss straight down into the center of each cookie. The next section covers the timing in detail.
- Cool and set. Leave the cookies on the sheet for 5 minutes, then move them to a rack. Don’t touch the kisses until the chocolate has set again.
Bake the second tray while the first one cools, and let the hot sheet cool down before you load it again. Dough balls on a warm pan start to melt before they hit the oven. A light-colored aluminum sheet bakes these more evenly than a dark one. If your bottoms brown before your middles set, our best baking sheet guide explains why.
One food-safety note: don’t snack on the raw dough. The FDA says never to eat raw flour, dough, or batter, because flour is a raw ingredient and the egg is raw too. Bake it first.
When to press the kiss (and how to keep it from melting, cracking, or turning white)
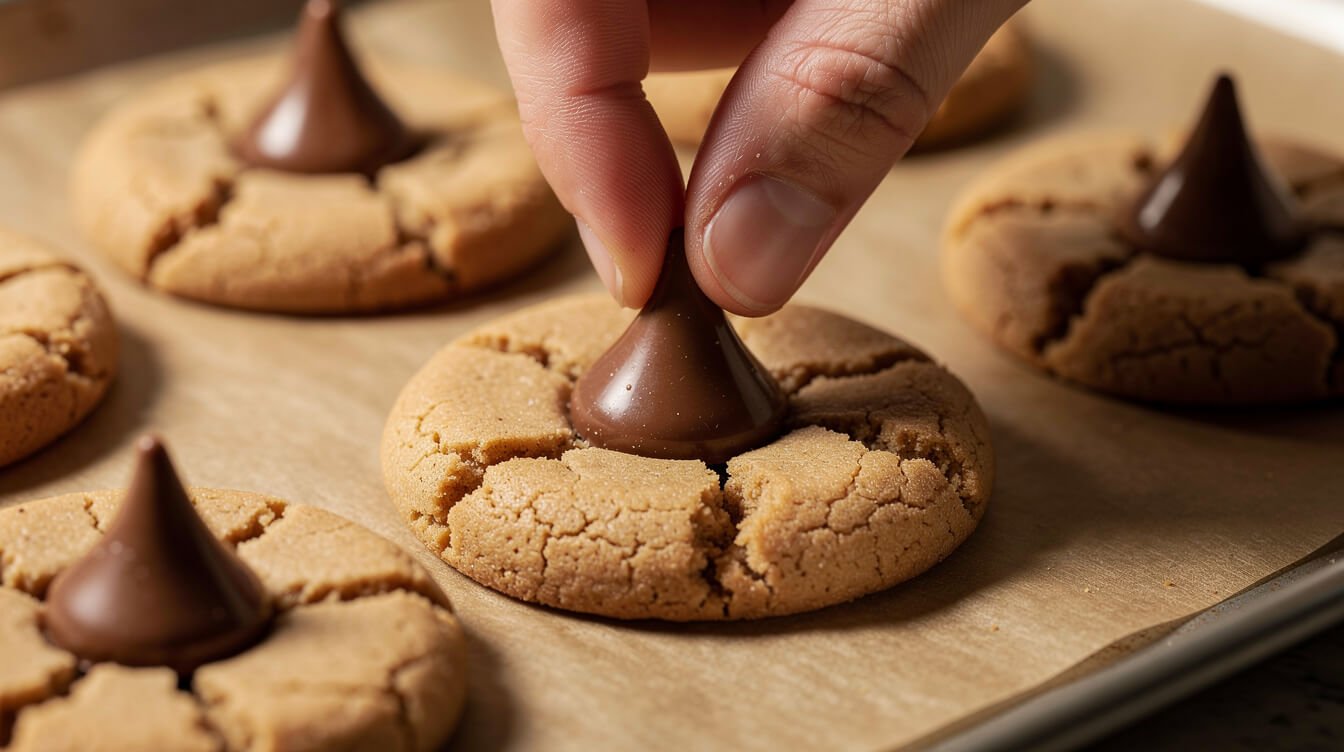
Every recipe says “press the kisses in right away.” That’s half right. The kiss needs a hot, soft cookie to sink into and stick to, but the hotter the cookie, the more the chocolate melts. Timing is the whole trick, and you have about a 2-minute window.
| When you press | What happens |
|---|---|
| Straight out of the oven | The kiss sinks in easily, but the base melts the most and the tip can slump. You’ll get the deepest cracks around the edge. |
| After about 1 to 2 minutes (the sweet spot) | The cookie is still soft enough to take the kiss and glue it in place. The chocolate softens at the base but keeps its point. You’ll get a few small cracks, which is the classic look. |
| After 3 to 4 minutes | The cookie has started to firm up. You’ll need to push harder, so the cookie is more likely to split across the middle. |
| After 5 minutes or more | The cookie has set. The kiss won’t stick well and may pop off once everything cools. |
How to press
Hold the kiss by its sides and press straight down, about a third of its height, in one gentle push. Don’t twist it, and don’t press a second time. A little cracking around the kiss is normal and part of the look. Big cracks that split the cookie mean it was overbaked, pressed too late, or pressed too hard.
Why the kisses melt into puddles
- The cookie was very hot. Give it that first minute.
- The kisses were warm. Kisses kept at room temperature in a warm kitchen soften fast. The fridge helps.
- Someone touched them too soon. A softened kiss looks solid on the outside but is still soft under the shell. Leave the cookies alone until the chocolate has set, which takes 1 to 2 hours at cool room temperature. If you’re short on time, let the cookies cool on the rack for 10 minutes, then put them in the fridge for 15 to 20 minutes.
Why the kisses turn white or streaky
Dull, gray, or white-streaked kisses have bloom. When chocolate partly melts and then sets slowly, some of the cocoa butter rises to the surface and dries into a pale film. It’s cosmetic, not spoilage, and it’s still fine to eat. It’s most common when the kisses melted a lot or cooled slowly in a warm kitchen. The fix is the same as for melting: press in that 1-to-2-minute window, then set the chocolate quickly with a short trip to the fridge once the cookies are mostly cool. A dusty, white, gritty surface is a different kind of bloom, caused by moisture. That usually happens when frozen kisses or cookies sweat as they thaw, so keep them sealed while they come to room temperature.
Can you add the kisses before baking?
No. A kiss in a 375°F oven for 9 minutes melts flat and can scorch. Some recipes press the kisses in and then put the tray back in the oven for 2 minutes to “glue” them in. It works, but it softens the chocolate more than you need. The 1-minute rest does the same job without the slump.
Why peanut butter blossoms go flat, dry, or crumbly (and the fixes)
If your blossoms didn’t come out like the picture, it’s almost always one of the things in this table. Find the symptom, then look at the cause.
| What went wrong | Likely cause | The fix |
|---|---|---|
| Flat and greasy | Natural peanut butter, butter that was too warm, or skipping the chill | Use no-stir peanut butter, use cool butter, and chill for 30 minutes |
| Puffed up, then sank flat | Over-creamed butter and sugar | Beat the sugars for about 2 minutes, not 5 |
| Spread into each other | Balls too big or too close, or dough went onto a warm sheet | Use level tablespoons, space them 2 inches apart, and let pans cool between batches |
| Dry, sandy, or crumbly | Too much flour, or baked too long | Spoon and level the flour (or weigh it) and pull them while the middles look soft |
| Hard the next day | Overbaked, or stored open to the air | Bake 8 to 9 minutes and store airtight (see the storage section) |
| Cracked in half when you pressed | Pressed too late or too hard, or overbaked | Press after 1 to 2 minutes, straight down, in one gentle push |
| Kiss melted into a puddle | Pressed on a very hot cookie, warm kisses, or touched too soon | Wait a minute, chill the kisses, and let them set before moving the cookies |
| Kiss fell off | Pressed after the cookie had set, or not deep enough | Press within 2 minutes, about a third of the way down |
| Dark bottoms, pale tops | Dark pan or a rack too low | Use a light aluminum sheet with parchment on the middle rack |
| No crackly sugar top | Sugar coating skipped, or dough too warm to hold it | Roll chilled balls in plenty of granulated sugar |
If your dough is too soft to roll
It needs more chilling, not more flour. Another 15 to 20 minutes in the fridge makes it easy to handle. Adding flour fixes the stickiness but gives you dry cookies.
If your dough is too dry to roll
If it cracks and crumbles when you roll it, too much flour went in, or the peanut butter came from the dry bottom of the jar. Add milk a teaspoon at a time until it rolls smoothly. These are cookies you’ll probably make every December, so it’s worth getting the dough right once and noting what worked. If you’re the one who ends up baking for every cookie swap, our Eat Cafe Support Our Charities T-shirt is a comfortable thing to wear through a long baking day.
From the Eat Cafe kitchen
One good recipe a week, straight to your inbox
The recipe we're actually cooking this week, plus the one tip that saves it when it goes sideways. No spam. Unsubscribe anytime.
Swaps: other candies, crunchy peanut butter, chocolate dough, and more
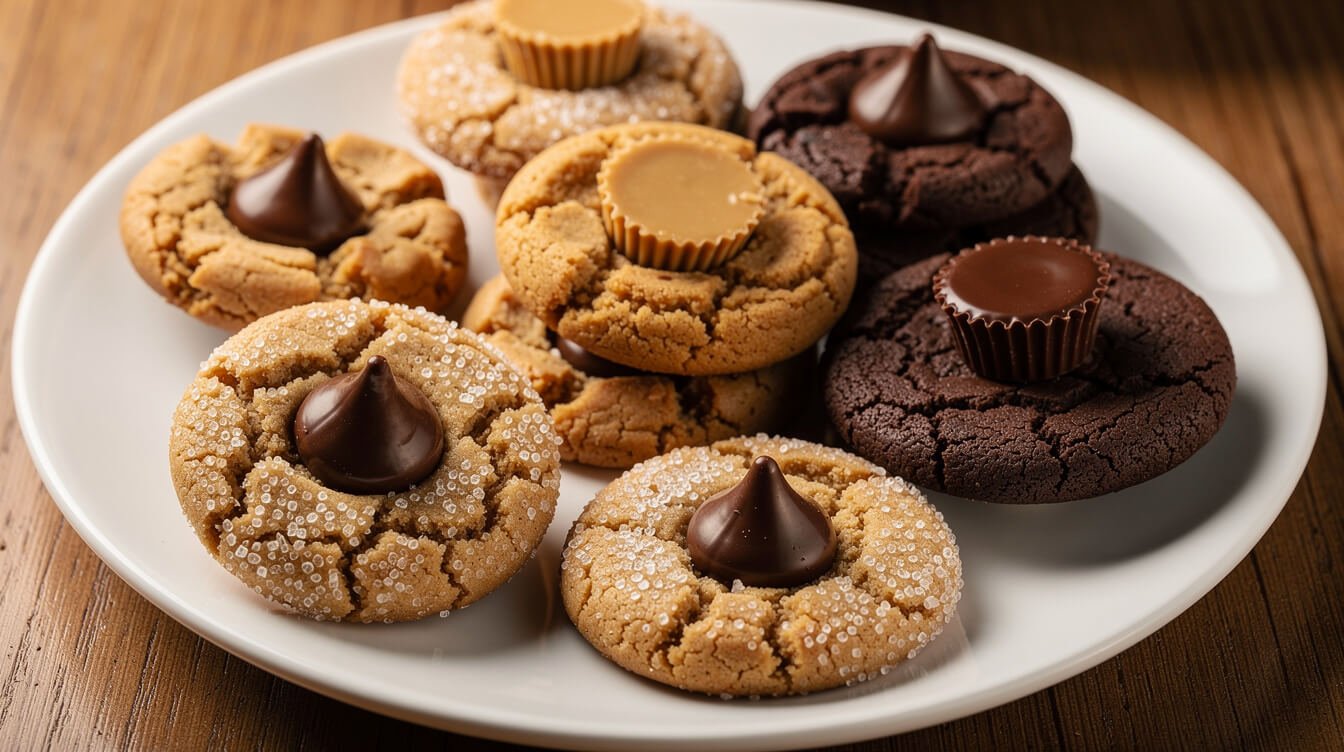
The dough is forgiving, so once you’ve made the classic version, you can play with it.
Other candies on top
- Dark chocolate kisses: less sweet, and very good against the peanut butter. Press them at the same time.
- White chocolate or striped kisses: white chocolate melts at a lower temperature, so wait closer to 2 minutes before pressing.
- Caramel-filled kisses: wait the full 2 minutes, or the caramel can soften and leak out of the base.
- Mini peanut butter cups: unwrap them, chill them, and press them in gently after 1 minute. They’re wider than a kiss, so expect a few more cracks.
Crunchy peanut butter
Use the same amount. You’ll get a bumpier top, a little more crunch, and slightly more crumbly cookies. Make sure it’s the no-stir kind.
Natural peanut butter, if it’s all you have
Stir it very well, so the oil is fully mixed back in. Then add 2 extra tablespoons of flour and chill the dough for a full hour. Expect slightly flatter, more delicate cookies with a more roasted peanut flavor.
Chocolate peanut butter dough
Swap 1/4 cup (30g) of the flour for 1/4 cup (21g) of unsweetened cocoa powder. Top with regular, white, or striped kisses. Chocolate dough hides doneness, so go by the soft middle and 9 minutes rather than color.
Different rolling sugar
Coarse sparkling sugar or turbinado gives a crunchier, glittery top. Colored sanding sugar makes them look festive for a holiday tray. Roll the balls in any of them the same way.
Gluten-free
A 1:1 gluten-free flour blend that already contains xanthan gum swaps in by weight. The cookies come out a bit more tender. If you’re baking for someone with celiac disease, check the label on every ingredient, the kisses included, and think about crumbs on shared pans and counters.
A peanut-free version
Sunflower seed butter works as a one-for-one swap for the peanut butter, with a heads-up: the insides may turn green after a few hours. That’s a harmless reaction between a compound in sunflower seeds and the baking soda. Cutting the baking soda to 1/2 teaspoon helps a little. Please don’t treat a swap as allergy-safe on its own. Check every label, and remember that a kitchen, pans, and tins that usually see peanut butter all mean cross-contact. If you’re baking for someone with a peanut allergy, ask them what’s safe for them.

A shirt for cookie-baking season
The Eat Cafe Support Our Charities tee is a soft black cotton shirt with a small logo over the heart and a big one on the back. It’s an easy thing to wear through a long day of rolling cookies, and a nice add-on to a cookie tin for the baker on your list.
Make ahead, freeze, store, and pack them for a cookie tray
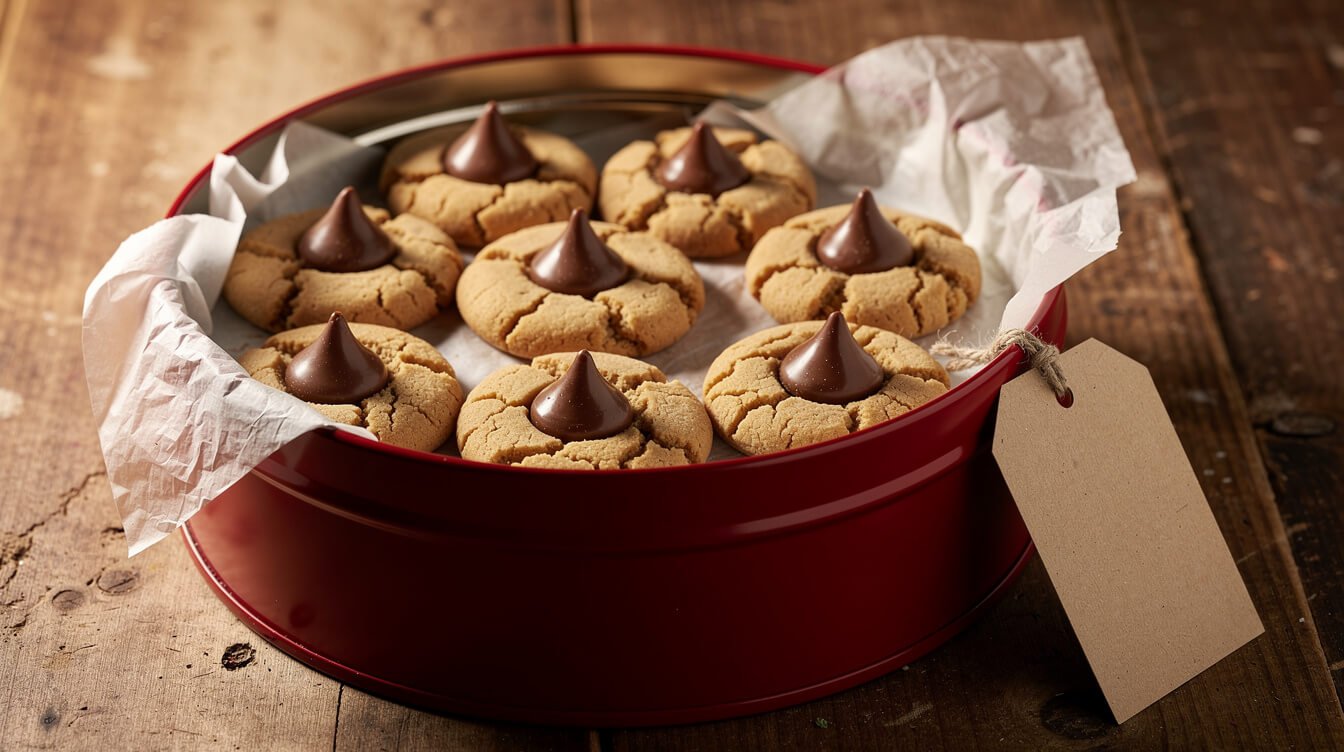
Blossoms are a great make-ahead cookie, but there’s one catch: the dough freezes better than the finished cookie. Freezing and thawing a baked blossom makes bloom on the kiss more likely. If you’re baking ahead for the holidays, freeze dough balls and bake them fresh.
Make the dough ahead
Cover the dough tightly and refrigerate it for up to 2 days. If it’s too firm to roll straight from the fridge, let it sit on the counter for 10 minutes.
Freeze the dough balls
- Roll the dough into balls but don’t sugar them yet.
- Freeze them on a parchment-lined tray until firm, about 1 to 2 hours.
- Move them to a freezer bag, label it, and freeze for up to 3 months for best quality.
- To bake, let the balls sit for about 5 minutes so the sugar sticks. Then roll them in sugar and bake from frozen, adding 1 to 2 minutes. Press the kisses on the same 1-minute timing.
Store baked cookies
Once the chocolate has fully set, store the blossoms in an airtight container at room temperature. They’re at their best within about 5 days. They’ll keep longer, but they get firmer each day. Store them in a single layer, or with parchment between layers, so the kisses don’t scuff or break. A slice of sandwich bread in the container helps them stay soft. Swap it out when it goes hard.
If you do freeze baked blossoms, freeze them in a single layer first, then pack them in a sealed container for up to 2 months. Thaw them in the closed container. That way the moisture beads on the outside of the container, not on the chocolate.
Packing a cookie tray or tin
- Kisses up, top layer. Put the blossoms on top of sturdier cookies, or give them their own layer, so nothing crushes the points.
- Keep soft and crisp cookies apart. Blossoms are soft and give off moisture. They’ll soften crisp cookies like gingerbread or shortbread in a shared tin. Our easy Christmas cookies guide covers the tin rules and a two-weekend baking plan.
- Label them “contains peanuts.” Peanut cookies in a mixed tray can transfer to the other cookies. If anyone receiving the tray has a peanut allergy, pack the blossoms in a separate container and tell them.
- Keep them cool. Don’t leave a packed tin near the stove or in a warm car. The kisses soften and smear.
Planning a whole cookie spread? Blossoms pair well with snickerdoodles, decorated sugar cookies, rugelach, and a pan of sweetened condensed milk fudge.
Peanut butter blossoms cookie recipe FAQ
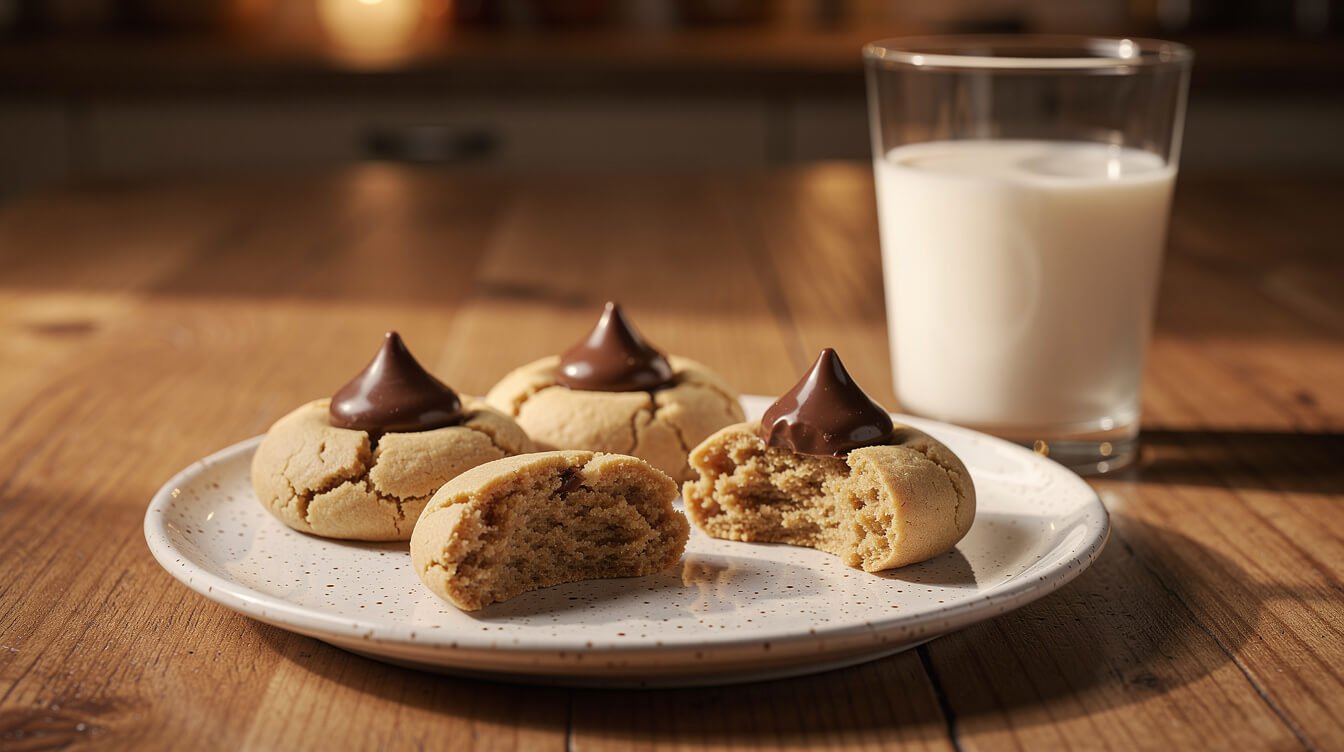
Do I have to chill peanut butter blossom dough?
For this all-butter dough, yes. Thirty minutes is enough. Without it, the butter melts before the cookie sets and they spread flat. Recipes made with all shortening can skip the chill, which is one reason the original recipes don’t call for one.
Why are my peanut butter blossoms flat?
The usual causes are natural peanut butter, butter that was too warm, skipping the chill, or putting dough on a hot pan. Check the troubleshooting table above. It’s almost always one of those four.
Why did my kisses melt?
They went onto a cookie that was too hot, the kisses themselves were warm, or the cookies were moved before the chocolate set. Wait about a minute after the tray comes out, chill the kisses, and let the chocolate set before you touch anything.
How long does it take for the kisses to harden again?
Plan on 1 to 2 hours at cool room temperature. To speed it up, let the cookies cool on a rack for 10 minutes, then put them in the fridge for 15 to 20 minutes.
Can I make them without an egg?
The egg helps hold this dough together and keeps it soft. For an egg-free version, the 3-ingredient peanut butter cookie in our 3-ingredient cookies post skips both flour and egg, and you can press a kiss into it the same way.
Can I taste the dough?
Not this one. It has raw flour and a raw egg, and the FDA’s advice is to never eat raw flour, dough, or batter. Wait for the baked cookie.
How far ahead can I make them for a cookie swap?
Freeze the dough balls up to 3 months ahead, then bake 1 or 2 days before the swap. Baked blossoms are at their best within about 5 days.
Can I make them bigger?
You can use 2-tablespoon balls. Bake them for 10 to 12 minutes, and press the kiss after the same 1-minute rest. You’ll get about 18 cookies, and the kiss will look smaller on top.
The short version
Here’s the whole peanut butter blossoms cookie recipe on one screen:
- Use no-stir creamy peanut butter and cool butter. Spoon and level the flour, or weigh it (220g).
- Beat the sugars for about 2 minutes, then chill the dough for 30 minutes.
- Roll 1-tablespoon balls in sugar and bake at 375°F (190°C) for 8 to 10 minutes, until puffed and crackled with soft middles.
- Unwrap and chill the kisses first. Rest the tray for about 1 minute, then press each kiss straight down, a third of the way.
- Leave them alone until the chocolate sets (1 to 2 hours, or a short trip to the fridge).
- Freeze dough balls for up to 3 months, store baked cookies airtight for about 5 days, and label trays “contains peanuts.”
- Never eat the raw dough.
If you love a good holiday cookie, try our best chocolate chip cookies next. They use the same cool-butter, short-chill thinking.

Before you go
Want the next one?
We post a new recipe or kitchen guide every day. The best of the week lands in one short email, no life story attached.