How do you make hot chocolate from cocoa powder? The smooth, never-chalky 1-mug recipe
How do you make hot chocolate from cocoa powder that comes out smooth and rich, with no clumps floating on top and no dusty grit at the bottom of the mug? Here’s how. If yours has ever tasted thin, chalky, or a little like chocolate-flavored water, it’s almost always one thing. The cocoa went straight into cold milk. Cocoa powder won’t dissolve that way, so it sits there in lumps.
The fix takes 30 seconds. Whisk the cocoa and sugar with a splash of hot water into a glossy paste, then add the milk. That’s the whole trick. Below you’ll find the one-mug recipe up front, then why the paste works, a microwave version, Dutch-process vs natural cocoa, which milk to use, a batch for a crowd, a jar of homemade mix, and some easy variations.
How do you make hot chocolate from cocoa powder? The 1-mug recipe
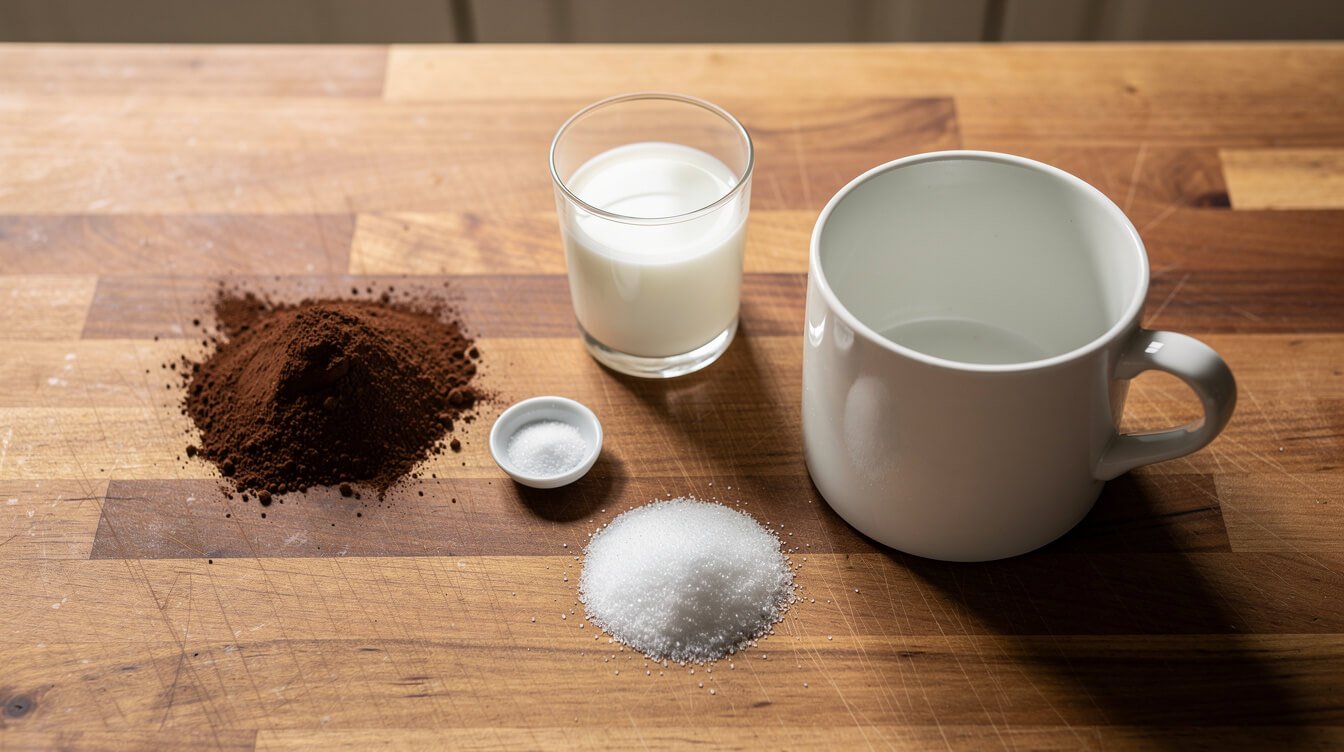
Most recipes make four or six servings. Usually you just want one mug, so this one makes one mug. The scaling table below covers more.
Ingredients (1 large mug, about 1 cup)
- 2 tablespoons unsweetened cocoa powder (use 1½ if you like it milder)
- 1½ to 2 tablespoons granulated sugar, to taste
- A small pinch of salt
- 2 tablespoons hot water (or milk)
- 1 cup (240 ml) milk, any kind (more on this below)
- ¼ teaspoon vanilla extract (optional)
Steps
- Make the paste. In a small saucepan, whisk the cocoa, sugar, and salt together while they’re dry, so the sugar breaks up any cocoa lumps. Add the 2 tablespoons of hot water and whisk until you have a thick, smooth, glossy paste.
- Cook it for a moment. Set the pan over low heat and keep whisking for 30 to 60 seconds, until the paste bubbles at the edges and looks shiny. This short cook takes away the raw, dusty taste.
- Add the milk slowly. Pour in a splash of milk and whisk it into the paste until smooth. Then add the rest a little at a time, whisking as you go.
- Heat gently. Turn the heat to medium-low and whisk now and then until the hot chocolate is steaming and tiny bubbles appear around the edge, 3 to 4 minutes. Don’t let it boil.
- Finish and taste. Take it off the heat and stir in the vanilla. Taste it. If it needs more sweetness, stir in a little more sugar now, while it’s hot. Pour it into a mug.
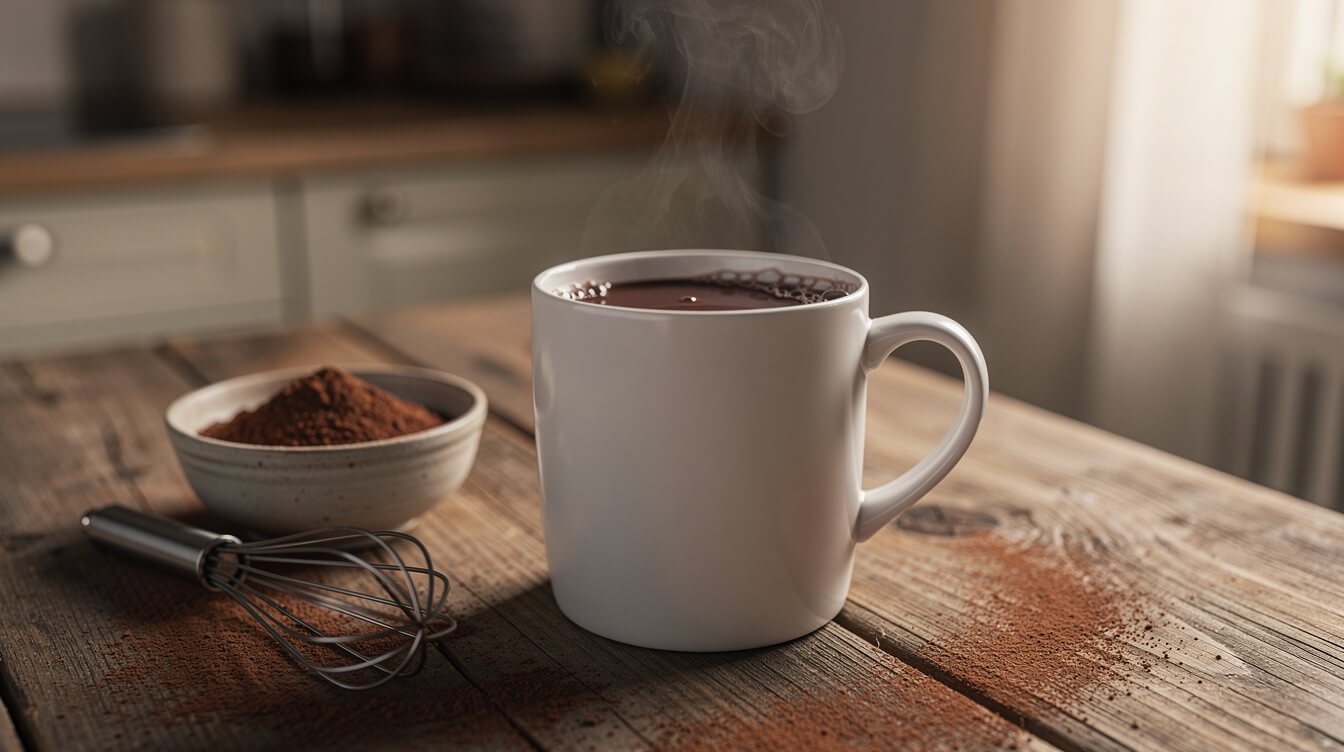
That’s it. It should be dark, glossy, and smooth, with no clumps on the surface and nothing gritty left on the bottom of the mug.
Scaling it up
The paste only needs enough water to wet the cocoa, so the water doesn’t scale up as fast as everything else.
| Mugs | Cocoa | Sugar | Salt | Hot water (paste) | Milk |
|---|---|---|---|---|---|
| 1 | 2 tbsp | 1½–2 tbsp | small pinch | 2 tbsp | 1 cup |
| 2 | ¼ cup | 3–4 tbsp | pinch | 3 tbsp | 2 cups |
| 4 | ½ cup | ⅓–½ cup | ⅛ tsp | ¼ cup | 4 cups (1 quart) |
| 8 | 1 cup | ⅔–1 cup | ¼ tsp | ½ cup | 8 cups (½ gallon) |
One honest note on “hot chocolate” vs “hot cocoa”. Strictly speaking, hot cocoa is made from cocoa powder and hot chocolate from melted chocolate. Most people use the words interchangeably, and so do we. Plenty of recipes that call themselves “cocoa powder” hot chocolate quietly add a whole bag of chocolate chips. This one doesn’t. It’s cocoa powder all the way, made with what’s already in your pantry.
The paste step: why cocoa clumps and tastes chalky
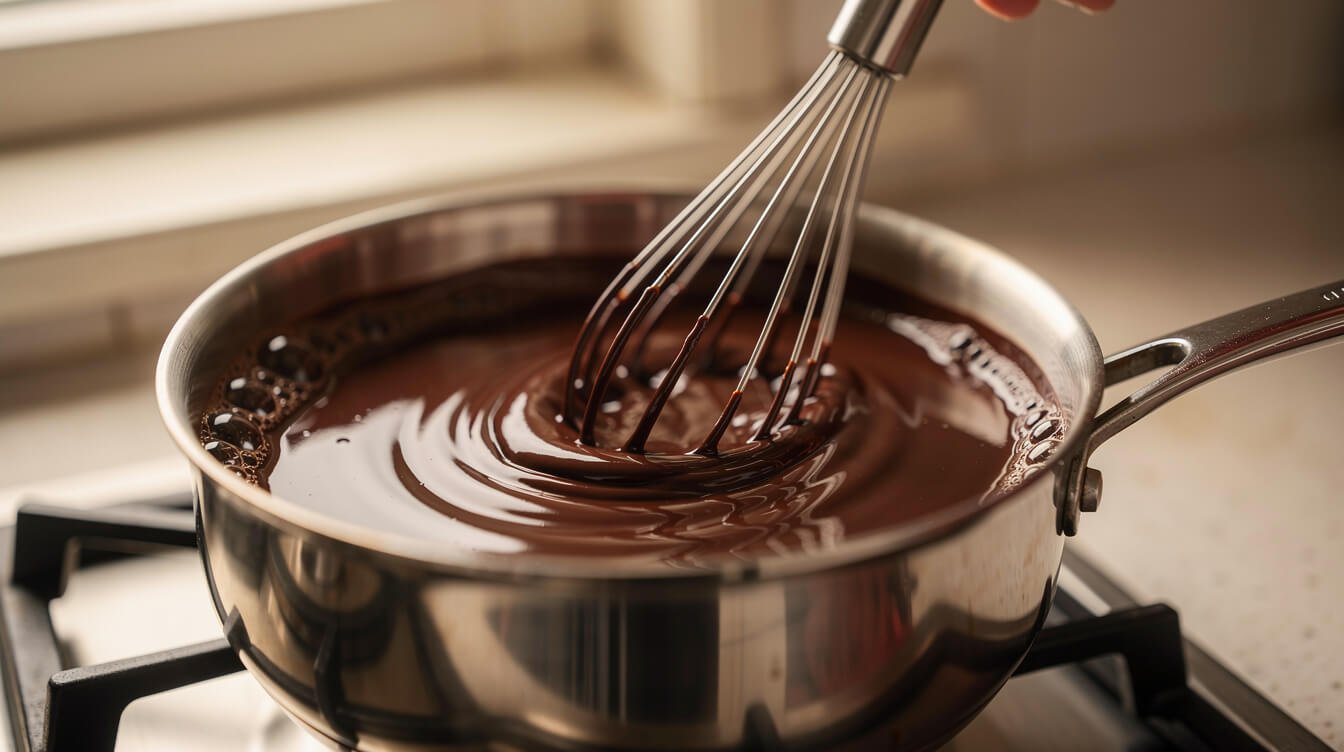
This is the part that fixes nearly every disappointing mug. It helps to know what cocoa powder actually is.
Cocoa powder is what’s left after most of the fat has been pressed out of roasted cocoa beans. It’s finely ground solids with some fat still in it. It doesn’t dissolve the way sugar does. Instead it has to be wetted and spread through the liquid. Dry cocoa repels water a bit, so when you dump it into a pan of cold milk, the outside of each little clump gets wet and seals the dry powder inside. You’ve seen the result: brown islands floating on top that won’t whisk out.
What the paste does
- Breaks up the clumps. Whisking cocoa with sugar first separates the particles. The sugar crystals work like tiny scrubbers.
- Wets every particle. A small amount of hot liquid turns it into a paste, and the paste can’t hide dry pockets. Once it’s smooth, it thins out into the milk easily.
- Cooks out the raw taste. Heating the paste for a minute softens the harsh, dusty edge of raw cocoa and makes the chocolate taste rounder. That’s why some cocoa-tin recipes tell you to simmer cocoa, sugar, and water for a couple of minutes before adding milk. They rarely tell you why.
“Why is there sludge in the bottom of my mug?”
Some settling is normal. Cocoa solids are tiny particles held in the liquid, not dissolved in it. They’ll slowly drift down if the mug sits for a while. A smooth paste and a good whisk keep most of it in suspension while you drink, and a quick stir brings back anything that settles. If you get a thick layer of grit, the cocoa never fully wetted, so go back to the paste.
If you have a milk frother or an immersion blender, a few seconds of frothing at the end makes the hot chocolate silky and a little foamy. You don’t need one, though. A whisk does the job.
Stovetop or microwave: both work
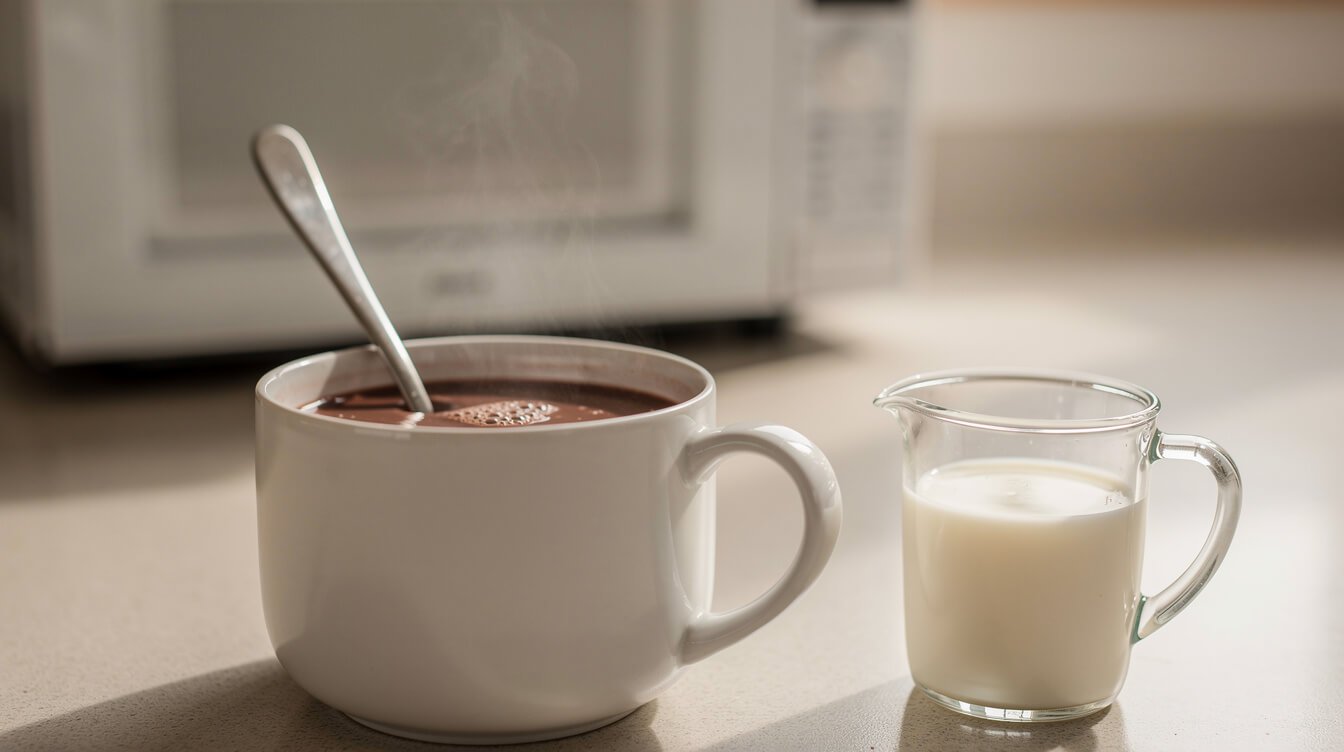
The stovetop gives you the most control and the smoothest result, especially for more than one mug. The microwave is the 6pm-on-a-Tuesday, kids-are-cold-from-the-bus-stop method, and it’s very good if you keep the same paste-first idea.
Microwave hot chocolate (1 mug)
- Use a big mug. It should hold at least 12 ounces, so the milk has room to foam up without spilling over.
- Make the paste in the mug. Stir the cocoa, sugar, and salt together. Add 2 tablespoons of hot water or milk and stir until it’s a smooth paste. Use a fork or a small whisk to get into the bottom edge.
- Add half the milk. Stir well. Microwave for 45 seconds, then stir.
- Add the rest of the milk. Stir, then microwave in 30-second bursts, stirring between each one, until it’s steaming. That’s usually 1 to 1½ minutes more, depending on your microwave.
- Stir before you sip. Microwaves heat unevenly. A good stir mixes the hot spots in so you don’t hit a scalding pocket.
Why add the milk in two stages? The first half thins the paste while there’s still very little liquid. That keeps it smooth. If you pour the whole cup in at once, you’re back to cocoa islands.
Which one to pick
- One mug, in a hurry: microwave.
- Two or more mugs, or you want it extra silky: stovetop.
- A crowd, or a party where people refill all evening: stovetop, then a slow cooker (more on that below).
Dutch-process or natural cocoa: what changes
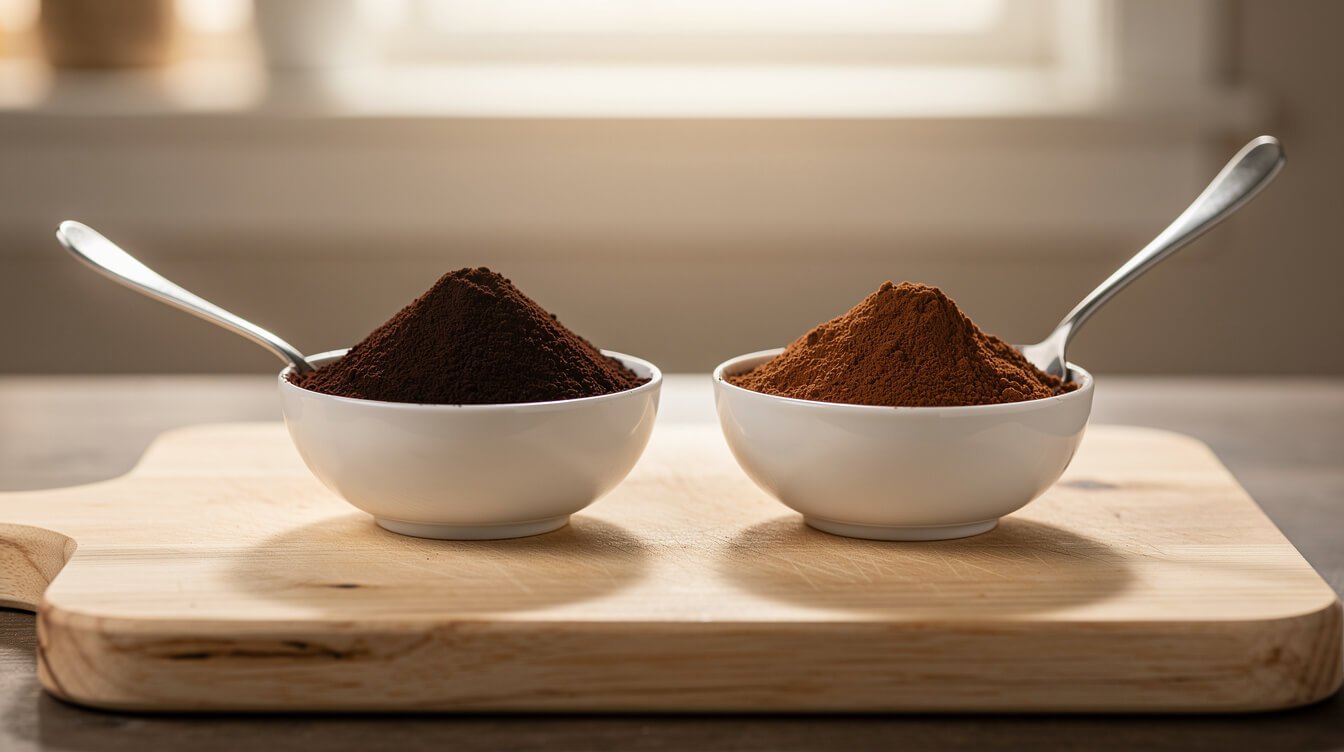
“Can I use normal cocoa powder?” Yes. That plain tin of unsweetened cocoa in the baking aisle is exactly what this recipe is for. Both main kinds of cocoa make good hot chocolate. They just taste different, and it’s worth knowing which one you have.
Natural cocoa
This is the most common kind in US grocery stores. If the label just says “unsweetened cocoa” and doesn’t mention Dutch-process or alkali, it’s very likely natural. It’s lighter and a bit reddish-brown, and it tastes sharper, fruitier, and slightly more bitter. In hot chocolate it gives a bright, classic “cocoa” flavor. Because it’s a little more acidic, you may want to add an extra half tablespoon of sugar.
Dutch-process cocoa
Dutch-process (or “alkalized”) cocoa has been treated to lower its acidity. It’s darker, sometimes nearly black-brown, and tastes mellower, rounder, and more like a chocolate cookie. It also mixes into liquid a little more easily. In hot chocolate it gives that deep, dark, smooth cup many people picture. Look for “Dutch-process,” “Dutched,” or “processed with alkali” in the ingredients.
Which is better for hot chocolate?
Honestly, it’s personal preference. Serve one of each to a room of people and they’ll split down the middle. Here’s a simple way to choose:
- Want it dark, smooth, and mellow? Use Dutch-process.
- Want it bright, a little tangy, with a strong cocoa bite? Use natural.
- Can’t decide? Mix them half and half. Some grocery-store “special dark” cocoas are already a blend of the two.
Two more you might see:
- Black cocoa is very heavily Dutched. It tastes a lot like the chocolate wafer in a sandwich cookie. On its own it makes a thin, flat-tasting drink, but a tablespoon mixed with regular cocoa makes the cup darker and richer.
- Cacao powder is processed differently from cocoa but works the same way here. It tends to taste more bitter, so you may want a little more sugar.
Whichever you use, make sure it’s unsweetened cocoa, not a sweetened drink mix. A packet of mix already has sugar and milk powder in it, so this recipe would make it far too sweet.
This kind of plain, pantry-first cooking is what we do here every week. If you’d like to help keep the kitchen going, our Support Our Charities Donor Membership T-Shirt is a cozy way to do it.
From the Eat Cafe kitchen
One good recipe a week, straight to your inbox
The recipe we're actually cooking this week, plus the one tip that saves it when it goes sideways. No spam. Unsubscribe anytime.
Which milk to use (and how not to scorch it)
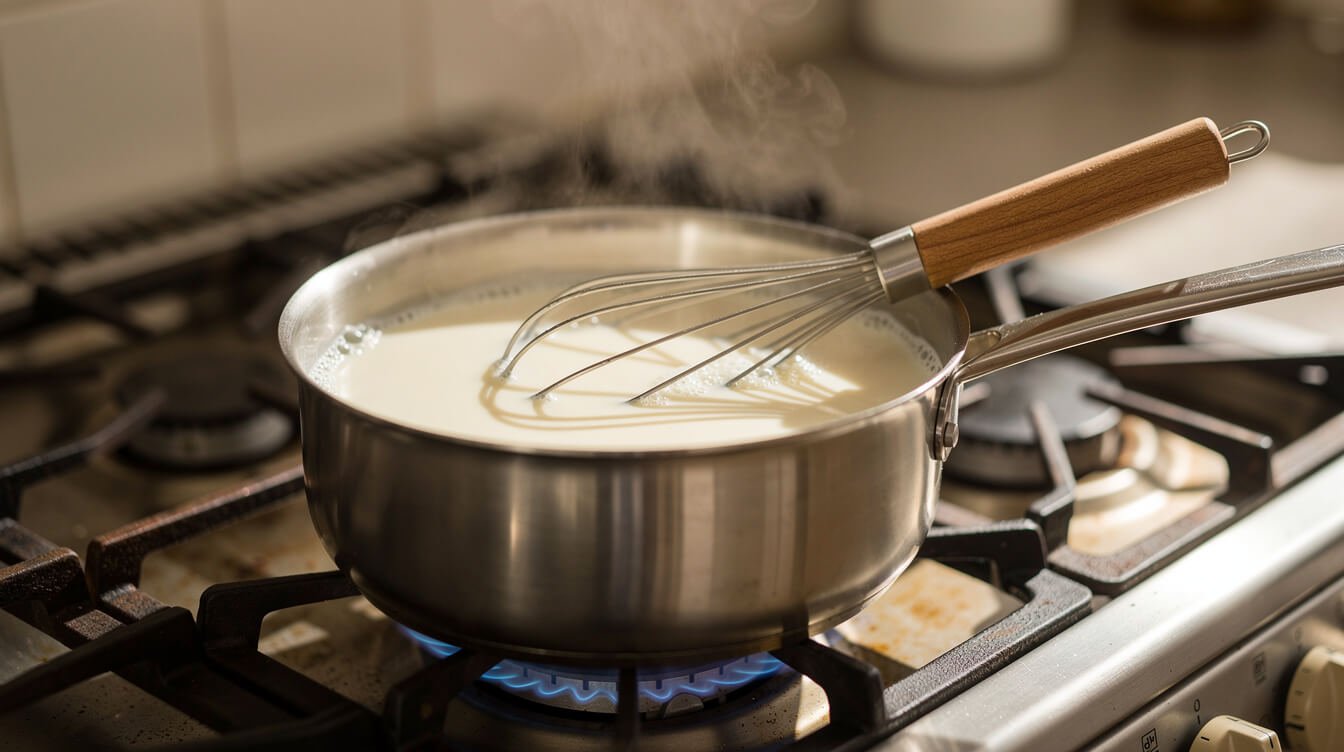
The milk decides how rich your hot chocolate is. The fat carries the chocolate flavor and gives the drink body, so the more fat, the creamier the mug. Every one of these works, though.
| Milk | How it turns out |
|---|---|
| Whole milk | Rich, creamy, and full. This is the classic. |
| 2% milk | Still creamy, a little lighter. A great everyday choice. |
| Skim milk | Thinner, with a stronger cocoa taste. Add a spoonful of cream if you have it. |
| Whole milk + a splash of half-and-half or cream | Very rich and almost thick. Good for a dessert mug. |
| Oat milk | The creamiest non-dairy option. “Barista” versions foam well and don’t separate. |
| Soy milk | Good body and a neutral flavor. |
| Almond milk | Thinner, with a light nutty flavor. Unsweetened is best, so you can control the sugar. |
| Water | Lighter, but the purest chocolate flavor. A splash of milk or cream on top helps. |
Water deserves a fair word. Some well-known chocolate experts actually prefer it, because there’s no dairy to soften the chocolate flavor. A water-based cup made with good cocoa tastes intensely chocolatey, more like an espresso than a latte. If that’s your thing, make the paste and use hot water instead of milk. Then add a splash of milk or cream if you want.
If you’re making hot chocolate for someone with a dairy allergy, check the label on the cocoa and any plant milk you use, and on toppings like whipped cream and marshmallows too.
How not to scorch it
Milk is the one thing in this recipe that can go wrong fast. When it gets too hot, the milk proteins and sugars stick to the bottom of the pan and brown. That gives you a burnt taste you can’t fix. Hot milk can also foam up and over the side of the pan in seconds. To avoid both:
- Keep the heat at medium-low. It only takes a few minutes longer than high heat.
- Use a heavy-bottomed pan if you have one, because it spreads the heat more evenly.
- Whisk now and then, scraping the bottom, so nothing settles and sticks.
- Stop when it’s steaming, with small bubbles around the edge. Don’t wait for a rolling boil. Hot chocolate tastes and feels best just below a simmer, and boiling only makes scorching and skin more likely.
- Don’t walk away. This is a stand-at-the-stove job, even if it’s only for four minutes.
About the skin: that thin film on top forms as milk proteins dry out on the surface. It’s harmless. Whisking now and then while the milk heats mostly prevents it. If one forms, whisk it back in or lift it off with a spoon.
If it scorched: pour the hot chocolate into a clean pan right away without scraping the bottom. If it still tastes burnt, start over. There’s no hiding it.

A tee for cocoa season
The Eat Cafe Support Our Charities tee is a soft black cotton shirt with a small logo over the heart and a big one on the back. Wear it on a cocoa-and-cookies night, and help support the kitchen while you’re at it.
Hot chocolate for a crowd, plus a jar of homemade mix
For a crowd (8 mugs)
Use the 8-mug row of the scaling table: 1 cup cocoa, ⅔ to 1 cup sugar, ¼ teaspoon salt, ½ cup hot water for the paste, and ½ gallon of milk. Make the paste in a large, heavy pot, cook it for a minute, then whisk in the milk a few cups at a time. Heat on medium-low, whisking often, until it’s steaming. With that much milk, expect 10 to 15 minutes.
Keeping it warm for a party: once it’s hot, pour it into a slow cooker on the low or warm setting with a ladle, and let people help themselves. Give it a stir every so often so it doesn’t settle or form a skin. When the party’s over, don’t leave it sitting out. Get any leftovers into the fridge within 2 hours.
Leftovers: pour cooled hot chocolate into a covered jar and keep it in the fridge. Drink it within a day or two. Reheat it gently on the stove or in the microwave, stirring, until it’s steaming. It’ll settle in the fridge, so shake or whisk it first. Cold, it’s very good chocolate milk.
A jar of homemade mix (two ways)
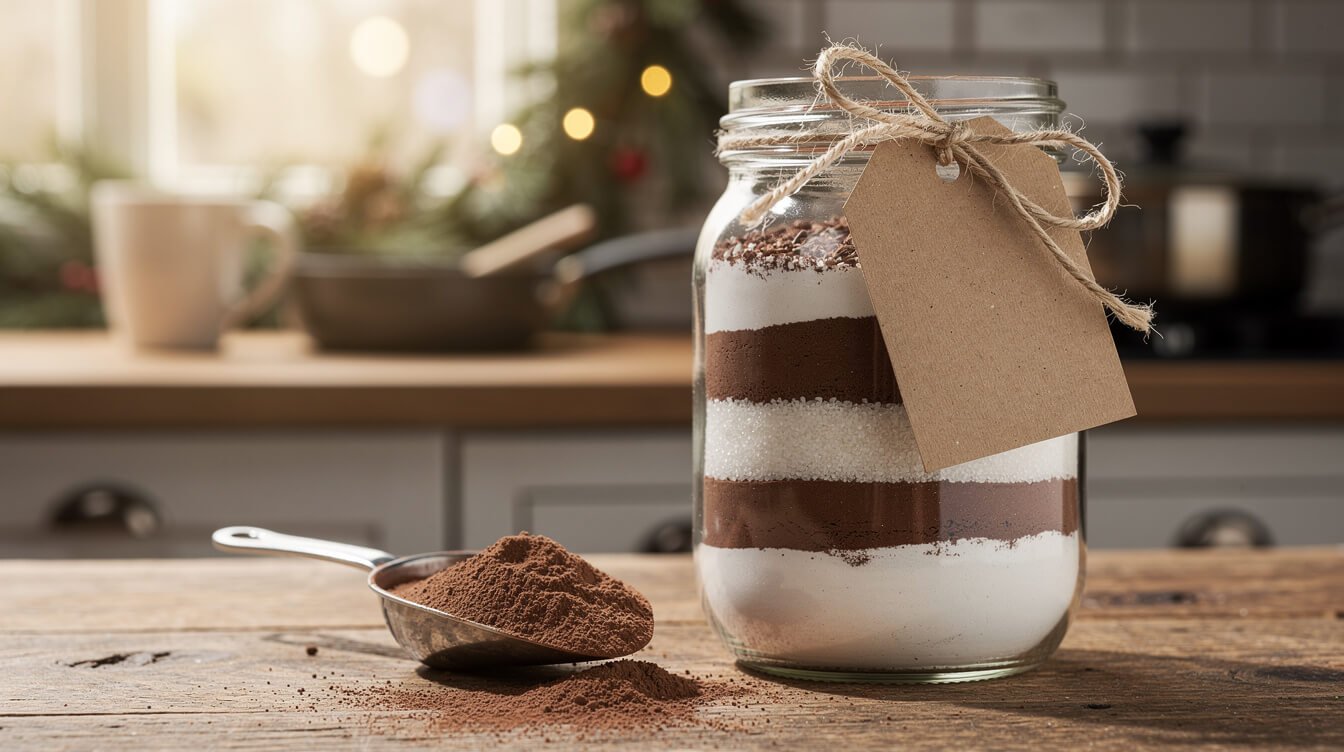
A jar of mix on the counter means a good mug is always 3 minutes away. It also makes a great homemade gift. There are two versions, depending on what you’ll add to it.
1. The “add milk” mix (best flavor)
- 1 cup unsweetened cocoa powder
- ¾ to 1 cup granulated sugar
- ½ teaspoon fine salt
Whisk everything together well, breaking up any cocoa lumps, and store it in an airtight jar. Per mug: use about ¼ cup of mix. Make a paste with 2 tablespoons of hot water, then add 1 cup of milk, on the stove or in the microwave. Kept airtight in a cool, dry cupboard, it stays good for months. It’s just cocoa, sugar, and salt.
2. The “just add water” mix (best for gifts, camping, and the office)
- 2 cups nonfat dry milk powder (or whole milk powder for a richer cup)
- 1 cup unsweetened cocoa powder
- ¾ to 1 cup granulated sugar
- ½ teaspoon fine salt
Whisk everything together, or pulse it a few times in a food processor for an extra-fine, easy-mixing powder. Per mug: about ½ cup of mix. Stir it with a splash of hot water into a paste, then add 1 cup of very hot water and stir well. Because this version contains milk powder, keep it airtight, cool, and dry. Use it within a few months and before the best-by date on your milk powder. If it ever smells stale or off, toss it.
If you’re gifting it: tie on a tag with the per-mug directions and the ingredients. That way anyone avoiding dairy knows the second version contains milk.
Pair a jar with a batch of our soft gingerbread molasses cookies or a tin of easy condensed milk fudge, and that’s a whole holiday gift sorted.
Toppings and easy variations

Once you have the basic mug down, it’s easy to change up.
Toppings
- Whipped cream. Softly whipped, barely sweetened cream is the best topping there is. Our guide to whipping cream vs heavy cream explains which carton whips best. If you’re out of cream, here’s what you can use instead of heavy cream.
- Marshmallows. Mini or big ones, they’re all good.
- A dusting of cocoa or cinnamon over the whipped cream.
- Chocolate shavings. Run a vegetable peeler down the side of a chocolate bar.
- Flaky salt. Just a few flakes on whipped cream are surprisingly good.
Variations (per mug)
- Peppermint: stir in ⅛ teaspoon peppermint extract at the end, or stir the mug with a candy cane. Peppermint extract is strong, so start small.
- Cinnamon-spiced: add ¼ teaspoon ground cinnamon and a tiny pinch of cayenne or chili powder to the dry cocoa, and use a little brown sugar. It’s warm and gently spicy, in the spirit of Mexican hot chocolate.
- Mocha: make the paste with 2 tablespoons of hot espresso or strong coffee instead of water. Remember that this one has coffee in it before you pour a mug for the kids.
- Extra-rich: stir 1 ounce (about 2 tablespoons) of chopped chocolate or chocolate chips into the hot mug until melted.
- Thick, sipping-style: whisk 1 teaspoon of cornstarch into the dry cocoa and sugar. Once the milk is in, let it come to a gentle simmer for about a minute, whisking constantly, until it coats a spoon. Cornstarch needs that brief simmer to thicken.
- Maple or brown sugar: swap the white sugar for maple syrup or brown sugar for a deeper, caramel-like sweetness.
- Orange: add a strip of orange zest while the milk heats, then lift it out before serving.
- Almond: use a drop of almond extract instead of vanilla.
For a full cozy night in, serve it with a plate of the best chocolate chip cookies or our bakery-style chocolate chip cookies. On Christmas morning, it goes beautifully with a pan of overnight sourdough cinnamon rolls.
Hot chocolate from cocoa powder: FAQ
How do you make hot chocolate from cocoa powder without a recipe in front of you?
Remember “2, 2, 2, 1”: 2 tablespoons of cocoa, about 2 tablespoons of sugar, and 2 tablespoons of hot water for the paste, then 1 cup of milk. Add a pinch of salt and heat it gently.
How much cocoa powder do I need for one cup of hot chocolate?
About 2 tablespoons of unsweetened cocoa for 1 cup (240 ml) of milk gives a rich, full-flavored mug. Use 1½ tablespoons if you like it lighter, or up to 2½ if you like it very dark. Match the sugar to the cocoa, then adjust to taste.
Why is my hot chocolate gritty or lumpy?
The cocoa went into the milk dry, so it never fully wetted. Whisk the cocoa and sugar together first, then make a smooth paste with a little hot water before adding milk. A bit of settling in the bottom of the mug is normal, and a quick stir fixes it.
Can I make hot chocolate from cocoa powder with water instead of milk?
Yes. It’ll be lighter in body, but the chocolate flavor is actually stronger and purer. Make the paste the same way, then add hot water. A splash of milk or cream at the end gives it a little creaminess.
Why does my hot chocolate taste bitter?
There are usually three reasons. You need a little more sugar, especially with natural cocoa. You skipped the pinch of salt, which softens bitterness. Or the milk scorched. Add sugar half a teaspoon at a time until it tastes right. If it tastes burnt, it scorched, and you’ll need to start again on lower heat.
Is cocoa powder the same as hot chocolate mix?
No. Cocoa powder is just ground cocoa solids, unsweetened. Hot chocolate mix is cocoa plus sugar, usually milk powder, and often other additives. If a recipe calls for cocoa powder, use the unsweetened kind. You can make your own mix with the jar recipe above.
Can I make it ahead?
You can. Make a batch, cool it, and keep it covered in the fridge for a day or two. Whisk it and reheat it gently until steaming. For the quickest mugs, though, a jar of dry mix is the better make-ahead.
Is it safe to give hot chocolate to kids straight from the stove?
Let it cool first. Hot chocolate made on the stove or in the microwave can be hot enough to burn. Stir it, let it sit a few minutes, and test it yourself before handing it over. For little ones, a splash of cold milk cools a mug down fast.
The short version
So, how do you make hot chocolate from cocoa powder that’s smooth every time? Here’s the whole thing. Whisk 2 tablespoons of unsweetened cocoa with 1½ to 2 tablespoons of sugar and a pinch of salt. Make a paste with 2 tablespoons of hot water and cook it for a minute. Then whisk in 1 cup of milk a little at a time and heat it gently until it’s steaming, without boiling. Use Dutch-process cocoa for dark and mellow, or natural for bright and bold. Whole milk makes it creamiest, and water makes it most chocolatey. Keep a jar of mix on the counter for the nights you want it in 3 minutes.
Make one tonight, then save this page for the next cold evening. Once you’ve made it from scratch, the packets are hard to go back to.

Before you go
Want the next one?
We post a new recipe or kitchen guide every day. The best of the week lands in one short email, no life story attached.