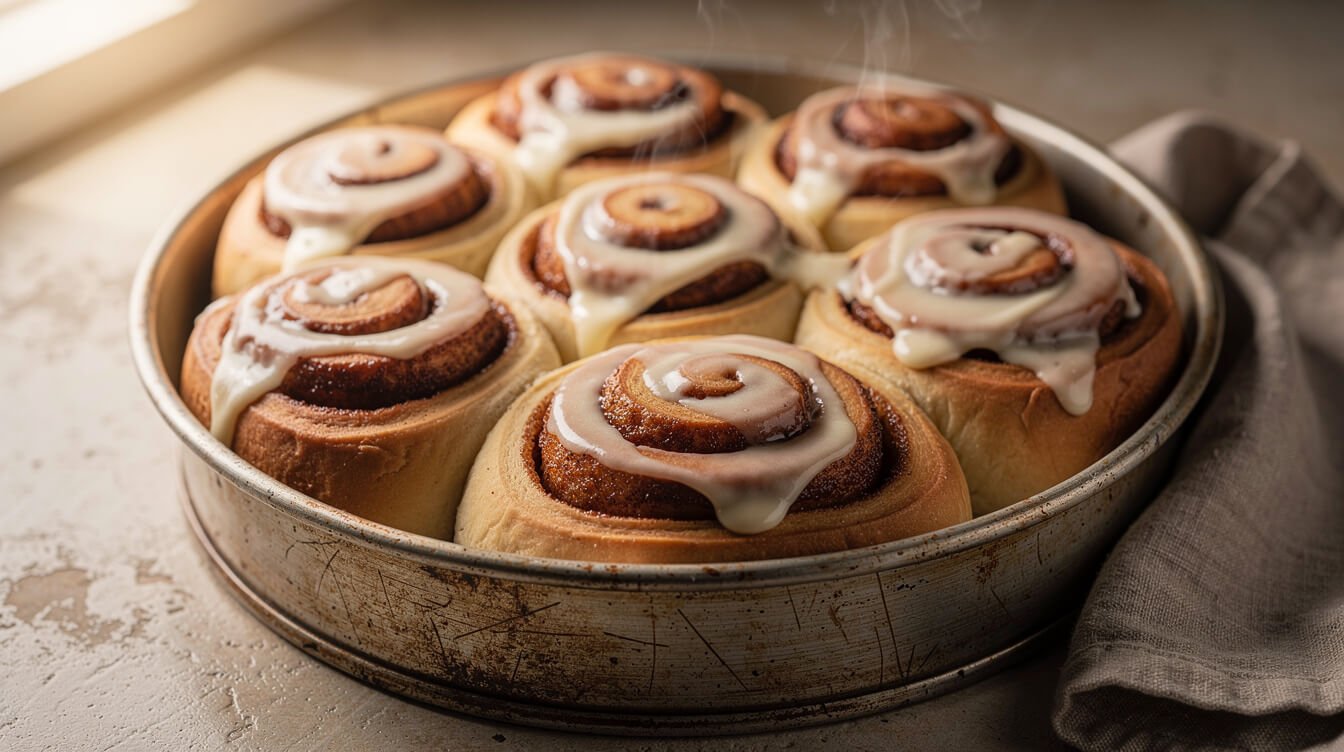
Cinnamon rolls no yeast recipe: soft 1-hour rolls that don’t taste like a biscuit
This cinnamon rolls no yeast recipe gets you a warm pan of soft, swirly rolls in about an hour, with no rising, no proofing, and no yeast at all. If you’ve tried one before and ended up with something closer to a dry cinnamon scone, you’re not alone. Most recipes admit that no-yeast rolls “can run a little dry” and leave it there. We don’t. Below is the recipe, then the handful of small things that make the difference between a biscuit and a soft cinnamon roll: a wetter buttermilk dough, a light hand, a snug pan, and knowing when to pull them out.
Here’s what’s coming: the recipe card first, then why these rolls go biscuit-dry and how to fix it, ingredient swaps, step-by-step shaping, how to tell they’re done, a make-ahead plan for holiday mornings, and a troubleshooting table.
Cinnamon rolls no yeast recipe: the quick version
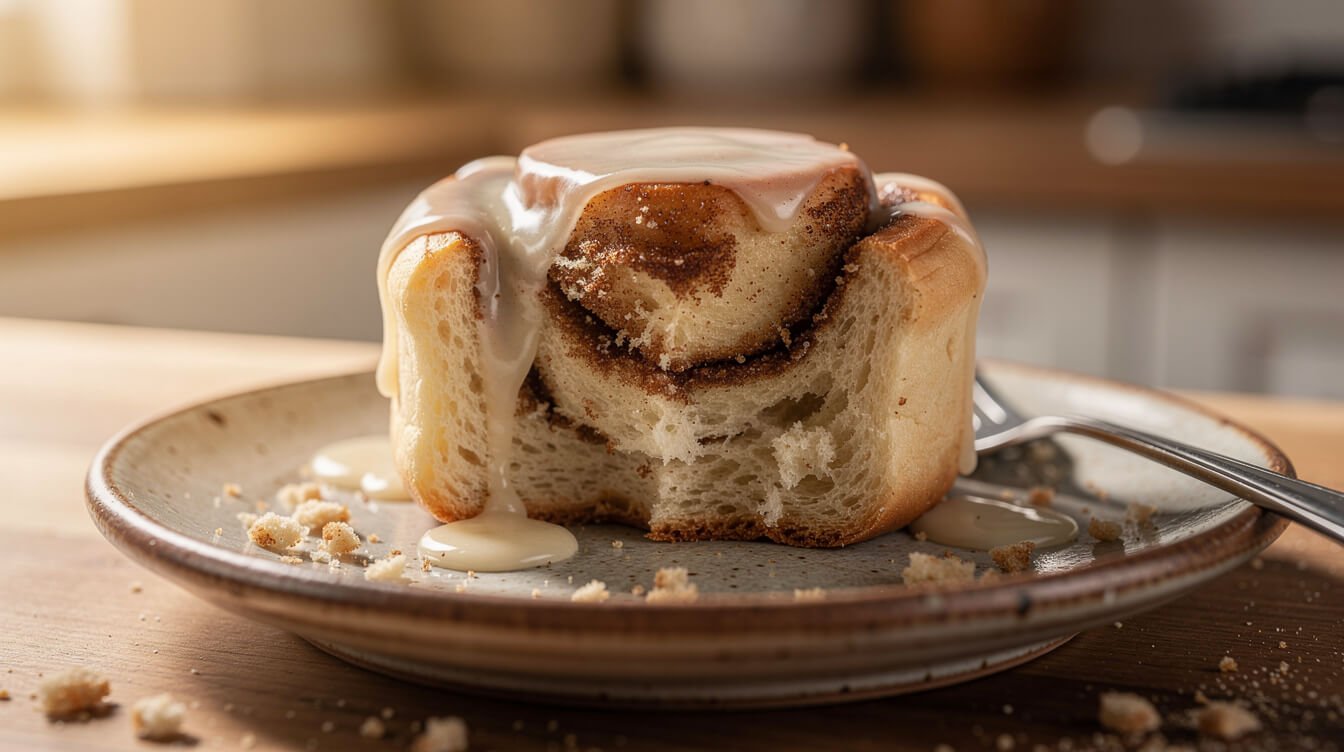
Makes: 9 rolls in a 9-inch round or 8-inch square pan
Time: about 1 hour (20 minutes hands-on, 22 to 28 minutes in the oven, 10 minutes to cool and glaze)
Oven: 375°F (190°C), middle rack
Dough
- 2½ cups (300 g) all-purpose flour, spooned and leveled, plus a little for the counter
- 2 tablespoons granulated sugar
- 1 tablespoon baking powder (fresh, see the test below)
- ½ teaspoon baking soda
- ½ teaspoon fine salt
- 1 cup (240 ml) buttermilk, cold
- 4 tablespoons (57 g) unsalted butter, melted and cooled for a few minutes, plus 1 more tablespoon melted for the pan and tops
- 1 teaspoon vanilla extract
Filling
- 4 tablespoons (57 g) unsalted butter, very soft (not melted)
- ⅔ cup (140 g) packed brown sugar, light or dark
- 1 tablespoon ground cinnamon
- A pinch of salt
Cream cheese glaze
- 4 ounces (113 g) cream cheese, softened
- 2 tablespoons unsalted butter, softened
- 1 cup (120 g) powdered sugar
- ½ teaspoon vanilla extract
- 1 to 2 tablespoons milk
No cream cheese? Whisk 1 cup powdered sugar with 2 to 3 tablespoons milk and ½ teaspoon vanilla for a simple glaze.
Method
- Heat and prep. Heat the oven to 375°F (190°C). Brush a 9-inch round cake pan or 8-inch square pan with some of the extra melted butter.
- Make the filling. Mash the soft butter, brown sugar, cinnamon, and salt into a thick paste. Set it aside.
- Mix the dough. Whisk the flour, sugar, baking powder, baking soda, and salt in a large bowl. Stir the buttermilk, cooled melted butter, and vanilla together, pour it in, and stir with a spatula just until there’s no dry flour left. It should be soft and a little sticky. That’s right.
- Roll. Dust the counter and the top of the dough lightly with flour. Knead 3 or 4 times, just to smooth it, then pat and roll it into a 12-by-10-inch rectangle, about ⅓ inch thick.
- Fill and roll up. Spread the filling paste over the dough, leaving a ½-inch strip bare along one long edge. Starting from the other long edge, roll it up snugly and pinch the seam closed.
- Cut. Turn the log seam side down. Cut it into thirds, then each third into 3 pieces, for 9 rolls.
- Pack the pan. Set the rolls cut side up in the pan, close together, with only a little room between them. Brush the tops with the rest of the melted butter.
- Bake for 22 to 28 minutes, until the tops are light golden and the center roll springs back when you press it. (Doneness details are below.)
- Glaze. Beat the cream cheese and butter until smooth, then beat in the powdered sugar, vanilla, and enough milk to make it spreadable. Let the rolls cool for 5 to 10 minutes, then spread the glaze over them so it melts into the swirls.
One food-safety note while you work: don’t taste the raw dough. Raw flour can carry germs like E. coli and Salmonella, which is why the CDC says not to eat raw dough, even when it has no eggs in it.
Why no-yeast cinnamon rolls taste like biscuits (and the 6 fixes)
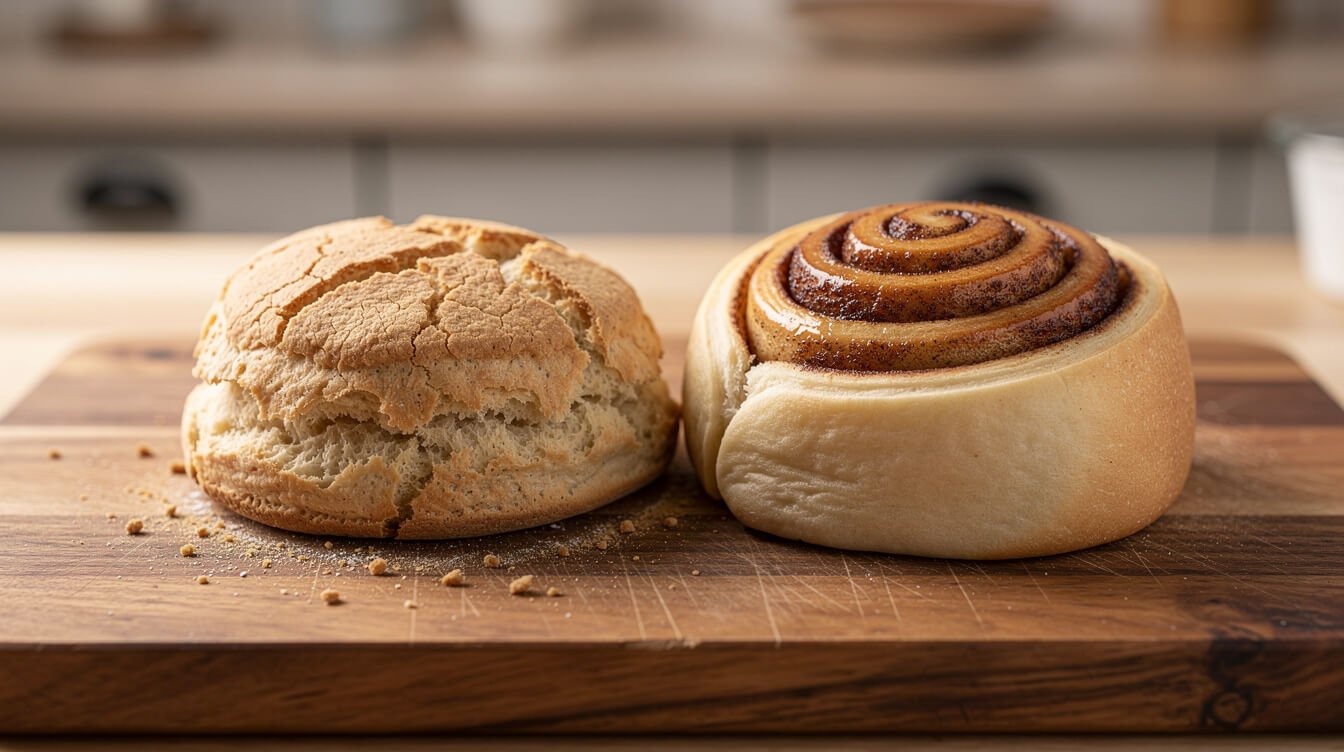
Here’s the honest part first. A no-yeast cinnamon roll is a cousin of a biscuit. Baking powder makes the lift, not yeast, so you won’t get the stretchy, pull-apart strands of a slow-risen roll. What you can get is a roll that’s soft, tender, and moist all the way through, rather than dry and crumbly. The difference comes down to six things.
1. Too much flour
This is the big one. Scooping the measuring cup straight into the bag packs in extra flour, sometimes a quarter more than the recipe wants. Then a heavy dusting on the counter adds more. Every extra spoonful makes the dough drier and the roll more scone-like. Spoon the flour into the cup and level it, or weigh it (300 g). Use only enough flour on the counter to keep the dough from sticking. If you’re new to measuring this way, our baking basics for beginners covers it.
2. The dough is too stiff
A lot of no-yeast recipes aim for a dough that’s “not sticky.” That’s a biscuit dough, and it bakes up like one. This recipe uses a full cup of buttermilk, so the dough is soft and a little tacky. Buttermilk also makes a more tender crumb, thanks to its acidity. A soft dough is a little harder to roll, but that extra moisture is what keeps the finished roll from tasting dry.
3. Overmixing and over-kneading
Every stir builds gluten, and gluten makes quick doughs tough. Stir only until the flour disappears, then knead 3 or 4 times, just enough to smooth it out. If it looks a little shaggy, that’s fine. It’s the same reason dense banana bread usually comes down to too much mixing.
4. Rolls spaced too far apart
When rolls bake with space around them, every side forms a crust, and you get a craggy, biscuit-style outside. Packed close together in a cake pan, they rise into each other and steam each other’s sides. That’s where the soft, pale, pull-apart edges come from. A 9-inch round pan holds 9 rolls just right.
5. Overbaking
No-yeast rolls go from “done” to “dry” fast. A deeply browned top looks great coming out of the oven, but that roll will be drier once it cools. Pull them when the tops are light golden and the center roll is set. We’ll get specific in the doneness section.
6. Old baking powder
Baking powder is the only thing lifting these rolls, and it loses strength once the can has been open a while. Old powder gives you short, dense rolls that bake up tight. Test it before you start: stir ½ teaspoon into ⅓ cup of hot water. It should fizz hard right away. If it barely bubbles, it’s time for a new can. To check baking soda, drop ¼ teaspoon into 2 teaspoons of vinegar. You want the same lively fizz.
Get those six right and you’ll get soft rolls, with the cinnamon swirl and the warm glaze doing the rest.
Ingredients and swaps for cinnamon rolls without yeast
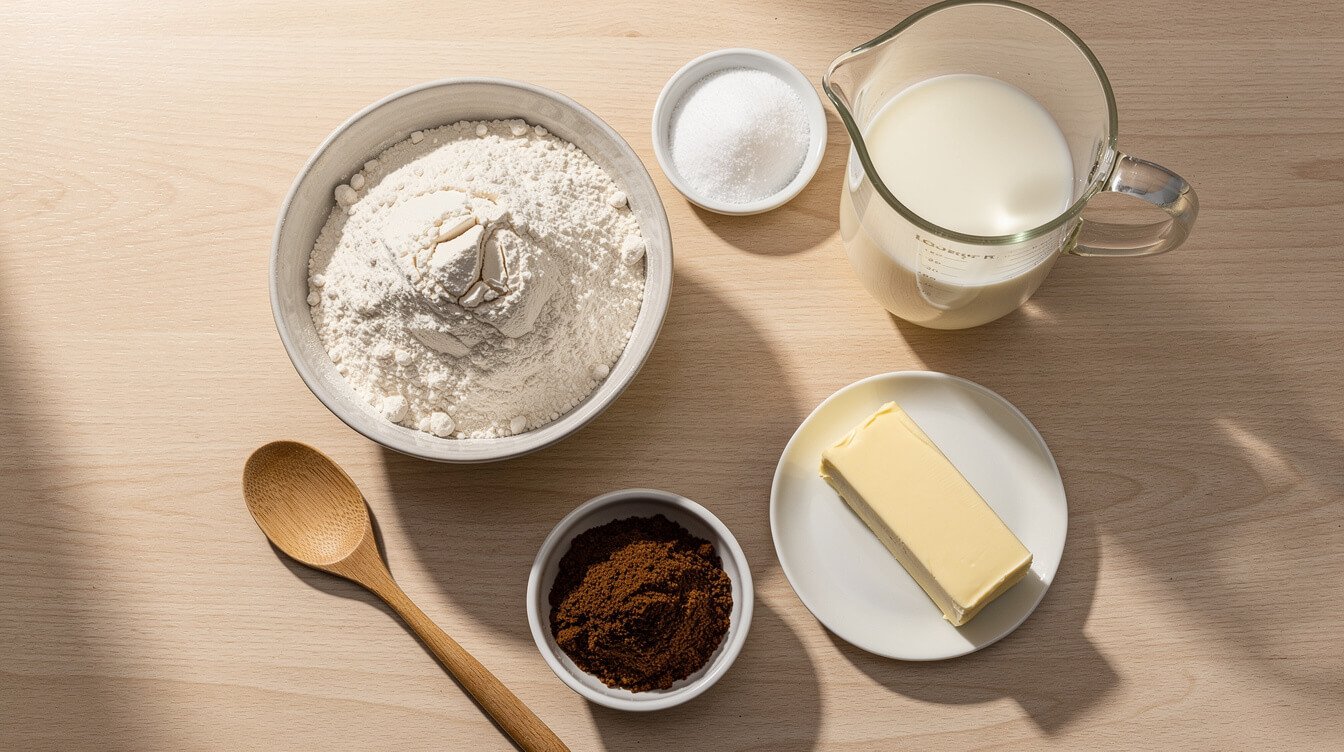
Everything here is a pantry staple, and most of it has an easy swap.
Buttermilk
Buttermilk does two jobs. It adds moisture and tenderness, and its acid reacts with the baking soda for extra lift. If you don’t have any, you have three options:
- Milk and lemon juice or vinegar. Put 1 tablespoon of lemon juice or white vinegar in a measuring cup, add milk to the 1-cup line, and let it sit for 5 minutes. Use it exactly like buttermilk. Our buttermilk substitute guide has more options.
- Plain yogurt. Thin ¾ cup plain yogurt (not Greek) with ¼ cup milk.
- Plain milk. This works, but there’s no acid for the baking soda to react with. Leave out the baking soda and use 4 teaspoons of baking powder instead of 1 tablespoon.
Butter
Unsalted is what’s listed. If you only have salted butter, cut the salt in the dough to ¼ teaspoon and skip the pinch in the filling. Here’s when salted vs unsalted butter really matters. In the dough, melted butter mixes in quickly and keeps things soft. The filling uses very soft butter, not melted, so it stays a paste instead of running out the bottom of the rolls. For dairy-free rolls, a plant-based butter stick works in both. Our butter substitute guide covers the trade-offs.
Flour
All-purpose flour gives the best balance of softness and structure. Bread flour has more protein and makes chewier, tougher quick rolls, so skip it here. Cake flour is too soft to hold the swirl. (Here’s how the two compare.) For gluten-free rolls, a cup-for-cup gluten-free blend that contains xanthan gum is your best bet. Expect a more fragile roll, and use plenty of flour on the parchment when you roll it out.
Self-rising flour
Self-rising flour already has baking powder and salt in it. Use 2½ cups (300 g) of it, leave out the baking powder and salt, and keep the ½ teaspoon of baking soda for the buttermilk.
Filling sugar
Brown sugar gives a deeper, more caramel-like filling and stays put better than white sugar, because its moisture helps it bind into a paste. Light or dark both work. White sugar works too, as long as you mix it with the soft butter so it doesn’t spill out when you roll.
The glaze
The cream cheese glaze is the classic bakery-style finish. The simple milk glaze is quicker and lets the rolls sit out on the counter (more on that in storage). Either one helps keep the tops soft.
Step by step: mix, roll, fill, cut, and bake
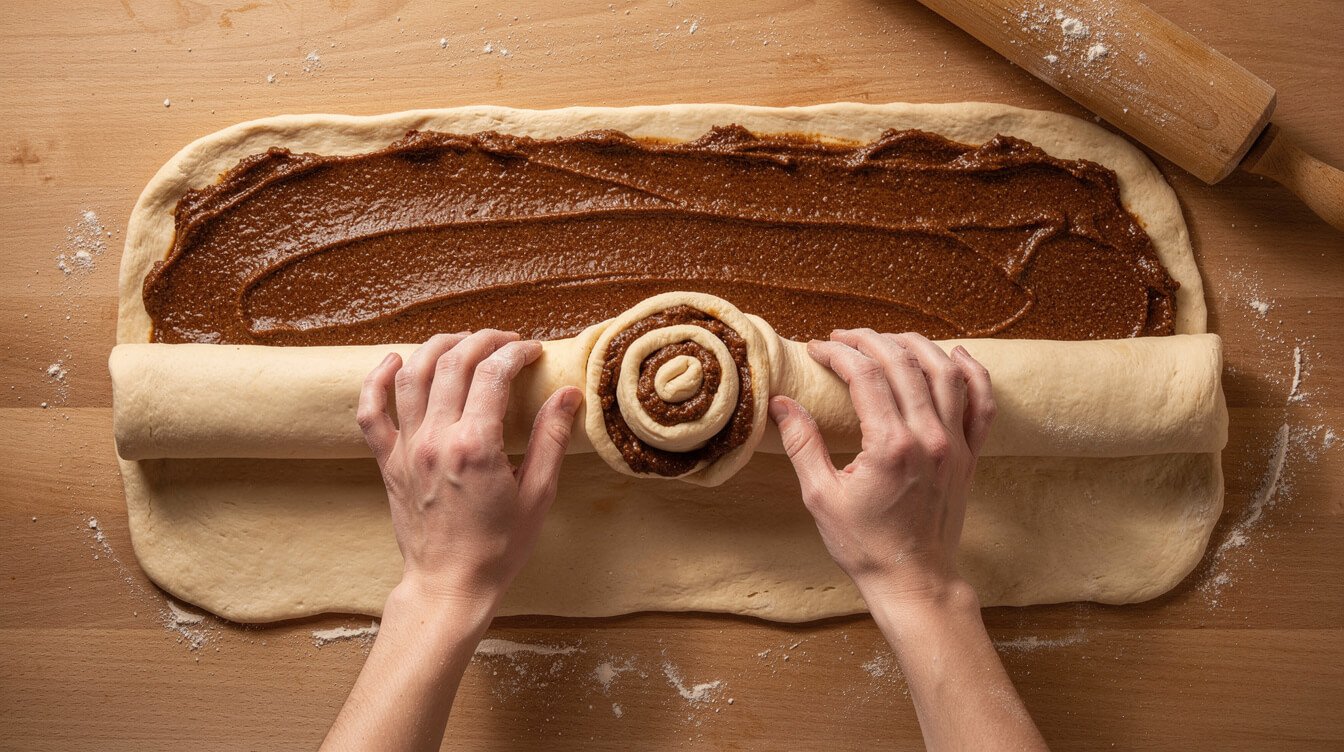
The whole process takes about 20 minutes before the pan goes in the oven. Here’s what to look for at each stage.
Mix: stop sooner than you think
Whisk the dry ingredients well first, so the baking powder and soda are spread evenly. Clumps of leavening leave bitter spots and uneven lift. Pour in the wet ingredients and fold with a spatula. As soon as you can’t see any dry flour, stop. The dough will be soft, sticky, and a little lumpy, and that’s right.
Roll: light flour, light hands
Turn the dough out onto a lightly floured counter and dust the top. Fold it over itself 3 or 4 times to smooth it, then pat it into a rough rectangle with your hands before you reach for the rolling pin. Roll from the center outward to 12 by 10 inches, about ⅓ inch thick. If it sticks, slide a bench scraper or a thin spatula under it and add a light dusting of flour. Don’t knead more flour in. A rectangle with fairly straight edges gives you even rolls, so nudge the sides square with your hands as you go.
Fill: paste, not puddle
Dollop the filling paste over the dough and spread it with an offset spatula or the back of a spoon, right to three edges. Leave a ½-inch strip bare along the far long edge so the seam can seal. A paste stays inside the roll as it bakes. Melted butter with sugar sprinkled on top tends to leak out and burn on the bottom of the pan.
Roll up: snug, not tight
Start at the long edge closest to you and roll it up snugly, but don’t squeeze it. If you roll too loosely, the spiral gaps open up in the oven. Roll it too tightly and the centers pop up into little towers. Pinch the bare edge onto the log to seal it, then roll the log seam side down.
Cut: thirds, then thirds
Use a sharp serrated knife with a gentle sawing motion, or slide a length of unflavored dental floss under the log, cross it over the top, and pull. Cut the 12-inch log into thirds, then cut each third into 3 pieces. That’s an easy way to get 9 even rolls without a ruler. If any rolls flatten while you cut them, push them back into a round.
Pan: the snug-pan trick
Set the rolls cut side up in the buttered pan: 8 around the edge and 1 in the middle, or 3 rows of 3 in a square pan. Leave only a small gap between them. They’ll puff into each other as they bake, which is how you get those soft sides. Brush the tops with melted butter, then bake on the middle rack.
If you’re baking these for a crowd this season, they’re a nice one to bring along. And if you’re the one who always shows up with the warm pan, our Support Our Charities T-shirt is a soft tee that helps support the kitchen too.
From the Eat Cafe kitchen
One good recipe a week, straight to your inbox
The recipe we're actually cooking this week, plus the one tip that saves it when it goes sideways. No spam. Unsubscribe anytime.
How to tell no-yeast cinnamon rolls are done
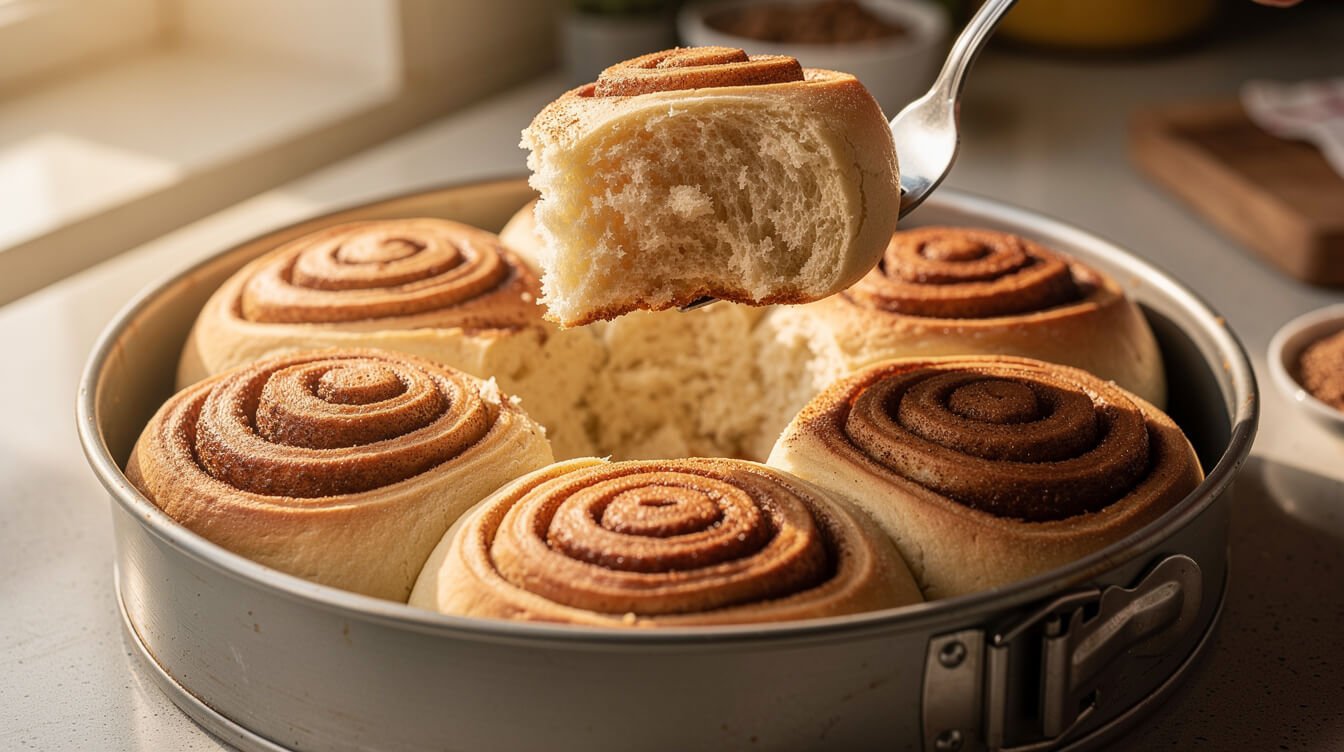
None of the top no-yeast cinnamon roll recipes we read gives you a real doneness cue beyond “bake until done.” That leaves you guessing, so here’s what to look for, in order.
Start checking at 22 minutes
Ovens vary, and so do pans. A dark metal pan browns faster than a light one, and a glass pan bakes slower at the start. Start checking at 22 minutes, even if the recipe says 28.
Check the center roll, not the edges
The rolls around the edge get heat from the hot pan and finish first. The middle roll is surrounded by dough and is always last. In King Arthur’s tests on a pan of pull-apart buns, the edge buns were already at 192°F while the center bun was still at 171°F. Every doneness check belongs on the center roll.
- Color: the tops are light golden all over, including the center roll. Not deep brown.
- Touch: press the center roll gently. It should spring back instead of leaving a dent.
- The sides: ease the center roll away from its neighbor with a fork. Where they touch, the dough should look soft, pale, and set, not wet, glossy, or gummy.
- Thermometer (optional): an instant-read thermometer in the middle of the center roll should read about 190°F. That’s the internal temperature King Arthur Baking uses for soft rolls. In their tests, rolls baked to about 190°F stayed soft and moist, while rolls baked longer turned drier and tougher once they cooled.
If the tops are browning before the middle is done
Lay a sheet of foil loosely over the pan and give it another 3 to 5 minutes, then check the center roll again. Next time, move the rack down one notch if your oven runs hot on top, or lower the temperature to 350°F (175°C) with a dark pan.
Let them rest
Give the rolls 5 to 10 minutes in the pan before glazing. They finish setting as they cool, and the glaze melts in just enough instead of running straight off. If you can’t wait, glaze sooner. A thicker glaze holds up better on hot rolls.

For the one who brings the cinnamon rolls
The Eat Cafe Support Our Charities tee is a soft black cotton shirt with a small logo over the heart and a big one on the back. Wear it for holiday-morning baking, and help support the kitchen while you’re at it.
Make-ahead, storage, and reheating
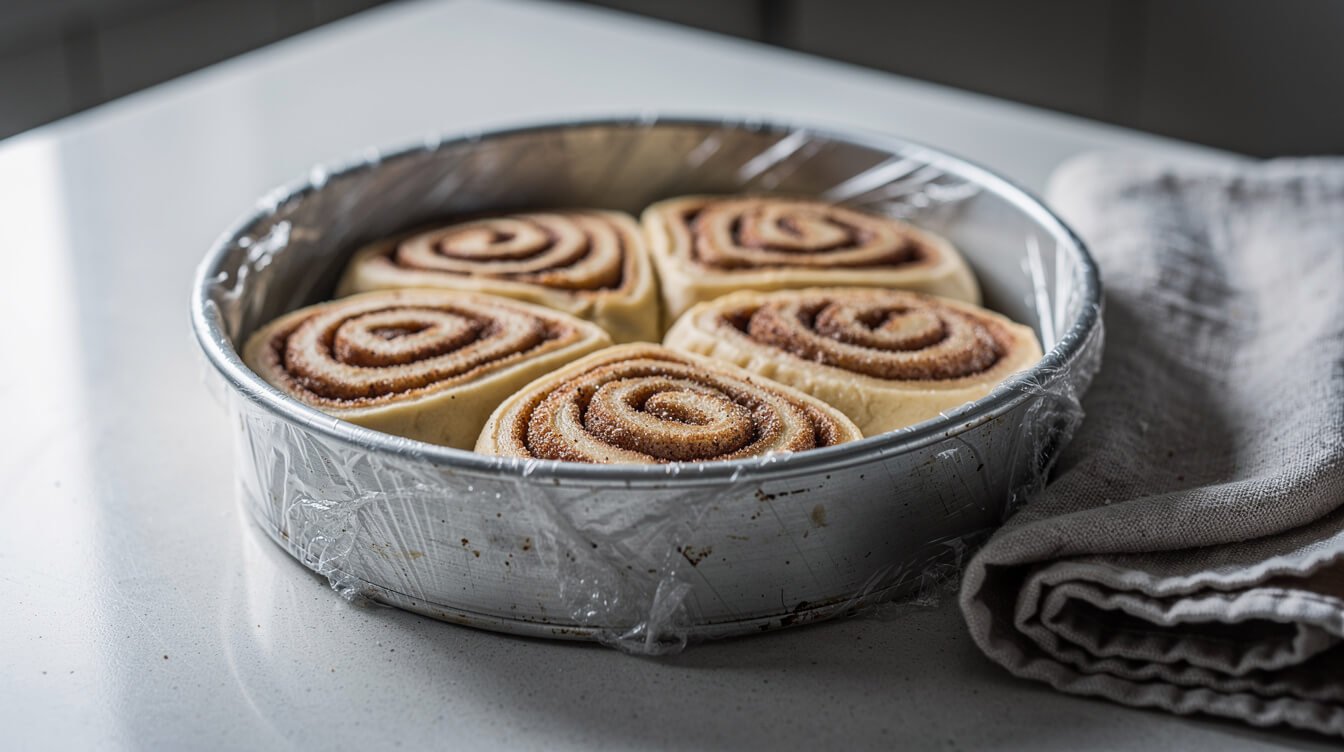
These are made for a slow holiday morning, but baking powder doughs don’t hold the way yeasted doughs do. Here’s what works, from best to worst.
Best: prep tonight, mix in the morning
The night before, whisk the dry ingredients together in the bowl and cover it. Make the filling paste and keep it covered in the fridge. Set out the pan. In the morning, take the filling out to soften while the oven heats, then stir in the buttermilk and butter. That gets fresh rolls on the table in about 45 minutes, with no lost lift.
Good: freeze the shaped rolls
Shape the rolls, set them in a metal or disposable foil pan, and freeze them uncovered for about an hour, until firm. Then wrap the pan tightly in plastic wrap and foil. They’ll keep their best quality for about 2 months. Bake them straight from the freezer at 375°F, covered loosely with foil for the first 15 minutes. Plan on 10 to 15 minutes longer than usual, and use the center-roll checks to tell when they’re done. Don’t put a frozen glass pan into a hot oven, because the sudden temperature change can crack it.
Okay: refrigerate the shaped rolls overnight
It works, but you’ll lose some lift. Baking soda starts reacting the moment it meets buttermilk, and part of that rise is gone by morning. Cover the pan and refrigerate it for up to 12 hours. Let it sit on the counter while the oven heats, then bake as usual, adding a few minutes. Expect slightly shorter, denser rolls. That’s fine for a crowd, but the freezer route keeps more lift.
Bake a day ahead
Bake them, cool them completely, and keep them covered, without glaze. The next morning, warm the whole pan, wrapped in foil, at 300°F (150°C) for about 10 minutes, then glaze.
Storage
- Plain-glazed or unglazed rolls: keep them covered at room temperature for up to 2 days. They’re best on day one. The fridge dries them out faster.
- Cream cheese glazed rolls: cream cheese is perishable. Follow the FoodSafety.gov 2-hour rule: don’t leave them at room temperature for more than 2 hours (1 hour if it’s above 90°F). Then cover them and refrigerate. We’d eat them within 3 days. If you want leftovers to sit out on the counter, glaze only what you’ll serve and keep the rest of the glaze in the fridge.
- Freezing baked rolls: freeze them unglazed, wrapped well, for up to 2 months. Thaw them at room temperature, still wrapped, then warm and glaze.
Reheating
For one roll, cover it with a damp paper towel and microwave for 15 to 20 seconds. Microwave any longer and it’ll go chewy as it cools. For a pan, wrap it in foil and warm it at 300°F (150°C) for 8 to 10 minutes. Day-old rolls also make a great base for cinnamon roll-flavored breakfasts if you’re into the flavor and want a no-bake version.
Troubleshooting no-yeast cinnamon rolls
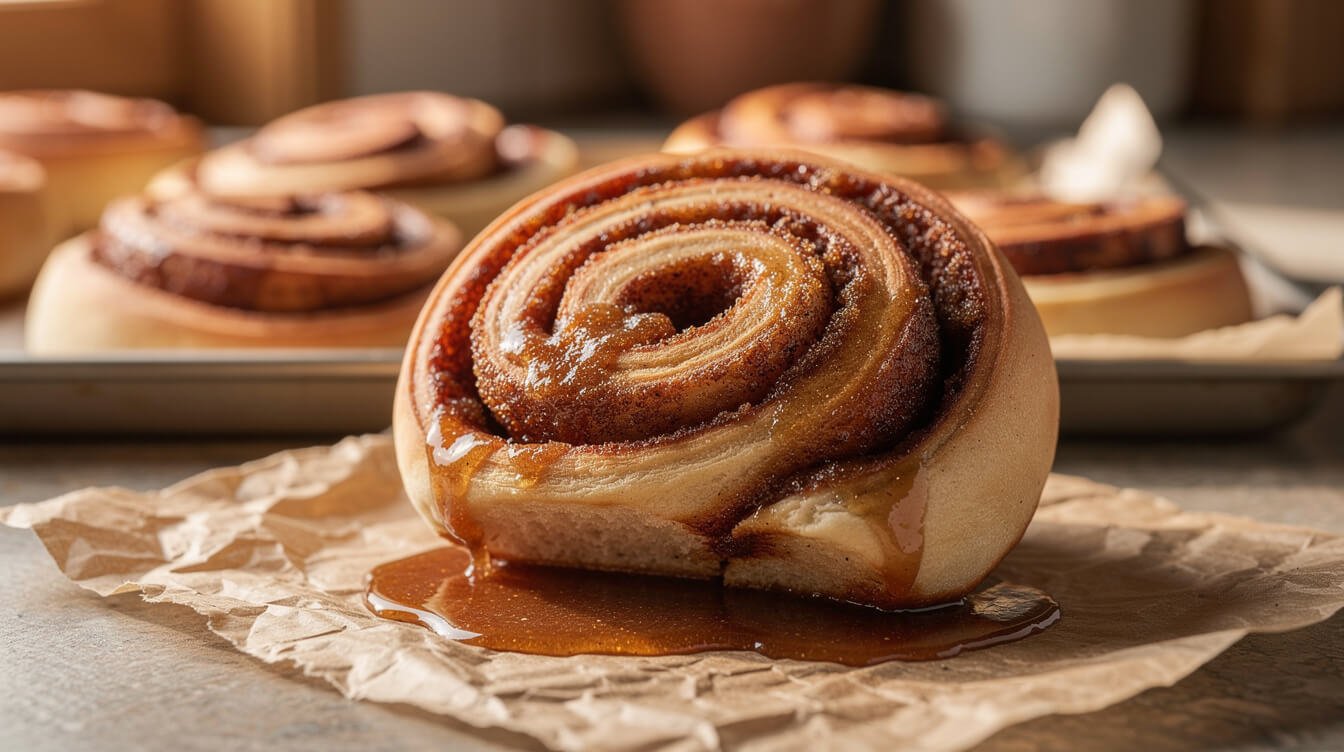
Find what you’re seeing in the left column.
| What you see | Most likely cause | Fix it now | Next time |
|---|---|---|---|
| Dry and scone-like | Too much flour, stiff dough, overmixing, or overbaking | Brush the warm rolls with melted butter, then glaze them generously | Spoon and level or weigh the flour, keep the dough soft, stir just until combined, and pull them at light golden |
| Short, dense, and tight | Old baking powder, or the dough sat around before baking | Glaze them and call them cinnamon biscuits. They’ll still taste good. | Do the hot-water fizz test, and get the pan in the oven right after shaping |
| Filling leaked out and burned on the pan | Melted-butter filling, a loose roll, or an unsealed seam | Scrape the caramel off the pan while it’s warm and spoon it over the rolls | Use a soft-butter paste, leave a bare ½-inch strip, pinch the seam, and bake seam side down |
| Spirals separated with gaps | Rolled too loosely, or too much flour on the dough’s surface | Nothing needed. The glaze fills the gaps. | Roll snugly and brush away any extra flour before you spread the filling |
| Centers popped up into towers | Rolled too tightly | Press them down gently while they’re hot | Roll firmly but without squeezing |
| Middle roll doughy | Pulled too early, since the center finishes last | Tent with foil and bake 3 to 5 more minutes | Check the center roll for spring-back, set sides, or about 190°F |
| Bottoms too dark | Dark pan, low rack, or a hot oven | Trim or scrape off the darkest bits | Use the middle rack, use a light metal pan, or drop to 350°F with a dark pan |
| Bitter or metallic taste | Leavener wasn’t whisked in, or was over-measured | Nothing to do for this batch | Measure level spoonfuls and whisk the dry ingredients well |
| Hard by the next day | Stored uncovered, or kept in the fridge | Wrap in foil and warm at 300°F, or microwave under a damp towel | Store plain-glazed rolls covered at room temperature, and glaze just before serving |
Frequently asked questions
Do no-yeast cinnamon rolls taste like regular cinnamon rolls?
Close, but not the same, and that’s okay. The cinnamon swirl, the buttery soft middle, and the glaze are all there. What’s different is the texture. Yeasted rolls are stretchy and pull apart in strands. These are more tender and cakey, closer to a really soft biscuit. If you want the full yeasted experience someday, it’s worth the time. But on a Tuesday morning, these are a great option.
Is this cinnamon rolls no yeast recipe really ready in an hour?
Yes. It takes about 20 minutes to mix and shape, 22 to 28 minutes to bake, and a few minutes to cool and glaze. Do the prep-tonight steps above and it’s closer to 45 minutes in the morning.
Can I make these in a muffin tin?
Yes. Cut the log into 12 smaller rolls and set one in each buttered cup. The cups keep the filling in, and you get nice tall spirals. Start checking at 15 minutes using the same cues.
Can I double the recipe?
Yes. Make two separate rectangles of dough and bake them in two 9-inch pans, or pack 15 to 18 rolls into a 9-by-13-inch pan. A bigger pan may need a few extra minutes, so go by the center-roll check.
Can I make them dairy-free?
Yes. Use unsweetened plant milk with 1 tablespoon of lemon juice in place of the buttermilk, plant-based butter sticks in the dough and filling, and a simple glaze made with plant milk. If you’re baking for someone with a food allergy, read every label, including the baking powder and the powdered sugar.
Can I make no-yeast bread or pizza dough the same way?
The same baking-powder method works for a lot more than cinnamon rolls. Try our simple no-yeast bread or our 20-minute pizza dough without yeast. And if you’re ready to work with a slow-rising dough, starting a sourdough starter from scratch is the long-game version.
What other cinnamon-sugar bakes are quick?
Our snickerdoodles without cream of tartar use the same cinnamon-sugar comfort in cookie form, no special ingredients needed.
The short version
This cinnamon rolls no yeast recipe comes out soft instead of biscuit-dry when you make a few choices on purpose. Measure the flour lightly, keep the buttermilk dough soft, stir only until it comes together, and use a butter-and-sugar paste for the filling. Pack the rolls snug in the pan so their sides steam soft, and pull them when the center roll is light golden and springs back, or reads about 190°F. Test your baking powder first. Store cream cheese glazed rolls in the fridge, and for holiday mornings, prep the dry mix the night before or freeze the shaped rolls ahead.

Before you go
Want the next one?
We post a new recipe or kitchen guide every day. The best of the week lands in one short email, no life story attached.