Bakery-Style Chocolate Chip Cookies: It’s the Size, Not the Recipe
You’ve made chocolate chip cookies a hundred times. The recipe is fine — you’ve used it before and it worked. But they still come out thin, kind of flat, and a little too crisp all the way through, nothing like the thick, gooey-centered bakery style chocolate chip cookies you’d pay four dollars for at a coffee shop. Here’s the thing nobody tells you: it’s usually not your recipe. It’s your scoop.
Below is the fix, in order — the one change that matters most, the ingredients that are actually worth caring about, and the timing trick that keeps the centers soft after the edges are done. No chemistry lecture, just what to do differently the next time you bake.
What “bakery style” actually means
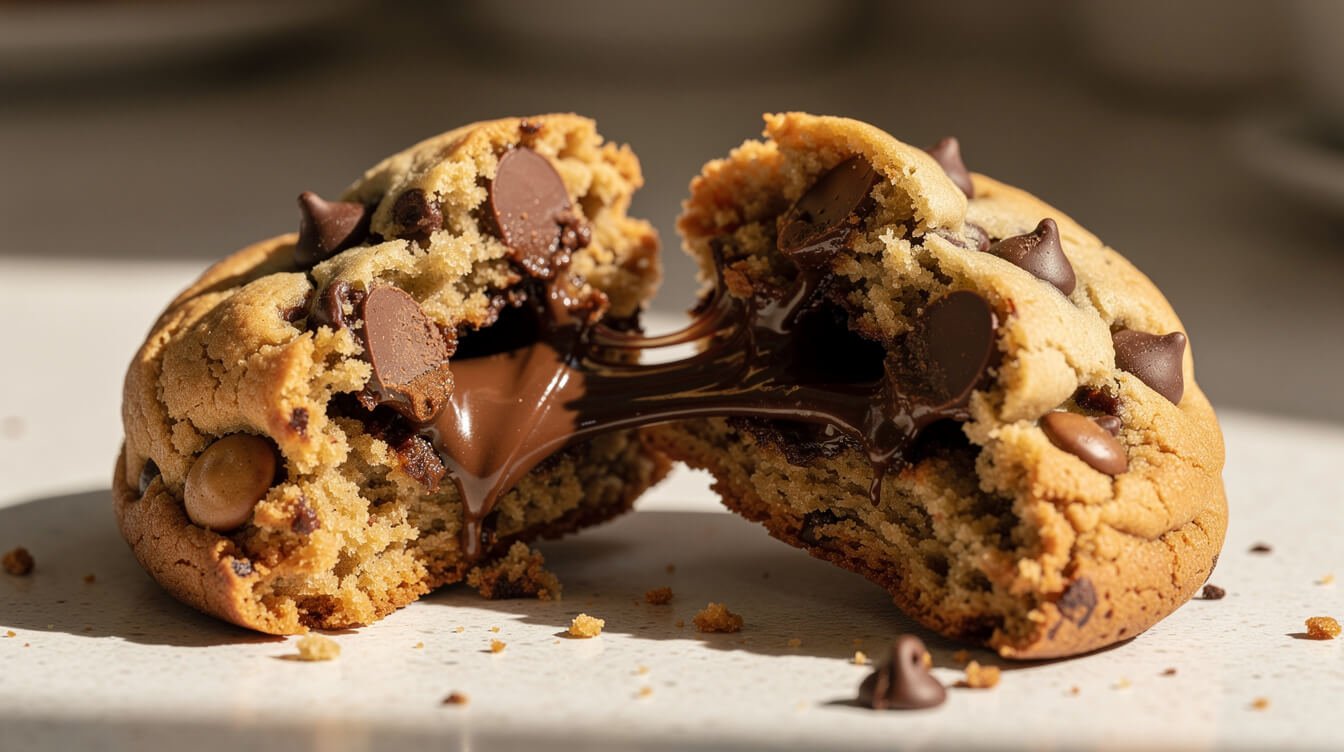
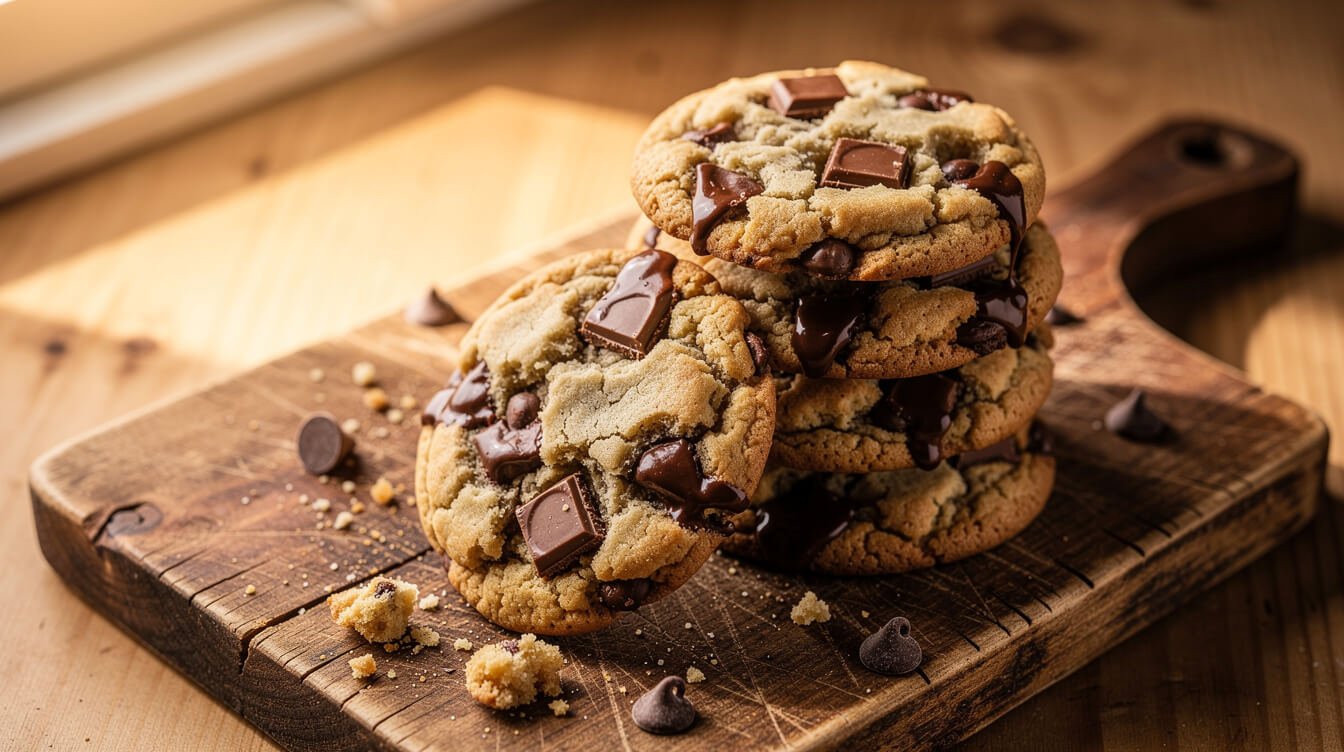
“Bakery style” isn’t a flavor — it’s a shape and a texture. A bakery cookie is tall, not spread thin. The edges are crisp and deeply golden, almost caramelized. The center stays pale, soft, and a little underdone-looking even when it’s fully cooked. Break one open and it should look slightly molten, not dry all the way through.
Most home recipes — including plenty of good ones — are written for a cookie that bakes flat and crisp edge to edge. That’s not a worse cookie, it’s just a different one. If you’ve been using a normal spoon or a small scoop and a standard bake time, you’ve been making the flat version by accident, no matter how good your recipe’s ingredient list is.
The one thing most recipes skip: your scoop size
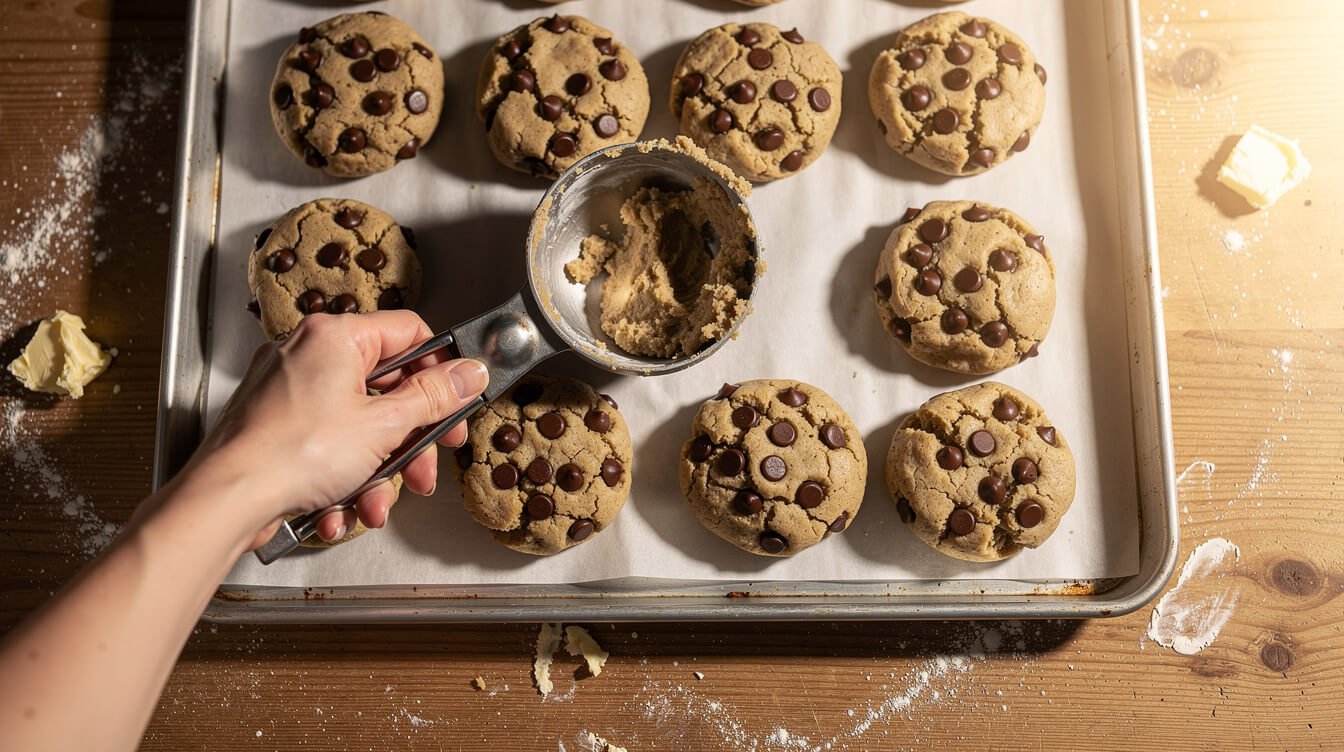
Here’s the part that gets buried under ingredient science in most guides: cookie size controls texture more than almost anything else in the recipe. A small dough ball — the kind you get from a regular tablespoon or a small trigger scoop — bakes through fast and evenly, edge to center, which is exactly why it turns out thin and uniformly crisp.
A bakery-size cookie starts with roughly 3 tablespoons of dough per cookie — about the size of a golf ball, closer to 2.5–3 ounces. That’s a large cookie scoop, or a heaping ¼ cup if you’re eyeballing it with a measuring cup. The bigger mass means the outside bakes and browns well before the inside catches up, which is exactly the crisp-edge, gooey-middle contrast you’re after.
You don’t need a fancy tool for this — a large cookie scoop is inexpensive and worth owning if you bake cookies more than twice a year, but a ¼ cup measure works fine in a pinch. What actually matters is consistency: every ball the same size, so they all finish baking at the same time.
Try it once with your current recipe, no other changes, and you’ll see the difference before you taste it — the dough balls look almost too big going in, and that’s correct.
Ingredients that actually matter for bakery style chocolate chip cookies
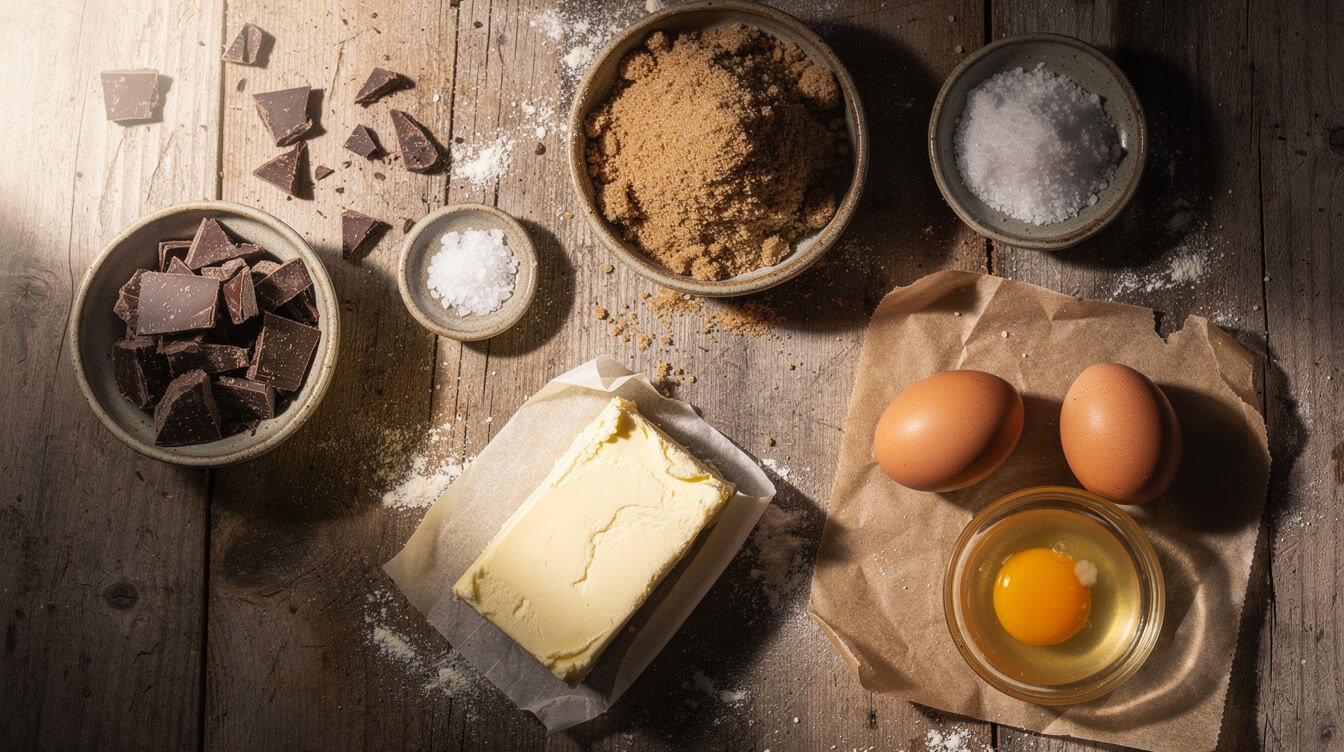
Portion size gets you 80% of the way there. These three ingredient choices get you the rest — and none of them require a special trip to a specialty store.
More brown sugar than white
Brown sugar holds moisture and bakes softer than white sugar. A bakery-leaning ratio leans brown-sugar-heavy — roughly two parts brown to one part white, or even all brown if you don’t mind a slightly deeper, more caramel-forward flavor. This is the single easiest ingredient swap for a chewier, less crisp cookie.
Chopped chocolate, not just chips
Chips are formulated to hold their shape, which means they stay as neat little discs instead of melting into the dough. A roughly chopped chocolate bar — or a mix of chips and chopped chocolate — gives you both: pools of melted chocolate running through the dough, plus chunks you can actually see and bite into. It’s a small change with a big visual payoff.
Flaky salt on top, not just fine salt in the dough
Fine salt in the dough balances sweetness, but a pinch of flaky sea salt pressed onto the tops right before baking is what makes a cookie taste “bakery” instead of “homemade” — it’s the finishing touch most home bakers skip because it feels unnecessary. It isn’t. It’s doing real work.
One extra egg yolk
If your recipe calls for one whole egg, try swapping in one whole egg plus one extra yolk instead. The extra fat and richness from the yolk — without the extra water an egg white brings — makes the dough noticeably softer and chewier without changing the flavor. It’s the kind of small swap that’s easy to miss because it isn’t in the base recipe, but it shows up in every bite.
None of this requires buying anything exotic. Standard chocolate bar, standard flaky salt, standard brown sugar, one extra egg yolk you probably already have.
The bakery-style recipe, put together
If you’d rather just bake than piece the changes together yourself, here’s all of it in one place — a standard chocolate chip cookie recipe adjusted for everything above. Makes about 16 large cookies.
You’ll need
- 2¼ cups (280g) all-purpose flour
- 1 teaspoon baking soda
- 1 teaspoon fine salt
- 1 cup (225g) unsalted butter, softened but still cool
- 1 cup (200g) brown sugar
- ½ cup (100g) white sugar
- 1 whole egg plus 1 extra egg yolk
- 2 teaspoons vanilla extract
- 1½ cups roughly chopped chocolate (bar or a chips-and-chunks mix)
- Flaky sea salt, for topping
How to make it
- Whisk the flour, baking soda, and fine salt together in a bowl. Set aside.
- Beat the butter and both sugars together until pale and fluffy, about 3 minutes with a mixer or a bit longer by hand.
- Beat in the egg, egg yolk, and vanilla until just combined.
- Add the flour mixture and mix on low until you no longer see dry streaks — don’t overmix.
- Fold in the chopped chocolate by hand.
- Scoop into 3-tablespoon balls (about 16 total), place on a tray, and chill for at least 30 minutes — up to 72 hours if you can plan ahead.
- Bake at 350°F on a parchment-lined sheet, a few inches apart, for 10 to 12 minutes, until the edges are golden and the centers still look slightly underdone. Press a pinch of flaky salt onto the tops as soon as they come out.
- Let them rest on the pan for 5 minutes before moving them to a cooling rack.
Why chilling the dough isn’t optional
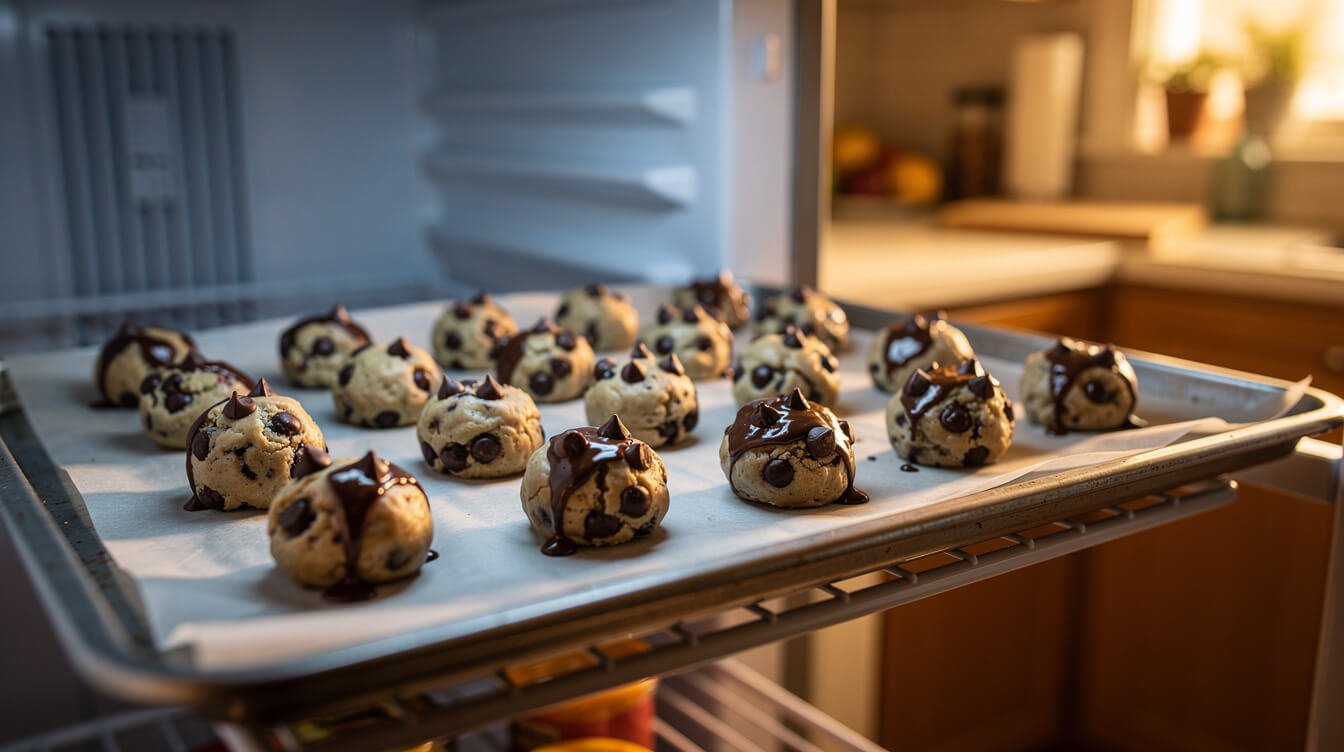
Skipping the chill is the second most common reason bakery-style cookies come out flat. Warm dough spreads fast in a hot oven, before the structure has a chance to set — that’s how you get thin, greasy-edged cookies even with the right size scoop.
Portion the dough into balls first, then chill them on a tray for at least 30 minutes, and ideally 24 hours if you have the time. The extra time does two things: it firms up the butter so the cookies hold their shape and bake tall instead of spreading thin, and it lets the flour fully hydrate, which deepens the flavor and improves the chew. If you’re short on time, 30 minutes in the freezer gets you most of the shape benefit, even if you miss out on some of the flavor development from a longer rest.
One more reason to chill in portioned balls rather than one big lump: you can bake a few now and freeze the rest, pre-portioned, for a fresh cookie whenever you want one — straight from the freezer, no thawing, just add a minute or two to the bake time.
The underbake trick: pulling them out before they look done
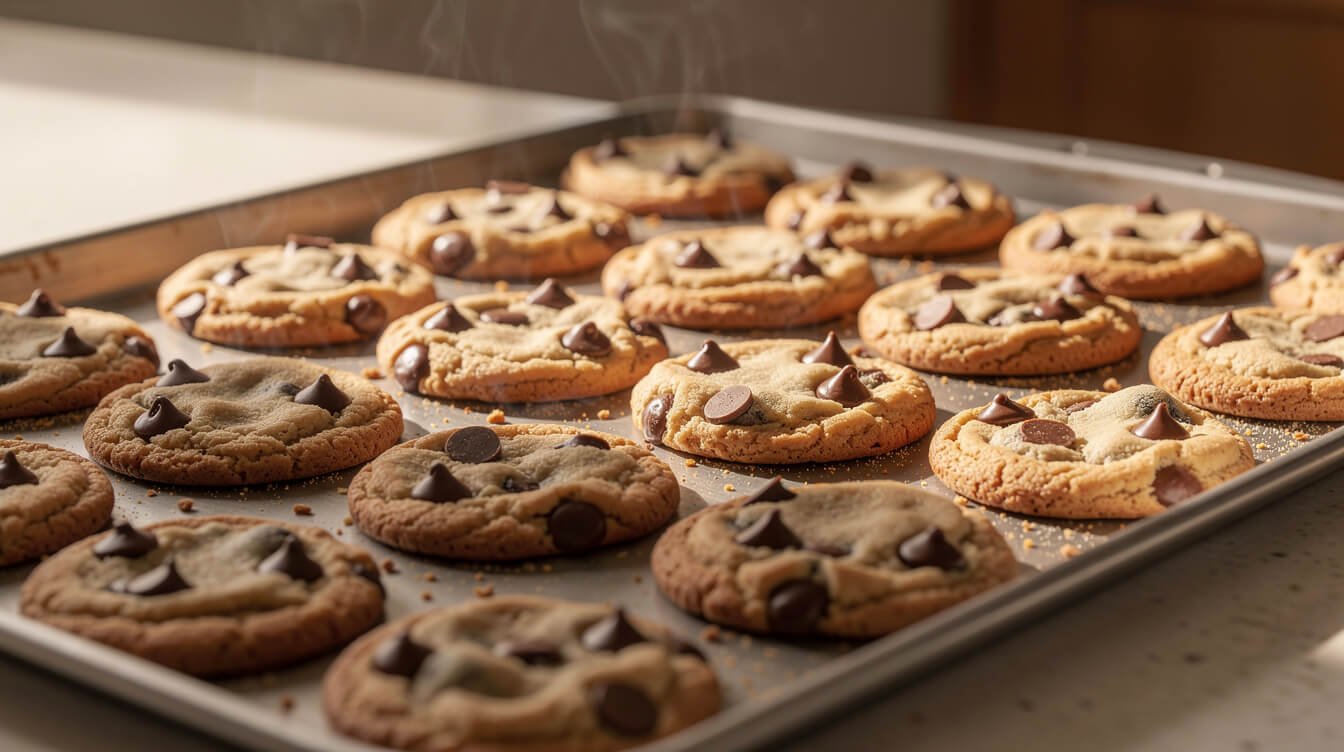
This is the trick almost nobody spells out plainly: you pull bakery-style cookies out of the oven when the centers still look underdone. Not raw — just pale, puffy, and slightly wet-looking, while the edges are set and lightly golden. If you wait until the center looks fully baked, it will be overbaked by the time it cools, because cookies keep cooking on the hot pan for another minute or two after the oven.
For a 3-tablespoon dough ball at 350°F, that’s usually 10 to 12 minutes — noticeably less than the 14 to 16 minutes a lot of recipes list for smaller cookies. Set a timer for the low end of whatever your recipe says and check early; it’s much easier to add a minute than to fix an overbaked batch.
Let the cookies sit on the baking sheet for a full 5 minutes before moving them anywhere. This is where the soft, gooey center actually finishes setting — move them too soon and they’ll fall apart; skip the rest entirely and they’ll firm up too much on the way to the cooling rack.
Common mistakes that flatten your cookies
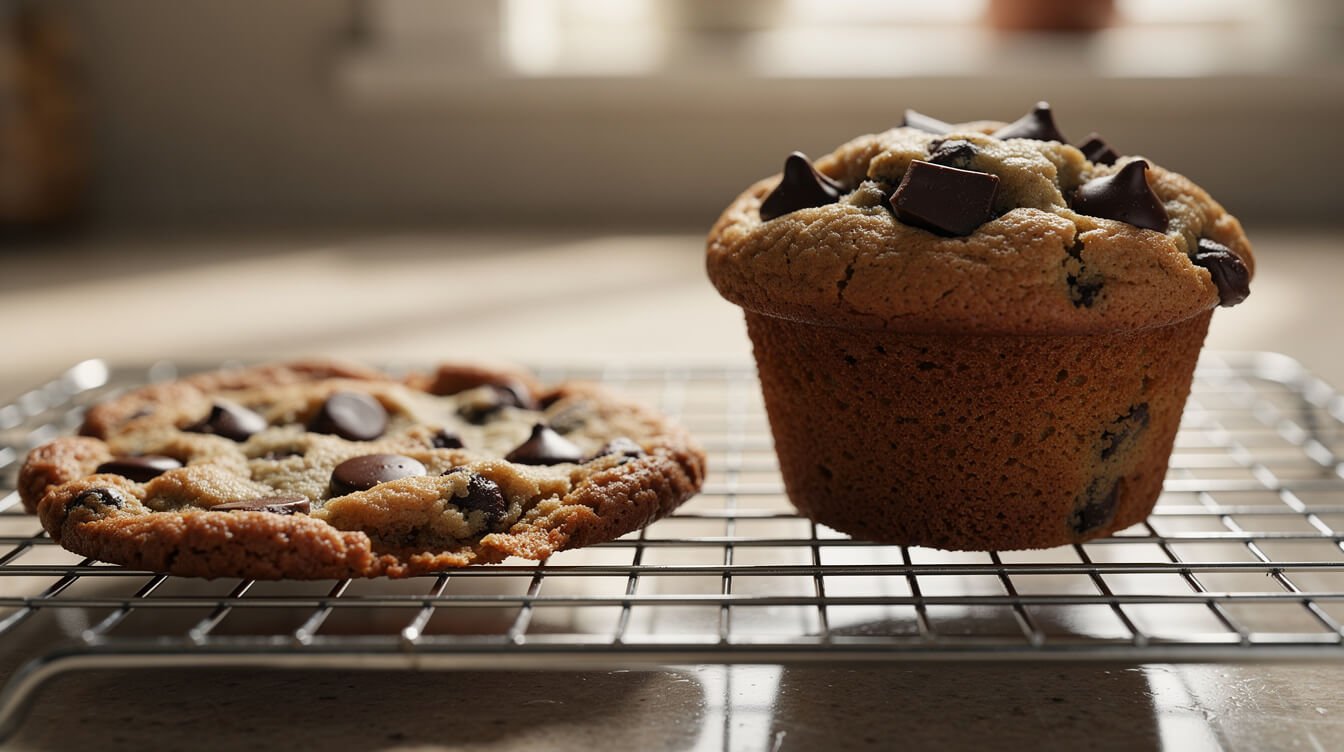
If you’ve fixed the scoop size and you’re still not getting the height you want, check these:
- Butter that’s too soft or melted. Truly softened butter should still hold a shape when you press it — if it’s shiny or oily-looking, it’s too warm and will make the dough spread before it sets. Chill the dough longer to compensate.
- Old or weak leavening. Baking soda loses potency over time. If your cookies aren’t puffing at all in the oven, and the box has been open more than six months, that’s a likely culprit.
- Overmixing after the flour goes in. Mix just until you don’t see dry streaks. Overworked dough develops more gluten, which can make cookies tougher and less likely to hold a tall shape.
- A pan that’s too warm. Dropping dough onto a baking sheet still hot from the last batch starts the spread before the cookie even hits the oven. Let pans cool, or use a second pan while the first cools.
- Skipping the chill because you’re in a hurry. This is the one people skip most, and it’s the one that matters most for shape. Even 20 minutes in the freezer helps.
- Scooping flour straight from the bag. This packs in extra flour and dries the dough out, which can also flatten cookies in an unexpected way. Spoon flour into your measuring cup and level it off, or better, weigh it.
If you’ve never worked through the basics of why a recipe behaves the way it does, our baking basics guide for beginners is a good next stop — it covers the habits that fix problems across almost every baked good, not just cookies.
How to store bakery style chocolate chip cookies
Baked cookies keep at room temperature in an airtight container for about 4 to 5 days — a slice of plain white sandwich bread tossed in the container actually helps keep them soft longer, since the cookies pull moisture from the bread instead of drying out. For longer storage, baked cookies freeze well for up to 3 months in a sealed freezer bag; let them come to room temperature or warm them for 10 seconds in the microwave before eating.
Unbaked dough balls freeze even better than baked cookies — freeze them portioned and solid on a tray first, then transfer to a bag so they don’t stick together. Bake straight from frozen, adding about 1 to 2 minutes to your bake time. This is the move if you want a warm, fresh cookie on a random Tuesday without starting a whole batch from scratch.
Frequently asked questions
Can I make bakery-style cookies without a stand mixer?
Yes. A hand mixer works fine, and so does a wooden spoon and some elbow grease — creaming butter and sugar by hand just takes a little longer (about 3 to 4 minutes of steady mixing until it looks pale and fluffy). The scoop size and chill time matter more than the tool you use to mix.
Why are my cookies puffy instead of gooey in the middle?
That’s almost always a baking time issue — they’ve gone past the underbake point. Pull the next batch out a minute or two earlier, while the centers still look slightly underdone, and let them finish setting on the hot pan.
Do I have to chill the dough for 24 hours?
No — even 30 minutes makes a real difference to how much the cookies spread. Longer chilling (up to 72 hours) mostly improves flavor and browning, not shape, so treat it as a nice-to-have rather than a requirement.
Can I use only chocolate chips instead of chopped chocolate?
Absolutely — chips work fine and are what most people already have. You’ll get less of the melted-pool effect through the dough, but the size and chill still do most of the work for that bakery look.
Why did my cookies come out cakey instead of chewy?
That’s usually too much flour, too little brown sugar relative to white, or overbaking. Double-check you’re spooning and leveling your flour rather than scooping it packed, lean the sugar ratio toward brown, and pull the pan a minute earlier next time.
Final thoughts
You don’t need a new recipe to get a bakery-style cookie — you need a bigger scoop, a chilled dough ball, and the confidence to pull the pan out before the centers look finished. Make one batch with just those three changes and compare it to how you’ve always made them; the difference is obvious before you even take a bite.
If minimal-ingredient cookies are more your speed on a busy night, our 3-ingredient chocolate chip cookies recipe covers three completely different shortcut versions — a different lane entirely from the from-scratch bakery style here. And if “is it actually done?” is a question that haunts you beyond cookies, our guide to baking a cake that doesn’t sink or dry out walks through the same underbake-and-carryover logic for a different pan.
Save this one for the next time you want cookies that look like they came from somewhere fancier than your own oven.