The Best Chocolate Chip Cookies Recipe Ever (and Why Yours Went Flat)
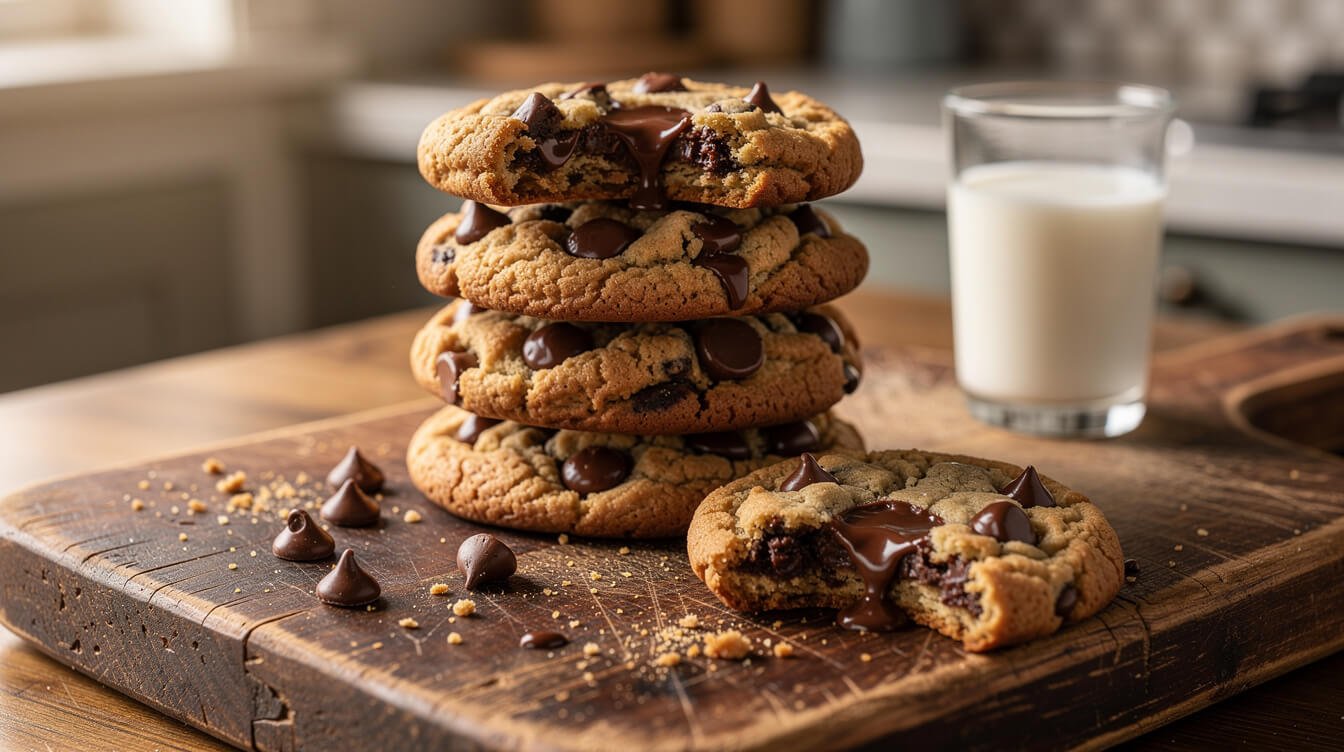
If your chocolate chip cookies come out of the oven as thin, crispy puddles instead of thick, chewy rounds, you’re not doing anything wrong exactly — you’re just missing the one thing that actually controls spread. This is the best chocolate chip cookies recipe ever for a reason: it’s built entirely around fixing that one problem first, then giving you a reliable, from-scratch recipe that works the same way every single time.
Most recipes hand you a list of ingredients and a set of steps and assume the rest will sort itself out. It mostly does — until the one variable nobody explains clearly (butter temperature) is off by a few degrees, and suddenly a whole tray of cookies melts into lacy puddles that stick to the pan. That’s not a recipe problem. It’s a technique gap, and it’s an easy one to close once you know what’s actually happening in the dough.
Here’s what you’ll get: why cookies spread flat in the first place, the one fix that solves it (it’s not a secret ingredient), the full ingredient list with swaps that actually work, step-by-step instructions, how to tell they’re done without cutting one open, and how to store or freeze the dough for later. Let’s get into it.
Why chocolate chip cookies spread thin and flat (the real cause)
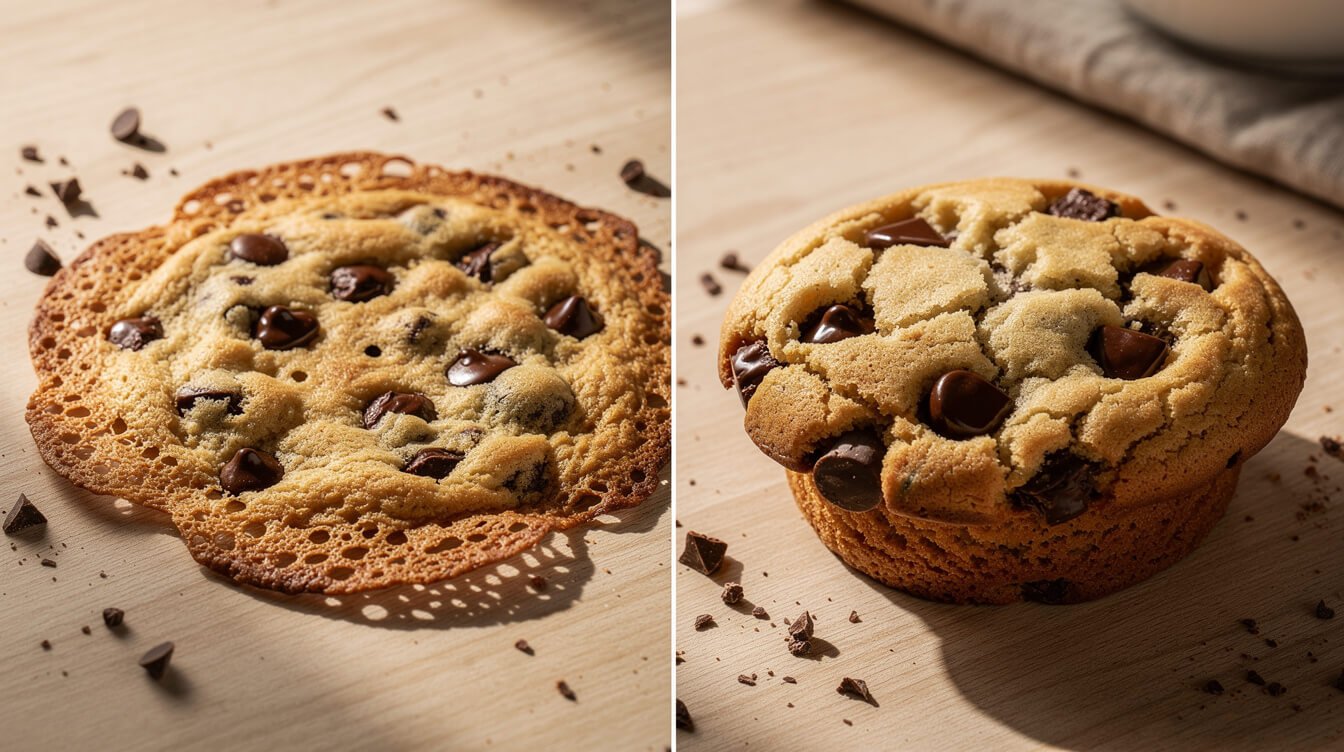
A flat cookie isn’t broken, it’s just melted too fast. Cookie dough is basically a suspension of flour and sugar sitting inside butter — and butter has a very narrow window where it holds its shape in the oven long enough for the flour structure to set before the fat fully liquefies. Push that window too far in the wrong direction and the dough spreads out into a thin, greasy puddle before it ever has a chance to rise.
There are a few usual suspects, and most guides mention all of them without telling you which one actually matters most for a home kitchen:
- Butter that’s too warm. This is the big one, and the one almost every flat-cookie complaint traces back to.
- Dough that goes into the oven warm instead of chilled, which gives the butter an even bigger head start on melting.
- Too much sugar relative to flour, which pulls in more moisture and keeps the dough looser.
- An oven that runs cool, so the edges don’t set fast enough to hold the shape while the middle catches up.
- Old baking soda, which won’t lift the dough the way it should. If yours has been open more than six months, it’s worth replacing.
Of these, butter temperature and chill time do the most work, and they’re both fully in your control. That’s the fix we’re building this whole chocolate chip cookies recipe around.
Here’s the part most recipes skip: sugar is hygroscopic, meaning it pulls in and holds onto moisture. Butter that’s too warm essentially turns into a thin liquid fat before the flour’s gluten network and the eggs’ proteins have set up enough structure to hold the dough’s shape. The dough spreads outward under its own weight while it’s still loose, and by the time the structure finally does set, the cookie has already gone flat. Every fix in this recipe — cool butter, cold dough, a hot oven, a shortish bake — exists to buy the structure more time to set before the fat wins that race.
The one fix that saves this recipe: butter temperature and chill time
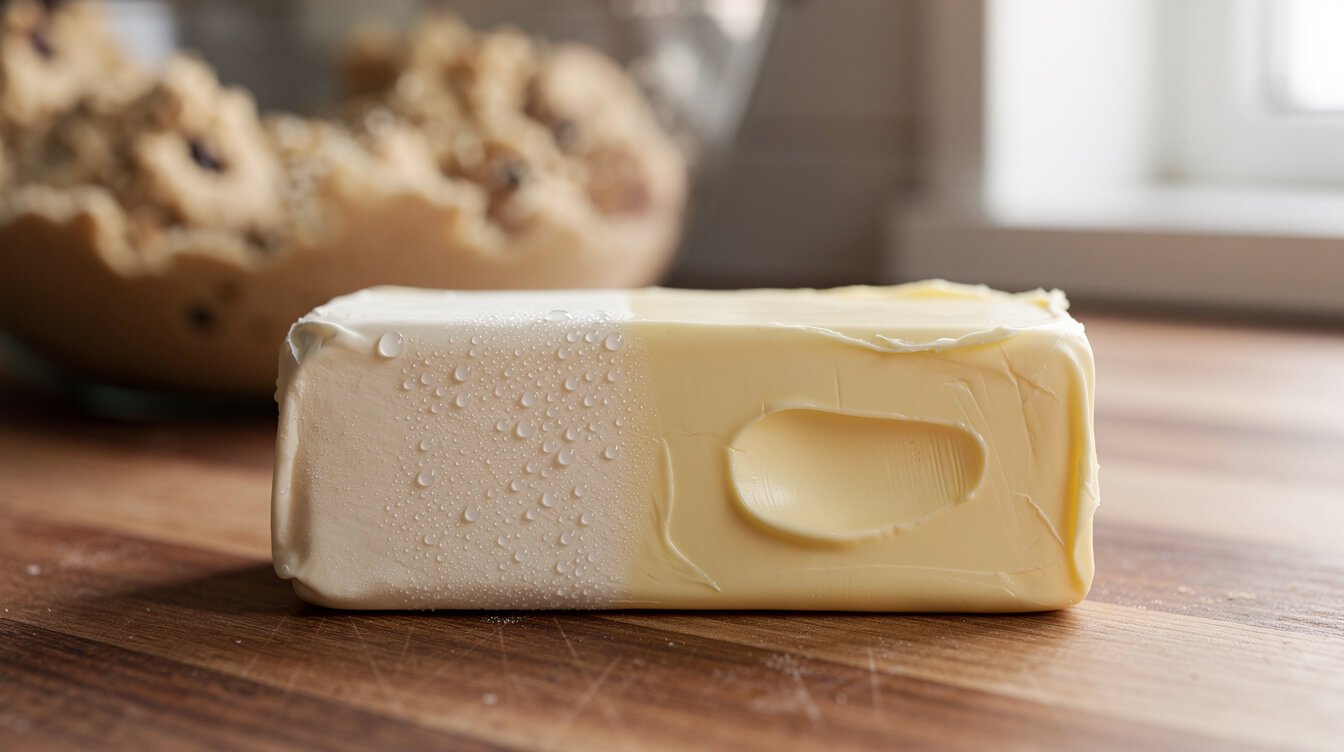
“Softened butter” is the most misunderstood phrase in baking. It does not mean soft enough to spread on toast. It means cool room temperature — you should be able to press a thumb into it and leave a dent, but the stick should still hold its shape and feel slightly cool, not squishy or shiny. If your butter looks glossy or is starting to pool, it’s already too warm, and no amount of chilling the dough afterward will fully undo that.
Here’s the fix, in order:
- Start with butter at true room temperature — about 65–68°F (18–20°C). Leave it out 30–45 minutes on the counter; don’t microwave it to “speed things up,” which almost always overshoots into melted territory.
- Cream the butter and sugar until light and fluffy, about 2–3 minutes with a hand or stand mixer. This is also where you’re beating air into the dough, which helps the cookies hold height instead of collapsing.
- Chill the finished dough for at least 30 minutes, and up to 24–48 hours if you have the time. Cold dough gives the flour time to fully hydrate and gives the butter a big head start against the oven’s heat, so the cookie sets its shape before it has a chance to spread.
- Bake from cold, straight from the fridge. Don’t let scooped dough balls sit out and warm up while the oven preheats.
If you only change one thing about how you’ve been making chocolate chip cookies, make it this. Everything else in this recipe supports that one fix.
One more thing worth knowing: a hotter oven actually helps here too. Baking at 375°F instead of a more timid 350°F means the outside of each dough ball starts setting almost immediately, which locks in height before the center has a chance to slump. It’s a small adjustment, but it works in the same direction as chilling the dough — both are about getting the structure to set before the butter melts all the way through.
Ingredients for the best chocolate chip cookies (and the swaps that actually work)
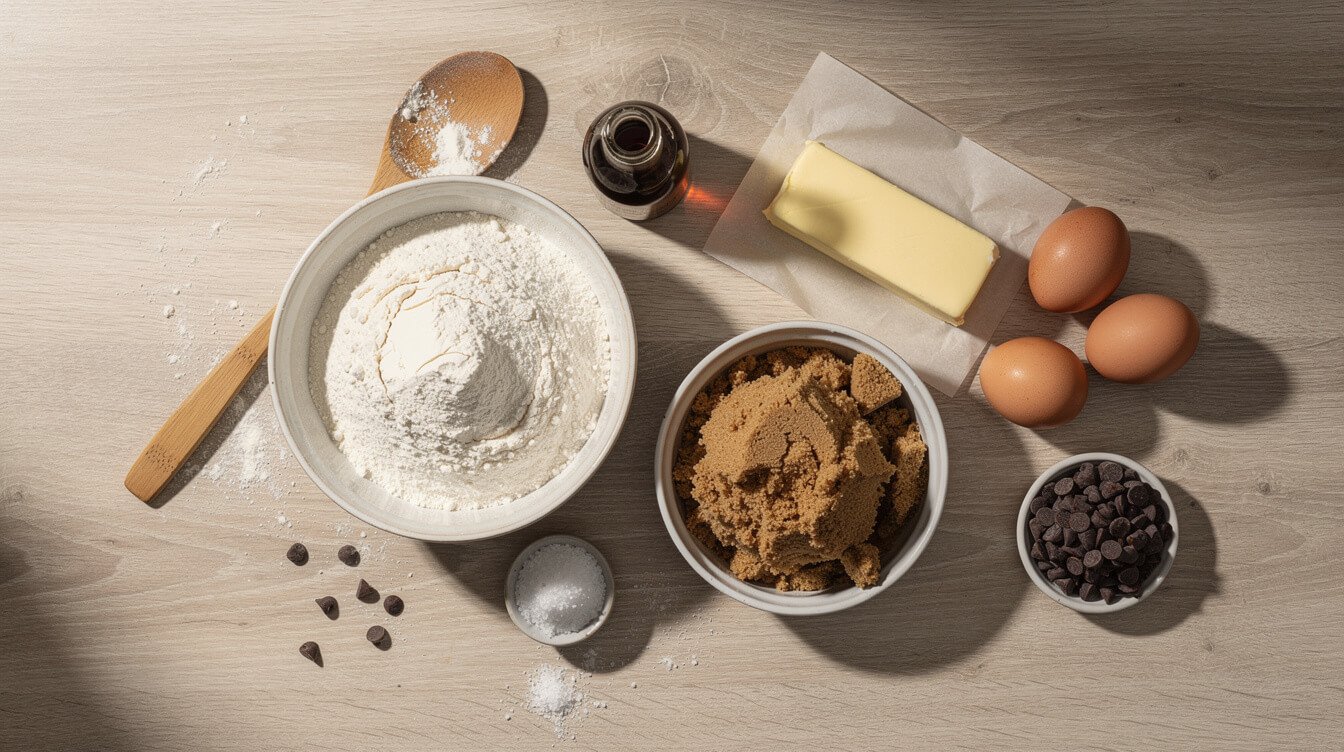
This makes about 24 medium cookies.
- 2¼ cups (280g) all-purpose flour
- 1 teaspoon baking soda
- 1 teaspoon salt
- 1 cup (226g) unsalted butter, cool room temperature
- ¾ cup (150g) granulated sugar
- ¾ cup (165g) packed brown sugar
- 2 large eggs, cold from the fridge
- 2 teaspoons vanilla extract
- 2 cups (340g) chocolate chips or chopped chocolate
A few honest notes on substitutions:
- Cold eggs, on purpose. Straight from the fridge, they help keep the dough’s overall temperature down, which supports the chill-time fix above.
- Brown sugar ratio matters. More brown sugar than white gives you a chewier cookie with better structure; if you swap to all white sugar, expect a crisper, flatter result even with perfect technique.
- Salted butter works if that’s what you have — just cut the added salt to ½ teaspoon.
- Chopped chocolate bars melt into bigger, gooier pools than chips, which hold their shape. Use whichever you like better; it won’t affect spread.
- Gluten-free 1:1 flour blends generally work in this recipe, though the dough may need an extra 10–15 minutes of chill time to firm up properly.
- Dark brown sugar instead of light brown adds more molasses flavor and a touch more chew, and it’s an easy one-to-one swap if that’s what’s in your pantry.
- Margarine or butter substitutes tend to have a higher water content than real butter, which works against everything this recipe is trying to do — expect more spread even with perfect technique. If that’s what you have, lean harder on the chill time.
You don’t need a stand mixer for this — a hand mixer or a wooden spoon and some elbow grease both get you there. If you’re weighing whether it’s worth owning one, our guide to how much stand mixer you actually need can help you decide.
Step-by-step: how to make the best chocolate chip cookies recipe
- Whisk the dry ingredients. In a medium bowl, whisk together the flour, baking soda, and salt. Set aside. Whisking here (instead of just dumping everything in later) spreads the baking soda evenly through the flour, so you don’t end up with one cookie that overspreads because it got more than its share.
- Cream the butter and sugars. In a large bowl, beat the room-temperature butter with both sugars until light and fluffy, 2–3 minutes. The mixture should visibly lighten in color and increase in volume. This step does real work — don’t rush it, and don’t skip it by just stirring everything together at once.
- Add the eggs and vanilla. Beat in the cold eggs one at a time, mixing until each is fully incorporated before adding the next, then mix in the vanilla until just combined.
- Mix in the dry ingredients. Add the flour mixture in two batches, stirring by hand or on low speed just until no dry streaks remain. Overmixing here builds gluten and makes tougher, flatter cookies — stop as soon as it comes together.
- Fold in the chocolate chips. A spatula works better than the mixer for this step — you want the chips evenly distributed without overworking the dough any further.
- Chill the dough. Cover the bowl and refrigerate at least 30 minutes, or overnight for deeper flavor and even better structure. If you’re short on time, 30 minutes in the freezer gets you most of the way there in about half the time.
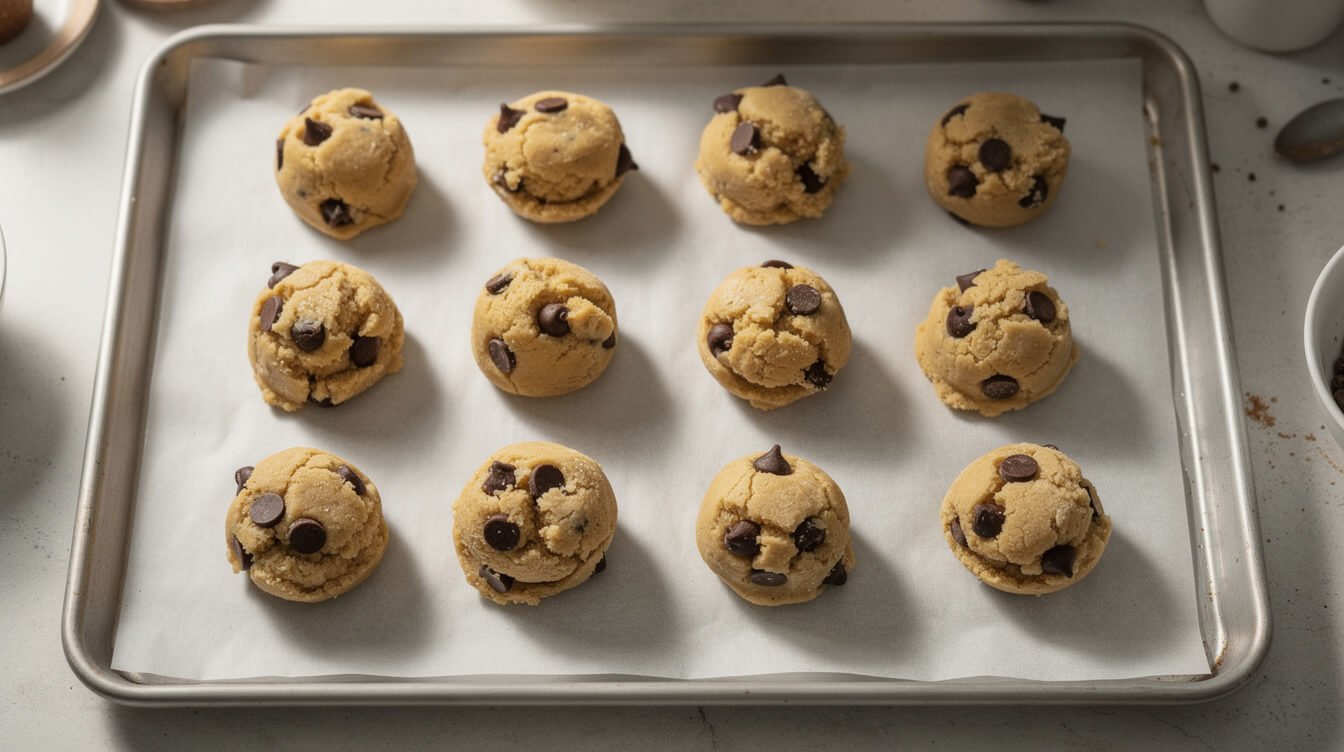
- Preheat and scoop. Heat the oven to 375°F (190°C). Scoop dough into balls about 1½ tablespoons each and space them 2 inches apart on a parchment-lined baking sheet, straight from the fridge. Working in batches keeps the unbaked dough cold while the first tray is in the oven.
- Bake 9–11 minutes, until the edges are set and lightly golden but the centers still look slightly underdone and puffy. Rotate the pan halfway through if your oven bakes unevenly.
- Rest on the pan 5 minutes before moving to a cooling rack — they finish setting up out of the oven, and moving them too soon can cause them to break or fall apart.
How to tell they’re done (without overbaking)
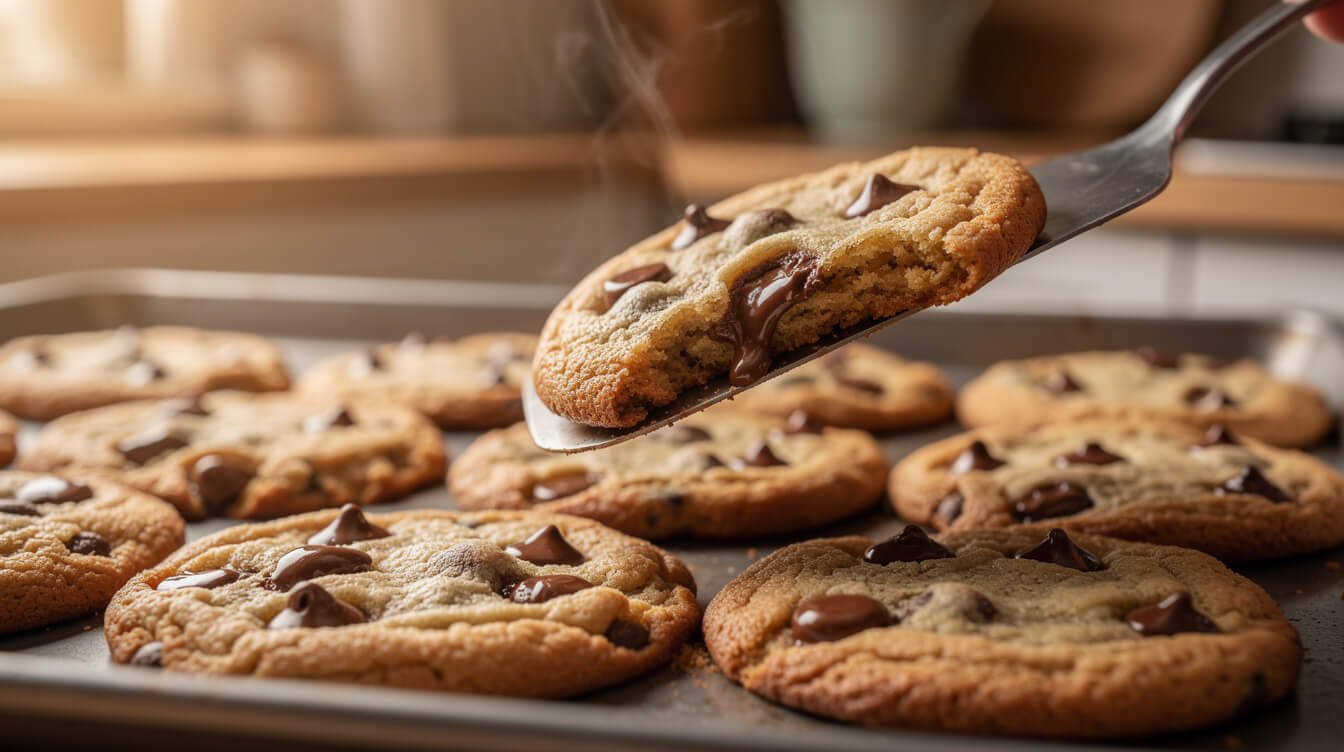
The single biggest overbaking mistake is waiting for the centers to look fully set before pulling the pan. By the time the middle looks done in the oven, it’s already past done — cookies keep cooking from residual heat for a few minutes after they come out.
What you’re actually looking for:
- Edges: lightly golden and just set, not deeply browned.
- Centers: still pale, puffy, and slightly shiny — they’ll look underdone. That’s correct.
- Timing: 9–11 minutes at 375°F is the range for most home ovens, but check at 9 minutes the first time you make a batch, since ovens vary more than recipes usually admit.
Leaving cookies on the hot pan for those first 5 minutes after baking isn’t optional styling advice — it’s part of the cook time. The residual heat finishes the centers gently, which is how you end up with a cookie that’s fully cooked through but still soft in the middle instead of dry.
Storage and freezing
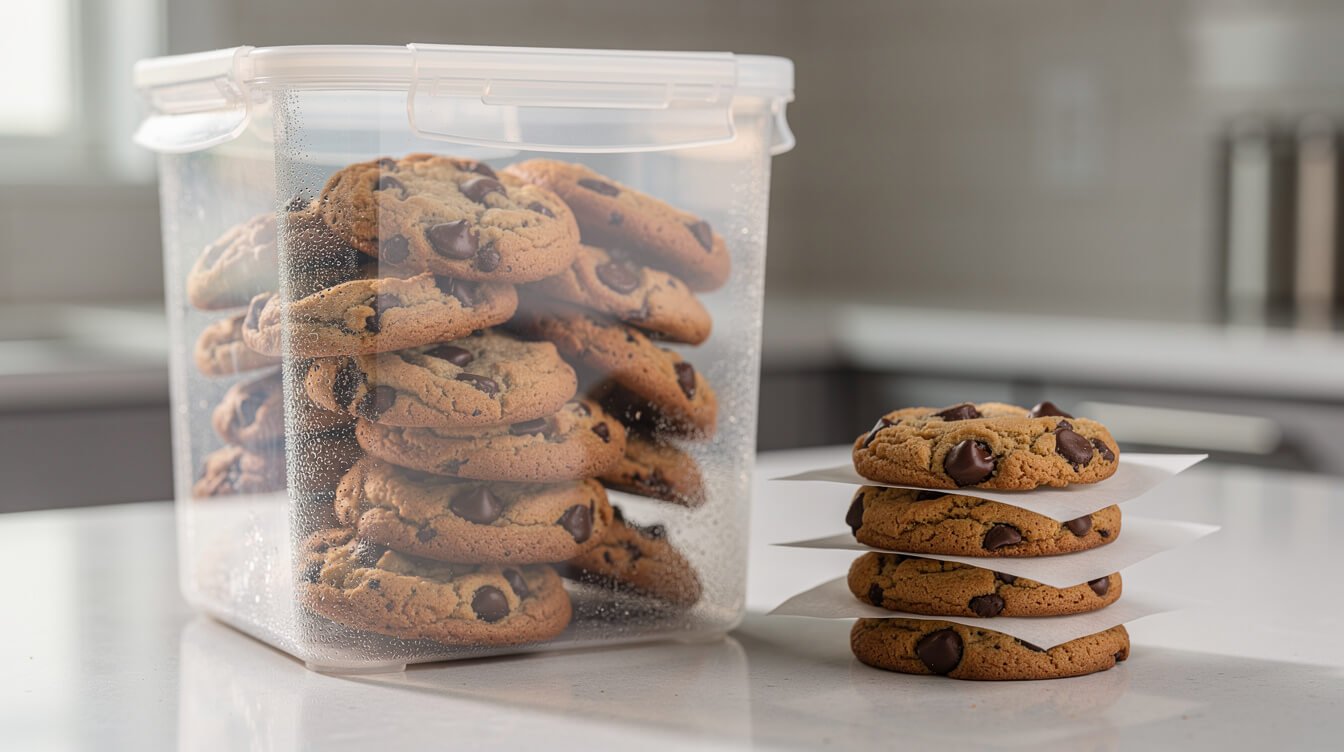
Baked cookies: Store in an airtight container at room temperature for up to 5 days. Adding a slice of plain sandwich bread to the container helps them stay soft longer — the cookies pull moisture from the bread instead of drying out.
Freezing baked cookies: Cool completely, then freeze in a single layer before transferring to a freezer bag. They’ll keep well for up to 3 months. Thaw at room temperature for about 20 minutes, or warm briefly in a 300°F oven to bring back that fresh-baked texture.
Freezing raw dough (the better move): Scoop dough into balls, freeze on a tray until solid, then transfer to a freezer bag for up to 3 months. Bake straight from frozen, adding 1–2 extra minutes to the bake time — no thawing needed. This is genuinely the best way to always have fresh cookies on hand without committing to a full batch every time, and it has a quiet side benefit for this recipe specifically: frozen dough balls go into the oven even colder than fridge-chilled dough, which means even less spread and an even thicker cookie.
Label the freezer bag with the date and oven temperature so future-you doesn’t have to guess. A sharpie and a piece of tape is all it takes, and it saves a scramble later when you just want two warm cookies on a Tuesday night.
FAQ: chewy vs. crispy, room-temp eggs, and more
Why are my cookies cakey instead of chewy?
Too much flour is the most common cause — scoop and level with a spoon rather than digging the measuring cup straight into the bag, which packs in extra flour you don’t want. Overmixing after the flour goes in can also puff cookies up into a cakier texture.
Can I use room-temperature eggs instead of cold?
You can, and the dough will mix a little more smoothly, but it also raises the overall temperature of the dough going into the fridge, so budget slightly more chill time — closer to 45 minutes than 30.
How do I get crispier, thinner cookies on purpose?
Skip the chill step, use all granulated sugar instead of the brown-white mix, and flatten the dough balls slightly before baking. You’re essentially undoing the fixes in this recipe — which is fine, if crispy and thin is the goal.
Do I need parchment paper, or can I use a greased pan?
Parchment is worth it here. A greased pan adds extra fat right under the cookie, which encourages more spread — exactly what we’re trying to avoid.
Can I double this recipe?
Yes, it doubles cleanly. Chill time doesn’t need to change, just bake in batches so you’re not overcrowding the oven.
My dough seems really stiff after chilling overnight — is that normal?
Yes. Let it sit at the counter for 5–10 minutes before scooping if it’s too firm to work with, but don’t let it get all the way back to room temperature.
Why did my chocolate chips sink to the bottom of the cookies?
Usually the dough was too warm or too loose when you folded them in, so the chips settled instead of staying suspended. Fold them in right after mixing, and if your kitchen runs warm, chill the dough for 10 minutes before scooping so the chips stay put during the bake.
How long does the dough keep in the fridge before I have to bake it?
Up to 3 days, tightly covered. Past that, freeze it instead — the flavor and texture hold up better in the freezer than they do sitting in the fridge for a week.
Do I need to use a cookie scoop?
No, but it does make every cookie the same size, which means they all finish baking at the same time. Two spoons work fine if that’s what you’ve got.
Final thoughts
Most chocolate chip cookie recipes are fine. What makes cookies actually reliable is understanding the one variable — butter temperature — that determines whether you get a thick, chewy cookie or a thin, sad puddle. Get that right, chill the dough, and don’t overbake, and you’ve got a cookie that turns out the same way every time you make it, whether it’s your first batch or your fiftieth.
None of this requires special equipment, a candy thermometer, or a trip to a specialty grocery store. It’s pantry staples and one piece of technique that most recipes bury in the fine print instead of leading with. That’s really the whole idea behind this one: the fix that actually matters, up front, then a recipe you can make on a regular Tuesday without thinking twice about it.
If you’re in a cookie mood and want something even simpler, our 3-ingredient chocolate chip cookies are the shortcut version, and our bakery-style chocolate chip cookies show you how to get that big, coffee-shop look at home. Save this one, and let us know what you’re baking.