How Much Yeast for Pizza Dough (and the Fix for Flat, Dense Crust)
Your dough looks right — you mixed it, you waited, maybe you even waited longer than the recipe said. And it still came out flat, dense, or a little too yeasty-tasting. Nine times out of ten, the culprit is yeast for pizza dough: too little, too much, the wrong type for the recipe, or yeast that was already dead before you started. Here’s the amount to actually use, how to tell your yeast is still good, and the fix for the flat-crust problem specifically.
You’ll get a quick-answer number to use tonight, a chart for swapping yeast types, a 5-minute test that tells you if your yeast is dead before you waste an evening on it, and a simple dough recipe to practice on until this all feels automatic.
How Much Yeast for Pizza Dough You Need (the Quick Answer)
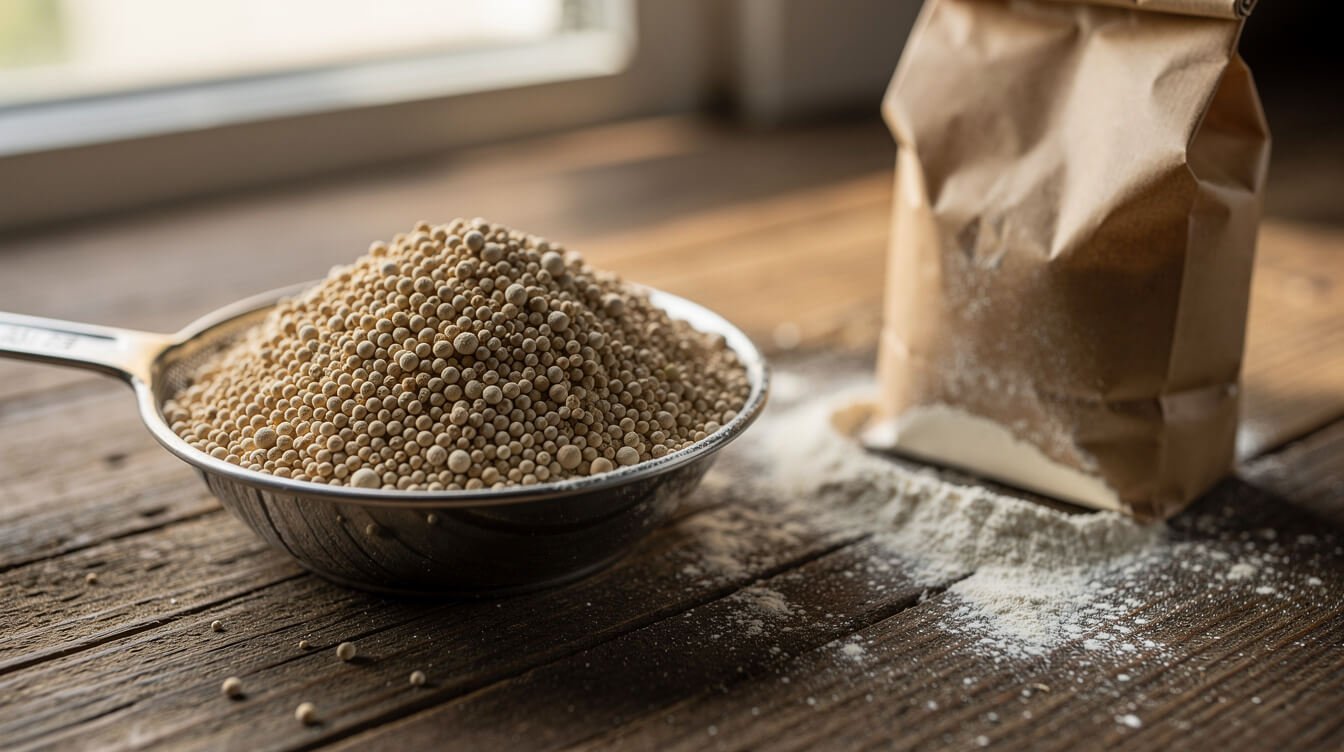
For a standard home pizza dough made with about 3 cups (375g) of flour, you need:
- 2¼ teaspoons (1 packet, 7g) instant or active dry yeast for a normal rise (1–2 hours at room temperature)
- 1 teaspoon if you’re doing a slow, cold rise in the fridge overnight or longer
- 3 teaspoons (about 21g) fresh cake yeast as the fresh-yeast equivalent of a standard packet
That’s it — that’s the number most people are missing. More yeast doesn’t mean more rise, it means faster rise and a stronger yeasty smell and taste. Less yeast, given enough time, gives you better flavor. If your recipe calls for more than a full packet in a single 3-cup dough and you’re not doing same-day pizza, that’s usually overkill.
Instant vs. Active Dry vs. Fresh Yeast — Which to Use
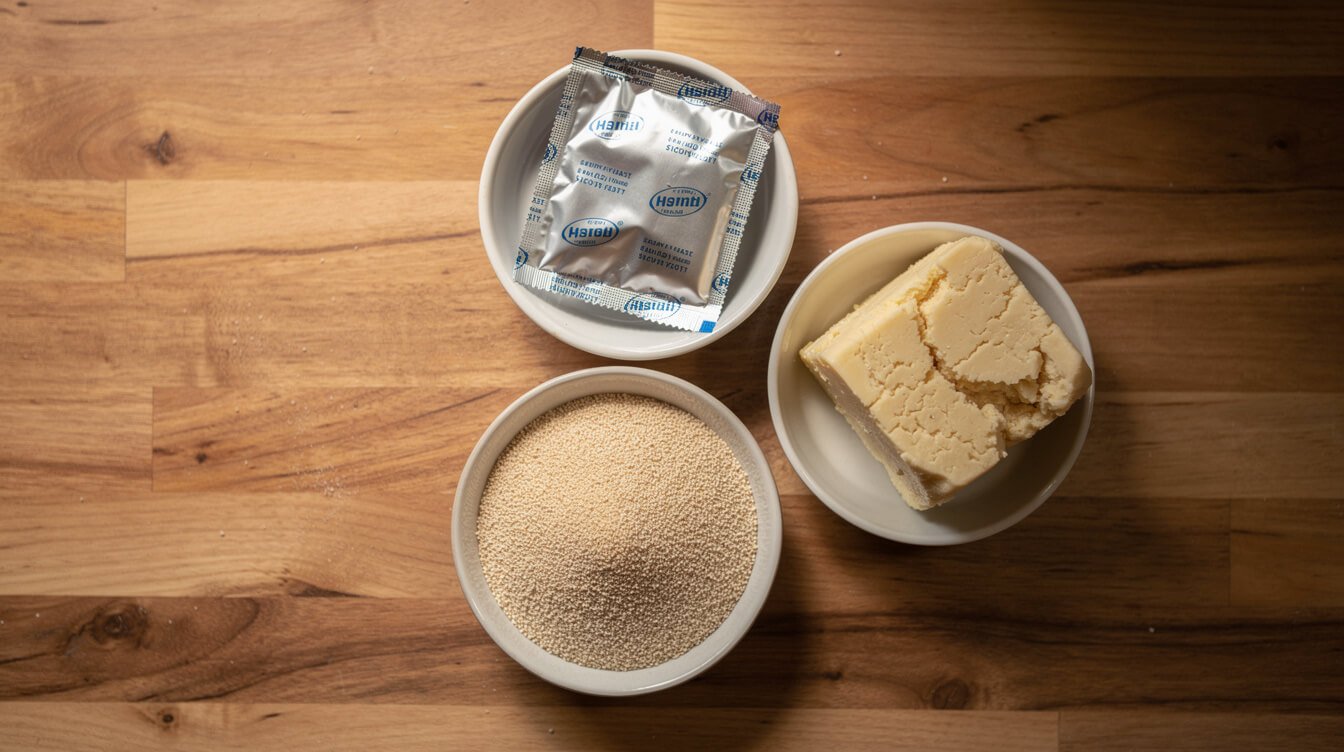
All three work for pizza dough. The difference is convenience, not quality.
- Instant yeast (sometimes labeled “rapid rise” or “bread machine yeast”) mixes straight into your dry ingredients — no proofing in water first. This is what I reach for most weeknights. It’s forgiving and fast.
- Active dry yeast is the most common grocery-store yeast. It technically benefits from being dissolved in warm water for 5–10 minutes before mixing in, which also doubles as a way to check it’s alive (more on that below). It’s a small extra step, not a dealbreaker if you skip it — most modern active dry yeast will still work mixed in dry.
- Fresh (cake) yeast comes as a soft, crumbly block, usually found refrigerated near the dairy case or at a bakery counter. It gives a slightly more complex flavor and a very reliable rise, but it dies faster — use it within one to two weeks and keep it cold.
If a recipe doesn’t specify, assume it means active dry — it’s the default in most American kitchens, and it’s what grocery-store recipe cards are usually written around.
Yeast Conversion Chart (Swap One for Another)
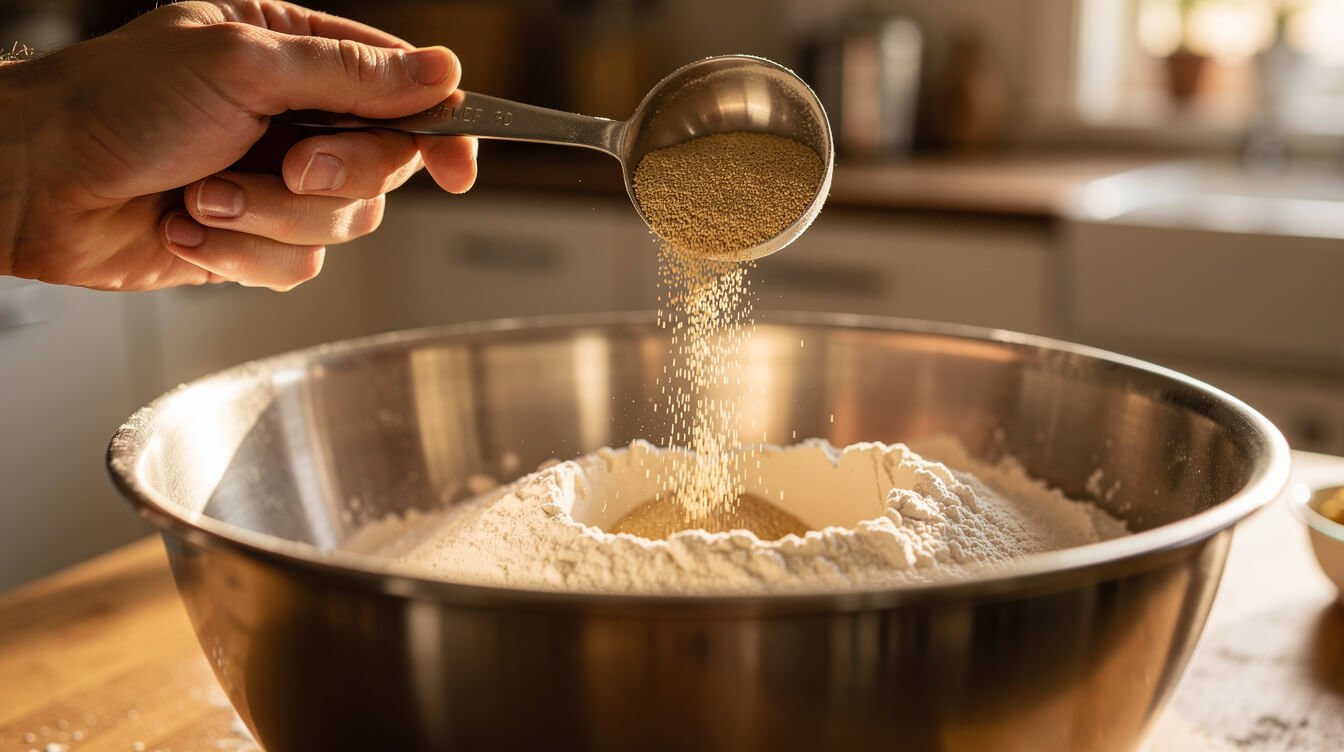
Have one type of yeast in your pantry but a recipe written for another? Use this to swap without guessing:
- If your recipe calls for 2¼ teaspoons active dry yeast, use 1¾ teaspoons instant yeast, or ¾ ounce (about 21g) fresh yeast.
- If your recipe calls for instant yeast, use about 25% more active dry yeast (so for 1¾ teaspoons instant, use roughly 2¼ teaspoons active dry).
- If your recipe calls for fresh yeast, use about a third the amount in active dry or instant yeast — fresh yeast is measured by weight and is less concentrated than dried yeast.
These conversions aren’t so precise that a small overage will ruin your dough — pizza dough is forgiving. The goal is close enough that your rise time stays roughly on track with the recipe.
How to Tell If Your Yeast Is Still Good (the Proofing Test)
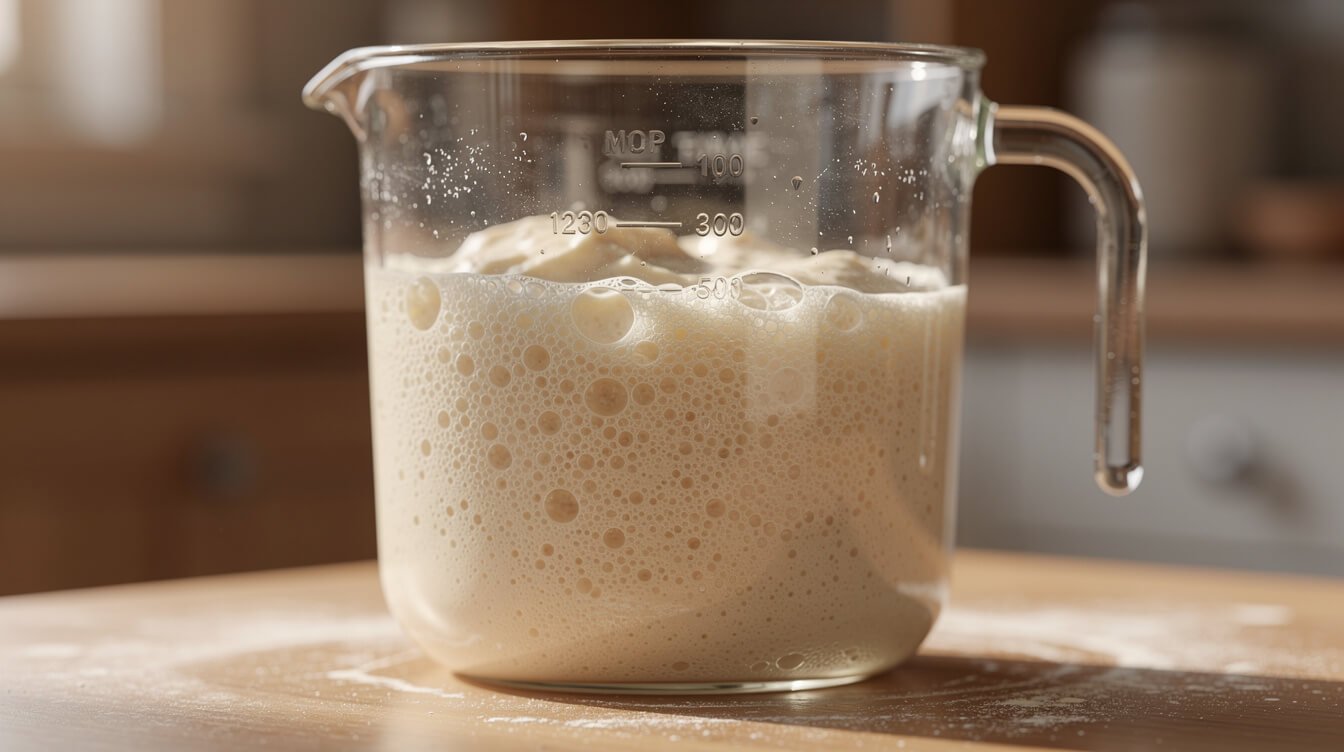
Before you commit flour, time, and a hungry family to a dough, spend five minutes confirming your yeast is alive. This is the single most skipped step, and it’s the reason behind most “my dough never rose” stories.
- Warm ½ cup of water to 105–110°F — warm to the touch, like a baby’s bottle, not hot enough to feel uncomfortable on your wrist.
- Stir in 1 teaspoon of sugar and your yeast (active dry or instant both work for this test).
- Wait 5–10 minutes.
If it’s foamy and bubbly on top, your yeast is alive and active — go ahead with your dough. If there’s little to no foam, your yeast is dead or too weak to trust, and no amount of extra rise time will fix that. Toss it and start with a fresh packet or jar rather than baking an hour of hope into a dough that was never going to rise.
Yeast doesn’t go bad overnight, but it does lose strength as it sits — check the date on the packet, and once opened, keep it in the fridge or freezer, tightly sealed.
Why Your Crust Comes Out Flat or Dense (Too Little Yeast for Pizza Dough) — and the Fix
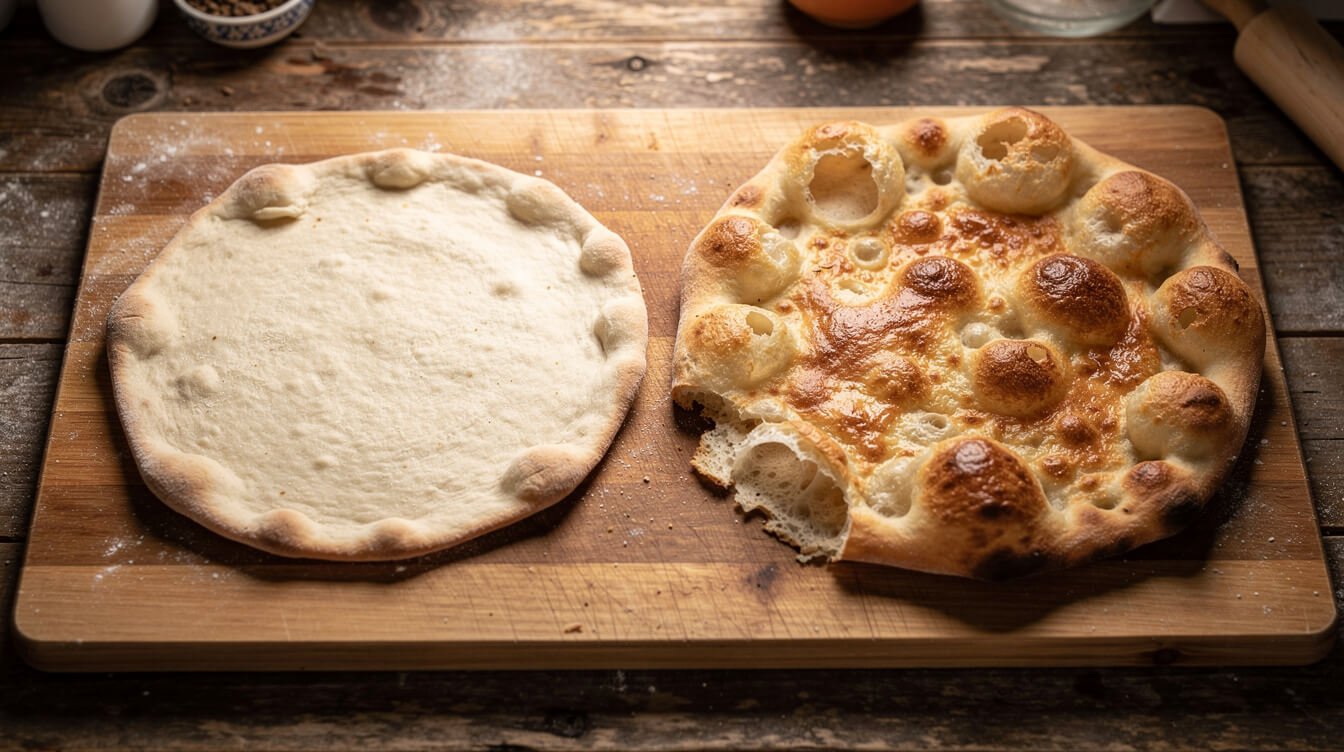
If your finished crust is thin, dense, and tight instead of airy with a few good bubbles, it’s almost always one of these three things — and it usually isn’t the yeast amount itself:
- The yeast was weak or dead. Run the proofing test above before your next attempt.
- The dough didn’t get enough time. “Doubled in size” isn’t a suggestion — it’s the actual signal that fermentation happened. A cool kitchen can mean your dough needs an extra 30–45 minutes, not the exact time on the recipe card.
- The dough was punched down and shaped too hard. Pizza dough needs to stay a little gentle with itself. Press it into shape with your fingertips instead of rolling it flat with a pin — a rolling pin knocks out the air bubbles that would’ve become your crust’s texture.
A too-yeasty, almost sour or boozy smell, on the other hand, usually means the opposite problem — too much yeast, or a rise that went too long, too warm. If that’s your issue, cut back to the quick-answer amount above and give the dough a shorter, cooler rise.
Water Temperature: The Detail Most Recipes Skip
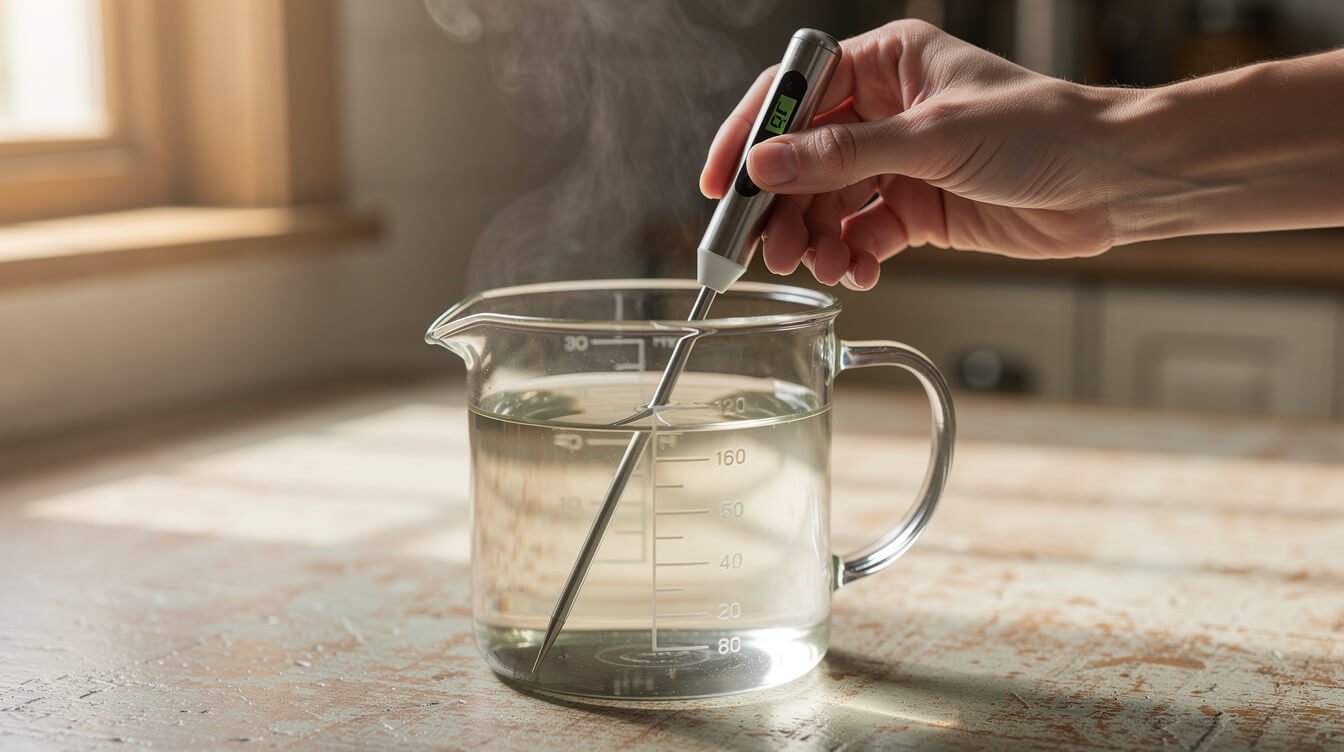
Most pizza dough failures that look like a yeast problem are actually a water-temperature problem. Yeast is a living organism, and it’s picky:
- Below 90°F, yeast activates slowly — your dough will rise, just sluggishly.
- 105–110°F is the sweet spot — warm enough to wake yeast up quickly, gentle enough not to hurt it.
- Above 120°F, you start killing the yeast outright. This is the single most common invisible mistake — water that feels “nice and warm” from the tap can easily hit 130°F or more.
If you don’t have a thermometer, aim for water that feels like a warm bath — comfortably warm on your wrist, never hot. When in doubt, go slightly cooler and give the dough more time; that’s a much safer mistake than water too hot to fix.
A Simple, Reliable Pizza Dough Recipe to Practice On
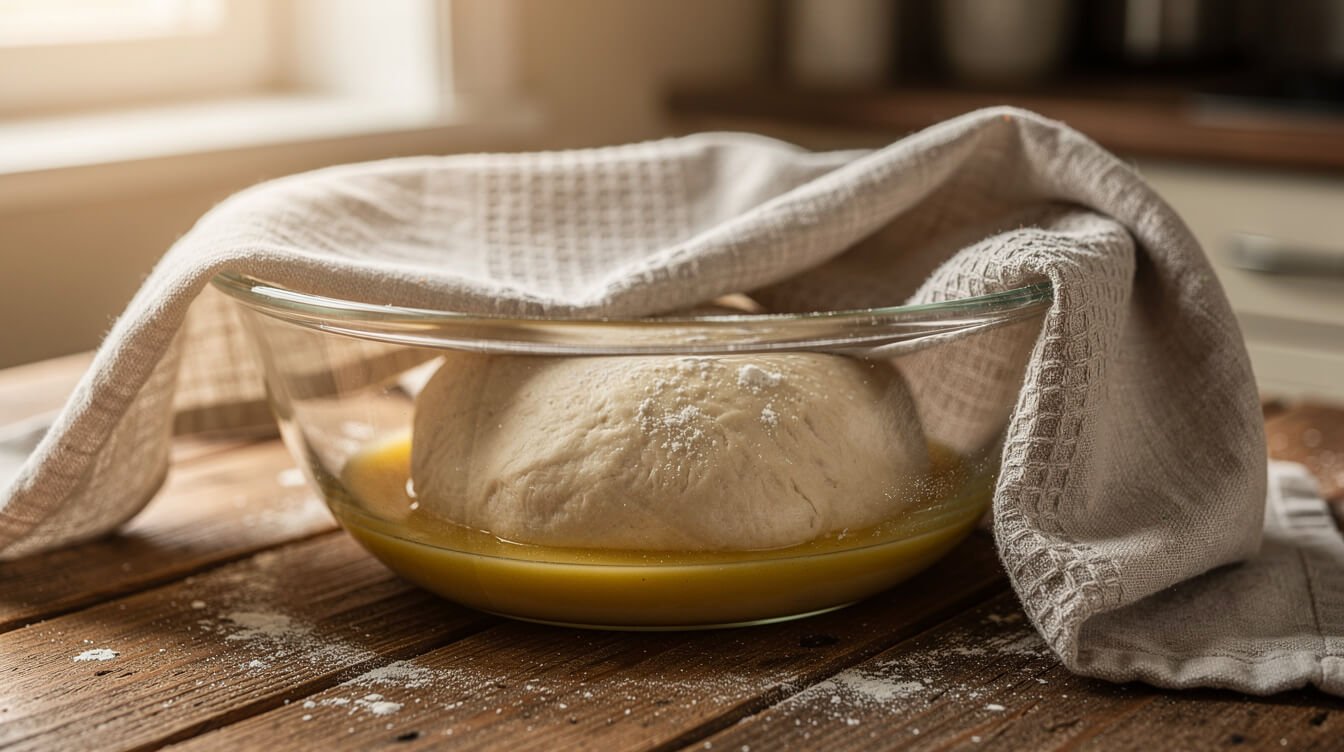
Use this as your baseline. Once you’ve made it a couple of times, you’ll feel exactly what “risen enough” looks and feels like.
Makes: two 12-inch pizzas
Ingredients:
- 3 cups (375g) bread flour or all-purpose flour
- 2¼ teaspoons (1 packet, 7g) instant or active dry yeast
- 1½ teaspoons salt
- 1 cup (240ml) warm water, 105–110°F
- 2 tablespoons olive oil, plus more for the bowl
- 1 teaspoon sugar (optional, helps active dry yeast along)
Steps:
- If using active dry yeast, stir it into the warm water with the sugar and let it sit 5–10 minutes until foamy (see the proofing test above). Instant yeast can skip straight to the next step.
- In a large bowl, whisk the flour and salt together. Add the water/yeast mixture and the olive oil. Mix with a wooden spoon or your hands until a shaggy dough forms.
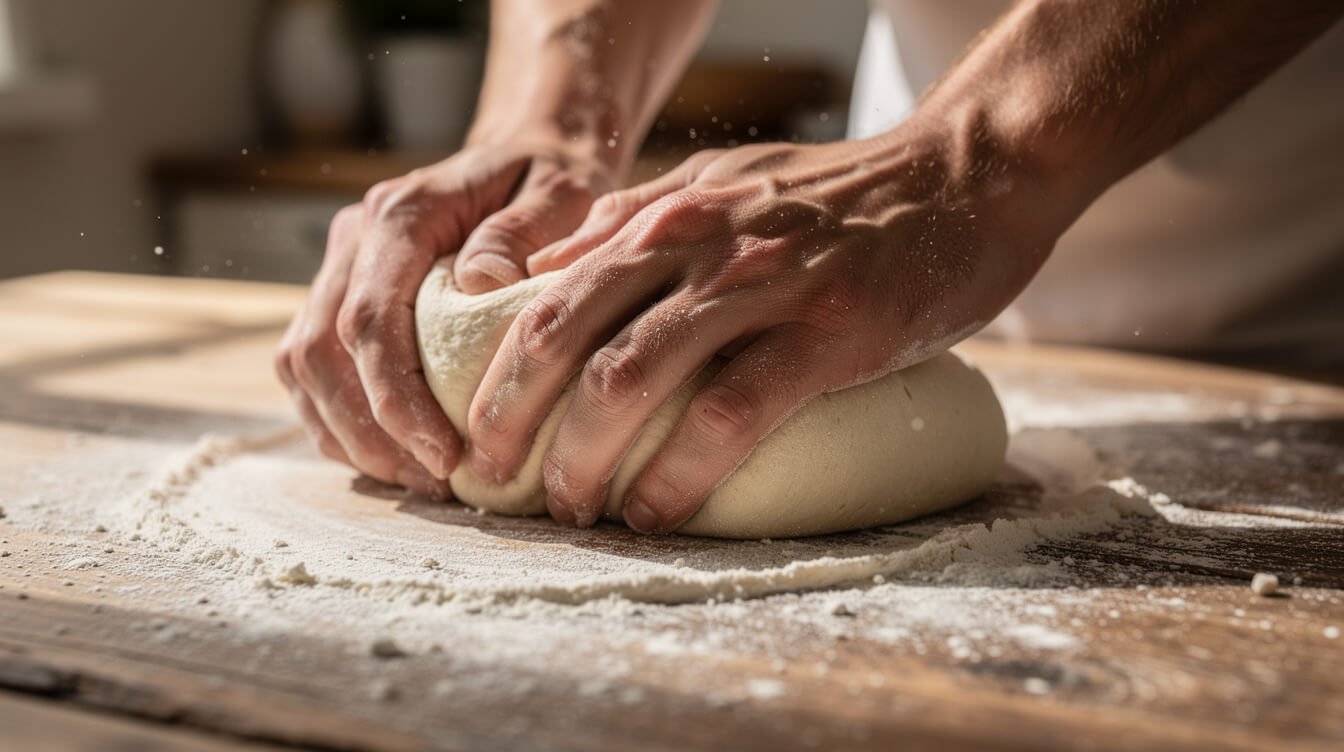
- Knead on a lightly floured surface for 5–7 minutes, until smooth and just a little tacky, not sticky. If you have a stand mixer, this is a good place to let the dough hook do the work instead of your arms.
- Place the dough in an oiled bowl, cover with a towel or plastic wrap, and let rise until doubled — about 1–2 hours at room temperature, or overnight in the fridge for better flavor.
- Punch down gently, divide in half, and shape each half into a ball. Let rest 10 minutes before stretching by hand into rounds.
- Top and bake at the highest temperature your oven allows (usually 475–500°F) for 10–14 minutes, until the crust is golden with a few deep-brown bubbles.
If you want a fuller walkthrough on stretching and shaping without tearing the dough, our Italian pizza dough recipe covers that step by step — this one’s built to sit alongside it as your go-to for getting the yeast side right first.
Frequently Asked Questions
Can I use too much yeast in pizza dough?
Yes. Too much yeast makes the dough rise fast but gives it a strong, slightly boozy or sour smell and taste, and a coarser, more uneven texture. More yeast is not a shortcut to a better crust — it’s a shortcut to an off-flavor one.
Do I need to proof active dry yeast, or can I mix it in dry?
You can mix most modern active dry yeast straight into your dry ingredients, but proofing it in warm water first does double duty: it activates the yeast a little faster, and it tells you upfront whether the yeast is even alive. I proof mine out of habit — five minutes is a small price for the peace of mind.
Can I substitute quick-rise yeast for regular active dry yeast?
Yes, one for one. “Quick-rise,” “rapid-rise,” “bread machine,” and “instant” yeast are essentially the same product under different names — they just skip the proofing step and rise a bit faster than active dry.
Why does my dough smell like alcohol?
That’s fermentation running too long or too warm — the yeast has used up the available sugars and started producing more alcohol as a byproduct. Shorten your rise time, move the dough somewhere cooler, or cut back to the quick-answer yeast amount above.
Can I freeze pizza dough after it’s risen?
Yes — shape it into a ball, rub lightly with oil, and freeze in a sealed bag for up to 3 months. Thaw overnight in the fridge, then let it sit at room temperature for 30–60 minutes before stretching.
Does the amount of yeast for pizza dough change if I’m doing a cold, overnight rise?
Yes — cut back to about 1 teaspoon of yeast for the same 3-cup flour recipe. A slow, cold rise gives the yeast more time to work, so it needs less help getting there, and the extended time is exactly what builds better flavor.
What if I only have self-rising flour?
Skip the added yeast and salt — self-rising flour already has both baking powder and salt mixed in, and it works with a completely different, chemical-leavening rise instead of a yeasted one. It makes a thinner, quicker crust, not a traditional chewy pizzeria-style one, so it’s a different recipe rather than a straight swap.
My dough rose but collapsed when I touched it. Did I do something wrong?
Not necessarily — a gentle deflation when you press it is normal and expected; that’s you releasing some of the gas before shaping. What you don’t want is a dough that was already collapsing on its own before you touched it, which usually means it over-proofed and needs to be caught earlier next time.
How to Store Yeast So It Stays Alive
Most yeast problems start well before you ever open the packet. Where and how you keep it decides how much of your quick-answer amount is actually still active by the time it hits the water.
- Unopened active dry or instant yeast keeps in the pantry until the date on the package — a cool, dark cabinet is fine.
- Once opened, move it to the fridge in an airtight container or a resealable bag with the air pressed out. It’ll stay reliable for about 4 months refrigerated.
- For longer storage, the freezer is even better — yeast doesn’t need to thaw before use, so you can measure straight from a frozen jar. It’ll hold well past a year that way.
- Fresh (cake) yeast is the exception — always refrigerate it, and use it within one to two weeks. It doesn’t freeze well; the texture breaks down and it loses its lift.
If your yeast has been sitting open in a warm cabinet for months, that’s often the real reason a dough won’t rise — not a mistake you made tonight, but a problem the yeast walked in with. When in doubt, the proofing test above takes five minutes and tells you for certain.
Final Thoughts
Yeast for pizza dough isn’t complicated once you’ve got the actual number in front of you: about 2¼ teaspoons for a same-day rise, less for a slow one, water in the 105–110°F range, and five minutes spent confirming your yeast is alive before you build a whole evening around it. Get those three things right and a flat, dense crust stops being a mystery — it becomes a checklist. Make this dough once, pay attention to how it looks and smells at each stage, and the next batch will be easier without even thinking about it.
Save this one for pizza night, and if you want the full stretch-and-bake walkthrough to go with it, our Italian pizza dough recipe and sourdough starter guide are both good next stops if you want to keep exploring what yeast (wild or store-bought) can do.