The Best Oil for Seasoning a Cast Iron Skillet (and the Mistake That Makes It Sticky)
You just bought a cast iron skillet — or dug your grandmother’s out of a box — and now you’re standing in the kitchen aisle staring at a wall of oils, wondering which one is the “right” one for seasoning. Here’s the truth nobody puts in the headline: the best oil for seasoning a cast iron skillet is almost certainly already in your pantry, and the oil matters a lot less than what you do with it.
Most guides turn this into a shopping trip — a $12 bottle of “cast iron conditioner,” a specialty spray, a chart of smoke points you need a chemistry degree to parse. We’re skipping all of that. In the next few minutes you’ll know exactly what oil to grab, the one technique mistake that ruins more seasoning jobs than any oil choice ever could, and how to fix it if yours already went sticky.
The short answer: use what’s already in your pantry
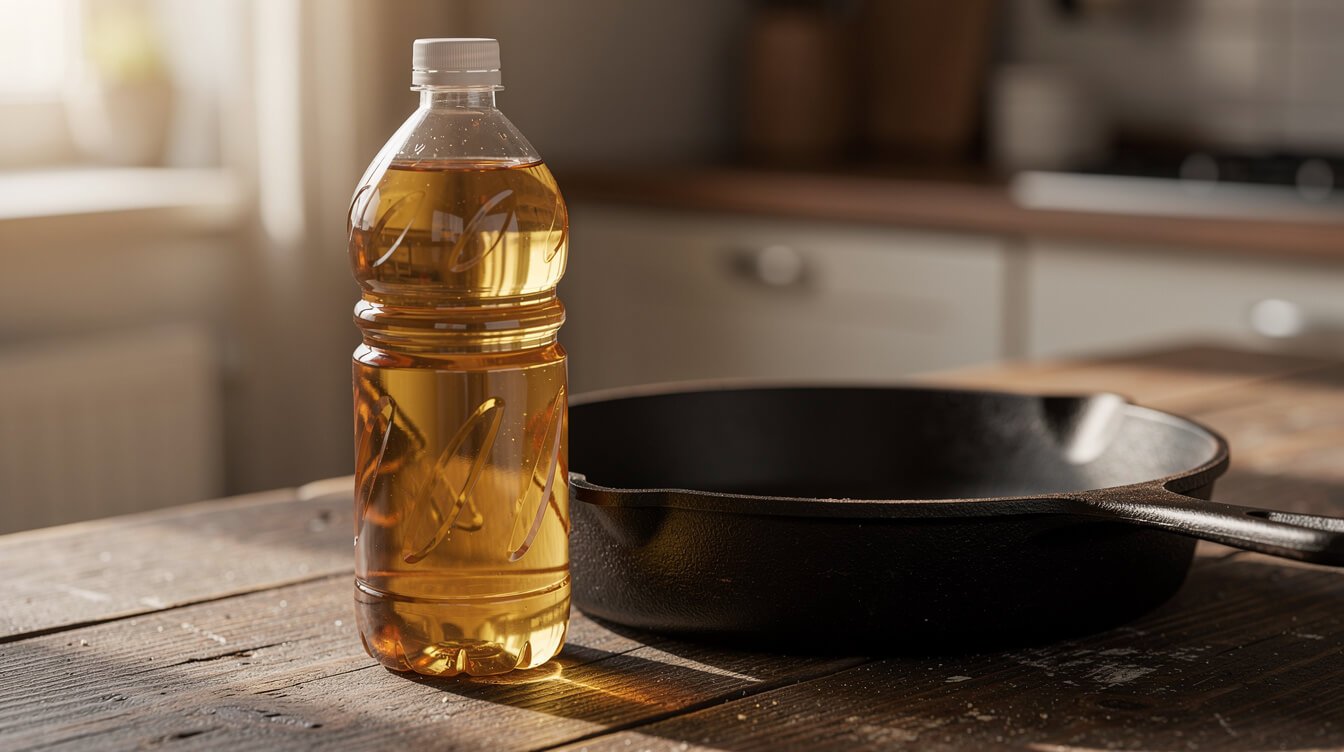
Plain vegetable oil or canola oil. That’s it. That’s the answer. If you’ve got a bottle of either sitting in your cabinet right now, you already own the best oil for seasoning a cast iron skillet — no special trip required.
This surprises people because cast iron corners of the internet love to argue about it. You’ll see flaxseed oil evangelized as the “scientifically superior” choice, grapeseed oil recommended for its high smoke point, and branded seasoning sprays sold at a markup for something that’s mostly just oil in a can. Some of that advice isn’t wrong, exactly — it’s just solving a problem you don’t have. A neutral oil you already own, applied the right way, builds the same tough, non-stick surface that any specialty product does.
Save the fancy stuff for your salad. For seasoning, boring wins.
Why smoke point matters more than the brand on the bottle
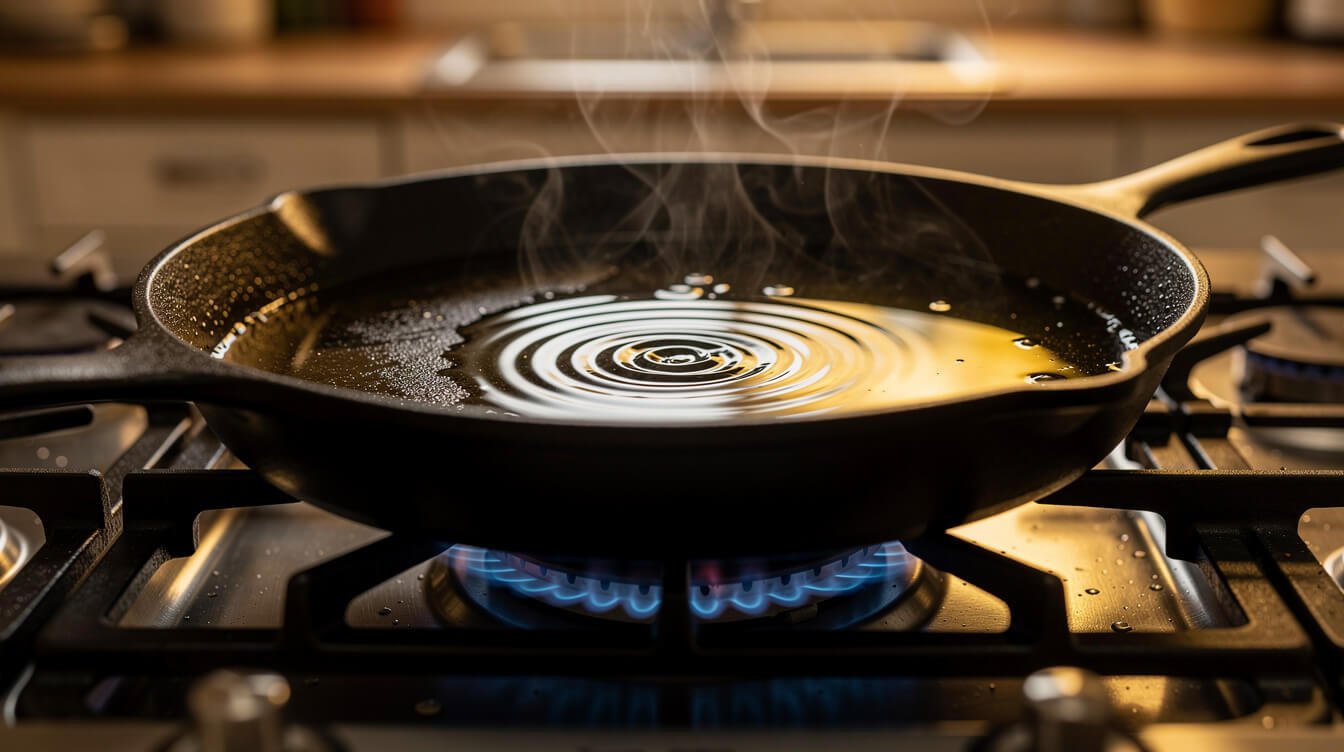
Seasoning isn’t really “coating” your pan in oil — it’s baking a thin layer of oil onto the metal until it polymerizes into a hard, plastic-like, non-stick shell. That polymerization happens at high heat, which is why the one spec that actually matters is smoke point: the temperature at which an oil starts to burn and smoke instead of just getting hot.
You want an oil with a smoke point at or above the temperature you’ll be seasoning at, which is usually 400–500°F. Here’s roughly where common pantry oils land:
- Vegetable oil: around 400–450°F
- Canola oil: around 400–450°F
- Refined (not extra virgin) olive oil: around 465°F
- Grapeseed oil: around 420°F
- Extra virgin olive oil: around 375°F — a little low, skip it for seasoning
Notice what’s missing from the “avoid” list: brand names. Once an oil clears that 400°F-ish bar, the differences between them stop mattering much for seasoning purposes. A $6 bottle of vegetable oil and a $20 bottle of “artisan cast iron oil” will polymerize onto your pan in basically the same way, because they’re both just doing the same job — getting hot enough to turn into a hard coating.
It also explains why butter is a bad seasoning choice, even though it’s a kitchen staple: its milk solids scorch and burn well before the fat itself reaches seasoning temperature, so you end up with a smoky kitchen and a blotchy, uneven coat instead of a clean polymerized layer. Save the butter for cooking in the pan once it’s already seasoned — it’s fantastic there, just not as the seasoning agent itself.
The 3 oils that actually work (no specialty product required)
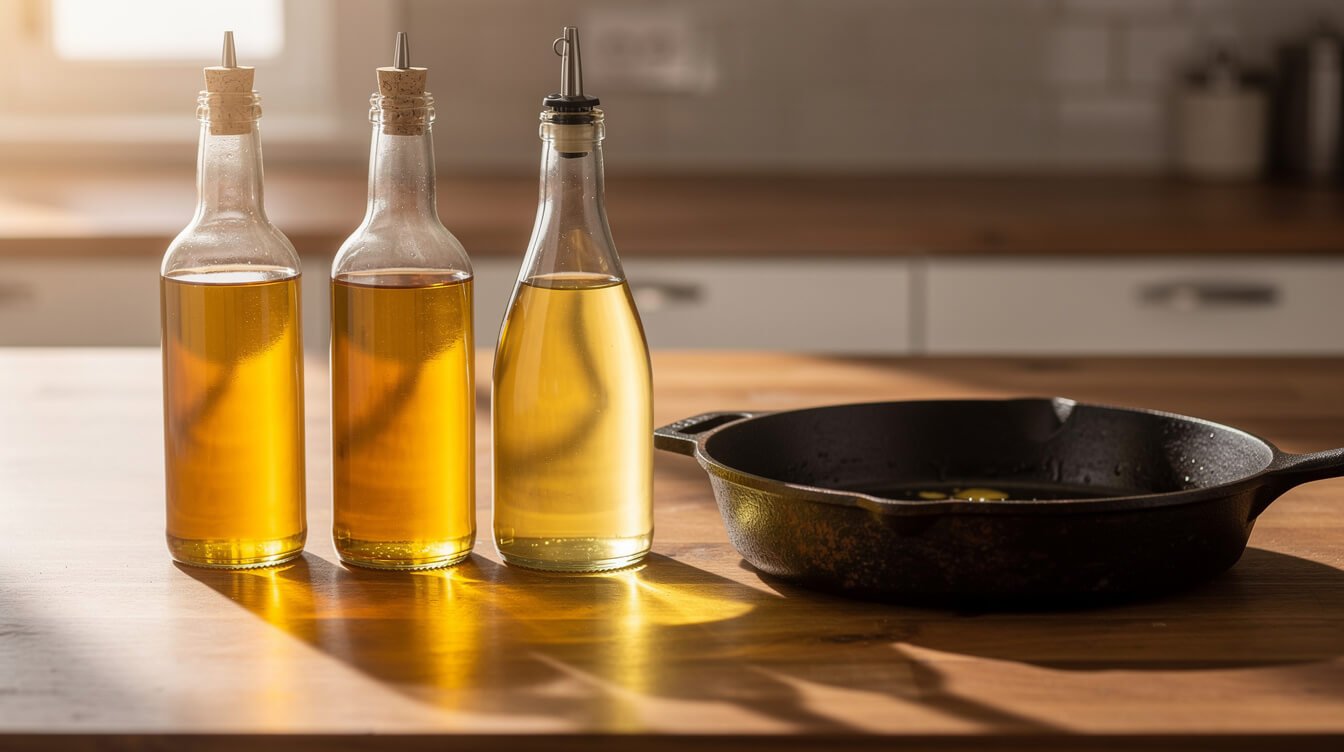
If you want a short, no-drama list instead of a debate, here are the three that consistently work well and that you can buy at any grocery store:
1. Vegetable oil or canola oil (the default pick)
This is what we recommend to almost everyone. It’s cheap, it’s neutral, it’s already in most kitchens, and its smoke point comfortably covers standard seasoning temperatures. If you only remember one thing from this article, remember this one.
2. Refined coconut oil (a good backup)
Make sure it says “refined,” not “virgin” or “unrefined” — the refined version has a much higher smoke point and no coconut flavor to leave behind. It seasons a pan just as well as vegetable oil and is a fine substitute if that’s what’s on hand.
3. Grapeseed oil (a fine choice, not a magic one)
Grapeseed shows up on a lot of “best oil” lists, and it does work well. It’s just not meaningfully better than vegetable oil for this job — it’s simply a slightly pricier oil that also clears the smoke-point bar.
A quick word on flaxseed oil, since it’s the internet’s favorite cast iron opinion: it can build a hard coating, but in practice it also has a well-documented tendency to flake and chip rather than bond smoothly, especially over multiple seasoning layers. It’s not dangerous, it’s just more finicky for a result that a bottle of canola oil delivers with a lot less fuss. We’d rather point you at the oil that works the first time.
And if you want to go the traditional route, plain shortening or lard both season a pan beautifully — that’s genuinely what most cast iron was seasoned with for generations before “seasoning oil” became a product category. Their smoke points sit a little lower, in the 360–400°F range, so keep your oven closer to 400°F rather than 500°F if you use one of these. They’re solid, not liquid, at room temperature, which just means you’ll want to soften a small amount before rubbing it into the pan.
The #1 mistake that makes seasoning sticky (too much oil)
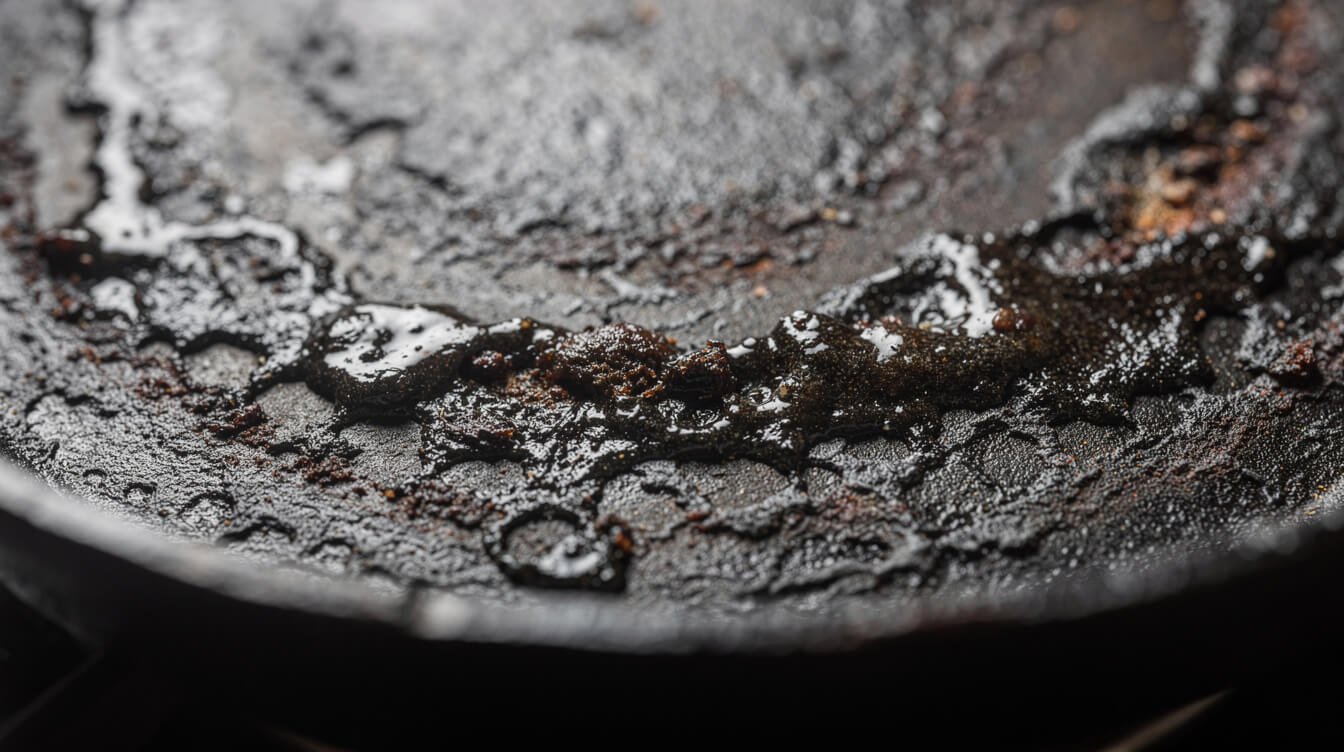
Here’s the failure that trips up more home cooks than any oil choice: using too much oil. If your seasoning ever came out tacky, sticky, or gummy instead of smooth and hard, this is almost always why — not the brand of oil, not the type of oil, just the amount.
Seasoning works by baking a genuinely thin film of oil until it polymerizes all the way through. Pour or spray on a thick layer, and the outside of that layer cooks and hardens before the oil underneath it ever gets hot enough to fully polymerize. What you’re left with is a pan that feels sticky to the touch, sometimes for days, and a seasoning layer that never really cures properly — no matter how good the oil was going in.
This is the single most common cast iron complaint you’ll find online (“why is my pan sticky after seasoning?”), and it’s also the easiest one to prevent. The fix isn’t a better oil. It’s less oil, applied the right way — which is exactly what the next section walks through.
From the Eat Cafe kitchen
One good recipe a week, straight to your inbox
The recipe we're actually cooking this week, plus the one tip that saves it when it goes sideways. No spam. Unsubscribe anytime.
How to apply it right: thin layer, then wipe it almost all off
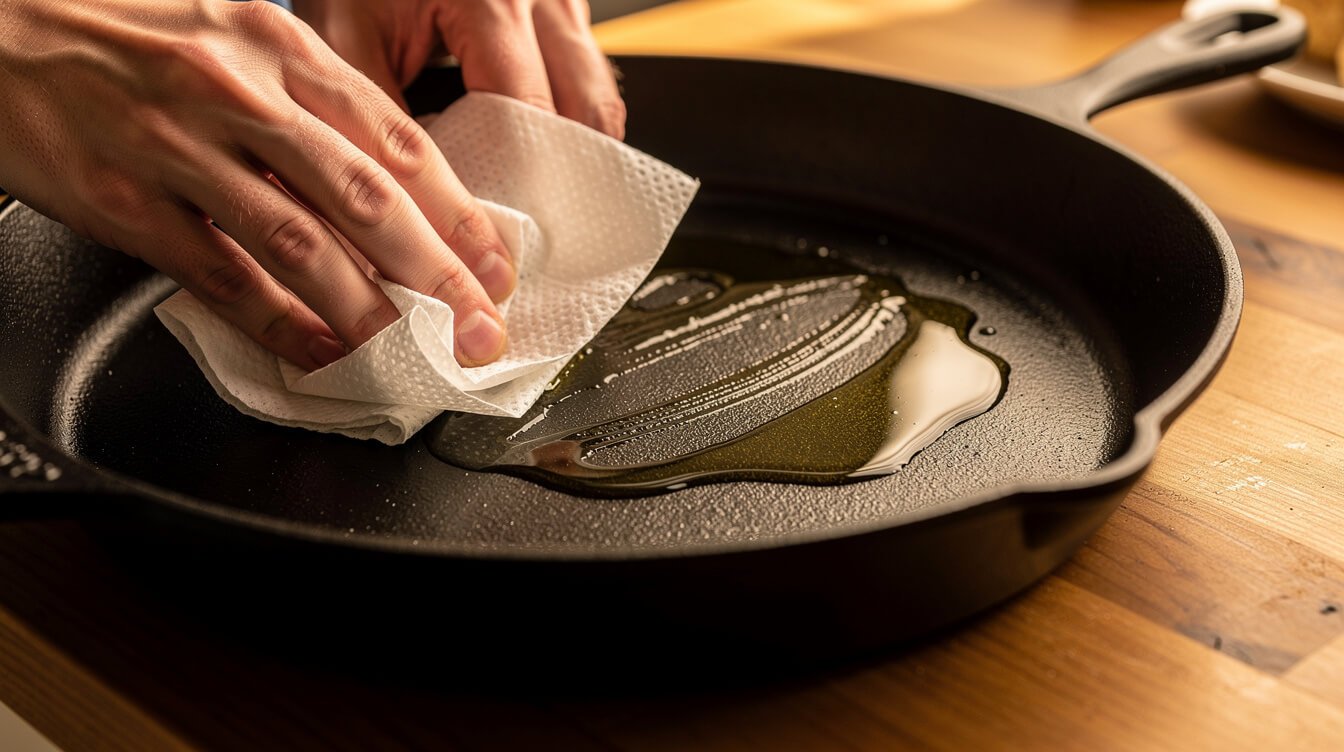
This is the technique that actually determines whether your seasoning turns out smooth and durable or sticky and patchy. It’s simple, but the order matters.
- Start with a clean, dry pan. Wash it, dry it completely, and if it’s brand new or stripped bare, give it a few minutes in a low oven to make sure every trace of moisture is gone.
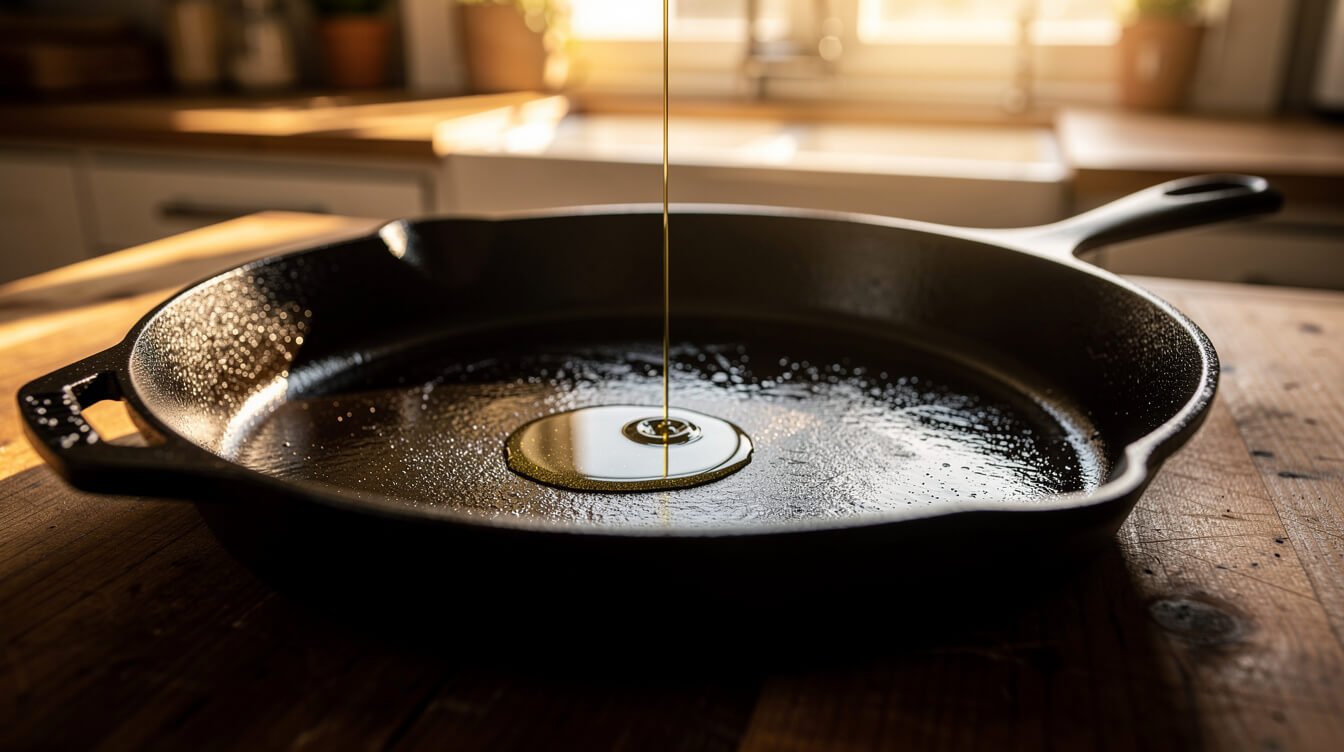
- Add a small amount of oil. A teaspoon or two is plenty for a standard 10–12 inch skillet — you’re not marinating it.
- Rub it over every surface. Inside, outside, the handle, the bottom — anywhere that could rust benefits from a thin coat.
- Now wipe almost all of it back off. This is the step people skip, and it’s the one that matters most. Take a clean paper towel or cloth and wipe the pan down hard, like you’re trying to remove the oil, not add it. When you’re done, the pan should look almost dry — barely a sheen, no pooling, no wet patches anywhere.
- Bake it upside down. Place it in a 450–500°F oven, foil or a baking sheet on the rack below to catch drips, for about an hour. Let it cool in the oven if you can.
- Repeat 2–3 times for a new or stripped pan. Each thin layer builds on the last, and thin layers stacked up beat one thick layer every time.
If you take away one sentence from this whole guide: it should look like you wiped off too much. That’s correct. A layer so thin it barely looks like there’s oil there at all is exactly what turns into a hard, glassy, non-stick coating instead of a sticky one.
Oven or stovetop? The oven method above is the most reliable because it heats the whole pan evenly, inside, outside, and handle, all at once. You can season on the stovetop instead — heat the empty pan on medium until it’s hot, wipe in your thin layer, then keep it over the heat until it stops smoking and looks matte and even. It works, but it’s harder to get consistent, and it’s easy to miss the sides and handle. If you’re seasoning a pan for the first time, use the oven.
Once your pan is properly seasoned, it’s ready for real work — a well-seasoned skillet is exactly the kind of low-fuss tool that makes a 30-minute weeknight dinner come together with one pan and almost no cleanup.
How often to re-season
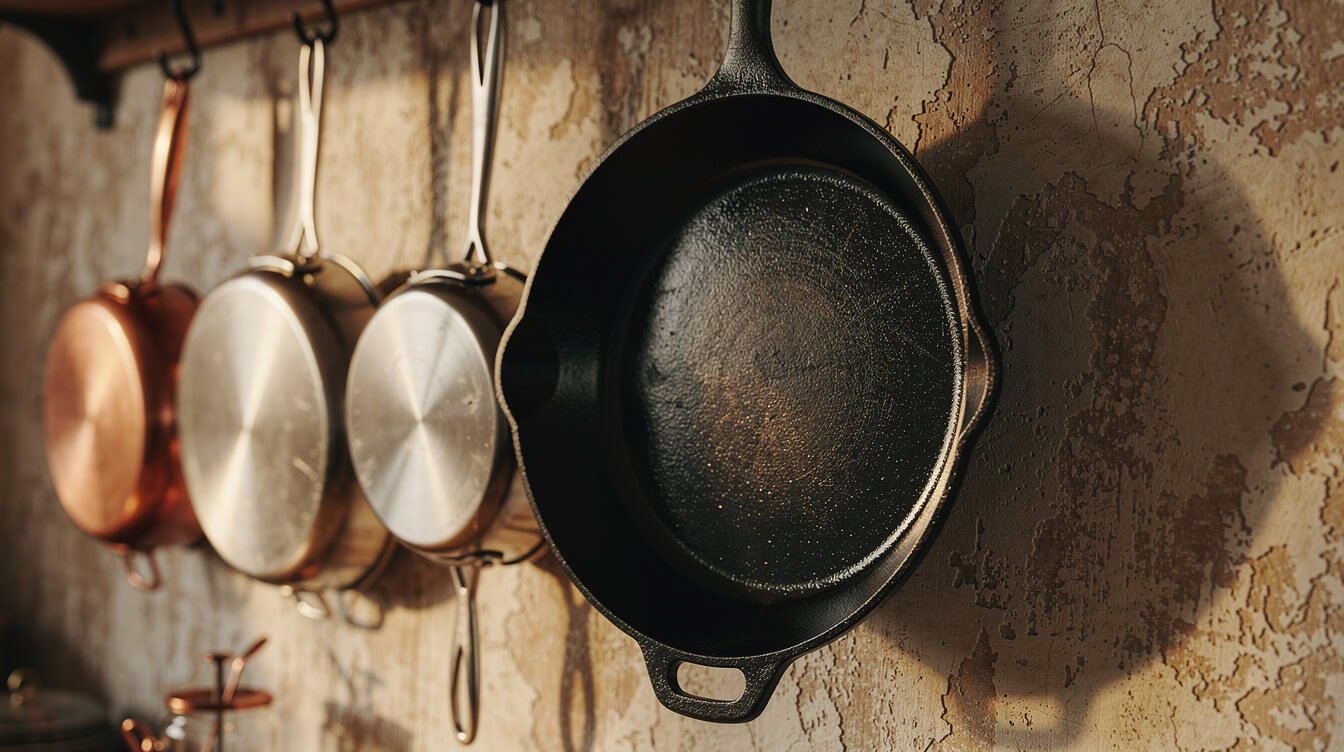
Less often than you’d think, if you’re cooking with it regularly. Every time you cook something with a bit of fat in a seasoned pan, you’re adding a tiny reinforcing layer without doing anything extra. A skillet that’s in weekly rotation can go months, sometimes over a year, without a dedicated re-seasoning session.
You’ll know it’s time for a proper re-season when you notice:
- Food starts sticking noticeably more than it used to, even with enough fat in the pan
- Dull, dry-looking patches instead of a smooth, slightly glossy surface
- Small spots of rust, usually from the pan sitting wet or being left to air-dry instead of towel-dried
When any of those show up, you don’t need to strip the whole pan back to bare metal — just clean it, dry it thoroughly, and run through the thin-layer method above once or twice. Full strip-and-restart is only for pans that are heavily rusted or have serious flaking, which is rare if you’re cooking in it regularly.
Quick troubleshooting: tacky, flaky, or dull seasoning

My pan feels sticky or tacky after seasoning
Too much oil was applied and it didn’t fully polymerize. Give the pan another trip through the oven at seasoning temperature (450°F+) for an hour — sometimes that alone finishes curing it. If it’s still tacky, wash it, dry it completely, and redo the process with a noticeably thinner layer this time. Remember: wipe until it looks almost dry.
The seasoning is flaking or peeling off
This usually means oil was applied too thick, or a new layer was added over a surface that wasn’t fully clean and dry first. Flaking seasoning isn’t unsafe to cook on, but it will keep peeling until you address it — scrub the loose bits off with a stiff brush and hot water, dry thoroughly, and re-season with thin layers.
My pan looks dull and gray instead of dark and glossy
A dull surface usually just means the seasoning is thin or a little worn, often after acidic foods (tomato sauce, wine-based braises) or a hand-wash with a lot of soap. It’s not ruined — it just needs a maintenance layer. Dry it thoroughly, rub in a thin coat of oil, wipe most of it back off, and give it 20–30 minutes on the stovetop or in a hot oven.
There’s rust on the surface
Scrub the rusty spots with steel wool or a stiff brush until the metal underneath looks clean, wash and dry the whole pan completely, and re-season from there. Rust means moisture got to bare metal — usually from air-drying instead of towel-drying, or storing it before it was fully dry.
There are dark, sticky rings around the edges
This is oil pooling somewhere it shouldn’t — usually the underside of the rim, or a spot on the outside of the pan that got a heavier coat than the rest. It’s the same too-much-oil problem, just localized. Wipe the whole exterior down again, paying extra attention to the rim and any lip or pour spout, and re-bake it.
Frequently asked questions
What’s the best oil for seasoning a cast iron skillet?
Plain vegetable oil or canola oil. Both have a high enough smoke point to polymerize properly, they’re inexpensive, and they’re already in most kitchens. Specialty “cast iron oils” aren’t necessary.
Can I use olive oil to season cast iron?
Refined olive oil works fine. Skip extra virgin — its smoke point is lower, around 375°F, which is under the temperature you want for a proper seasoning bake.
Is flaxseed oil really the best for seasoning?
It’s popular online, but in practice it tends to flake and chip more than neutral oils like vegetable or canola, especially across multiple layers. It’s not a bad choice, it’s just more finicky for a result you can get more reliably with what’s already in your pantry.
Why is my cast iron sticky after seasoning?
Almost always too much oil. The fix is a thin layer, wiped back until the pan looks almost dry, then baked at 450°F or higher. A thick coat of oil never fully polymerizes — it just stays gummy.
How many layers of seasoning does a new pan need?
Two to three thin layers is enough to get a new or bare pan usably non-stick. It’ll keep building naturally every time you cook with fat after that.
Do I need to season a pan that came “pre-seasoned”?
A pre-seasoned pan (most new Lodge and similar skillets) is ready to cook in right out of the box, but the factory layer is thinner than what you’ll build over time. Adding one or two rounds of the thin-layer method before you start cooking gives you a head start on a smoother, more non-stick surface — it’s optional, not required.
Can I use avocado oil or another high-smoke-point oil?
Yes. Any neutral oil with a smoke point around 400°F or higher will work, including avocado oil. It’s simply pricier than vegetable or canola oil for no real benefit in this particular job, so we don’t recommend buying it just for seasoning.
From the Eat Cafe shop
Chef Coat Costume Tee | Culinary Uniform T-Shirt
Price range: $24.99 through $26.99
See it in the shopFinal thoughts
You don’t need a special oil, a subscription seasoning spray, or a debate with strangers on the internet to get a cast iron skillet that releases food like glass. Grab the vegetable oil you already own, use less of it than feels right, wipe it back until the pan looks almost dry, and bake it hot. That’s the whole method — and it’s the same one that turns a brand-new skillet or a rescued thrift-store find into the pan you reach for every week.
If you’re building out a kitchen that leans on good, reliable gear over gadgets, a properly seasoned cast iron skillet earns its shelf space right alongside one good chef’s knife — simple tools, used well, beat a drawer full of things you don’t need.
Found this useful? Save this guide for the next time you season a pan, and if you’d like one genuinely good, tested recipe in your inbox each week, come cook along with us — no spam, just the good stuff.

Before you go
Want the next one?
We post a new recipe or kitchen guide every day. The best of the week lands in one short email, no life story attached.