Homemade Ciabatta Bread Recipe (Don’t Fear the Sticky Dough)
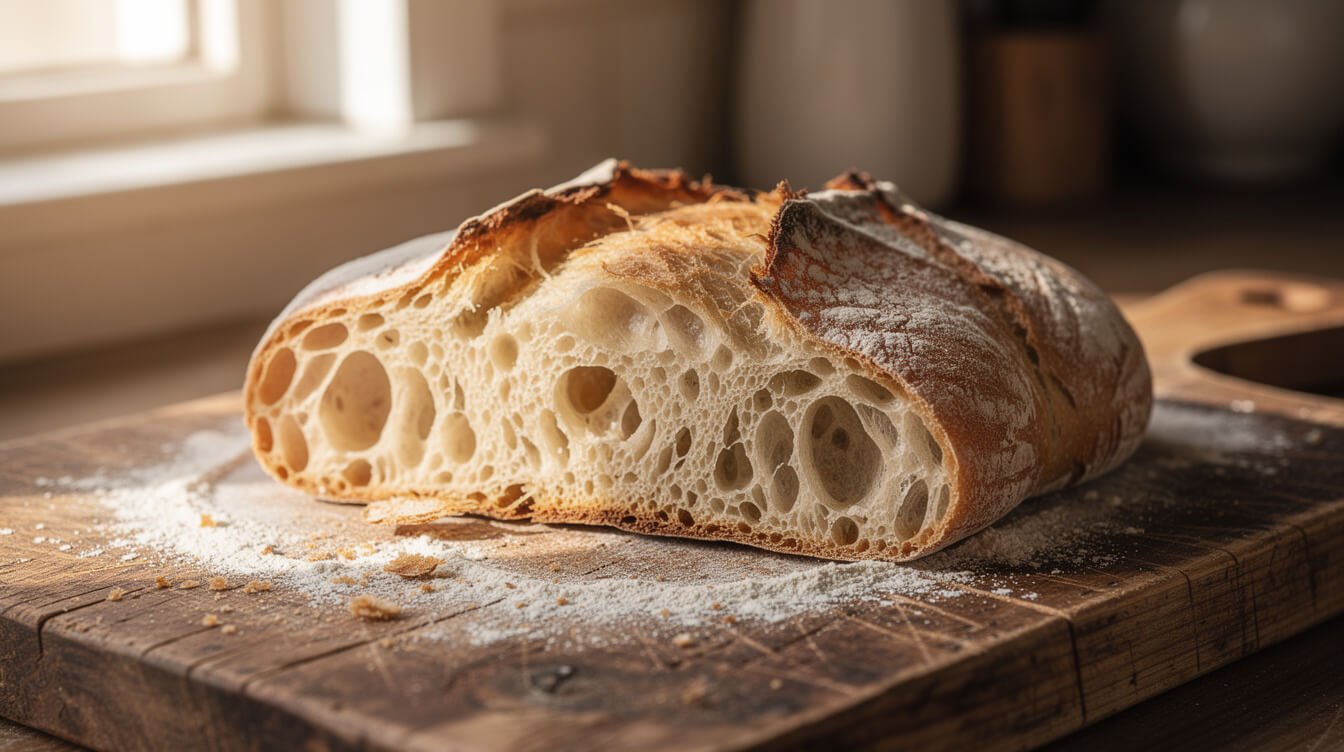
If you’ve ever pulled up a ciabatta recipe, watched the dough spread out like pancake batter in the bowl, and quietly closed the tab, you’re not alone. This homemade ciabatta bread recipe is built for exactly that moment of doubt. The dough is supposed to be that wet. It’s not a mistake, and you haven’t ruined anything — that sticky, loose mess is exactly what gives ciabatta its big, uneven holes and crackly crust.
Here’s what you’ll get: why the dough is so wet in the first place, the two tools that make sticky dough manageable, the four ingredients you actually need, a fold-don’t-knead method that never touches a stand mixer, how to shape the dough without deflating it, and how to bake it so the crust actually crackles. No 2-day process, no special flour, no fear.
Why ciabatta dough is so wet (and why that’s the point)
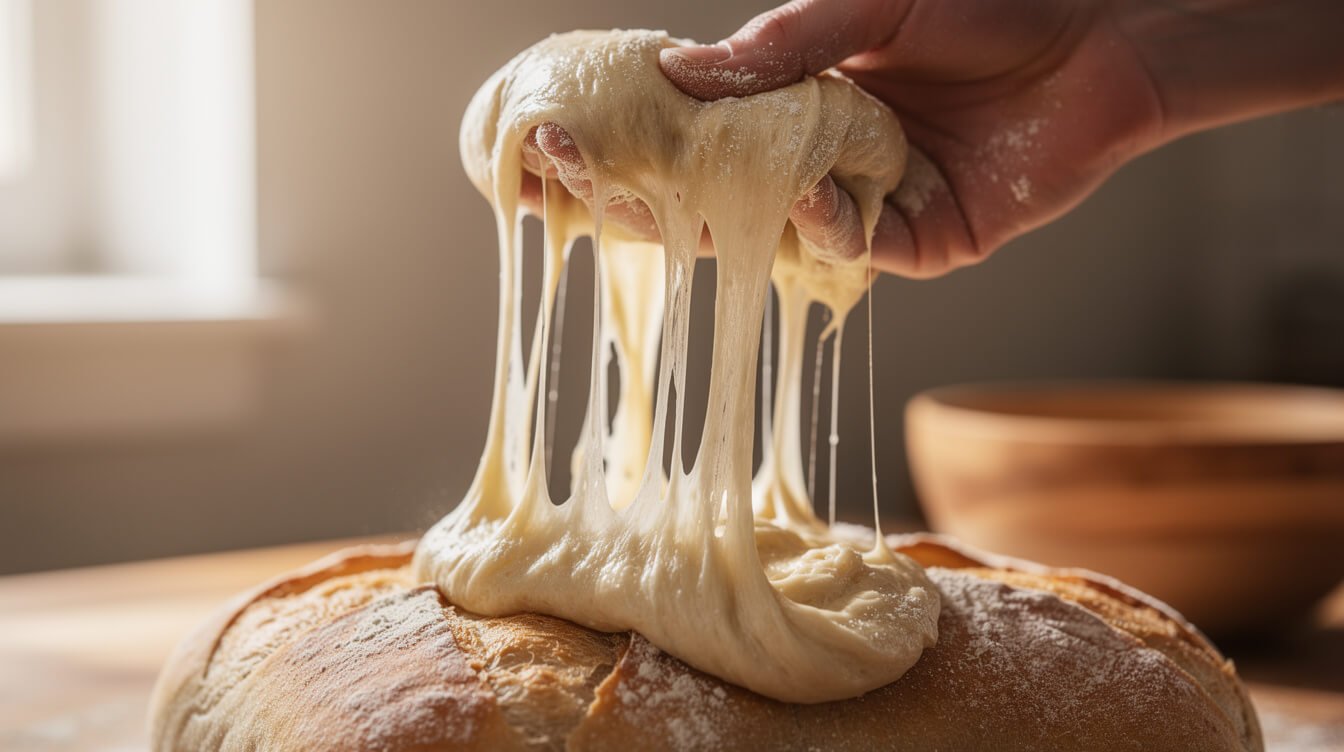
Most bread doughs you can knead into a smooth ball. Ciabatta dough, on the other hand, is closer to a thick batter — it’s usually 75–80% hydration, meaning the water weighs almost as much as the flour. Compare that to a sandwich loaf, which typically sits closer to 60–65% hydration, and you can see why ciabatta feels like a completely different animal the first time you make it.
That extra water isn’t there to make your life harder. It’s what lets the gluten strands stretch thin instead of snapping, which is exactly how ciabatta gets its open, irregular crumb full of big air pockets. A drier dough bakes up tight and even. A wet dough bakes up holey and chewy, with a crust that shatters a little when you cut into it. If your dough feels like it’s never going to hold a shape, that’s not a sign you did something wrong — it’s a sign you’re making ciabatta correctly.
The one thing this does change is technique. You can’t knead a dough this wet by hand the normal way — it just sticks to everything and makes a mess. Instead, this recipe uses a gentle stretch-and-fold method (more on that below) that builds strength in the dough over time, with almost none of the hands-on kneading a tighter dough needs.
You’ll see some ciabatta recipes built around a 2-day process, starting with an overnight “biga” — a small, slow-fermented piece of dough mixed the day before. It genuinely deepens the flavor, and it’s worth trying once you’ve made this a few times. But it’s also one more thing to plan around, and it’s not what makes ciabatta ciabatta. This version skips it in favor of a longer same-day bulk rise, so you can start after breakfast and have warm bread by dinner.
The tools that make sticky dough manageable
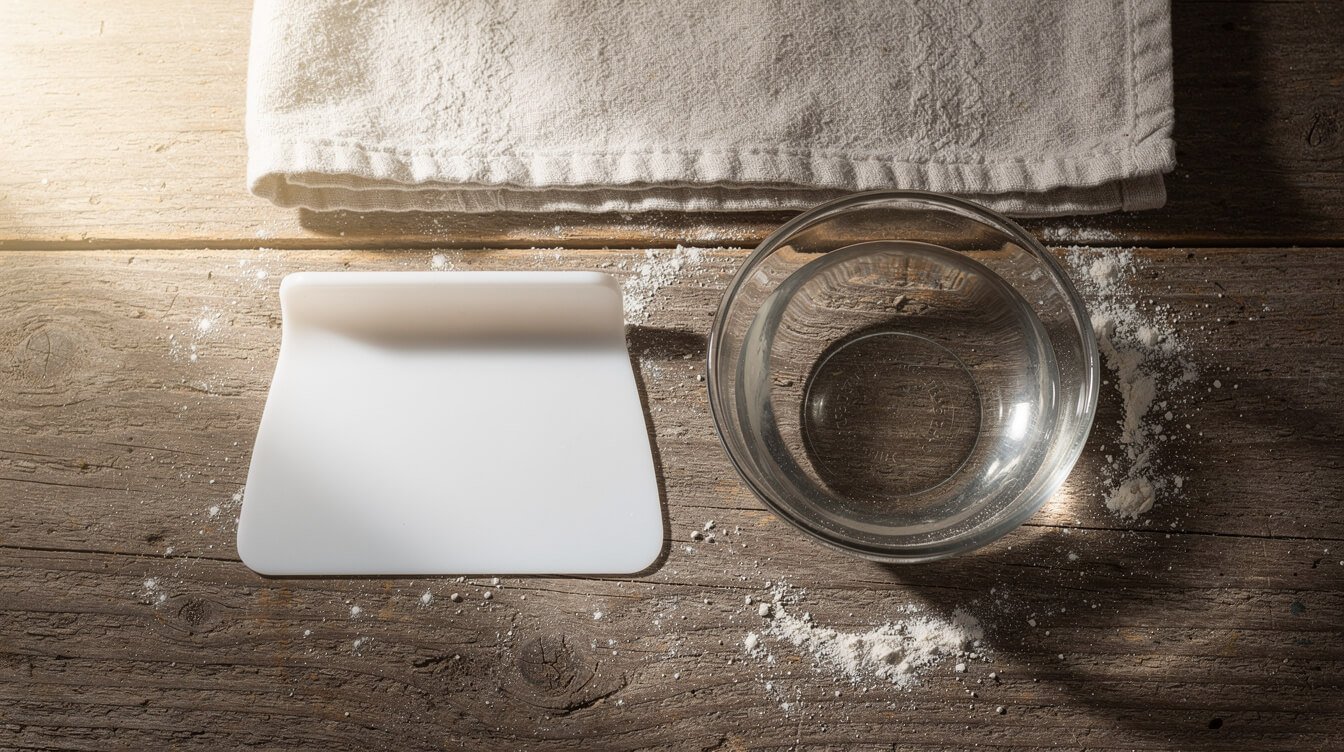
You don’t need special equipment for this recipe, but two cheap tools make a real difference in how frustrating — or not — the process feels.
- A plastic bowl scraper (bench scraper). This is the single best upgrade for sticky dough. It flexes to hug the shape of the bowl, so you can fold and turn the dough without your hands ever really touching it. A metal one works for dividing dough on the counter, but a flexible plastic one is what you want in the bowl.
- A bowl of water for wet hands. Flour is the instinct when dough gets sticky, but with a dough this wet, flour just clumps and makes it worse. Wet hands, by contrast, glide right off sticky dough instead of sticking to it. Dip your hands before every fold and you’ll barely feel the mess.
Beyond that: a large bowl with room for the dough to double, a kitchen scale if you have one (measuring flour and water by weight is far more consistent than cups), and a baking stone, steel, or heavy sheet pan for the oven. Nothing exotic — this is a pantry-and-junk-drawer recipe.
Ingredients for this homemade ciabatta bread recipe (just 4)
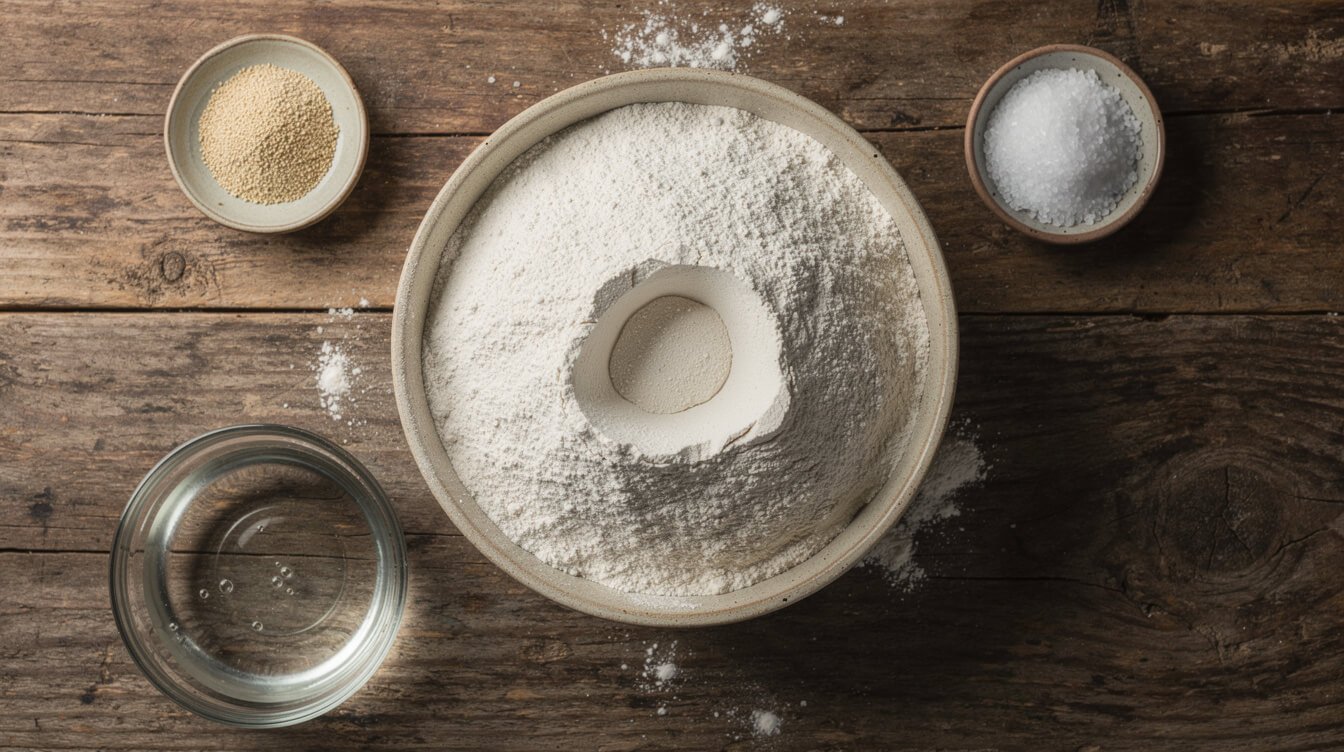
This makes 2 medium loaves.
- 3½ cups (440g) bread flour
- 2¼ teaspoons (1 packet / 7g) instant yeast
- 1¾ teaspoons (10g) fine salt
- 1½ cups (360g) room-temperature water, plus 2–3 tablespoons more if the dough feels dry after mixing
- 1 tablespoon olive oil (optional — makes the dough a little easier to handle, doesn’t change the flavor much)
A note on salt: fine sea salt or table salt both work here — just don’t swap in a coarse kosher salt at the same volume measurement, since the crystal size means you’d end up with noticeably less salt by weight and a flatter-tasting loaf. If kosher salt is all you have, weigh it or use roughly 1¼ times the volume.
A few honest notes:
- Bread flour matters here. Its higher protein content builds the gluten strength this wet dough needs to hold air. All-purpose flour will work in a pinch, but expect a slightly less chewy, less open crumb.
- Instant yeast goes straight into the flour — no proofing in water first. If you only have active-dry, use the same amount and just add 5–10 minutes to the first rest.
- Weigh your flour if you can. A cup of flour can vary by 20–30 grams depending on how it’s scooped, and with a dough this sensitive to hydration, that swing matters more than usual.
- Skip the temptation to add more flour once the dough is mixed, even though every instinct will tell you to. A drier dough is easier to handle, but it’s also a denser, tighter loaf — you’d be fixing the wrong problem.
If you’ve made our sourdough starter before, the ingredient list here will feel almost suspiciously short by comparison — no starter to maintain, no feeding schedule, just flour, yeast, water, and salt.
The stretch-and-fold method (no kneading, no stand mixer required)
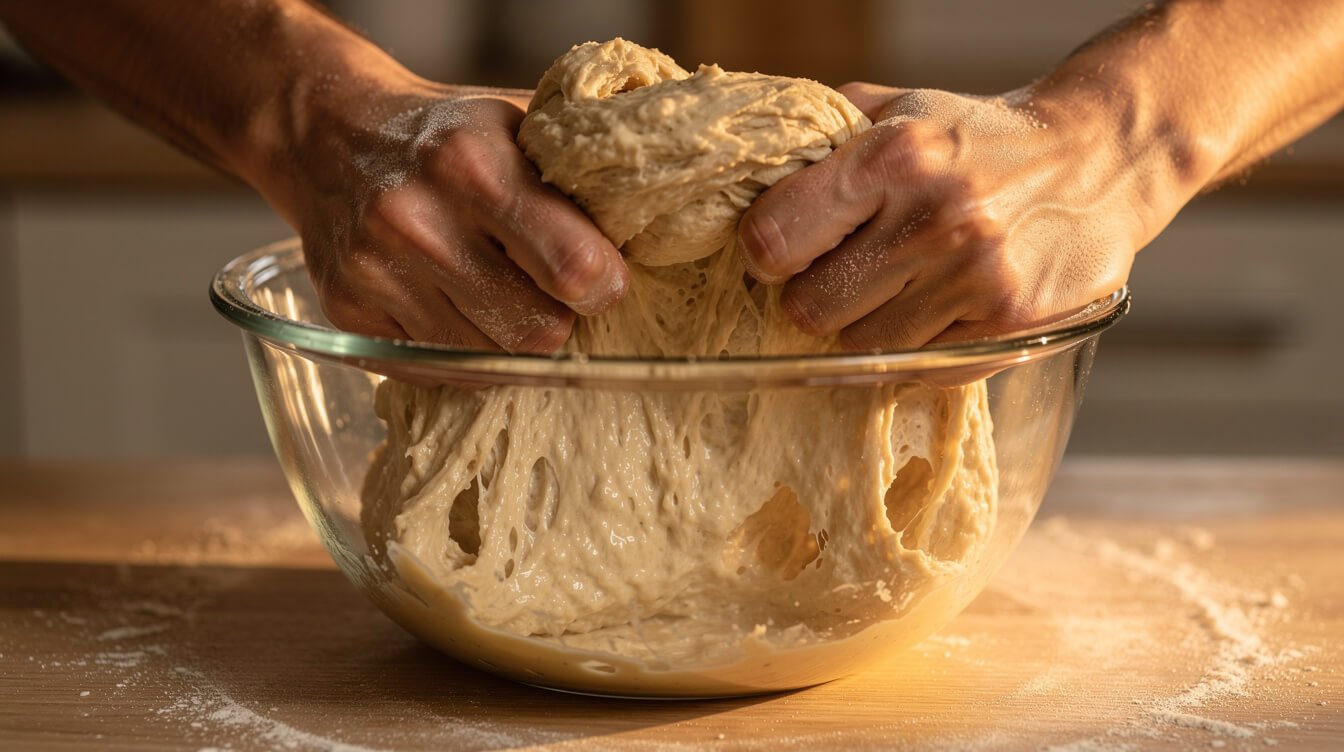
This is the part that trips people up on paper and turns out to be the easiest part in practice. Instead of 10 minutes of kneading, you do four quick folds spread out over two hours, with the dough doing the actual work of building strength while it rests in between.
- Mix the dough. In a large bowl, whisk the flour, instant yeast, and salt together. Add the water and olive oil, and stir with a wooden spoon or spatula until no dry flour remains. It’ll look shaggy, loose, and a little alarming. That’s correct. Cover the bowl and let it rest 20–30 minutes — this short rest (an autolyse) lets the flour fully hydrate and makes the first fold noticeably easier.
- First fold. Wet your hand, reach down one side of the bowl, pull the dough up and over itself, and turn the bowl a quarter turn. Repeat around the bowl 4–5 times. It takes about 30 seconds. Cover and rest 30 minutes.
- Repeat 3 more times. Same fold, every 30 minutes, for a total of 4 folds. You’ll feel the dough get noticeably less slack and a bit more elastic each time — that’s the gluten network building.
- Bulk rise. After the last fold, cover the bowl and let the dough rise undisturbed for 2–3 hours at room temperature, until it’s roughly doubled and full of visible bubbles at the surface and sides of the bowl.
If you’d rather use a stand mixer, you can — mix on the lowest speed with a dough hook for 3–4 minutes after the ingredients come together, then skip straight to the bulk rise (no folds needed, since the mixer already built the structure). But it isn’t required, and folding by hand takes less total effort than it sounds like it should. If you’re deciding whether a stand mixer is worth owning at all, our guide to how much mixer you actually need can help you weigh it against recipes like this one, where you genuinely don’t need it.
Shaping ciabatta without deflating the dough
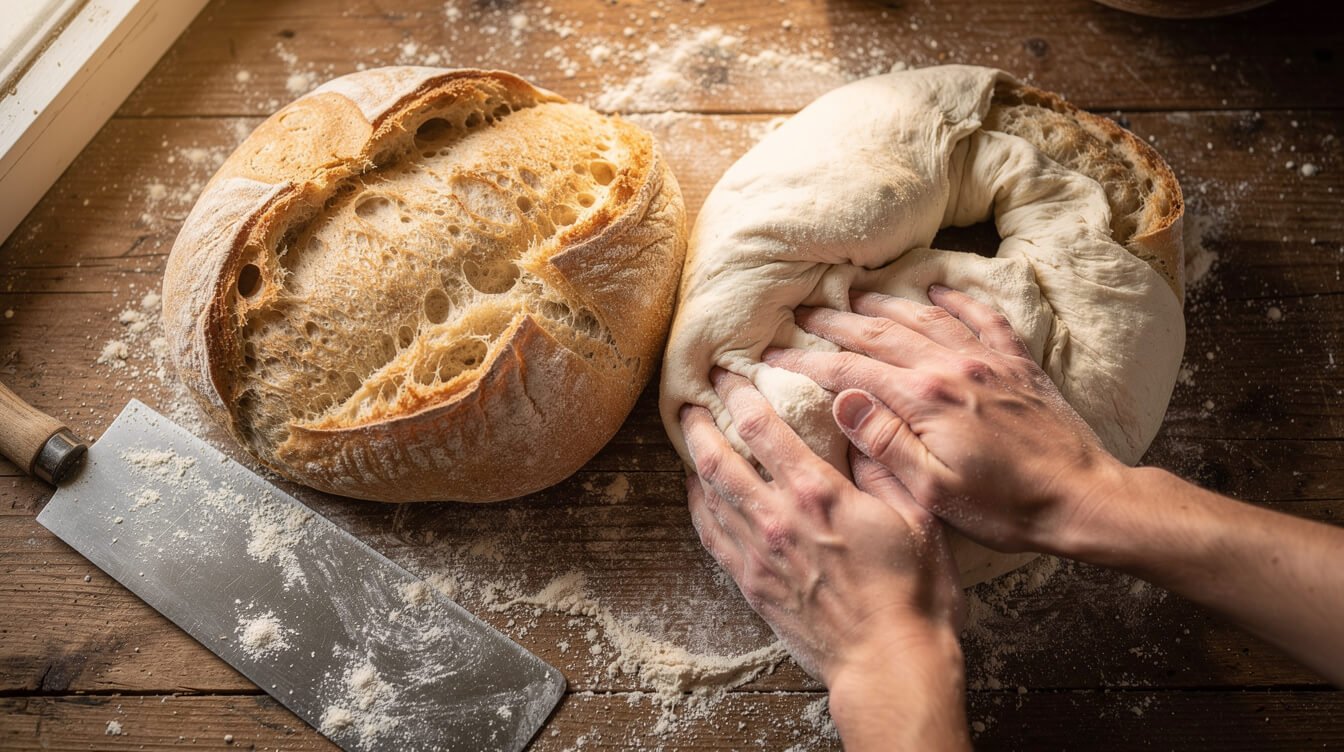
The goal here is the opposite of shaping a sandwich loaf. You’re not trying to build tension or a tight skin — you’re trying to keep as much of that hard-won air in the dough as possible while getting it onto the baking surface.
- Flour the counter generously. More than feels reasonable. This dough will stick to anything less.
- Turn the dough out gently onto the floured surface using your bowl scraper, trying not to punch it down or press out the bubbles.
- Divide in half with a bench scraper — a clean, decisive cut, not a sawing motion, which drags and deflates the dough.
- Gently stretch each half into a rough rectangle, about 4×10 inches, using floured hands and minimal touching. A few big holes showing through is a good sign, not a problem to fix.
- Transfer to a floured piece of parchment paper, cover loosely, and let rest 30–45 minutes while the oven preheats. The loaves will puff slightly but won’t double again — most of the rise happens in the oven.
If a loaf looks a little lopsided or rustic, that’s not a shaping failure — ciabatta means “slipper” in Italian, named for its irregular, flattish shape. Uniform and symmetrical was never the goal.
One more difference from a sourdough loaf, if that’s where you’re coming from: ciabatta doesn’t get scored before baking. There’s no tight outer skin here to control how it splits open, so a blade cut would just deflate it rather than direct the rise. The irregular surface is doing its own thing, and that’s fine — it comes out looking rustic either way.
Baking this homemade ciabatta bread recipe with steam for a crackly crust
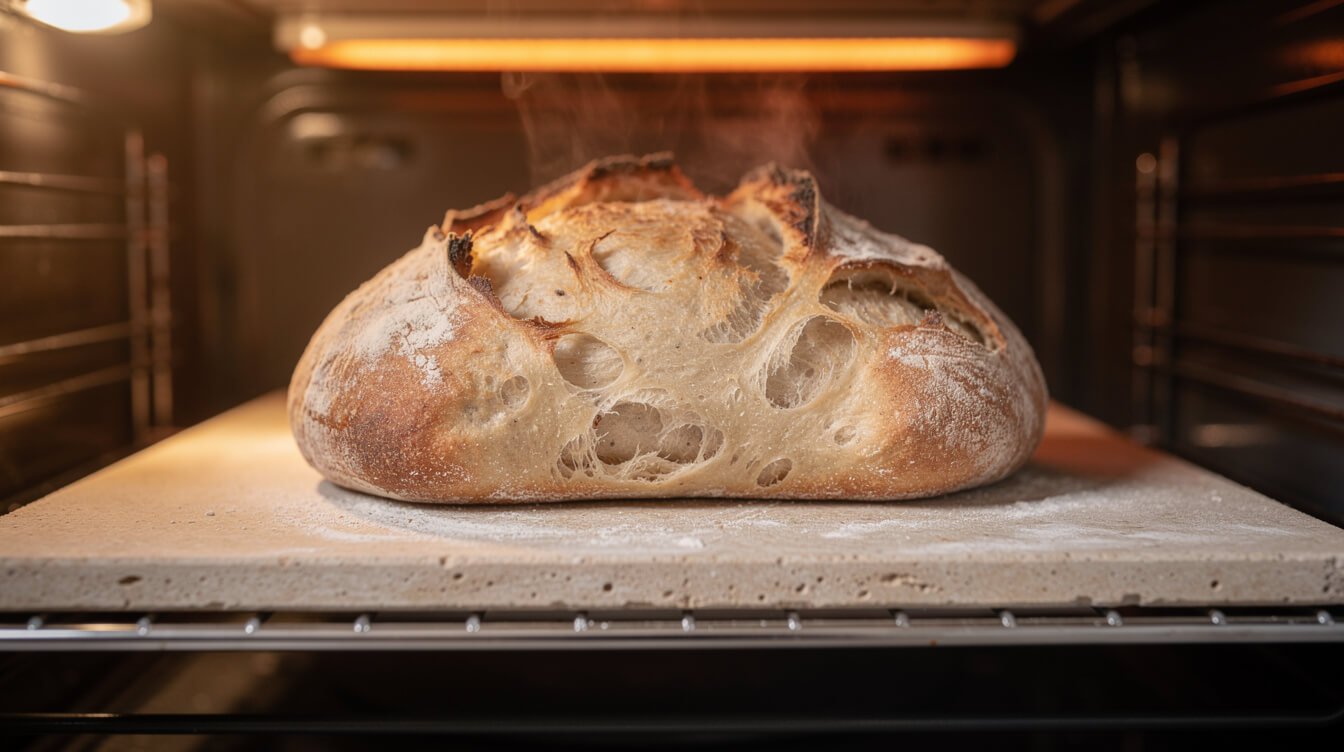
Steam is what separates a shatter-crisp ciabatta crust from a dull, tough one. It keeps the outside of the loaf soft and flexible for the first several minutes of baking, so it can keep expanding before the crust sets — and it’s what gives you that glossy, crackly finish once it’s done.
- Preheat to 475°F (245°C) with a baking stone, steel, or heavy inverted sheet pan on the middle rack, for at least 30 minutes. A fully preheated baking surface matters more than the oven’s own thermometer reading — a cold stone will undo a lot of your steam’s benefit.
- Add steam right before baking. Place a metal pan on the rack below the bread and pour in a cup of hot water when you load the loaves, or toss a handful of ice cubes onto it — either way, close the door quickly to trap the steam.
- Slide the loaves in, parchment and all, directly onto the hot stone or pan.
- Bake 20–25 minutes, until deeply golden brown — ciabatta wants more color than most breads, since a pale crust here usually means it’s underbaked, not just under-browned.
- Check doneness with an instant-read thermometer if you have one: you’re looking for an internal temperature of 205–210°F (96–99°C) in the center of the loaf. Tapping the bottom for a hollow sound works too, but the thermometer removes the guesswork.
- Cool at least 45 minutes before slicing. This is genuinely non-negotiable with a crumb this open — cut too early and the interior turns gummy instead of setting into that light, chewy texture you’re after.
Once you’ve got the steam-and-high-heat combination down, it carries over directly to our Italian pizza dough, which leans on the same hot-oven, high-hydration logic for a crisp, blistered crust.
FAQ: sticky dough, substitutions, and more
My dough seems way too wet to ever hold a shape. Did I mess up?
Almost certainly not. Ciabatta dough is meant to look closer to thick pancake batter than bread dough right after mixing. It firms up considerably through the folds and bulk rise — trust the process through at least the second fold before you start troubleshooting.
Can I use all-purpose flour instead of bread flour?
Yes, and it’ll still work — you’ll just get a slightly less chewy texture and a somewhat tighter crumb, since all-purpose flour has less protein to build gluten strength. If it’s what you have, use it; don’t let it stop you from starting.
Do I really need a baking stone or steel?
No — a heavy, dark sheet pan preheated the same way works fine. What matters most is that the surface is fully preheated and holds heat well, not the specific material.
My loaves came out flatter and wider than I expected. What happened?
Usually one of two things: the dough was over-handled during shaping (press out too many bubbles and it can’t hold its rise), or the final rest before baking ran too long, so the dough spread instead of climbing in the oven. Both are easy to dial in on the next batch.
Can I make the dough the night before?
Yes — after the folds, refrigerate the dough during bulk rise for 8–12 hours instead of leaving it at room temperature. Let it sit out for 30–45 minutes to take the chill off before shaping. The slower, colder rise also deepens the flavor a little.
How do I store leftover ciabatta?
Room temperature in a paper bag or loosely covered for up to 2 days — a sealed plastic bag will soften the crust. For longer storage, slice and freeze in a freezer bag for up to 2 months, then toast straight from frozen.
Can I add herbs or olives to the dough?
Yes — fold in a tablespoon of chopped rosemary or a handful of pitted, chopped olives during the last stretch-and-fold. Adding them earlier can interfere with gluten development.
Is it normal for the crust to soften overnight?
Yes — a crackly crust is at its best in the first few hours after baking and softens naturally as the bread sits, since the crumb’s moisture migrates outward. A quick 5-minute reheat in a 350°F oven brings the crackle back if you want it for a second-day sandwich.
Why does my crumb look tight and even instead of full of big holes?
This almost always traces back to a dough that ended up drier than it should be, or bulk rise time cut short. Resist adding extra flour during mixing, and make sure the dough has genuinely doubled and looks bubbly at the sides of the bowl before you shape it — rushing that step is the most common reason for a denser crumb.
Final thoughts
Ciabatta has a reputation for being an intimidating bread to make at home, and almost all of that reputation comes down to one thing: the dough looks wrong. It isn’t. Once you go in expecting a wet, loose, stretchy mess instead of a tidy ball of dough, the rest of this recipe is genuinely straightforward — a few folds, a long rest, a gentle shape, and a hot, steamy oven.
Save this one for a weekend when you’ve got a few hours of mostly hands-off time at home, and don’t be surprised if the first loaf disappears warm, torn apart by hand, before it ever makes it to a sandwich. Let us know how yours turns out.