How to Make a Sourdough Bread Starter From Scratch (and Why It’s Not Rising by Day 5)
Somewhere between “just mix flour and water” and the mild superiority of the sourdough guy at your farmers market is a real skill: keeping a colony of wild yeast alive on your counter until it’s strong enough to raise a loaf of bread. If you’re here, there’s a decent chance you’ve already tried once — a jar of paste that looked promising on day 3 and just sat there by day 5, doing nothing.
Good news: that’s almost never a you problem. It’s a process problem, and it’s fixable.
This is a real, complete walkthrough of how to make sourdough bread starter from scratch — what it actually is, exactly what you need (not much), the day-by-day feeding schedule, and the part most guides skip past: the specific reasons a starter stalls out around day 5, and what to actually do about it. By the end, you’ll also know what’s normal to see in that jar (hello, hooch) and what means it’s time to toss it and start clean.
What a sourdough bread starter actually is (wild yeast, no mystery)
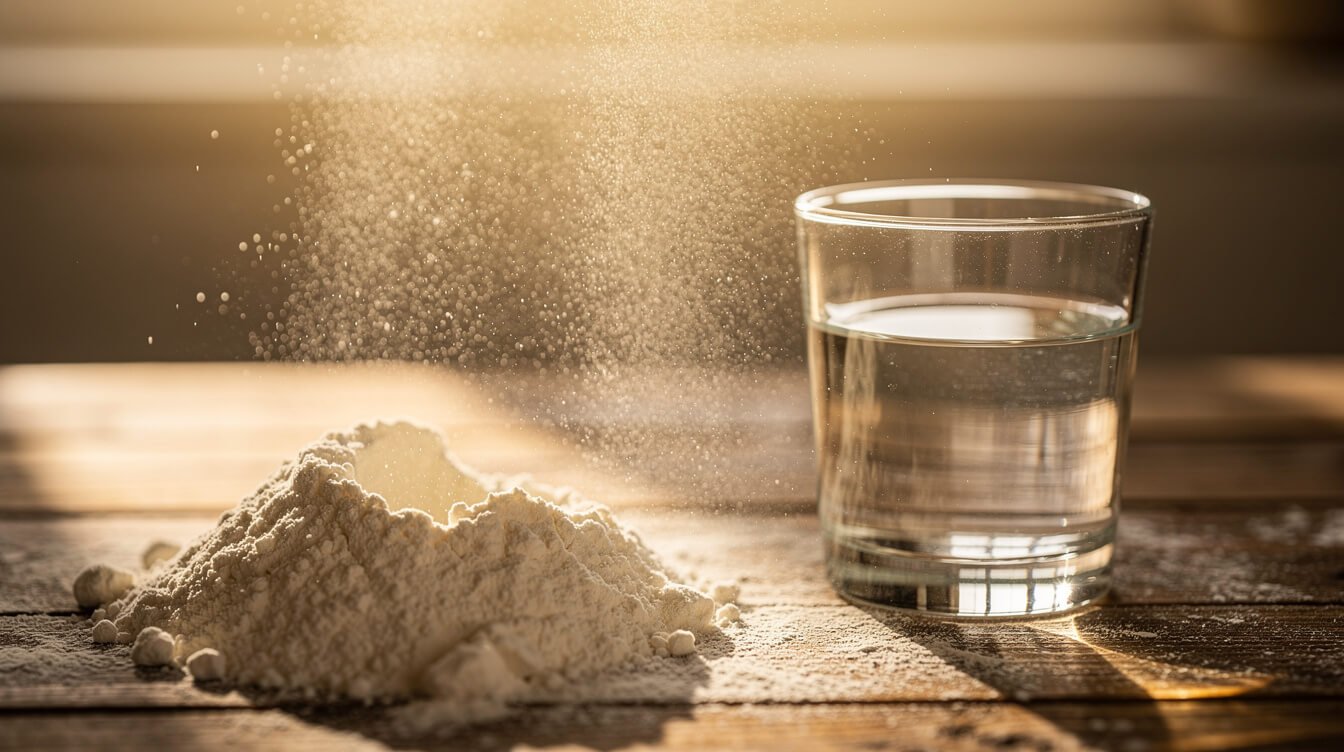
A sourdough starter is just flour and water, left out until wild yeast and bacteria that are already present — in the flour, in the air, on your hands, everywhere — move in and set up shop. Feed that mixture regularly, and the colony grows strong enough to produce enough gas to raise bread, no packet of store-bought yeast required.
That’s genuinely the whole concept. There’s no special air you need to “catch,” no ideal kitchen window, no secret ingredient handed down through generations. Flour and water, left alone at room temperature, is already a mild ecosystem — wild yeast for lift, and lactic acid bacteria (the same family that makes yogurt tangy) for flavor and a bit of natural preservation. Feeding is just giving that ecosystem fresh food on a schedule so it stays active instead of starving.
It’s the same basic fermentation as yogurt, kombucha, or a jar of pickles: a living culture, some patience, and a routine. Nothing about it requires a culinary background — it just requires doing the same simple thing at roughly the same time for about a week. Some bakers call theirs a “levain” once it’s mature and split off for a specific recipe, but for the purposes of building your first one, starter and levain are the same idea at different stages.
What you need to start (flour, water, a jar — that’s it)
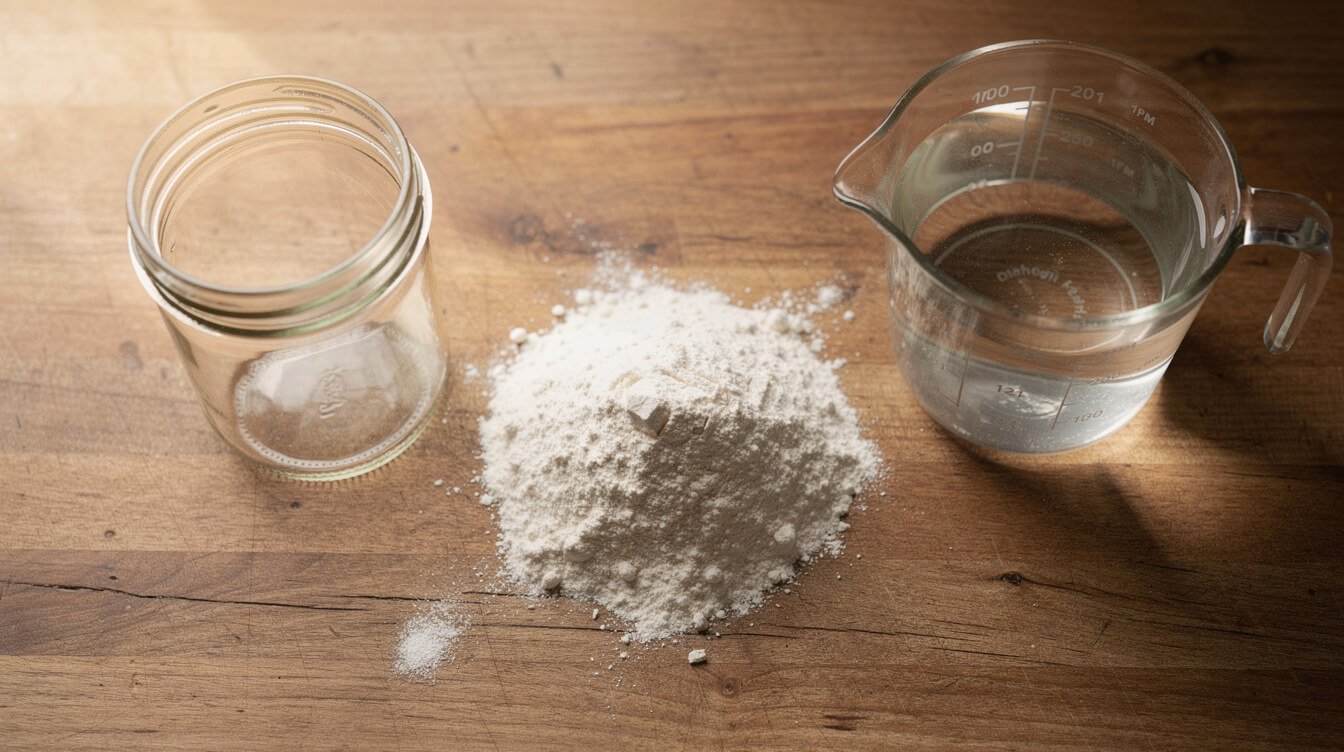
You don’t need a starter kit or anything from a specialty baking shop. Here’s the actual list:
- Flour. Unbleached all-purpose works fine for the whole process. Whole wheat or rye gets a starter going faster in the first few days, because the bran carries more of the wild yeast and bacteria that do the work — more on that below if yours is dragging.
- Water. Plain tap water is usually fine. If yours is heavily chlorinated (chlorine can slow the culture down), let a container of water sit out on the counter for 30 minutes before using it, or use filtered water instead.
- A jar. Something clear, at least 16 ounces, so you can actually see the rise and fall against the glass. A rubber band around the outside, moved to mark the current level after each feeding, tells you more about how your starter is doing than staring at the surface ever will.
- A kitchen scale. Not strictly required, but strongly recommended. Measuring flour and water by weight instead of by cup keeps your ratios consistent, and consistency is most of what makes a starter succeed on schedule instead of by luck.
- A loose cover. A clean kitchen towel secured with a rubber band, a coffee filter, or a lid set on top without sealing. The goal is keeping dust and fruit flies out while still letting the culture breathe — not creating an airtight seal, which can cause pressure to build as the culture produces gas.
That’s the full list. If you own a jar and a bag of flour right now, you’re not waiting on anything — a trip to a specialty store isn’t part of this recipe.
The day-by-day process for a sourdough bread starter (days 1-7)
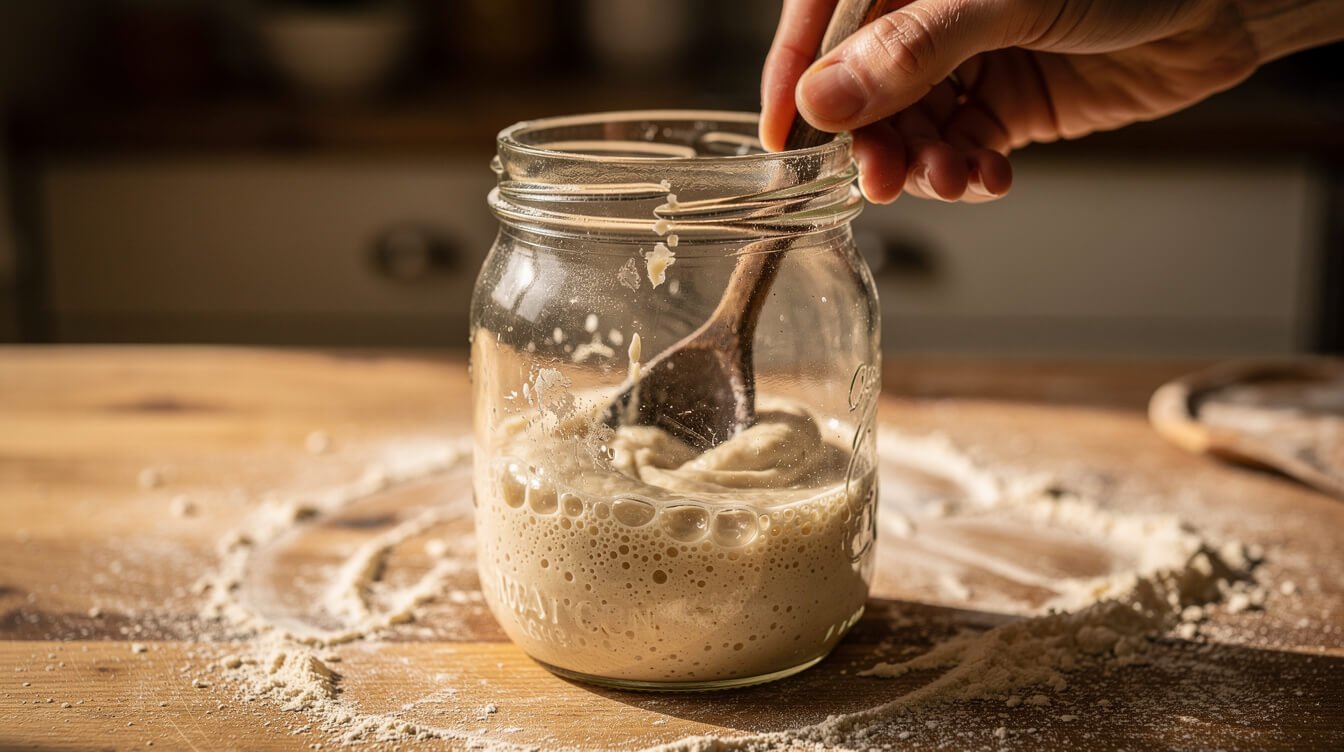
Every feeding follows the same basic move: discard part of the starter, then feed what’s left equal parts flour and water by weight (a 1:1:1 ratio of starter to flour to water is the easiest to keep track of, and it’s the ratio we recommend for beginners over more advanced ratios). Here’s how that plays out across a typical week at a normal room temperature of 70–75°F.
Day 1
Combine 50g flour and 50g water in your jar. Stir until no dry flour remains, scrape down the sides so nothing dries out and cakes on, and mark the level with your rubber band. Cover loosely and leave it at room temperature for 24 hours.
Day 2
You might see a few small bubbles, or you might see nothing at all. Both are completely normal at this stage — don’t feed yet, and don’t panic that nothing seems to be happening. Just let it sit another 24 hours.
Day 3
This is usually when the first real activity shows up: bubbles, a slightly sour or yeasty smell, maybe a small rise against the jar. Discard all but about 50g of the starter, then feed it 50g flour and 50g water. Move the rubber band to mark the new level so you have something to compare against tomorrow.
Days 4–5
If your starter is visibly active — rising and falling within 12 hours or so — move to feeding twice a day, roughly 12 hours apart. If it’s slower, once a day is still fine; just keep discarding down to about 50g before each feeding rather than letting it build up. This is also the stage where a stall is most common, and where the troubleshooting section below earns its keep.
Days 6–7
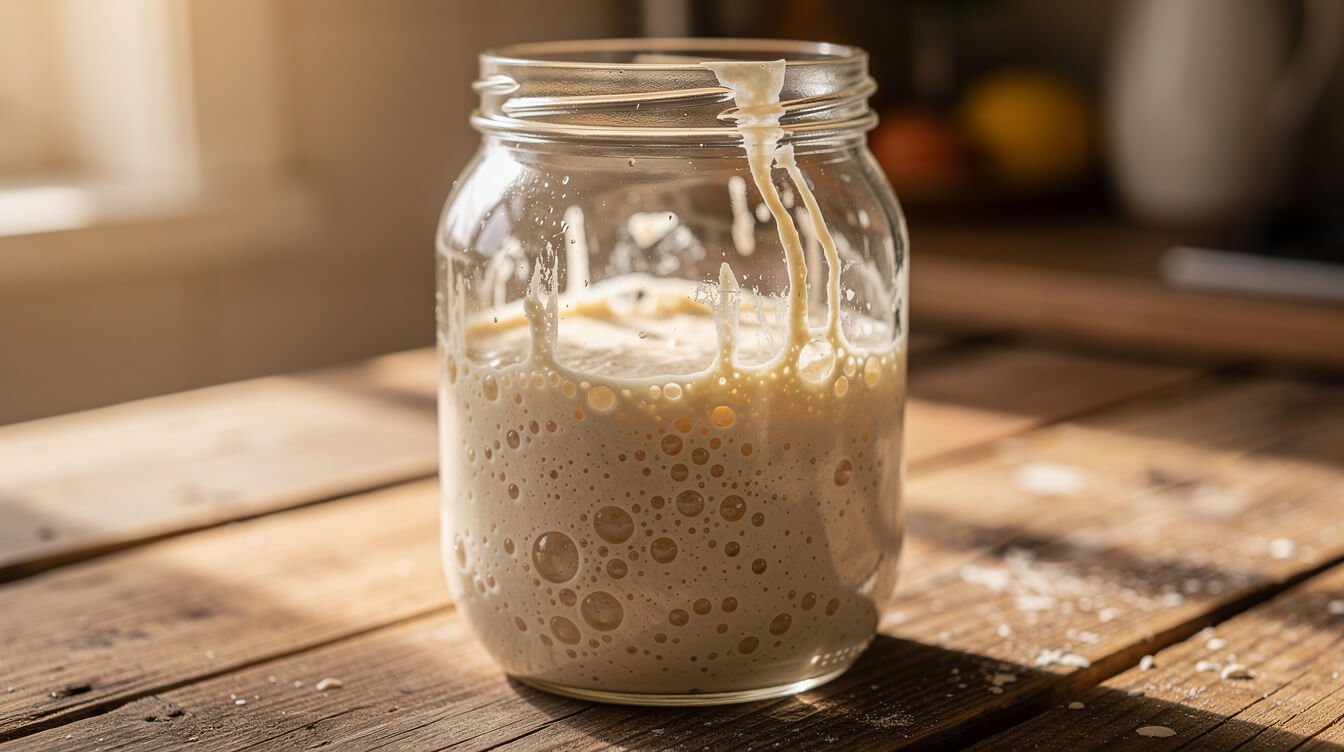
A starter that’s ready to bake with will roughly double in size within 4–8 hours of a feeding, then start to fall back down as it runs out of food. If you’re seeing that pattern reliably, you’re close to done. If you’re not there yet by day 7, that’s not a failure — some starters, especially in a cool kitchen, genuinely need 10 to 14 days to get there. Keep feeding on schedule and give it the time; rushing it or feeding it more than twice a day won’t speed things up.
The real ready-to-bake test (not just bubbles — the float test, done right)
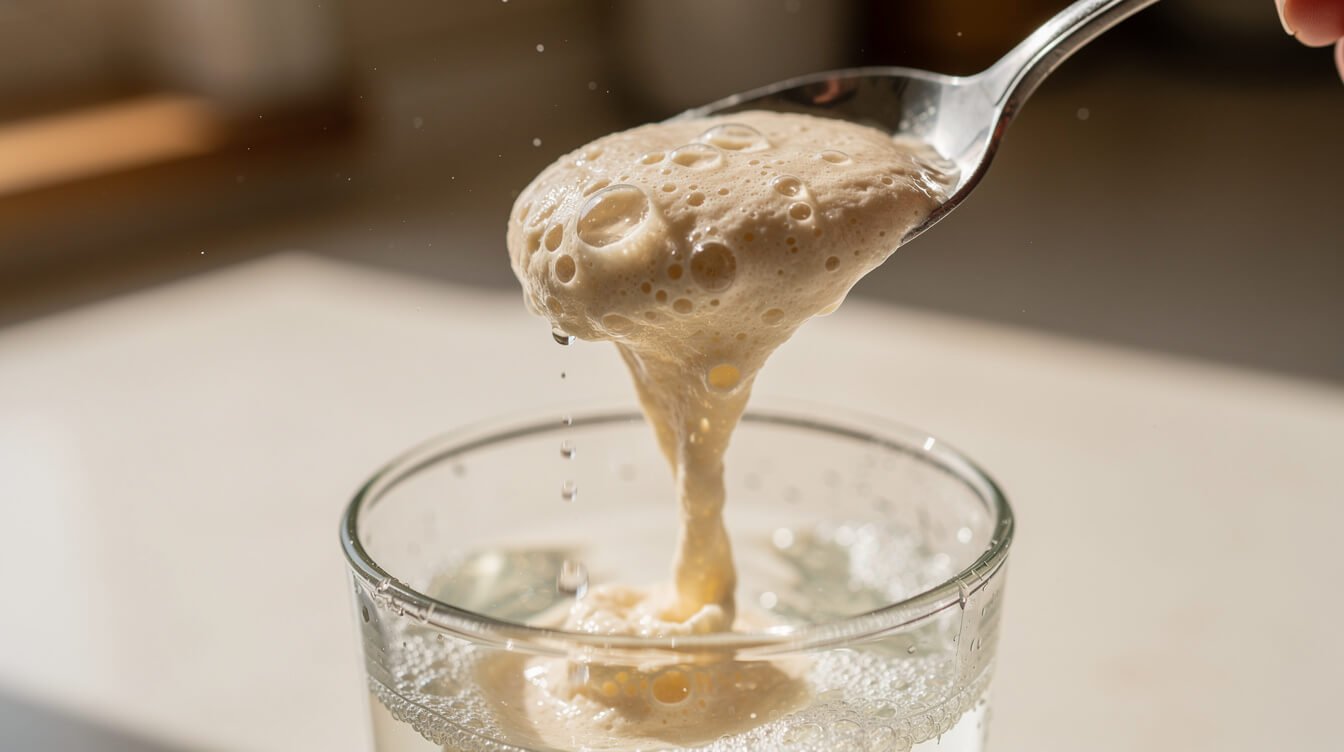
Bubbles alone don’t mean your starter is ready. Plenty of starters look lively on the surface but don’t yet have the strength to lift a loaf of bread. Here’s a more reliable two-part check.
First: does it double reliably?
Feed your starter and watch the rubber band. If it consistently doubles in size within 4–8 hours and then starts to recede, that’s the strongest signal you have — a starter that can’t double after a feeding isn’t ready yet, no matter how many bubbles are on top or how good it smells.
Second: the float test
Once it’s near its peak (right after doubling, before it starts to fall), drop a small spoonful into a glass of room-temperature water. If it floats, there’s enough gas trapped inside to give it real lift, and it’s ready to bake with. If it sinks, give it another feeding or two and try again a few hours after the next peak.
One honest caveat competitors tend to skip: the float test isn’t perfect for every flour. Starters made with a lot of whole wheat or rye tend to be denser, and can sink even when they’re perfectly active and capable of raising bread. If yours is whole-grain-heavy and sinking despite a reliable doubling pattern, trust the doubling test over the float test — it’s the more universal signal of the two, and the one we’d lean on if they ever disagree.
From the Eat Cafe kitchen
One good recipe a week, straight to your inbox
The recipe we're actually cooking this week, plus the one tip that saves it when it goes sideways. No spam. Unsubscribe anytime.
Why it’s not rising: the 3 most common stall points
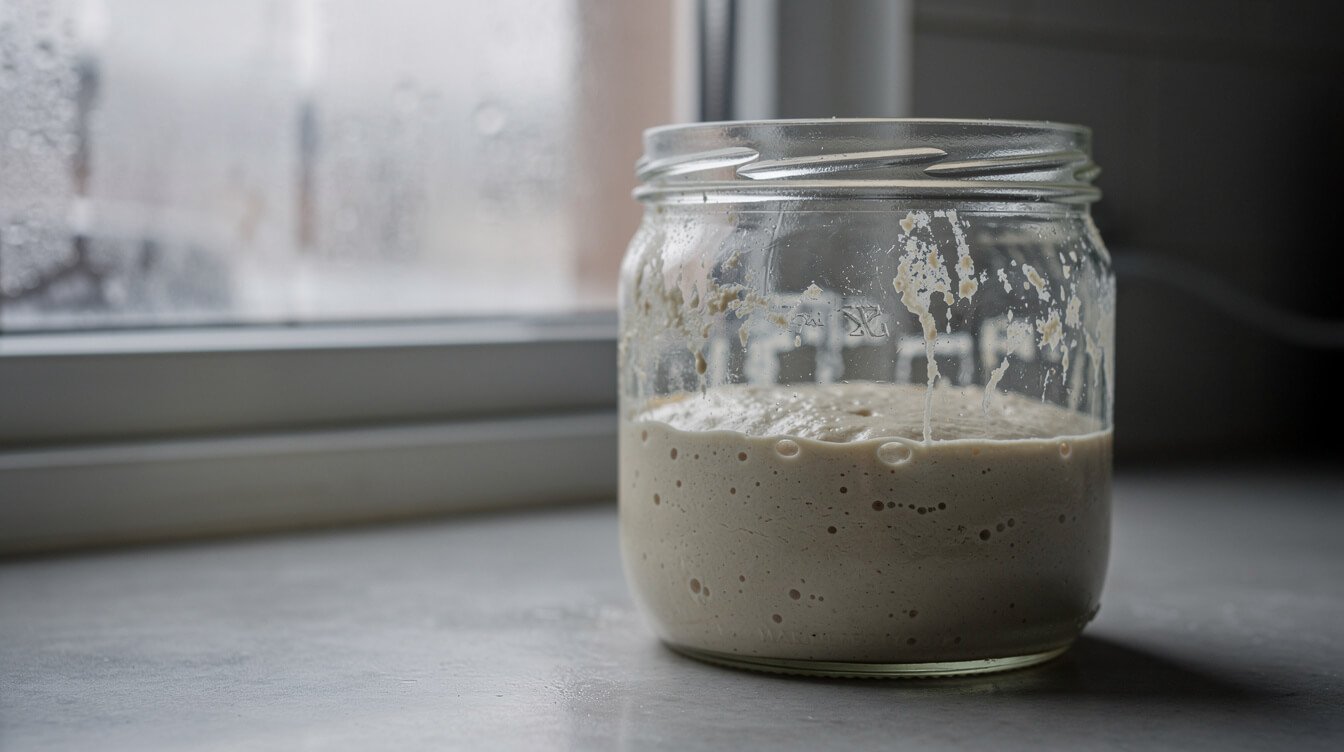
If it’s day 5 and your starter looks the same as day 2, it’s almost always one of these three things.
1. Your kitchen is too cold
Wild yeast slows down significantly below about 70°F, and a kitchen sitting at 65°F can genuinely take twice as long to produce the same activity as one at 75°F. This is the single most common stall point, especially heading into fall and winter, when kitchens run cooler overnight. Find a warmer, still spot — the top of the refrigerator, inside the (turned-off) oven with just the oven light on for gentle warmth, or near — not directly on top of — a running appliance like a dishwasher mid-cycle. If you can’t find anywhere warmer, the fix is simply patience: keep feeding on schedule and expect the timeline to stretch to 10–14 days instead of 7.
2. Your flour is working against you
Bleached all-purpose flour can be slower to get a starter going, because the bleaching process reduces some of the natural microbial activity that unbleached and whole-grain flours carry. If your starter has been sluggish for several days on bleached all-purpose, switch a feeding or two to whole wheat or rye — both are packed with more of the wild yeast and bacteria your starter needs to build momentum. You can transition back to all-purpose once it’s consistently active; a starter that’s already established will happily eat whatever flour you feed it.
3. You’re underfeeding it
Stretching feedings past 24–48 hours, especially in the first two weeks, lets the culture run out of food and go quiet or overly acidic. The same goes for feeding too little relative to how much starter you kept — if you’re not discarding down to a consistent amount before each feeding, you’re diluting the culture faster than it can recover between meals. Stick to the 1:1:1 ratio and a steady feeding schedule, and resist the urge to skip a day because it “doesn’t look like it needs it yet.” Consistency matters more than precision here.
What’s normal vs. what’s not (hooch, smell, mold)
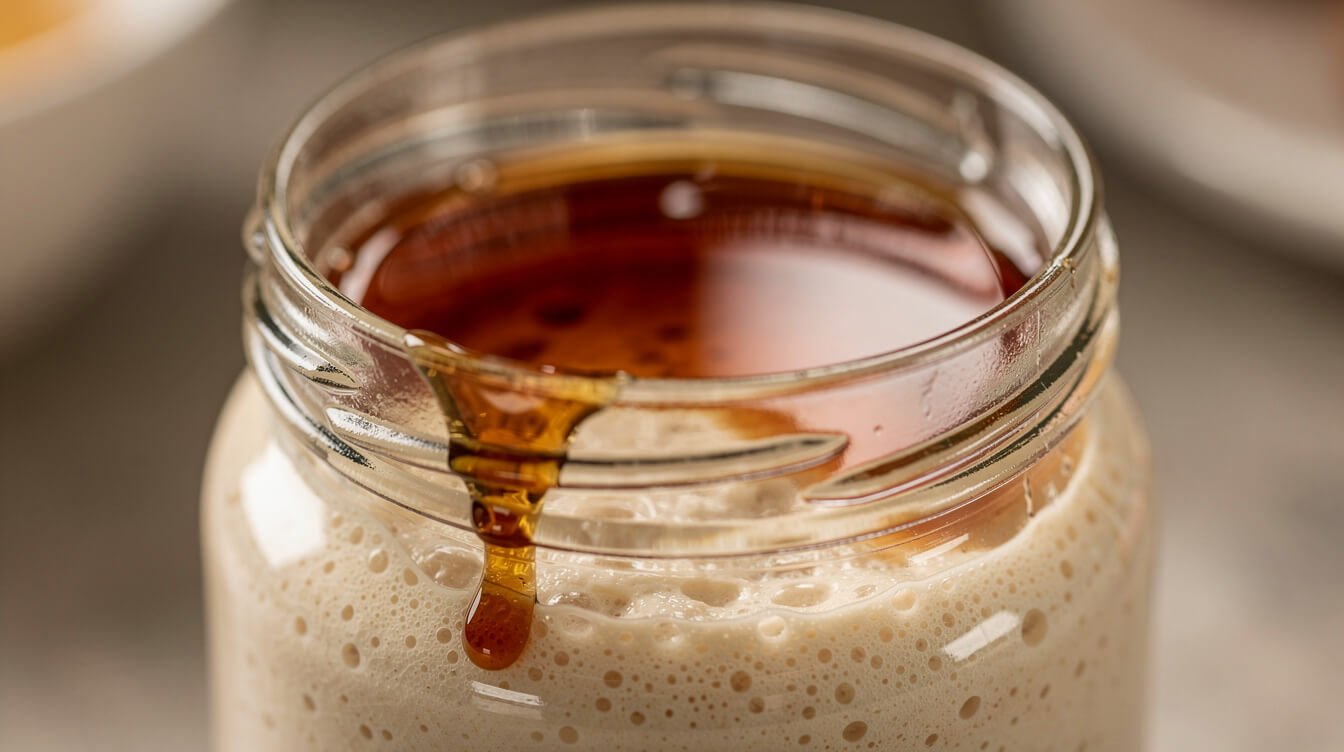
This is the part worth reading carefully, because getting it right matters. Most of what looks alarming in a jar of starter is completely normal — but a couple of specific signs mean it’s time to start over, and we’d rather be precise about those than vague.
Normal: hooch (that dark liquid on top)
A layer of grey or brownish liquid pooling on the surface is called hooch — it’s alcohol, a natural byproduct of a hungry starter. It’s completely normal and just means your starter is asking to be fed sooner than you have been. Pour it off or stir it back in (either is fine; stirring it in adds a slightly stronger sour flavor), then feed as usual.
Normal: a wide range of smells
A healthy starter can smell tangy like yogurt, yeasty like beer, sharply vinegary, or even a bit like acetone or nail polish remover when it’s very hungry. All of that is within normal range, and the sharper smells usually mellow out again within a few hours of a fresh feeding. What you’re listening for is a smell that’s sharp or sour, not one that’s rotten or genuinely foul.
Not normal: pink, orange, or red streaks
Any pink, orange, or reddish discoloration — streaks, spots, or a tint on the surface — is a sign of a specific bacterial contamination, not a normal part of fermentation. This is the one case where you don’t try to scoop around it or salvage the rest of the jar. Discard the whole starter, wash the jar thoroughly with hot soapy water, and start a new starter from scratch.
Not normal: fuzzy mold, any color
Fuzzy growth in any color — white, green, black, or blue — is mold, full stop. As with the pink or orange discoloration above, the right move is to discard the entire starter and start clean, not to remove the affected portion and keep going. A new starter costs a few dollars of flour and about a week of patience. It’s not worth the risk of an ambiguous ferment. When in doubt, throw it out.
Keeping it alive once it’s ready
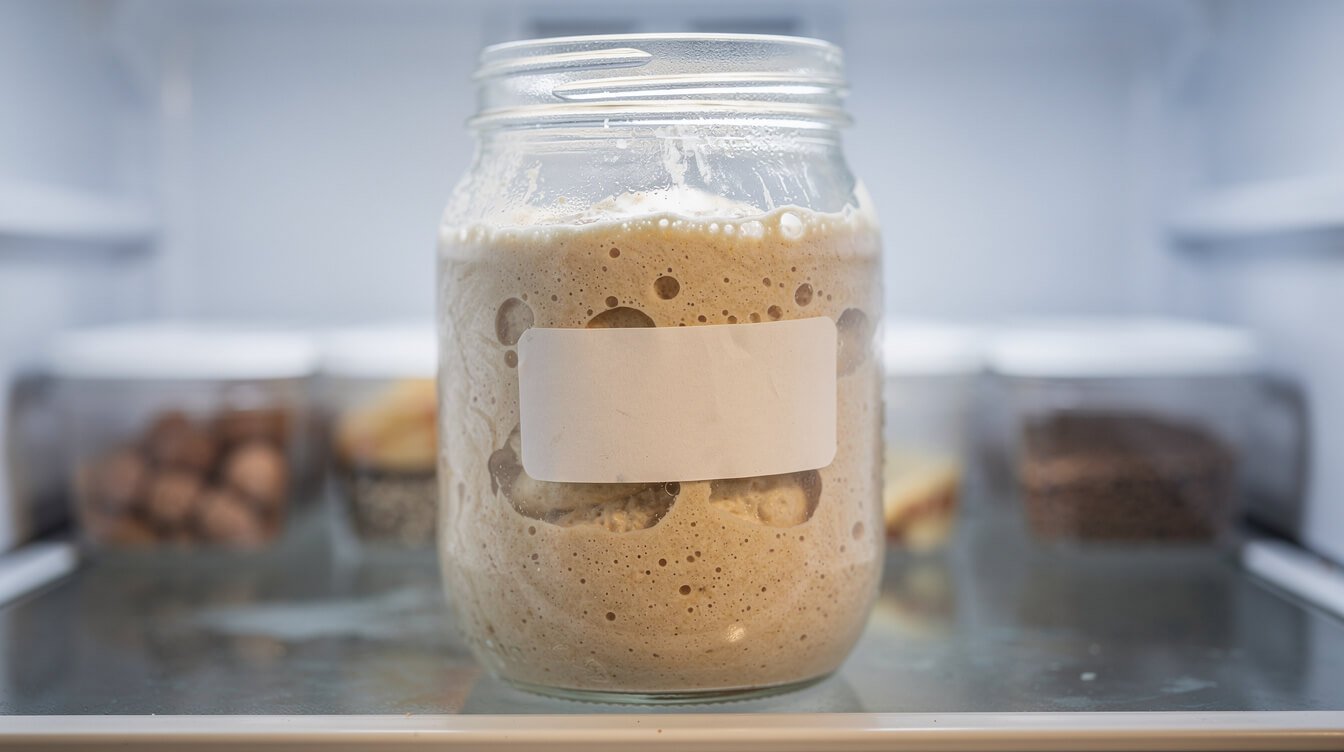
Once your starter is reliably doubling and passing the float test, maintenance is a lot lower-effort than the first week made it feel.
Baking often (a few times a week)? Keep it on the counter and feed it once a day, same 1:1:1 ratio. It’ll stay active and ready to bake with at almost any time, and you’ll get a feel for its rhythm quickly.
Baking occasionally? Move it to the refrigerator and feed it once a week. Cold slows the culture way down, so it can coast between feedings without starving. When you’re ready to bake, pull it out, let it come to room temperature, and give it one or two feedings over 12–24 hours to wake it back up and get it peaking again before you mix it into dough.
Either way, a starter is far more forgiving than it gets credit for. It’s not a pet you can kill by looking away for a week — worst case, an ignored fridge starter needs an extra feeding or two to bounce back, not a full restart. If you’re ever nervous about losing it, you can keep a small backup portion in the freezer as insurance; it’ll need a few days of feeding to fully wake up, but it works.
Frequently asked questions
How long does it take to make a sourdough starter from scratch?
Most starters are ready to bake with in 7 to 10 days at a warm room temperature. In a cooler kitchen, or with all-purpose bleached flour, it can take up to 14 days. There’s no shortcut that reliably speeds this up — consistent feeding and a stable, warm spot are what actually matter.
Can I use whole wheat flour the whole time instead of switching to all-purpose?
Yes. Whole wheat or rye can be used for every feeding from start to finish, and many bakers prefer keeping at least part whole grain permanently for a more active, flavorful starter. All-purpose is just a more economical choice once the starter is established.
Do I have to discard part of my starter every time I feed it?
For the first couple of weeks, yes — discarding keeps the ratio of food to culture manageable and prevents you from needing an enormous jar. Once your starter is mature and you’re baking with it regularly, you can skip the discard on days you’re using a large portion for a recipe.
What should I do with the discard instead of throwing it out?
Discard can go straight in the trash with no guilt — it’s a normal part of the process, not wasted effort. If you’d rather use it, plenty of recipes (pancakes, crackers, quick breads) are built specifically around unfed sourdough discard, but that’s optional, not required.
My starter smells like acetone. Is it dead?
No — a sharp, nail-polish-remover smell just means it’s hungry and has been between feedings a bit too long. Feed it right away, and the smell should mellow back to tangy or yeasty within a few hours.
Can I speed up a slow starter with more frequent feedings?
Feeding more than twice a day usually doesn’t help and can actually set a young starter back by diluting it faster than the culture can build up. If it’s stalled, look at kitchen temperature and flour type first — those two levers do far more than an extra feeding.

From the Eat Cafe shop
Chef Coat Costume Tee | Culinary Uniform T-Shirt
Price range: $24.99 through $26.99
See it in the shopFinal thoughts
A sourdough starter isn’t fussy once you understand what it actually needs: consistent food, a reasonable temperature, and about a week of not giving up on day 4. The stalls, the weird smells, the layer of dark liquid on top — all of it is a normal part of the process, not a sign you’re doing it wrong.
If you’re building baking confidence more broadly, the same troubleshooting mindset applies to figuring out why a cake sinks or turns dense — most baking problems have a specific, fixable cause, not a mysterious one. And once your starter is active, the dough-handling skills carry straight over into other yeasted doughs, like a pizza dough that actually stretches instead of springing back.
Found this useful? Save this guide for day 3, when you’re staring at a quiet jar wondering if you did something wrong (you probably didn’t). And if you’d like one genuinely good, tested recipe in your inbox each week, come cook along with us — no spam, just the good stuff.

Before you go
Want the next one?
We post a new recipe or kitchen guide every day. The best of the week lands in one short email, no life story attached.