Easy basic chili recipe (and the one step that keeps it from tasting flat)
Most chili goes wrong in one of two ways. Either it tastes flat and a little dusty, like tomato soup with chili powder stirred in, or it ends up thin and watery when you wanted something that sits up on a spoon. This easy basic chili recipe fixes both with two small habits that most recipes skip: bloom the spices in the hot fat before the tomatoes go in, and finish the pot with salt and a splash of acid. Ground beef, canned beans, pantry spices, one pot, about an hour.
Here’s the short version of the tricks. Toast the chili powder, cumin, and tomato paste in the pan for a minute and a half so they turn dark and fragrant. Simmer at least 30 minutes, uncovered at the end, to thicken. Taste at the very end and add salt and a spoonful of vinegar or lime until it tastes bright. The ground beef is done at 160°F (71°C), checked with a thermometer. The full recipe is right below. After it, we’ll walk through each fix, plus slow cooker and Instant Pot versions and how to store leftovers safely.
Easy basic chili recipe (one pot, about an hour)
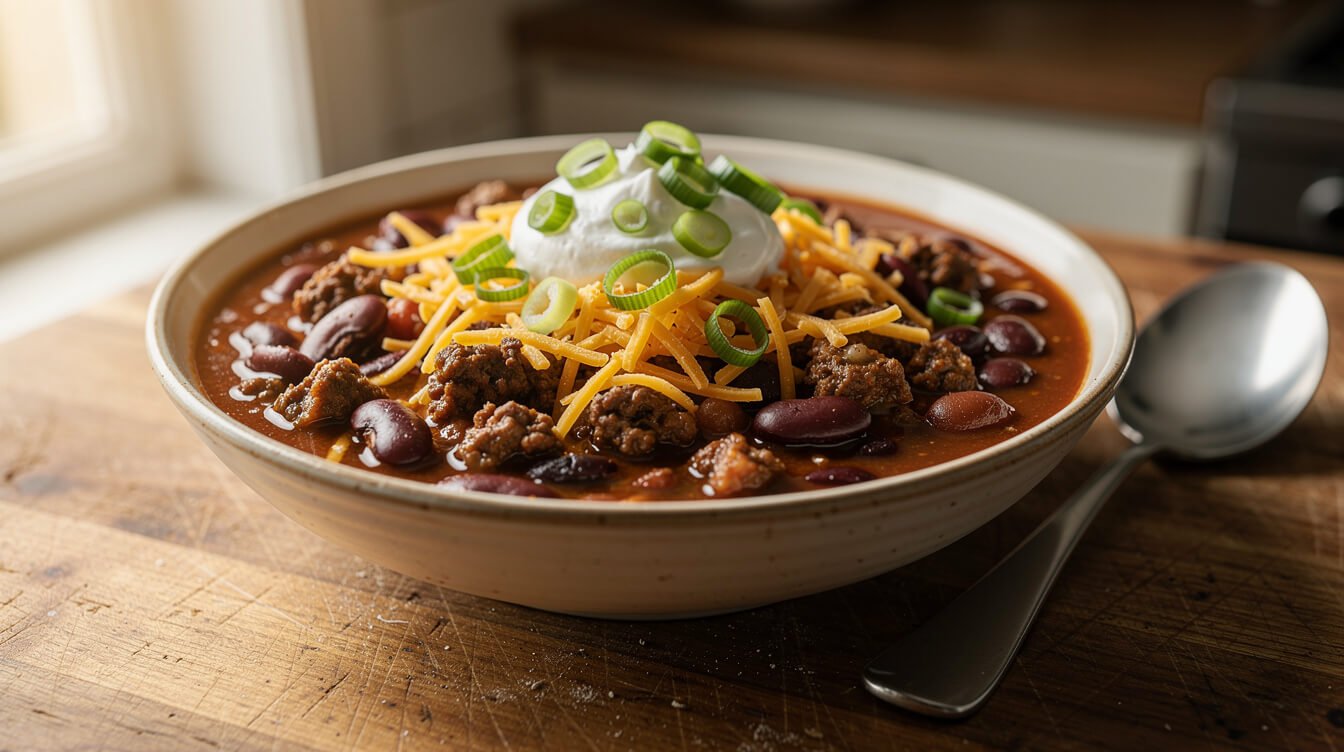
This makes about 8 servings, and it’s medium-mild, which suits most families. Turn the heat up or down with the cayenne (more on that below). Everything here is at a regular grocery store, and none of it is fancy.
Ingredients
- 1 tablespoon neutral oil (vegetable, canola, or olive)
- 1 large yellow onion, diced
- 1 green bell pepper, diced (optional)
- 2 lb (900 g) ground beef, 80/20 or 85/15
- 4 cloves garlic, minced
- 3 tablespoons chili powder (the regular supermarket blend)
- 1 tablespoon ground cumin
- 2 teaspoons dried oregano
- 1 teaspoon smoked or sweet paprika
- ¼ to ½ teaspoon cayenne (optional, for heat)
- 2 tablespoons tomato paste
- 1 can (28 oz) crushed tomatoes
- 1 can (14.5 oz) diced tomatoes, with their juice
- 2 cans (15 oz each) kidney beans, drained and rinsed (or 1 kidney and 1 pinto)
- 1 cup (240 ml) beef broth or water
- 1½ teaspoons kosher salt to start, plus more to taste, and black pepper
- 1 teaspoon brown sugar (optional, only if your tomatoes taste sharp)
- 1 tablespoon apple cider vinegar or the juice of half a lime, to finish
- 2 tablespoons masa harina or fine cornmeal (optional, for thickening)
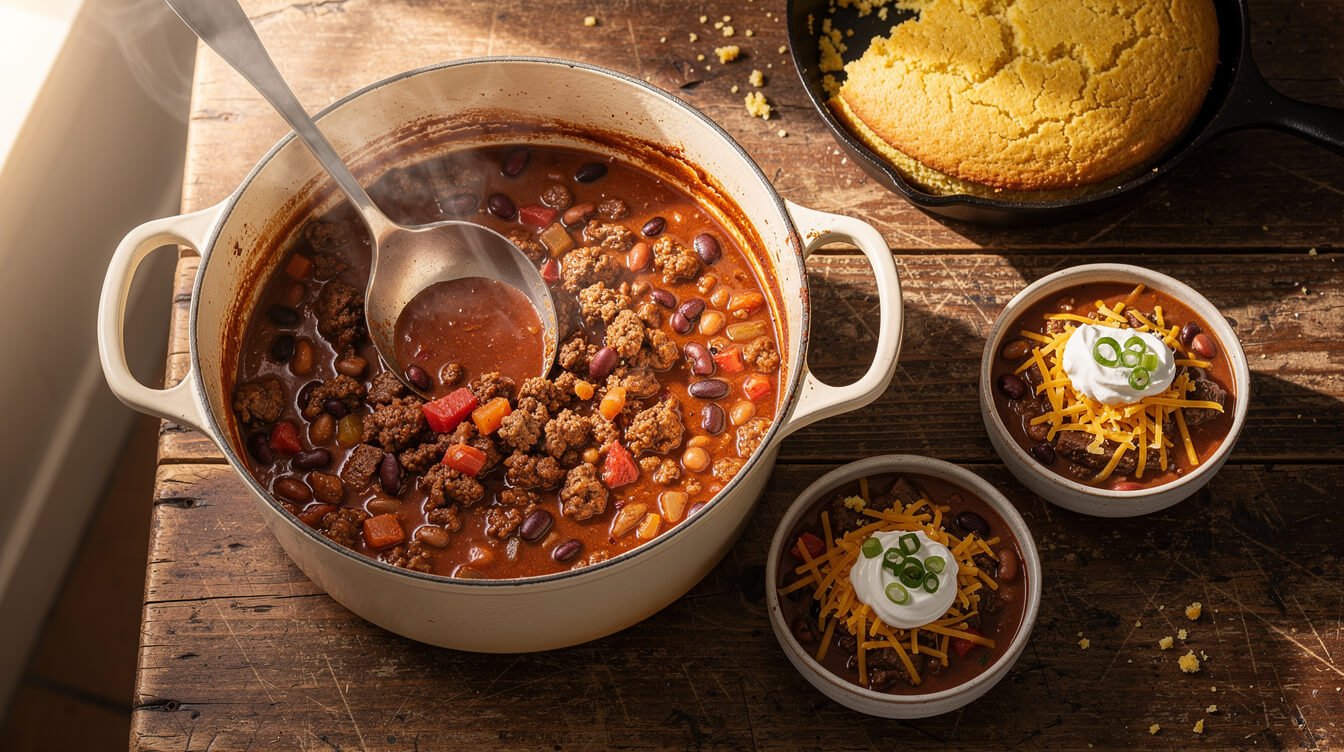
Toppings: shredded cheddar, sour cream, sliced green onion, diced raw onion, pickled jalapeños, crushed tortilla chips, and a wedge of cornbread on the side.
Instructions
- Soften the onion. Heat the oil in a large Dutch oven or heavy pot over medium-high heat. Add the onion and bell pepper with a pinch of salt and cook, stirring now and then, until soft and starting to brown at the edges, about 5 minutes.
- Brown the beef. Add the ground beef and break it up with a wooden spoon. Let it sit for a minute or two between stirs so it actually browns instead of steaming. Cook until there’s no raw meat left and plenty of deep brown bits, 8 to 10 minutes. Check a few of the larger clumps with an instant-read thermometer. You want 160°F (71°C).
- Drain most of the fat. Tilt the pot and spoon off all but about 2 tablespoons of fat. With 80/20 beef, there’s usually a good ⅓ cup to remove. Don’t pour it down the drain; spoon it into a can or a bowl lined with foil and toss it once it firms up.
- Bloom the spices. Turn the heat down to medium. Stir in the garlic for 30 seconds, then add the chili powder, cumin, oregano, paprika, cayenne, and tomato paste. Stir constantly for 60 to 90 seconds, until the paste darkens to a brick red and the whole kitchen smells like chili. This is the step that matters most.
- Add the liquids and beans. Pour in the crushed tomatoes, diced tomatoes, beans, broth, and 1½ teaspoons salt. Scrape the bottom of the pot to lift every browned bit.
- Simmer. Bring it to a boil, then lower the heat to a gentle simmer. Cook partly covered for 30 to 45 minutes, stirring every 10 minutes and scraping the bottom so nothing scorches. Take the lid off for the last 15 minutes if you want it thicker.
- Finish and taste. Turn off the heat. Stir in the vinegar or lime juice. Taste a full spoonful and add salt a ¼ teaspoon at a time until the flavors pop. If it’s thinner than you’d like, see the masa trick below.
Total time: about 1 hour (15 minutes of hands-on work). Serves: 8. Chili is one of those dishes that’s even better the next day, so don’t worry about making it ahead.
Bloom the spices: the 90-second step that makes it taste like chili
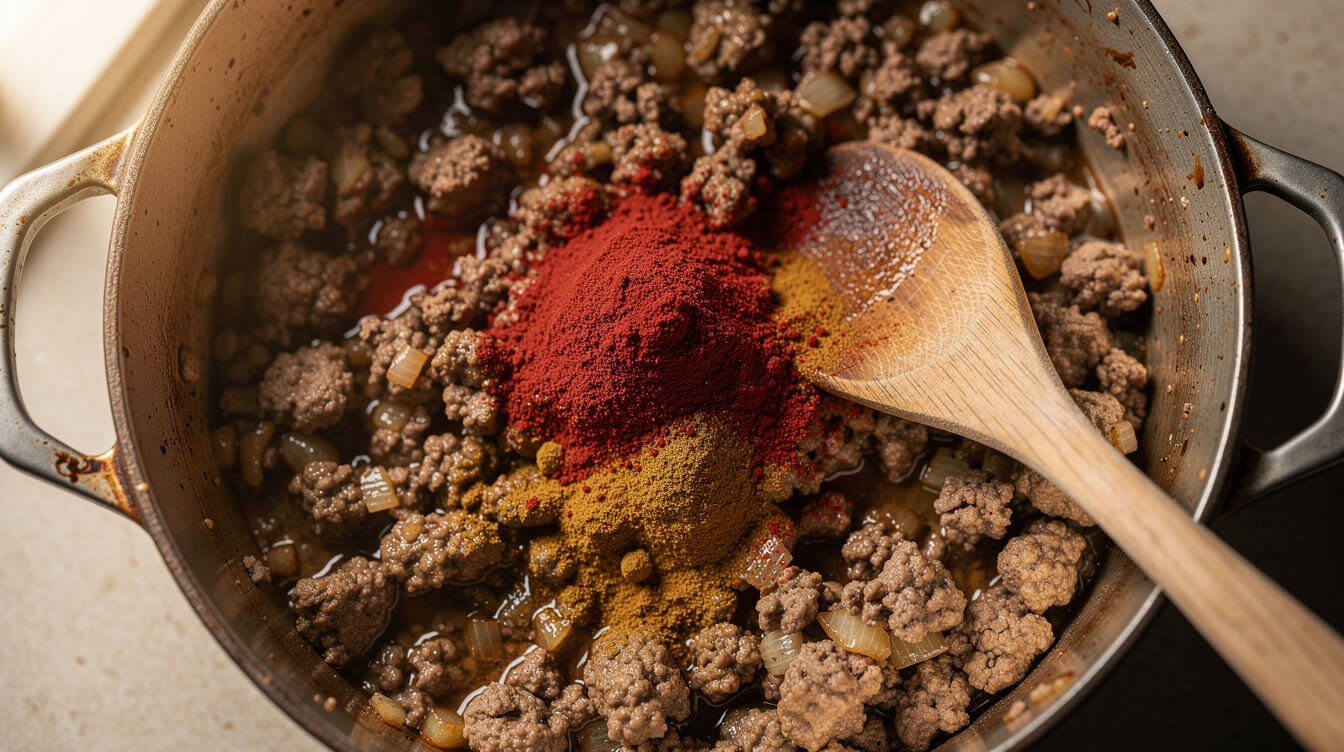
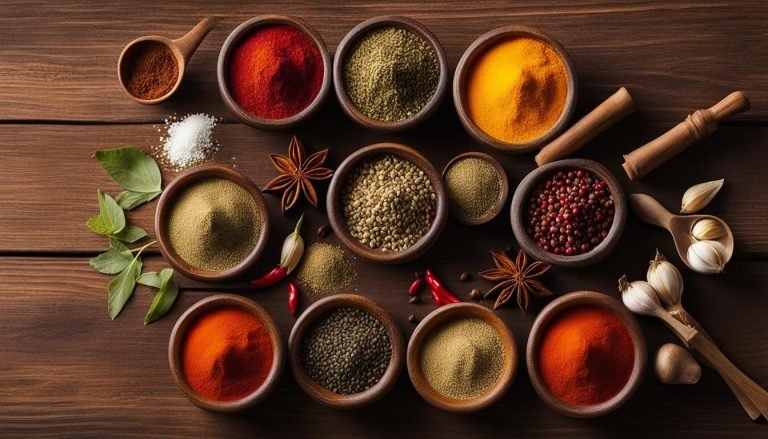
If you’ve ever made chili that tasted fine but somehow “raw” or chalky, this is almost always why. Most basic recipes have you dump the spices in with the tomatoes. The trouble is that ground spices carry a lot of their flavor in compounds that dissolve in fat, not water. Stir them straight into a pot of tomatoes and they never really wake up. They just float around, a little gritty, and the chili tastes like it needs another hour.
Blooming fixes that. In this easy basic chili recipe, you cook the spices in the hot fat left from the beef for a minute or so, before any liquid goes in. The heat toasts them, and the fat pulls their flavor out and carries it through the whole pot. You’ll see the color shift from bright red to a deeper brick, and the smell changes from dusty to warm and toasty. That’s your signal to add the tomatoes.
Add the tomato paste at the same time
Tomato paste gets the same treatment. Cooking it in the fat for a minute caramelizes some of its sugars, which takes away the tinny, canned edge and adds a deep, almost savory sweetness. Stir it right in with the spices so it coats the meat.
How not to burn them
- Lower the heat to medium first. Spices go from toasted to bitter fast on high heat.
- Keep stirring. Don’t walk away for this minute.
- Make sure there’s some fat in the pot. If you used very lean beef and it looks dry, add a tablespoon of oil before the spices.
- Go by smell, not the clock. When it smells strongly of chili and the paste has darkened, it’s done. If you smell anything sharp or acrid, get the tomatoes in right away.
This is the one habit worth carrying into every soup, stew, and curry you make. It costs you 90 seconds and gives you the flavor of a pot that’s simmered all afternoon.
Cooking the ground beef: brown it, drain it, and check for 160°F
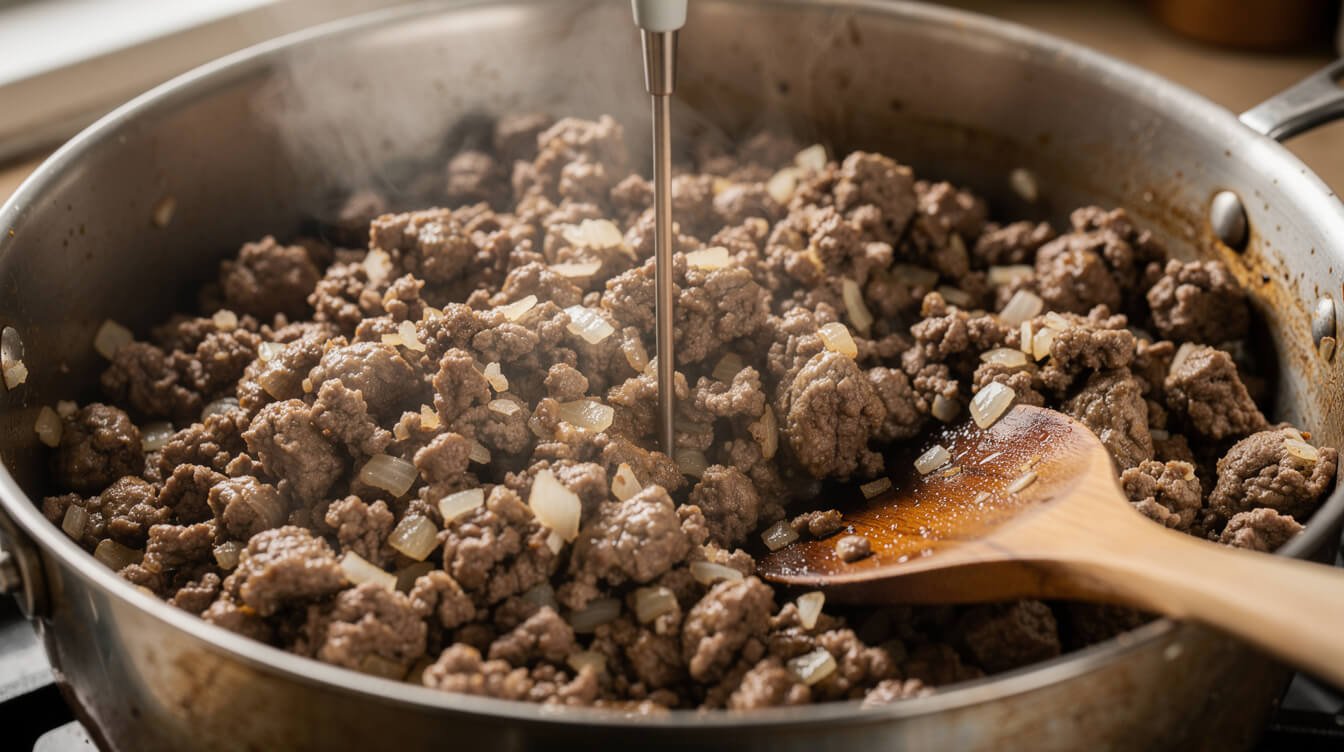
The beef is where a lot of the flavor in chili comes from, and it’s also the one food-safety step in this recipe. Both come down to the same thing: cook it properly before the tomatoes go in.
Brown it, don’t steam it
Two pounds of ground beef in one pot will release a lot of liquid at first. If you stir it constantly, it boils in that liquid and turns gray and rubbery. Instead, spread it out, let it sit for a minute or two so the bottom gets a proper sear, then break it up and stir. Once the liquid cooks off, it starts to brown and the bottom of the pot gets those dark sticky bits. That’s flavor, and it all lifts off when the tomatoes go in. If your pot is on the smaller side, brown the beef in two batches.
How to know it’s done
USDA recommends cooking ground beef to a safe minimum internal temperature of 160°F (71°C), measured with a food thermometer. A lot of recipes say “cook until no longer pink,” but color is only a rough cue. The thermometer is the actual check. Push the probe into the middle of a few of the bigger clumps. Once they read 160°F, you’re good. The beef will keep cooking through the whole simmer anyway, but checking it now means you know it’s safe before anything else goes in.
If you don’t own an instant-read thermometer yet, it’s the single most useful cheap tool you can buy for cooking meat, and it takes the guesswork out of everything from chili to roast chicken.
Should you drain the fat?
Mostly, yes. With 80/20 beef, two pounds will give you a lot of fat, and leaving it all in makes the chili greasy, with an orange slick on top of every bowl. Spoon off all but about 2 tablespoons. That leftover fat is exactly what you need to bloom the spices in the next step. With 90/10 beef, you may not need to drain at all.
Whatever you remove, don’t pour it down the sink. It solidifies as it cools and clogs pipes. Spoon it into an old can or a foil-lined bowl, let it firm up, and throw it in the trash.
What to buy: beef, beans, tomatoes, and the right chili powder
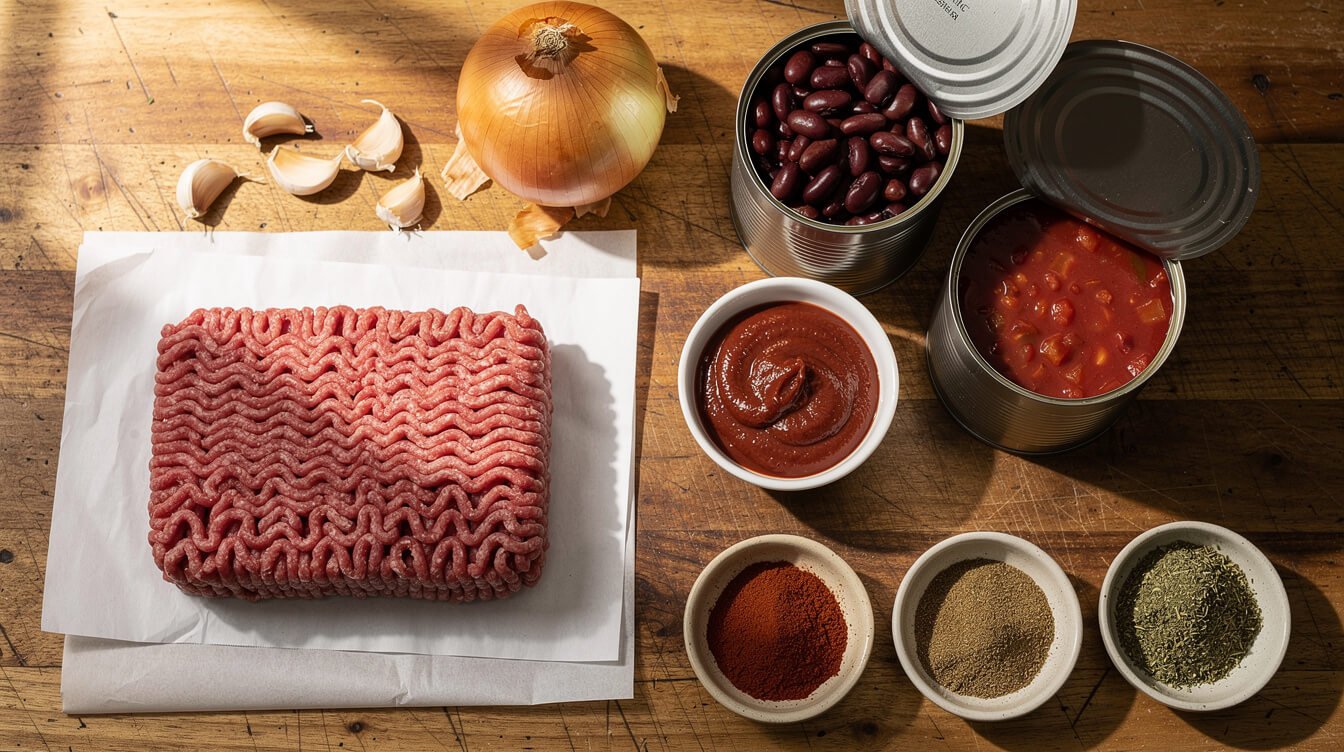
An easy basic chili recipe is only a handful of ingredients, so each one does a lot of work. None of it needs to be expensive. Here’s what actually makes a difference.
Ground beef: 80/20 or 85/15
A little fat means more flavor and more tender meat. 80/20 or 85/15 is the sweet spot, and you drain off what you don’t need. 90/10 works but can turn a bit dry and crumbly after a long simmer. You can also swap in half ground pork or mild Italian sausage for a richer pot, or use ground turkey. If you use turkey or chicken, cook it to 165°F (74°C), the USDA temperature for poultry.
Chili powder vs. chile powder
This trips a lot of people up. In the US, the jar labeled chili powder is a blend: ground dried chiles plus cumin, garlic, oregano, and often salt. That’s what this recipe means. A jar labeled chile powder (or “ancho chile powder”) is usually a single ground chile with nothing else. It’s great, but it has more heat and no salt, so if that’s what you’ve got, start with 2 tablespoons and taste. Check the label for salt, too. Some blends are salty, which is why this recipe starts you on a modest 1½ teaspoons.
Beans: canned is the easy way
Canned kidney beans are already cooked, so you just drain, rinse, and stir them in. Rinsing takes off the starchy, salty canning liquid. Pinto and black beans work too, or a mix. If you’d like to use dried red kidney beans, soak them for at least 5 hours, drain off the soaking water, and boil them in fresh water for at least 30 minutes before they go into the chili. That’s the FDA’s guidance, because raw or undercooked kidney beans contain a natural toxin that a hard boil destroys. Don’t cook dried kidney beans from raw in a slow cooker. It doesn’t get hot enough to do the job.
Tomatoes
Crushed tomatoes give you body, and a can of diced tomatoes adds a few chunks. Fire-roasted diced tomatoes are a nice upgrade if you see them. Store brands are completely fine here.
The pot
A heavy Dutch oven is ideal because it holds heat evenly and doesn’t scorch easily. Enameled is best for a long, tomato-heavy simmer. Bare cast iron is great for browning, but an hour of acidic tomatoes can wear down the seasoning and leave a slight metallic taste. If you’re shopping, our guide to the best cast iron skillet brands walks through what’s worth the money. Any big, heavy stockpot will do the job, though.
If chili night becomes a regular thing at your house, our Support Our Charities Donor Membership T-Shirt is a comfy one to cook it in, and it’s a nice way to support the kitchen.
From the Eat Cafe kitchen
One good recipe a week, straight to your inbox
The recipe we're actually cooking this week, plus the one tip that saves it when it goes sideways. No spam. Unsubscribe anytime.
Why your chili tastes flat (and the 2-minute fix)
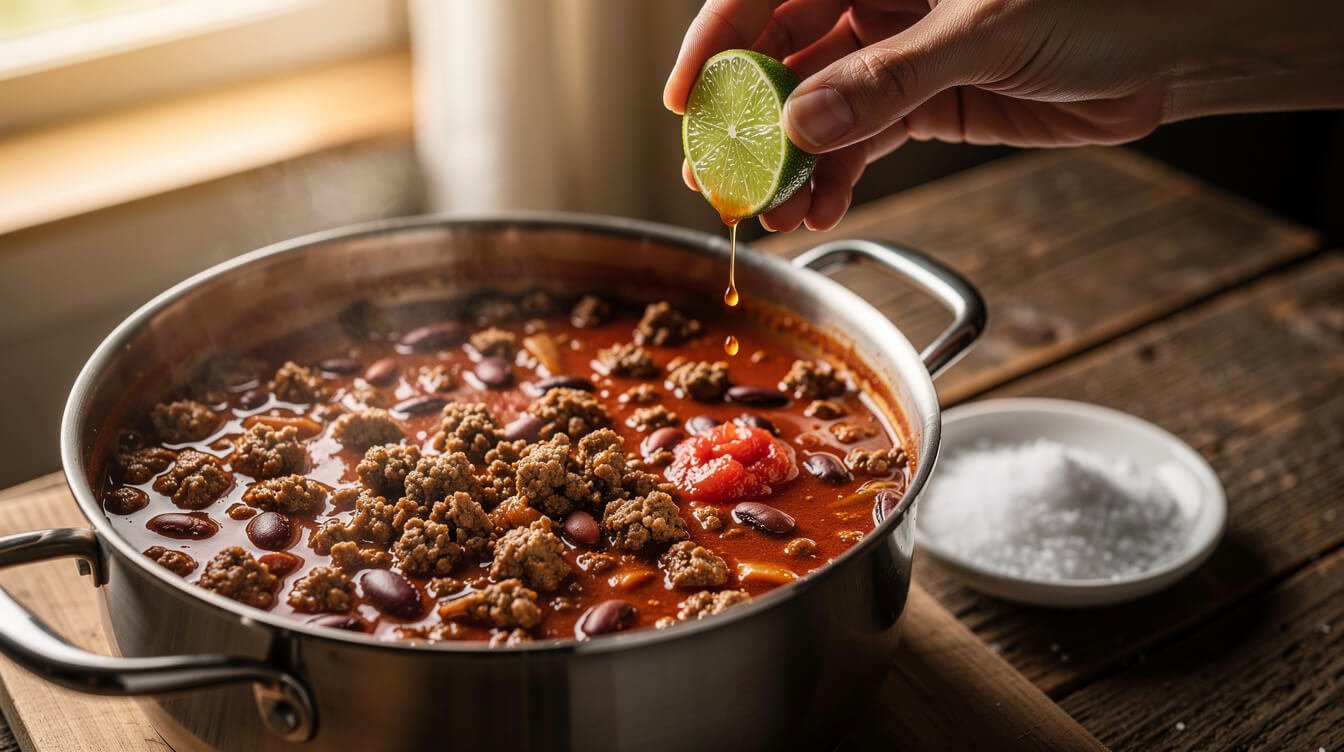
You’ve simmered it for an hour, it smells great, and then you taste it and it’s just… fine. Muddy. Like something’s missing. Before you reach for more chili powder, run through these, in this order. Nine times out of ten, it’s the first one.
1. It needs salt
Two pounds of beef, two cans of beans, and over 40 ounces of tomatoes take a lot of salt, and an under-salted chili tastes flat no matter how many spices are in it. Add ¼ teaspoon at a time, stir, and taste a full spoonful with beans and meat, not just the liquid. You’ll know you’re there when the chili flavor suddenly gets louder.
2. It needs acid
This is the fix nobody tells you about. A long simmer mellows the tomatoes, and the whole pot drifts toward heavy and dull. A tablespoon of apple cider vinegar or a squeeze of lime at the very end wakes everything up. It won’t taste sour. It just tastes brighter. Add it off the heat, right before serving.
3. It needs more time
If you only simmered for 15 minutes, the flavors haven’t had a chance to come together yet. Give it another 20. Better yet, make it a day ahead. Chili really is better on day two.
4. It needs depth
If it’s salted and bright and still a bit one-note, add one of these and simmer another 10 minutes: a teaspoon of Worcestershire sauce, a teaspoon of unsweetened cocoa powder, a splash of strong coffee, or a teaspoon of brown sugar if your tomatoes taste sharp. Use one or two, not all of them.
Turning the heat up or down
As written, this recipe is medium-mild. For a kid-friendly pot, skip the cayenne. For more heat, add a minced jalapeño with the onion, bump the cayenne up to ½ teaspoon, or stir in a spoonful of chipotle in adobo with the tomato paste for smoky heat. It’s always easier to add heat than to take it away, so go slowly. If it ends up too spicy, a big spoonful of sour cream on each bowl, a little extra sugar, or another can of beans and tomatoes will calm it down.

Something comfy for chili night
The Eat Cafe Support Our Charities Donor Membership T-Shirt is a soft, sturdy black tee with a small logo over the heart and a big one on the back. Good for a Sunday pot of chili, and an easy way to show some love for the kitchen.
Too thin? How to thicken chili without a flour paste
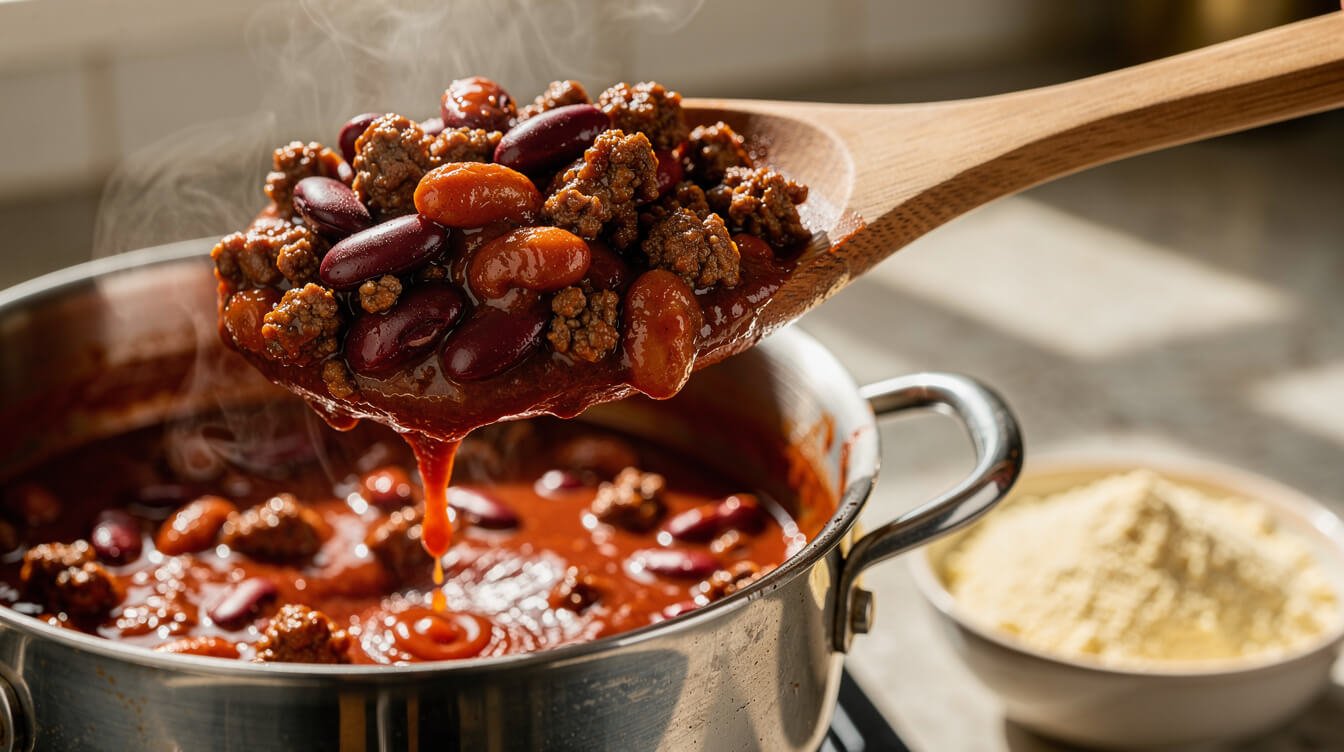
With an easy basic chili recipe like this one, thin chili is usually just chili that hasn’t finished cooking yet. But if dinner’s in 10 minutes and it still looks like soup, you’ve got options. Here they are from easiest to most effective.
Simmer with the lid off
The simplest fix. Take the lid off and let it bubble gently for another 15 to 20 minutes, stirring and scraping the bottom every few minutes. The water evaporates and the flavor concentrates. The only cost is time.
Stir in masa harina
This is our favorite trick. Masa harina is the corn flour used for tortillas, and it’s usually in the baking or international aisle. Whisk 2 tablespoons with ¼ cup of water or broth, stir it into the simmering chili, and cook for 5 more minutes. It thickens beautifully and adds a subtle, toasty corn flavor that tastes like it belongs. Fine cornmeal works the same way, just with a slightly grainier texture.
Mash some beans
Scoop out a cup of beans with a little liquid, mash them with a fork, and stir them back in. The bean starch thickens the pot with nothing extra added.
Add more tomato paste
A spoonful or two of tomato paste, stirred in and simmered for a few minutes, thickens the chili and adds more tomato depth.
One thing to skip: a raw flour-and-water paste. It thickens, but it can taste pasty and dull the spices unless you cook it a long time. And remember that chili thickens a lot as it cools. If it’s just a touch loose when it comes off the stove, it’ll probably be perfect by the time it’s in bowls.
Easy basic chili recipe in the slow cooker or Instant Pot
Same recipe, different pot. Two rules apply to both: brown the beef and bloom the spices on the stove (or on the Instant Pot’s Sauté setting) first, and use canned beans.
Slow cooker
- Do steps 1 to 4 of the recipe in a skillet on the stove: soften the onion, brown the beef to 160°F, drain, and bloom the spices and tomato paste.
- Scrape everything into the slow cooker. Add a splash of the broth to the hot skillet, scrape up the browned bits, and pour that in too.
- Add the tomatoes, drained canned beans, the rest of the broth, and the salt. Stir.
- Cook on low for 6 to 8 hours or high for 3 to 4 hours. Keep the lid on, because every peek lets out heat and adds time.
- Stir in the vinegar or lime and adjust the salt at the end.
Why brown first? Raw ground beef in a slow cooker comes out gray, greasy, and in clumps, and the spices never bloom. Ten minutes on the stove makes a huge difference. The same thinking applies to our slow cooker beef stew. And because a slow cooker doesn’t get hot enough to safely cook dried kidney beans, stick with canned here.
Instant Pot
- Use Sauté to soften the onion, brown the beef to 160°F, drain, and bloom the spices and tomato paste.
- Pour in the broth and scrape the bottom completely clean. Any stuck bits can trigger the “burn” warning.
- Add the beans, then pour the crushed and diced tomatoes on top. Don’t stir. Thick tomatoes sitting on the bottom are what usually cause the burn warning.
- Pressure cook on high for 10 minutes, then let it release naturally for 10 minutes before you vent the rest.
- Stir, then use Sauté for a few minutes if you want it thicker. Finish with the vinegar or lime and salt.
Want something different on the next chili night? Our white bean chicken chili is the creamy, mild cousin of this one, and it’s great for anyone who doesn’t eat beef.
Toppings, storing, and reheating chili safely
Toppings that make it dinner
Chili is half the meal. The toppings are the other half. Set out a few and let everyone build their own bowl: shredded cheddar, sour cream or Greek yogurt, sliced green onion, diced raw onion, pickled jalapeños, avocado, cilantro, and crushed tortilla chips or Fritos. For the side, nothing beats a wedge of buttermilk cornbread. Leftover chili also makes great chili dogs, chili mac, loaded baked potatoes, and nachos.
Cool it fast
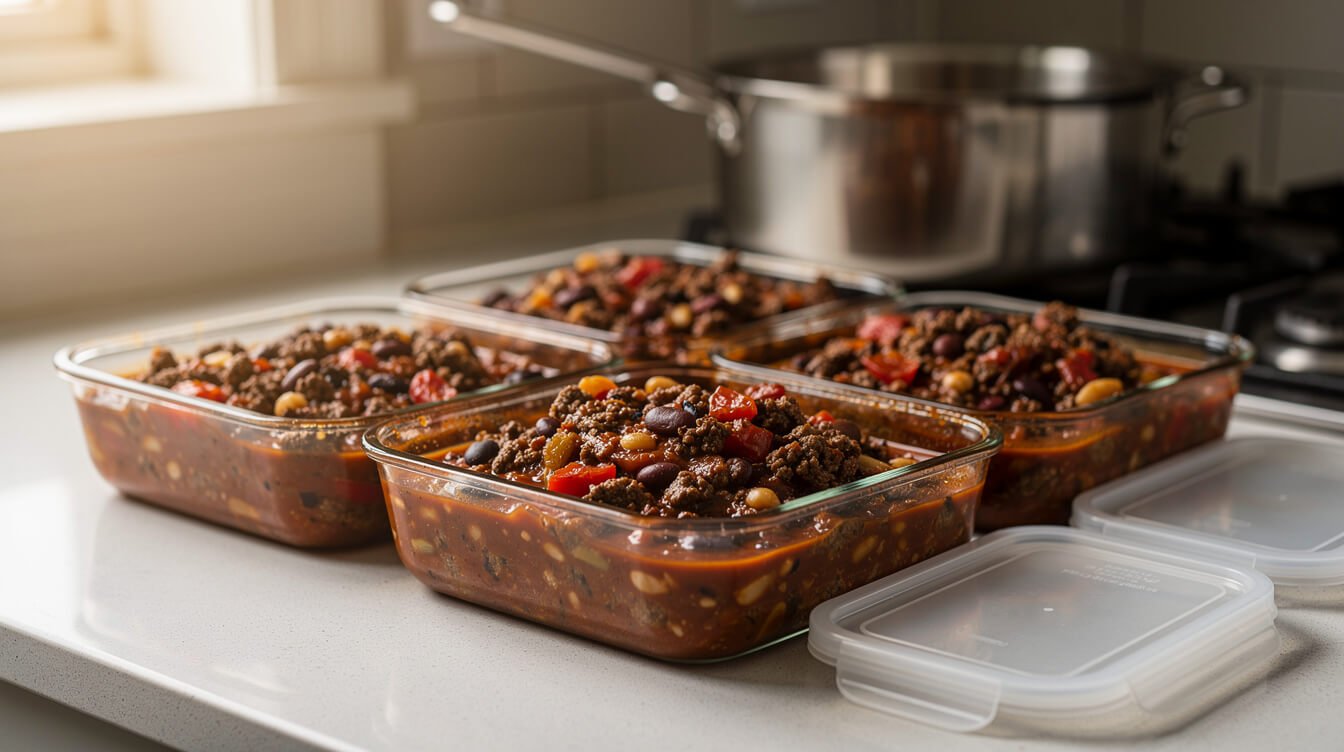
A big pot of chili stays warm for a long time, which is exactly what you don’t want once dinner’s over. USDA advises getting leftovers into the fridge within 2 hours of cooking (within 1 hour if it’s above 90°F, like at a summer cookout). Don’t put the whole hot pot in the fridge. Divide the chili into shallow containers so it cools quickly and evenly, then refrigerate.
How long it keeps
- Fridge: 3 to 4 days, in covered containers. (You’ll see some recipes say 5 days. USDA’s guidance for leftovers is 3 to 4, so we stick with that.)
- Freezer: 3 to 4 months for the best quality. Freeze it in portions, in containers or flat in zip-top bags, leaving a little room for it to expand. Frozen chili stays safe longer than that but slowly loses flavor and texture.
- Thawing: overnight in the fridge is best. Don’t thaw it on the counter.
Reheating
Reheat chili until it’s hot all the way through: 165°F (74°C) on a thermometer, or brought to a rolling boil on the stove. Cover the pot or bowl so it heats evenly, and stir once or twice. In the microwave, cover and stir halfway through, since microwaves leave cold spots. Add a splash of water or broth if it’s thickened up in the fridge. Don’t reheat leftovers in a slow cooker. It heats too slowly.
This easy basic chili recipe is one of the best meal prep dinners there is. Make a double batch on Sunday and you’ve got lunches covered. For more ideas like that, see our meal prep ideas for the week.
Easy basic chili recipe FAQ
What’s the secret to a good basic chili?
Two things: bloom the spices and tomato paste in the hot fat before adding the tomatoes, and finish with enough salt and a splash of vinegar or lime. Those two steps do more than any secret ingredient.
How long should chili simmer?
At least 30 minutes, and 45 to 60 is better. A longer simmer thickens it and blends the flavors. You can go 2 hours on very low heat if you have the time; just stir and add a splash of water if it gets too thick.
Can I make an easy basic chili recipe without beans?
Yes. Leave out the beans and add another ½ to 1 pound of ground beef, or keep the beef the same and expect a smaller pot. You may want a little less broth, since beans absorb some liquid.
Do you drain the beans for chili?
For canned beans, yes. Drain and rinse them. It removes the starchy canning liquid and some of the salt, which gives you more control over the final flavor.
Why is my chili bitter?
Usually scorched spices or a scorched bottom. Keep the heat at medium when you bloom the spices, and scrape the bottom of the pot every time you stir during the simmer. If it’s a little bitter, a pinch of brown sugar and a squeeze of lime can balance it. If it’s truly burnt, transfer the chili to a clean pot without scraping the bottom.
Can I double this recipe?
Yes, if your pot holds it. A doubled batch needs a pot of at least 8 quarts. Brown the beef in batches so it sears instead of steams, and expect the simmer to take a little longer.
The short version
Brown the beef properly and check it at 160°F. Drain most of the fat. Bloom the spices and tomato paste for 90 seconds. Simmer at least 30 minutes, and finish with salt and a little acid. That’s the whole easy basic chili recipe. Once you’ve made it a couple of times, you won’t need to look at the recipe at all. Make it on a Tuesday, eat it all week, and if you’re after more no-stress dinners, our easy weeknight dinners for family are a good place to start.

Before you go
Want the next one?
We post a new recipe or kitchen guide every day. The best of the week lands in one short email, no life story attached.